
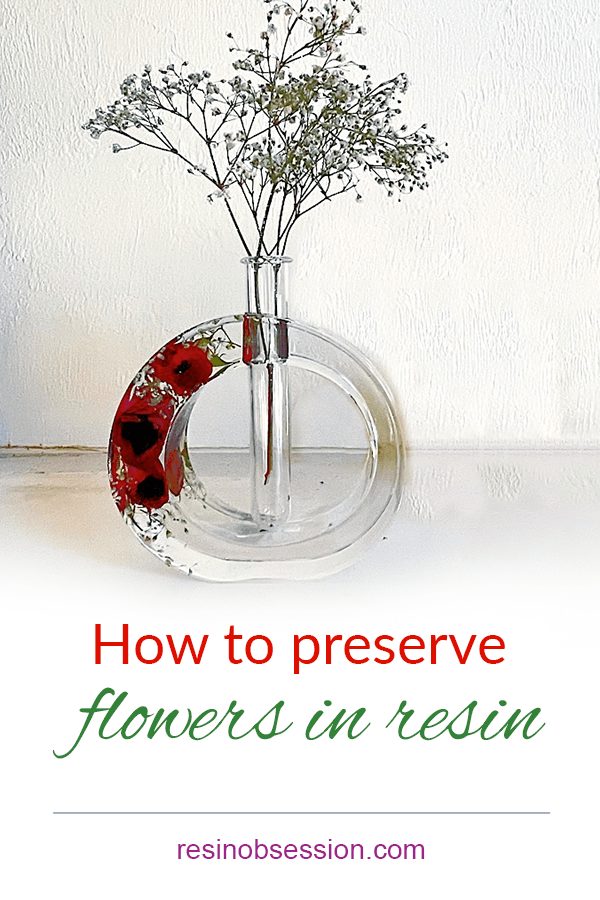
How many times have you looked at a beautiful flower bouquet and wondered if there was a way to keep them like that forever? Well, you can’t keep them exactly like that, but there is a pretty good Plan B. I’m going to show you how to preserve flowers in resin.
This project combines dried flowers and epoxy resin into a vase you can use to hold even more flowers. Plus, it makes a great housewarming gift.
Step 1: Dry the flowers

While this is the easiest step, it will take the longest. Your flowers must be dry before you include them in resin. If they aren’t, they will rot and change colors. I know because I’ve made this resin mistake. You can see what happened when I used fresh flowers in resin.
How do you dry flowers to preserve in resin?
You’ve got a few options:
Air dry.
This method is pretty simple. All you have to do is let the flowers dry down naturally in a vase or box.
Advantage: no expensive drying agent or equipment
Disadvantage: they will lose a lot of color
Parchment paper.
Place the flowers between a folded piece of parchment paper. Then, put the flower and paper sandwich between the pages of a heavy book.
Advantage: you only need one big book to dry a lot of flowers at once
Disadvantage: flowers dry flat
Silica gel.
Put fresh flowers in a sealed container with silica gel desiccant for a few days to a couple of weeks.
Advantage: maintains the 3D shape of the flowers
Disadvantage: you will need space for containers and flower drying agent
Microwave.
Depending on the flower, you can dry them in 1 ½ to 3 minutes. There are flower presses specifically for this purpose.
Advantage: the fastest way to dry flowers
Disadvantage: there is a learning curve. You’re going to burn the first few.
💡 Pro tip: If you want to try out a flower press for the microwave, Resin Obsession bestie Amanda of @evertinyforest uses one by microfleur. (Not an affiliate link. Just being the helpful resin mom, Amanda calls me. 😉)
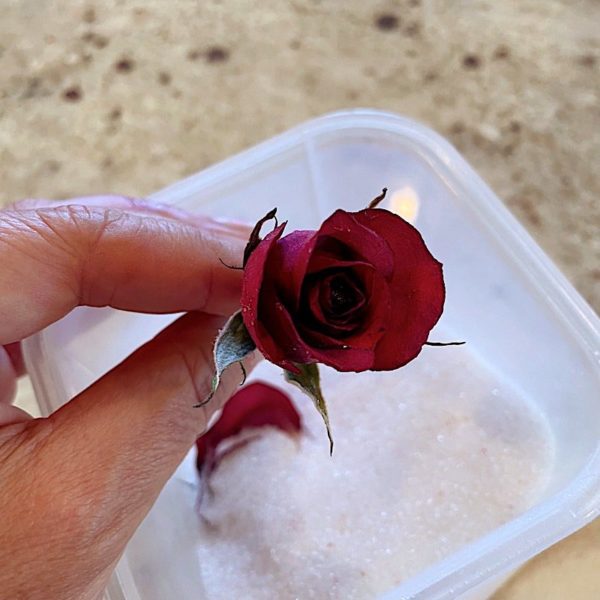
I’m using roses and baby’s breath for this project. You can see how I dried the roses in silica sand.
Step 2: Measure the mold
[This step is optional, but if you’re like 99% of the resin crafters I know, you hate wasting resin.]
There are oodles of types and shapes of silicone molds for resin you can choose from. Maybe you want a pyramid mold. Or perhaps you want something for a square paperweight. There isn’t anything specific to know here except to choose a mold that will show off your flowers. I’m using a resin vase mold to preserve the flowers.
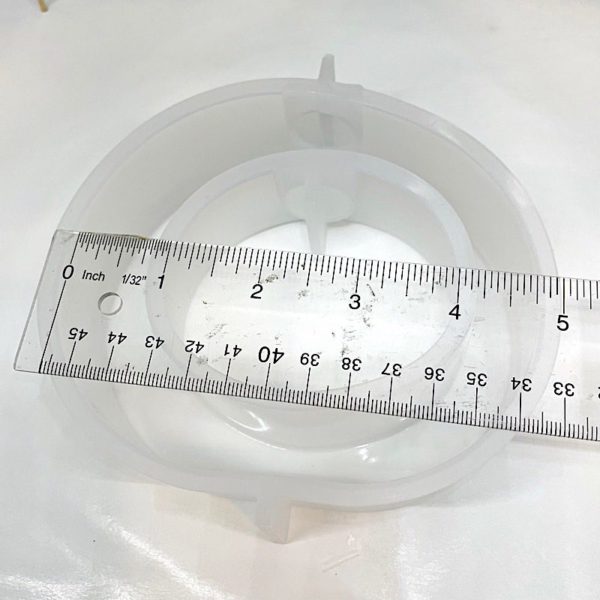
Grab your ruler and measure the mold. Then, once you’ve got the measurements, put them into our resin calculator. It tells you how much resin you need to fill the mold to preserve your flowers.
Because the mold for this project has an open center, you need to take two measurements: the outer and inner walls. Figure the volume for each separately. Then, subtract the inner volume from the outer volume to get the amount of resin you need.
It’s okay. Math is hard. Let’s walk through it together.
The outer wall is 4.75 inches wide by 1.5 inches tall. The inner wall is 3.25 inches wide by 1.5 inches tall.
Using the resin calculator:
Outer volume = 14.73 ounces
Inner volume = 6.90 ounces
That means we need 7.83 ounces to fill the vase mold.
Of course, the amount of epoxy you use is affected by how much room the flowers take up. Have a few leftover resin projects ready to go. You don’t waste any of the epoxy you worked so hard to mix to preserve your flowers.
Step 3: Prep the mold
Mist the mold with a light layer of resin mold release. This makes demolding easier plus protects your mold against micro-tears. These itty bitty cracks break down your mold and cause tearing when you remove your resin.
💡 Pro tip: Don’t use the mold release like cooking spray. It can leave streaks if you apply too much. Instead, a light mist is all you need.
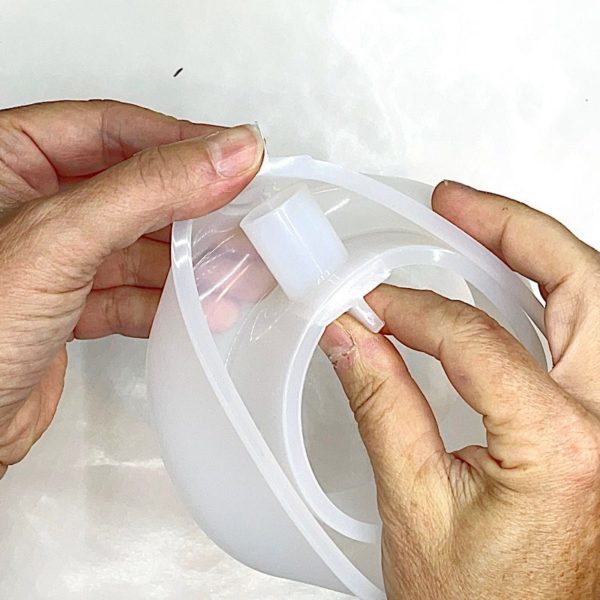
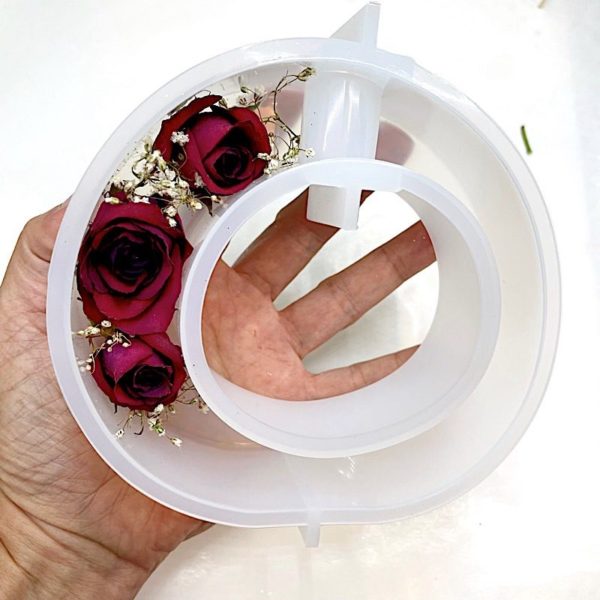
Unique to this mold, you must insert the plug into the top center. You’ll take this out after the resin cures.
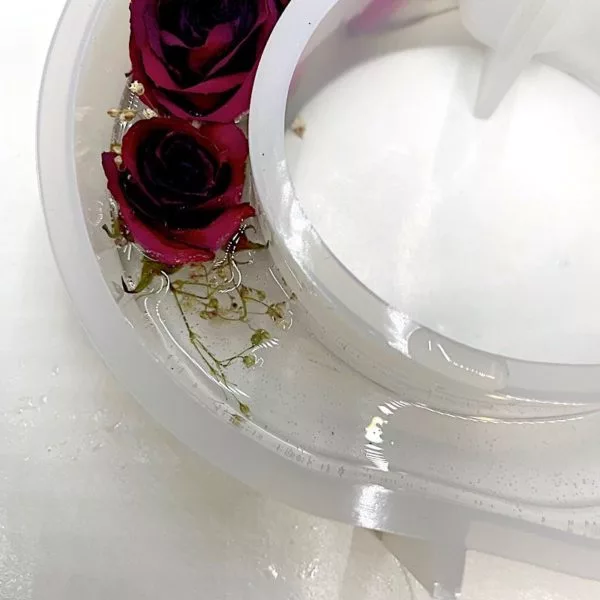
Step 4: Place the flowers
Arrange the flowers in your mold.
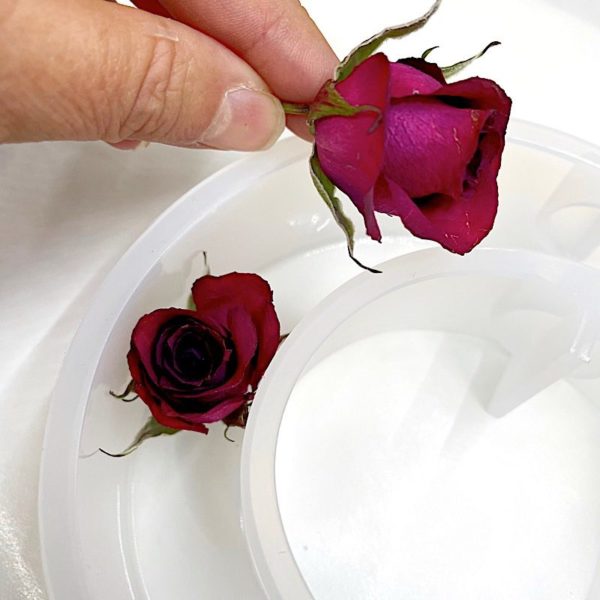
Now you might be thinking…. Should I put the flowers face up or face down?
I put them face up, and here’s why:
Once the flowers get wet with resin, bubbles form between the petals. If the open bud faces up, the bubbles will rise to the surface. But if the blooms face down (towards the back of the mold), the bubbles move deeper between the petals. It makes it hard for the bubbles to escape the resin. That means you might see air bubbles between the petals of your flower once the resin cures.
If you’re using a method to preserve your flowers where they are flat, you don’t have to worry about resin bubbles as much.
Step 5: Mix resin
This mold needs a resin formula you can pour in a thick layer and cures crystal-clear to preserve your flowers to their best.
What makes a resin good for thick pours? It must mix watery, allowing bubbles to rise quickly to the surface.
That’s why deep pour epoxy is perfect for this project.
You’ll get a bubble-free vase because its fluid consistency lets those bubbles go screaming to the surface, where you can slay them with a heat gun. Plus, you don’t have to worry about cracks in your finished vase because it cures slowly.
Our favorite deep pour epoxy mixes two parts resin to one part hardener. Measure out the appropriate amounts of both parts and combine.
⭐️ BONUS: If you’re a resin novice, learn how to mix resin in five easy steps.
Step 6: Pour into the mold
Fill the mold with resin, watching for bubbles.
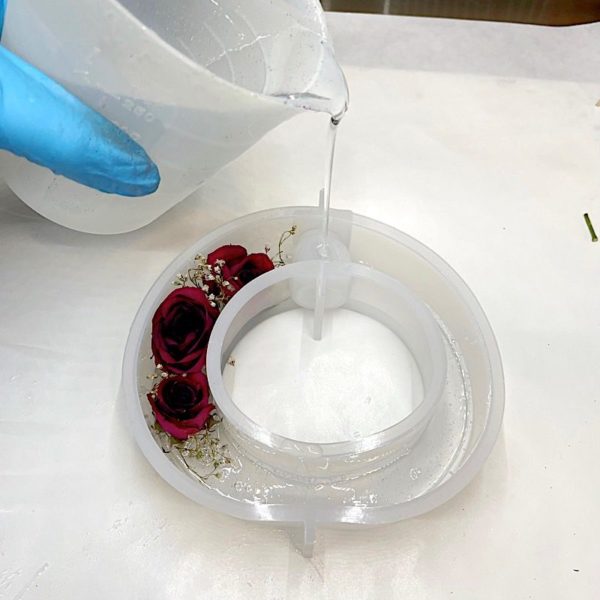
Yeah. Let’s take a moment to talk about resin bubbles.
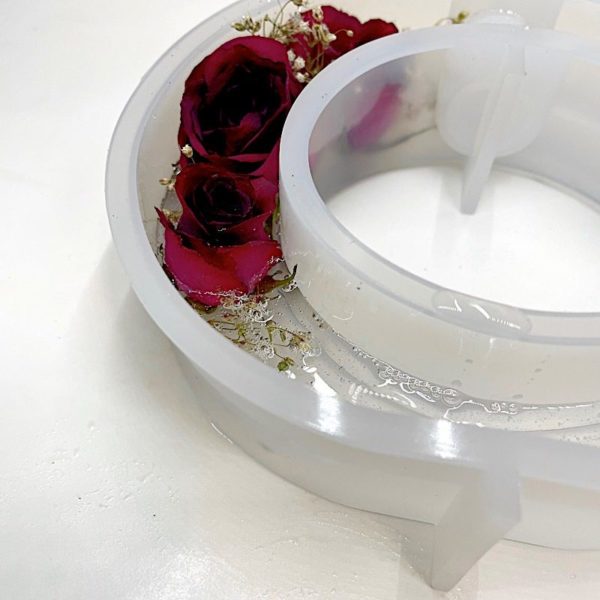
You will most likely find them clustered around the edges of the mold and the flowers. While some will pop on their own, not all will. That’s why I use a heat gun to go over the mold surface to pop the tiny trolls when I see them.
Check this out—no bubbles after using the heat gun.
⭐️ BONUS: Learn how to use a heat gun with resin.
💡 Pro tip: You need to check your resin every 15 to 30 minutes to pop new bubbles until you don’t see any more.
Step 7: Let cure
Cover your flower vase mold with a plastic container. This will keep dust, hair, and other surprises from settling onto your resin.
One of the other things you need to know about using this deep pour epoxy is that it’s slow-curing. You’ll need to give it three days to harden. Don’t freak out when you check your resin the next day, and it’s not ready to come out of the mold.
I get that three days is a long time. But you want to preserve these flowers in one pour instead of having lines between resin layers. Remember, you will be looking at this vase for a lifetime.
Step 8: Demold
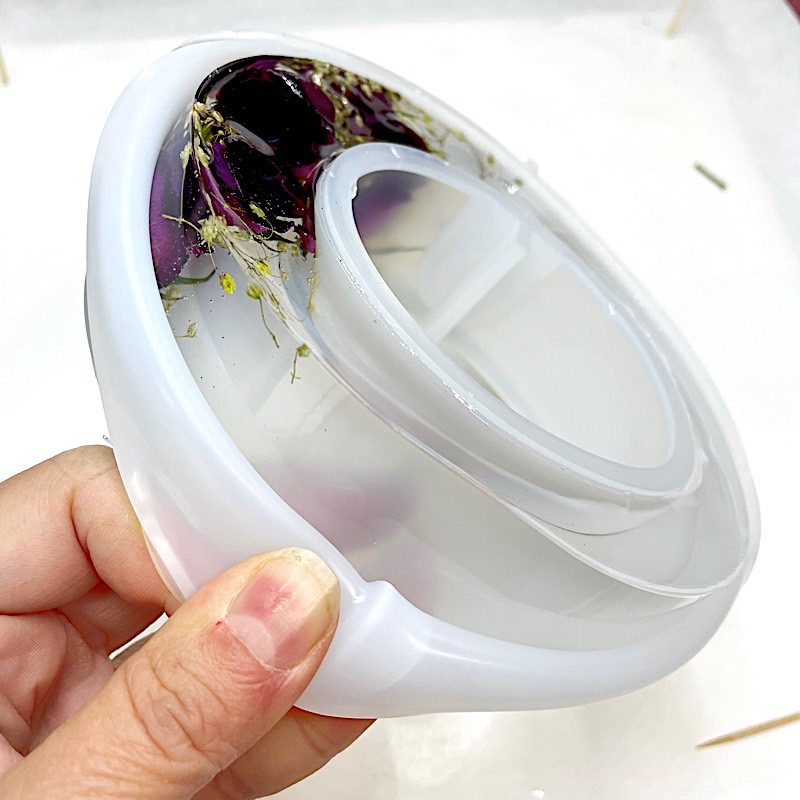
It’s all built up to this. Peel the silicone away from the cured resin surface. The silicone should peel off the resin like you’re taking a sock off your feet (or hands if you do the sock puppet thing). If it doesn’t, add soapy water to the mold. It lubricates the resin and makes this step easier.
Don’t forget to take out the center plug too.
Step 9: Finish
Add your flower holder, and tada! You have proof that you know how to preserve flowers in resin.
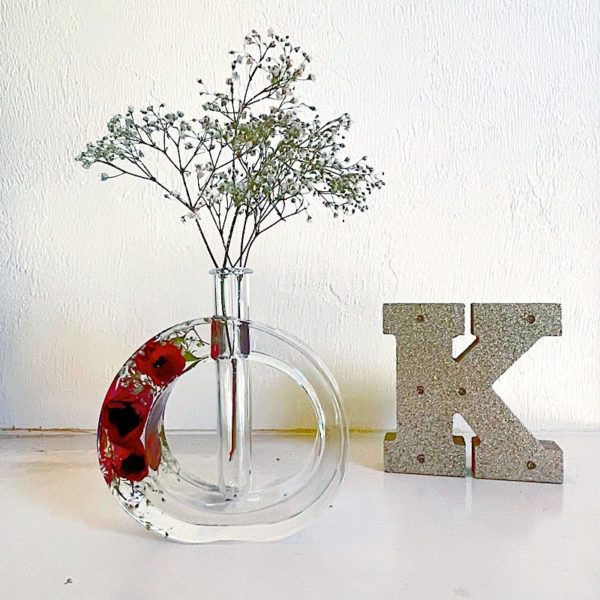
I’ve got a special place on the mantle in my living room to put my vase. I love that the roses are forever preserved in clear resin so I can enjoy them daily.
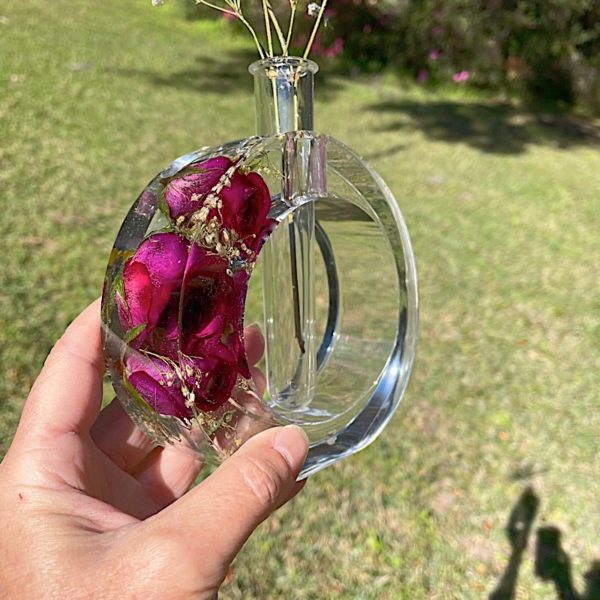
I love how the roses look when I catch them in the sunlight. I especially love how the depth of the mold lets you get the entire rosebud in there.
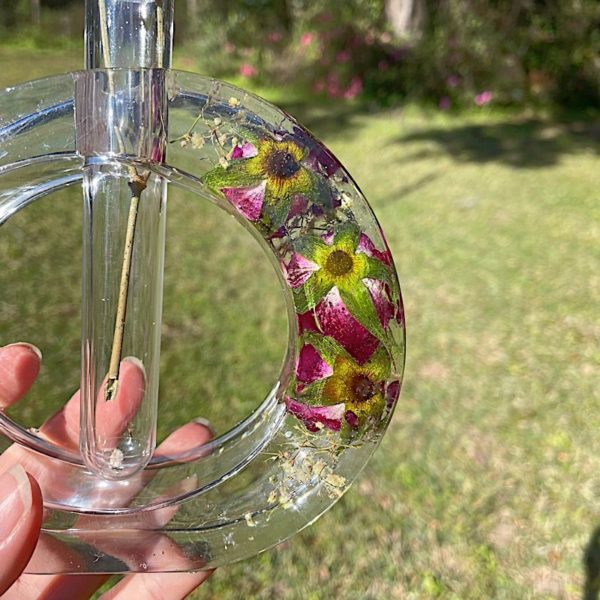
The backside looks great too. You can definitely use this vase on a desk or table where you see both sides.
⭐️ BONUS: Watch how to preserve flowers in resin–in under 60 seconds.
View this post on Instagram
Confused about how to get started with resin?
I felt the same way when I started. But, Here’s what I know now.
There are a few key details to understand to make something beautiful with resin every time.
You don’t need to struggle with months of mistakes. For less than the cost of a resin kit, you can get the ebook I wrote, expressly for resin beginners. I’ve condensed my 16 years of resin experience into the essentials you need to know to avoid costly mistakes. Buy the PDF book now and get a download link in minutes.
Unpublished Blog Posts of Resin Obsession, LLC © 2023 Resin Obsession, LLC
I was wanting to use just the petals. How long can I keep the dried flower petals before I use them? My husband bought me a variety of colored roses and I was wanting to put the petals in a wood epoxy resin name sign for my daughter. Any tips
Hi Cassie, I’ve had dried flower petals last a couple of years.
Hi Katherine,
How do you stop pressed flowers losing their colour when you add them to the resin?
Thanks
Kara
Hi Kara, if they aren’t completely dry before adding them to resin, they’ll lose color. This article explains more: https://www.resinobsession.com/resin-frequently-asked-questions/how-to-dry-flowers-for-resin/