
 Not to be overly dramatic here, but mixing resin is pretty important to making beautiful epoxy art and resin crafts.
Wait. I changed my mind.
I WANT to be over the top, Real Housewives, dramatic here.
Mixing resin is beyond pretty important. In fact, it’s EVERYTHING to your resin success.
You won’t make anything worth wearing, using, displaying, or selling until you can do this right.
Every. Time.
So let’s start with resin mixing basics that apply to all epoxy resins.
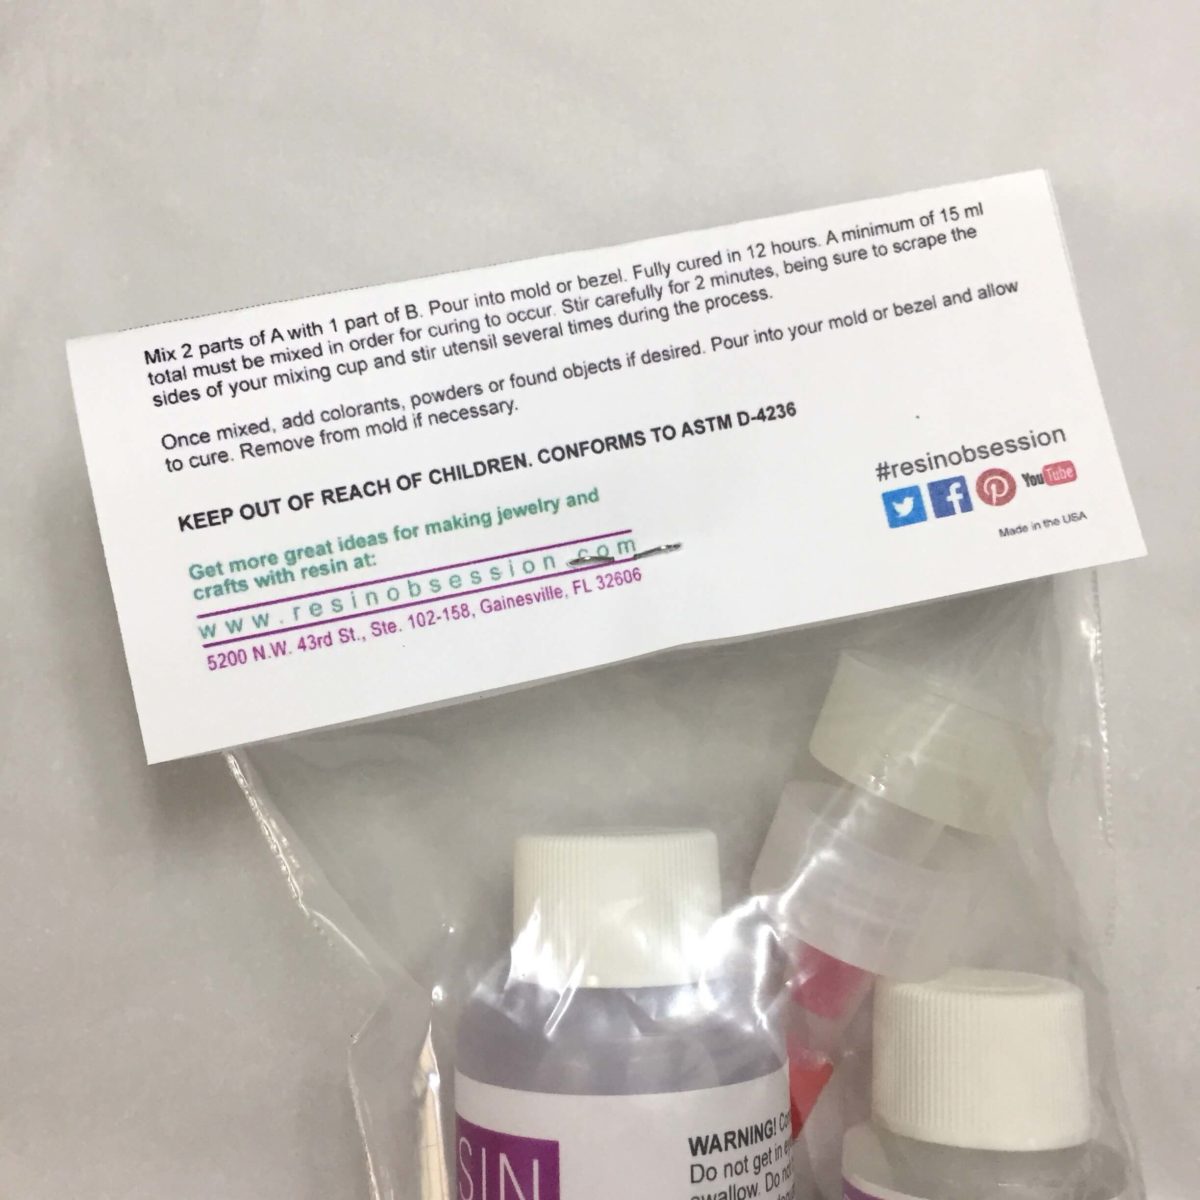
1. Epoxy resin comes in a two-part system: the Part A resin and the Part B hardener. They go together like a lock and key. Just like you have to use a specific key to unlock a specific door, you have to use the hardener specific to your epoxy.
2. When you buy an epoxy resin kit, it will come with both parts. You should never have to buy them separately.
3. No ‘one size fits all’ resin mixing instructions exist. (more on that in a minute) While you want to use the same techniques when mixing your resin, there are specific details for each epoxy kit.
Now, let’s get into the five steps for mixing resin.
Step 1: Read the directions
I get that creatives like to ‘wing it.’ But mixing resin is not one of those times. (Save that for pouring resin on a canvas instead.)
Clearly understand the mixing directions of the epoxy resin you’re using.
Remember what I said above?
Not all resins mix the same.
There are three resin mixing details you need to know for your epoxy resin:
*How much Part A do you mix with Part B? Does it mix equal parts A and B, or mix two parts A to one Part B (or perhaps even something else)?
*Does it mix by weight, volume, or either?
*What are the minimum and maximum mixing amounts of the resin?
You’ve got to know these. These resin mixing instructions are essential to make sure your resin cures.
⭐️ BONUS: If you buy resin at Resin Obsession, we’ve got all that information for you in our resin buying guide.
Step 2: Figure out how much resin you need
Determine the total volume of mixed resin you need for your project. From there, break it down into the amount of Part A resin and Part B hardener you need to mix together.
I get it. Math is hard. So let’s walk through an example.
Let’s say you are working with a resin mold that needs 2 ounces of resin, and you are using the Amazing Clear Cast super clear resin. This jewelry resin mixes one part A to one part B by volume, so you will need 1 ounce each of Part A and Part B.
Ah, but how did I know much resin to add to the mold?
There are a few ways you can figure that out.
The easiest way is with the Resin Obsession resin calculator.
But there are a few other resin hacks for this too.
⭐️ BONUS: Here’s how you know how much resin you need.
Step 3: Gather your supplies and prep your area
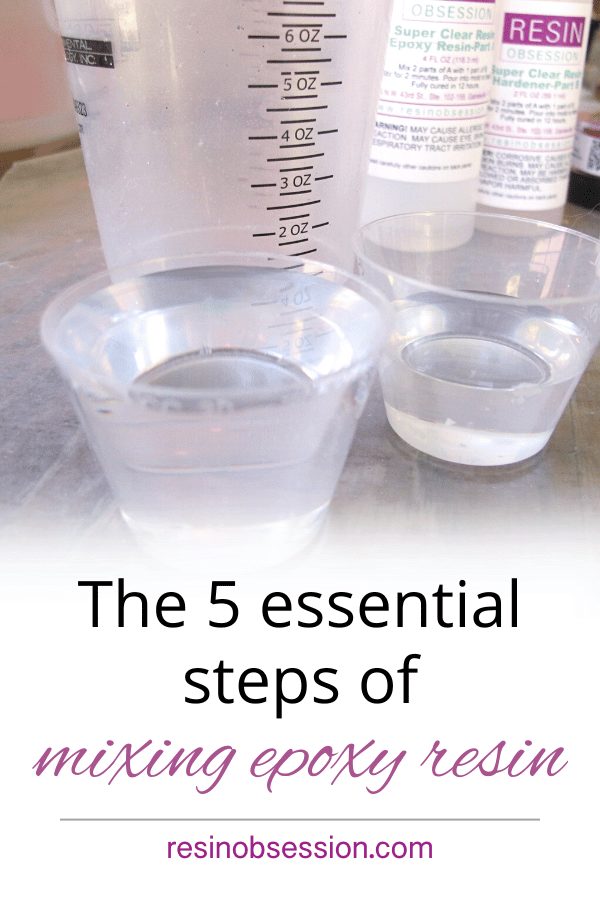
Mixing cups
You must use mixing cups that let you measure your resin liquids accurately. That means you need lines on the cup to see what you’re doing.
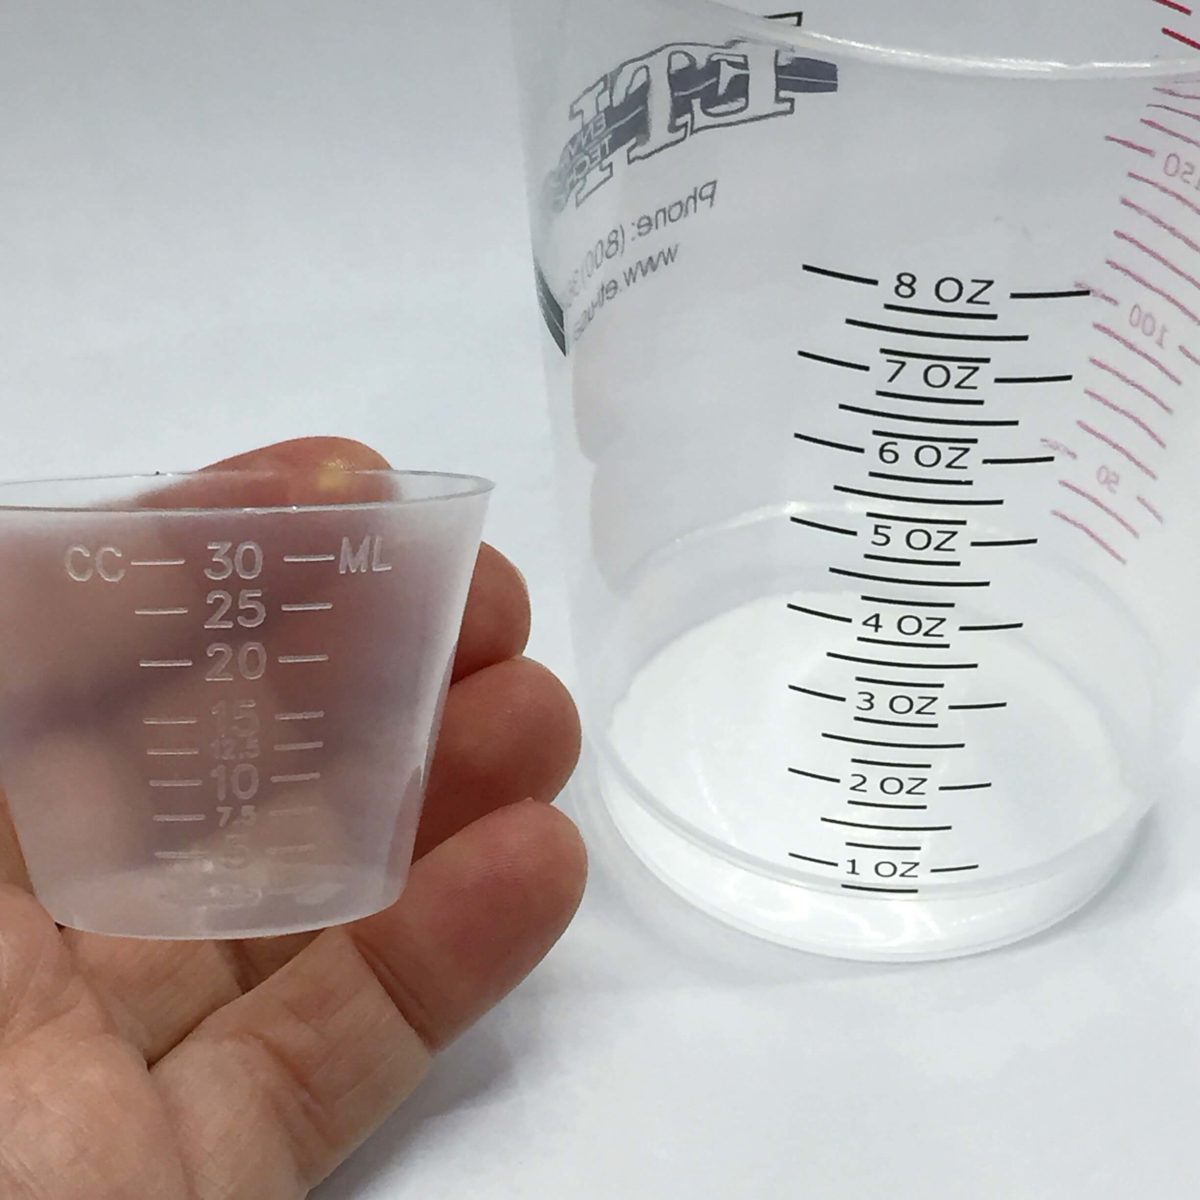
Like on these resin mixing cups.
Now, I know what you’re thinking.
You’ve watched lots of Tik Toks and Youtubes where people use caps, party cups, spoons, and other things to measure their resin.
And I’m sure that works. Sometimes.
I don’t know about you, but my time is precious. I need to know my resin will cure every time. And that means using cups that I can use to measure liquids precisely.
Area temperature
Now that you’ve got your mixing supplies, you must ensure your resin kit and crafting area are warm.
But not too warm. You need to work in a space that’s in the low 70s F. (It’s resin goldilocks’ version of just right.)
And your resin needs to be warm too. You can learn more about that here:
⭐️ BONUS: What is the best temperature for resin?
Resin safety
And please, don’t ignore resin safety precautions. You need to wear gloves and work in a well-ventilated area.
This is an important topic that deserves its own article.
⭐️ BONUS: How to use epoxy resin safely.
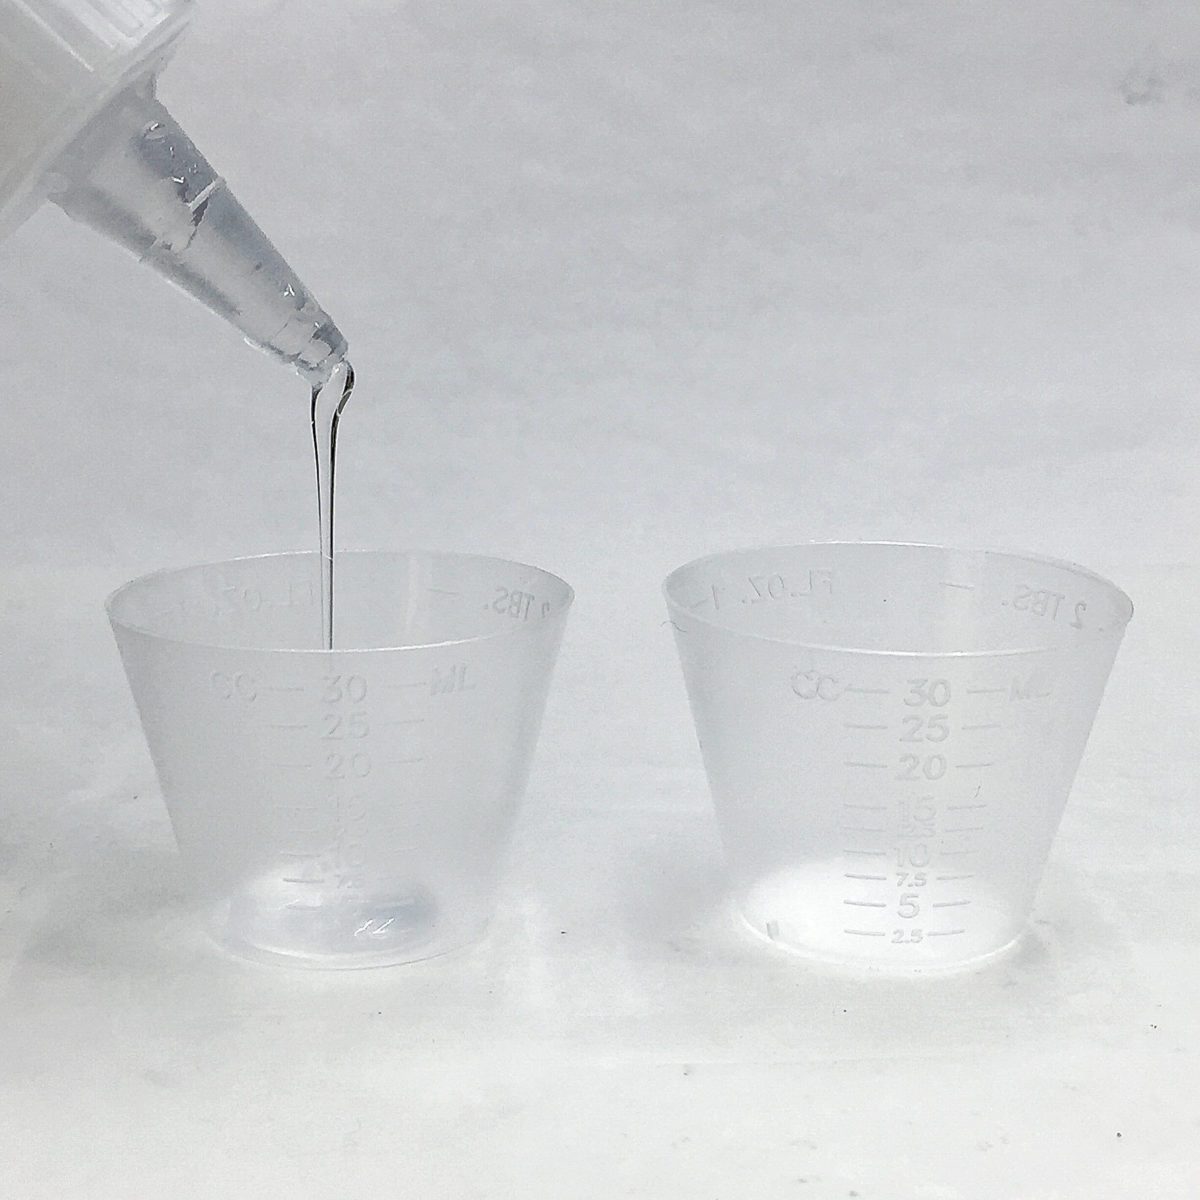
Step 4: Measure the liquids
Now it’s time to pour your resin and hardener into separate cups. Measure precisely.
Why use separate cups for the two parts? Suppose you overpour either the epoxy resin or the hardener. You can pour it back into its respective bottle and not waste it.
And don’t add extra hardener because you want to make your resin dry faster. Doing can make your resin heat up too quickly and shortens the pot time.
💡 Pro tip: Pour from one bottle, then recap before pouring from the other bottle. If you uncap both bottles at once, you risk switching the lids. You don’t want to cure your bottles of epoxy resin and hardener shut. 🤦♀️
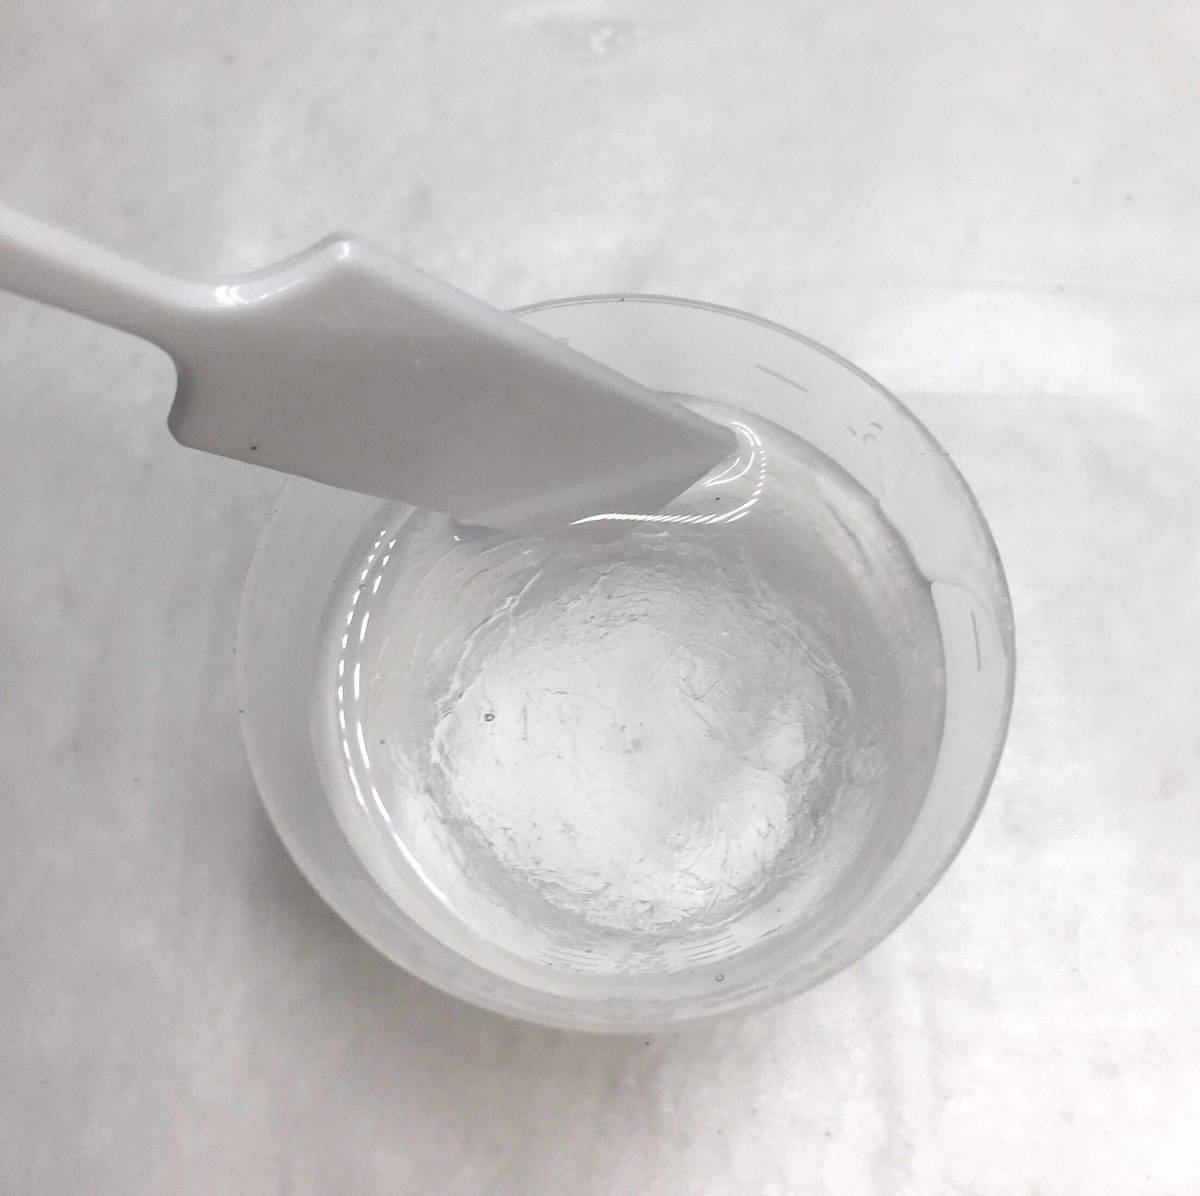
Step 5: Mix
Pour the two parts together and stir well. Scrape the sides of the cups and your stirring stick several times during the process.
💡 Pro tip: Once you start this process, set a timer. It is a great reminder to focus on your work and not lose track of time. You want to get all your resin used before it starts to cure.
Your resin will look wavy when you start mixing. This is normal. As you mix, the streaks will disappear.
This is what I’m talking about:
Here’s what clear epoxy looks like after mixing the resin and hardener for about 15 seconds.

This is what the same resin looks like after stirring for two and a half minutes.
💡 Pro tip: Undermixed epoxy is the number one reason for sticky resin. Focus on this part.
Now you are ready to use your resin! 🎉
Learn all about mixing resin for jewelry, crafts, and resin art in under three minutes:
What else should you know about mixing resin?
Can you reuse resin mixing supplies?
Yes. You can clean your resin mixing cups for another use. Here’s how:
What about bubbles?
While it’s always best to stir your resin to prevent bubbles, sometimes it is unavoidable. Especially if you’re mixing large volumes, like for making an epoxy table.
It’s always better to thoroughly mix your resin and remove bubbles later with a heat gun rather than undermixing to avoid bubbles. Undermixed resin cures sticky, or wavy, or may not cure at all.
⭐️ BONUS: Get my best tips for avoiding resin bubbles.
Should you let your resin sit before using it?
I don’t. Some crafters will do that to let bubbles rise to the surface before pouring resin. But your pot time is ticking. That means it’s fewer minutes you’ll have to use the resin before it starts to cure. I’d rather use it immediately than give myself less time and rush through a project.
What about mixing your resin and hardener by weight instead of volume?
Yes, you can do that. But…
Resin and hardener don’t weigh the same by volume. That means you’ll use up your hardener faster when you measure by weight instead of volume. And you run into the chance your resin overheats.
Does the stirring utensil matter?
Yes. Popsicle sticks and tongue depressors are made of wood. Wood can release bubbles into your resin. It’s why I use silicone stirring sticks. And you can clean them to use over and over.
When should I add colors to resin?
In general, you can add colors to the resin after it’s mixed. But liquid resin colors can have their own specific instructions. Resin doesn’t like water, so you want to make sure you don’t affect curing.
⭐️ BONUS: How to color clear epoxy resin so it looks fantastic.
Why isn’t the resin clear?
Isn’t that frustrating?! There can be a few reasons for this.
⭐️ BONUS: Four reasons why your resin is cloudy.
Want to get to resin expert status quickly?
Then be sure to get your copy of Resin Fundamentals. This ebook has everything beginners need to know to get you from confused to confident with mixing resin (and more!) in a couple of hours. Buy now, and a download link arrives in your email in minutes.
Unpublished Blog Posts of Resin Obsession, LLC © 2023 Resin Obsession, LLC
If I am putting pieces of brick in my resin do I need to do anything to the brick first? I just usually spread the pieces around in the mold and then put a laminated picture on top of brick and resin!! Then I pour more resin over the picture and brick! Is this the best way! Then I take a torch gun and try and get most of the bubbles out! Then let cure for a day and a half!!! Sometime coasters are sticky!!! Any suggestions????
Hi Carolyn, sticky resin is usually related to not mixing well enough. I talk more about it here: https://www.resinobsession.com/resin-frequently-asked-questions/why-is-my-resin-sticky/
My resin hasn’t cured and it’s been five days, my other batches have cured in three. How can I fix this?
Hi Isabella, I’m sorry this is happening to you. This article will help: https://www.resinobsession.com/resin-resin-resin/10-ways-to-make-sure-your-next-resin-casting-is-a-disaster/
Hi- sometimes my resin drys wavy. What could be causing that. It does dry hard. Thanks!
Hi Kim, we have a discussion about that in our forum that should be helpful: https://www.resinobsession.com/forums/topic/why-is-my-resin-is-wavy-distorted-after-curing/
I find measuring by volume open to mistakes, especially when doing small projects, is it possible to use by weight instead, I use Clear Cast. Thanks ,Julian
Hi Julian, I haven’t used that brand. You will need to ask them if measuring by weight is appropriate for what you want to do.
I’m unclear as to the amt you can mix. The instructions say minimum of 15 ml. What’s the maximum? I have projects like ash trays and pencil holders as well as coasters. Working on insect blocks. I get about half that are successful. I use your resin obsession crystal clear resin
The maximum is three ounces.
How much in (ml) is measured when using scales? Resin and hardener seems different in liquid form. Is the harderner or resin heavier than the other??
Scales measure by weight, not by volume. You are correct in that one component is likely heavier than the other. The manufacturer of the specific resin you are using should be able to give you this specific information.
Hi Katherine, so I’m facing a small issue. Let’s say that I want to make 4oz of epoxy. Now the epoxy instructions say that I need 2.7 Part A to 1 Part B by Volume. I am not sure how to obtain the specific quantities I need perhaps you could tell me the values if possible .Please let me know.Thanks
Hi Sammy, to make sure you get the best advice possible, this sounds like something you should reach out to the manufacturer for help with.
I tried but nobody ever got back to me.I’m a little upset and confused that’s why I researched the ups and downs until I discovered your website which has fantastic information. Katherine please help me out if you can because this 2.7:1 has me really confused.Thanks
Hi Sammy, I think this situation is best suited for a one-on-one consulting call where you and I talk back and forth about what’s going on. A 15-minute consultation call is $20. I do them by video so I can have a chance to see what you are working on. If you are interested, please send a message through the ‘contact us’ page and I can get this going for you.
Measure out 2.7 of A and 1 of B. Weigh in oz, net weight, this gives you X ox.
You need 4 oz, so divide 4 by X, this gives Y. All you need to do now is multiply Y by 2.7 Mix A, and Y by 1 Mix B. This gives 4 oz of mixed resin. Dividing Y by 4 gives you unit for multiplying and future differing amounts.
I always see people mixing resin with wooden stir sticks. Doesn’t the wood introduce bubbles into the resin because of it being porous, or are they sealed?
Yes, it can.
Does it work if you mixed resin of two litre and hardener and of one litre?
Hi Mundi, every resin is different. You will need to refer to the specific instructions included with your resin kit.
When I use resin color should I use clear resin to mix or the resin color have already been mixed with resin ?
Hi Christian, I think buying colors separately is the way to go. We have a bunch of resin colors in our store here: https://shop.resinobsession.com/collections/colorants
Why do you show a picture someone messing with sticky resin, with no protection on their hands ????????
Hi Allyson, we always recommend wearing gloves when working with resin that hasn’t fully cured. We have several safety articles about resin here: https://www.resinobsession.com/tag/safety/ . I believe you are referring to the stock image we have for a different article to give an instant visual impression of stickiness. I can assure you the person was not using resin when the picture was taken.
What do you have to do if you need to add more resin to the project? Do you have to wait till it thoroughly dry’s? Etc.
Hi Diane, you can wait until it fully dries, but you can apply the next layer once the previous layer has started to gel.
Your favorite and easy resin for canvas-trays?
Hi Doreen, any of the doming resins in our store will work for a project like this: https://shop.resinobsession.com/collections/resin/doming
Hi Katherine, I’m Philip. I’m very new to this resin crafting art. But I’m addicted already.! My question is about two part molds, the ones where there’s a top that fits onto the bottom making a 3-d piece. What are some tips & tricks to filling it full without getting tons of bubbles & spilling all over from what oozes out between the two pieces? Thank you for your time, Sincerely, Philip P
Hi Philip, welcome to the world of resin! Are you using tape to hold the two pieces of your mold together? That should help with leakage.
Hi there. I’m new to resin. I’m trying to take shopping bags and creat designer acrylic trays. I’m having a hard time figuring out how once I coat the paper. Ag cutting with mod Podge, how do I attach it to the acrylic serving tray before I cover it in resin? I feel like I don’t have to glue it down before I add the resin but no sure? Most cases when I try to use mod Podge to glue down the coated paper to the acrylic, it forms bubbles. So you then see bubbles under the paper after I pour on the resin?! Any ideas ? Should I not try to glue Down the coated shopping bag?
Hi Tina, You have a lot going on here!
I want to help you with your project, and I think this situation is best suited for a one-on-one consulting call where you and I talk back and forth about what’s going on. A 15-minute consultation call is $20. I do them by video so I can have a chance to see what you are working on. If you are interested, please send a message through the ‘contact us’ page and I can get this going for you.
This is the first time I’m using proxy and resin it’s a big job. It’s cedar boards with crevices that I have sanded down. I plan on putting some color in the crevices do I have to wait for the color to cure before I add the clear? Is there anything I need to do to prep the cedar? When I go to nail it on the wall will it crack the proxy?
Hi Suzanne, you have a lot going on here! I want to help you with your project, and I think this situation is best suited for a one-on-one consulting call where you and I talk back and forth about what’s going on. A 15-minute consultation call is $20. I do them by video so I can have a chance to see what you are working on.
If you are interested, please send a message through the ‘contact us’ page and I can get this going for you. Sincerely, Katherine @ Resin Obsession
Hello, I have some resin that is 2:1 I’ve never used 2:1 before only 1:1. I know with 1:1 I need 4oz of mixed resin for my project. Now how on earth do I convert that to 2:1… please help I’m so confused
Hi Sarah, you will want to multiply 4 ounces by 2/3 to get the amount of Part A to add. Then multiply 4 ounces by 1/3 to get the amount of Part B. My math says you need 2.67 ounces of Part A and 1.33 ounces of Part B. Does that help?
Thank you this helps me so much!
I am using a epoxy 2:1. I have tried countless times of measuring perfectly and the right room temperature however my resin is leaving a swirly cloud on top when set. What is this due to? I can’t seem to figure it out!
Thank you
Hi Ellie, I’m sorry to hear this is happening to you. This article might explain what’s going on. https://www.resinobsession.com/resin-frequently-asked-questions/why-is-my-resin-wavy/
if I use a glass measuring cup to mix 1 and 2 will I be able to remove the left over from the cup when it has cured?
Hi Wendy, I don’t think it will. If you use a glass measuring cup, wipe it clean before the resin cures.
Well written article
Thank you, Frank. I’m glad it was helpful to you!
For me it doesn’t make sense at all to weigh resin with a scale, it should be done by volume because it is a liquid. Not by weight, it’s basic science, one is heavier than the other so this method won’t work. Liquids are measured by volume.
hello, my mix still stays a bit cloudy , has some streaks and a few bubbles after i have been mixing for about 3/4 minutes
what can i do to make it completely clear?
i have put mix in warm water, also let it sit after i am done mixing, it doesnt fully work, should i keep mixing more til fully clear ?
Hi Gabriela, I’m sorry to hear this is happening to you. This article will help: https://www.resinobsession.com/resin-frequently-asked-questions/cloudy-resin-why-is-my-resin-cloudy-reasons-for-cloudy-resin/
How do you clean the reusable measuring cups (not the mixing cup)? Do you wipe them with a paper towel, wash with water in the sink or just let the leftovers (small amounts) sit in the cups until next time?
Hi Ryan, this article explains how to clean resin cups for reuse: https://www.resinobsession.com/resin-frequently-asked-questions/how-to-clean-resin-cups/
My resin instructions say mix a ratio of 1:1. Does that mean the same equal amount? (Example: 5ml & 5ml)