

 So you want to try casting with resin.
You’ve got ideas.
You’ve got goals.
And you want to do this all while avoiding a big mess and expensive mistake.
Now you’re trying to figure out where to start.
Let me start by saying what you’re feeling right now is a good thing.
Why?
Because it forces you to understand resin before you create with resin.
While I love seeing resin videos on social, you can’t learn how to master epoxy resin in 15-second bursts. It took me a couple of years to feel like I was good at it.
But don’t worry, it’s not going to take you that long. Promise.
How about I share with you the basic resin casting details to get you started making your first masterpiece?
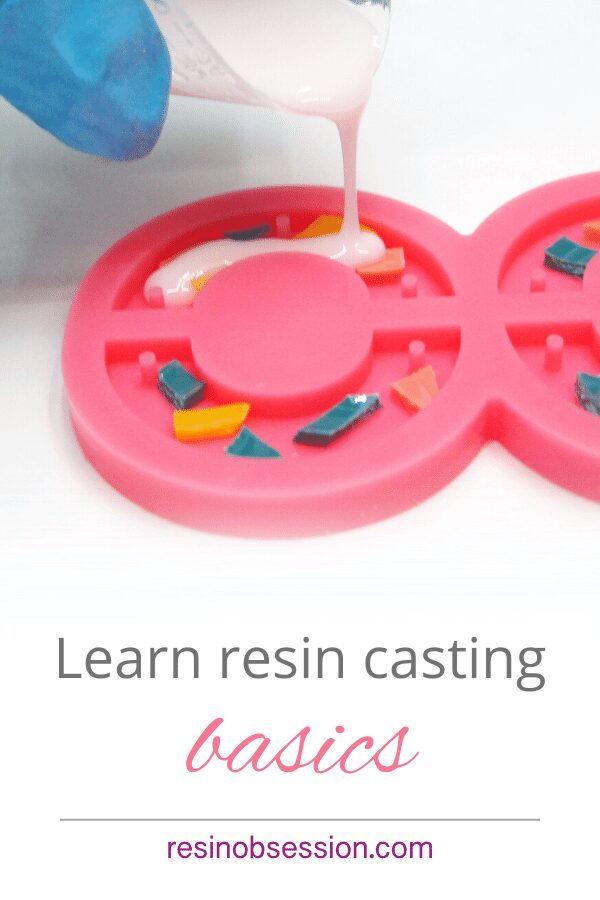
Let’s start with the word ‘casting’ and why it’s important.
Casting means you’re pouring the resin into something, then letting it cure. That’s opposed to pouring the resin over a surface, which is coating or doming.
So, if you want to create resin art where you’re using epoxy as a coating, you’ll want to go here: The Ultimate Guide to Making Epoxy Art
Checking in — if you’re still here, that means you want to pour resin into something.
Cool. Let’s continue with the basic resin casting with a mold.
Step 1: Use a casting resin
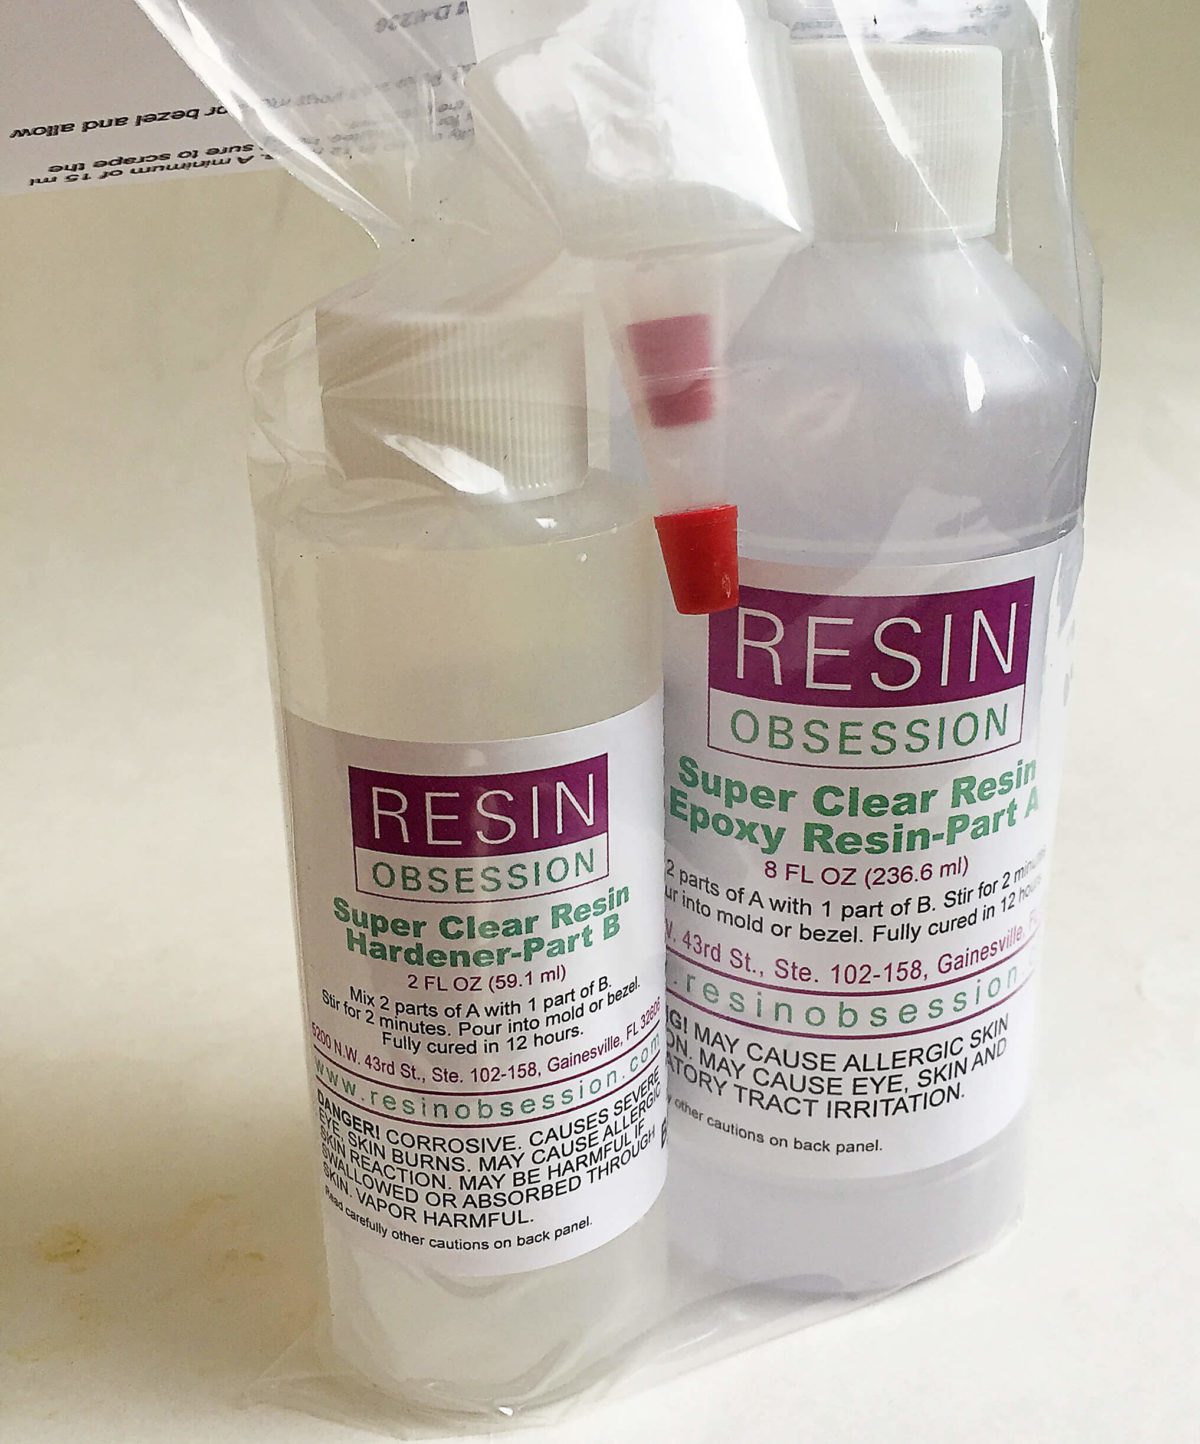
Casting resins have a watery consistency. This resin type lets bubbles rise quickly and ensures your epoxy projects cure crystal-clear.
The Resin Obsession super clear resin is the perfect resin for your small projects (pours of 3 ounces or less).
Step 2: Gather other supplies
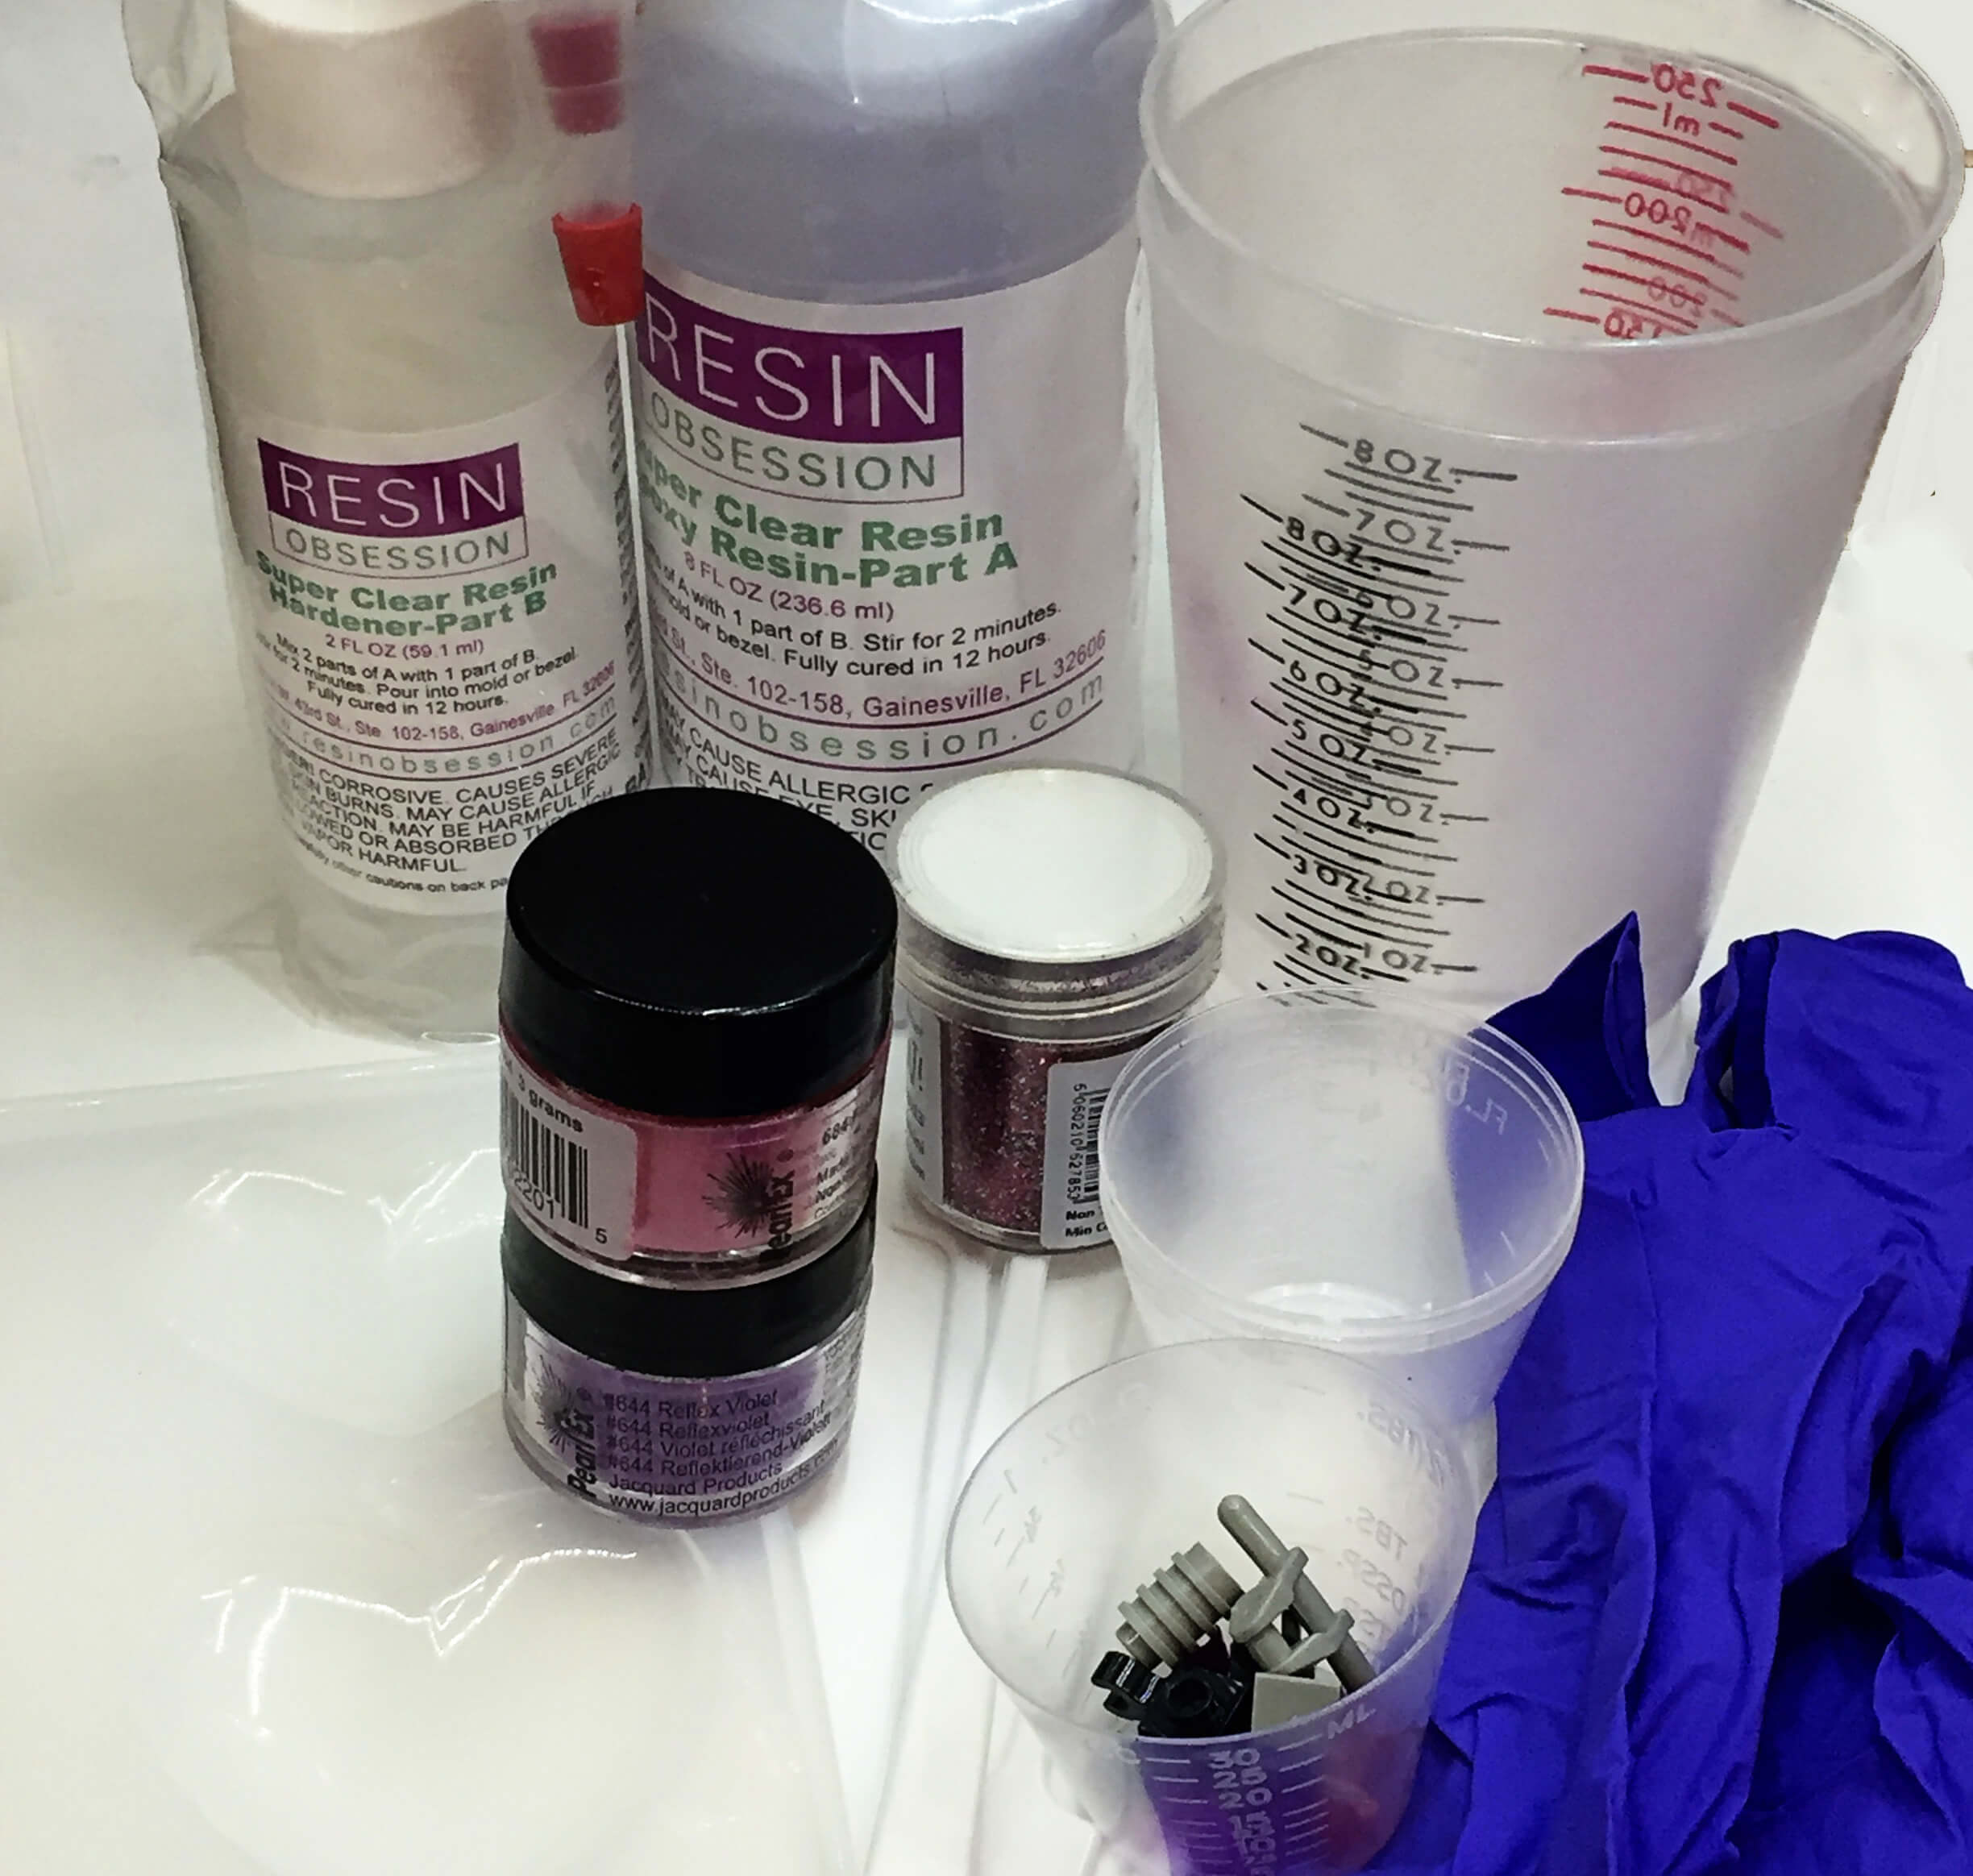
This includes:
Mixing cups
Stirring utensils
Resin molds
Mold release
Heat gun
Resin colors, glitters, found objects, etc.
Protective gloves
Paper towels, baby wipes, and acetone to clean up spills
⭐️ BONUS: Want to know what else you might need? Check out our beginner supply checklist.
Step 3: Understand the directions
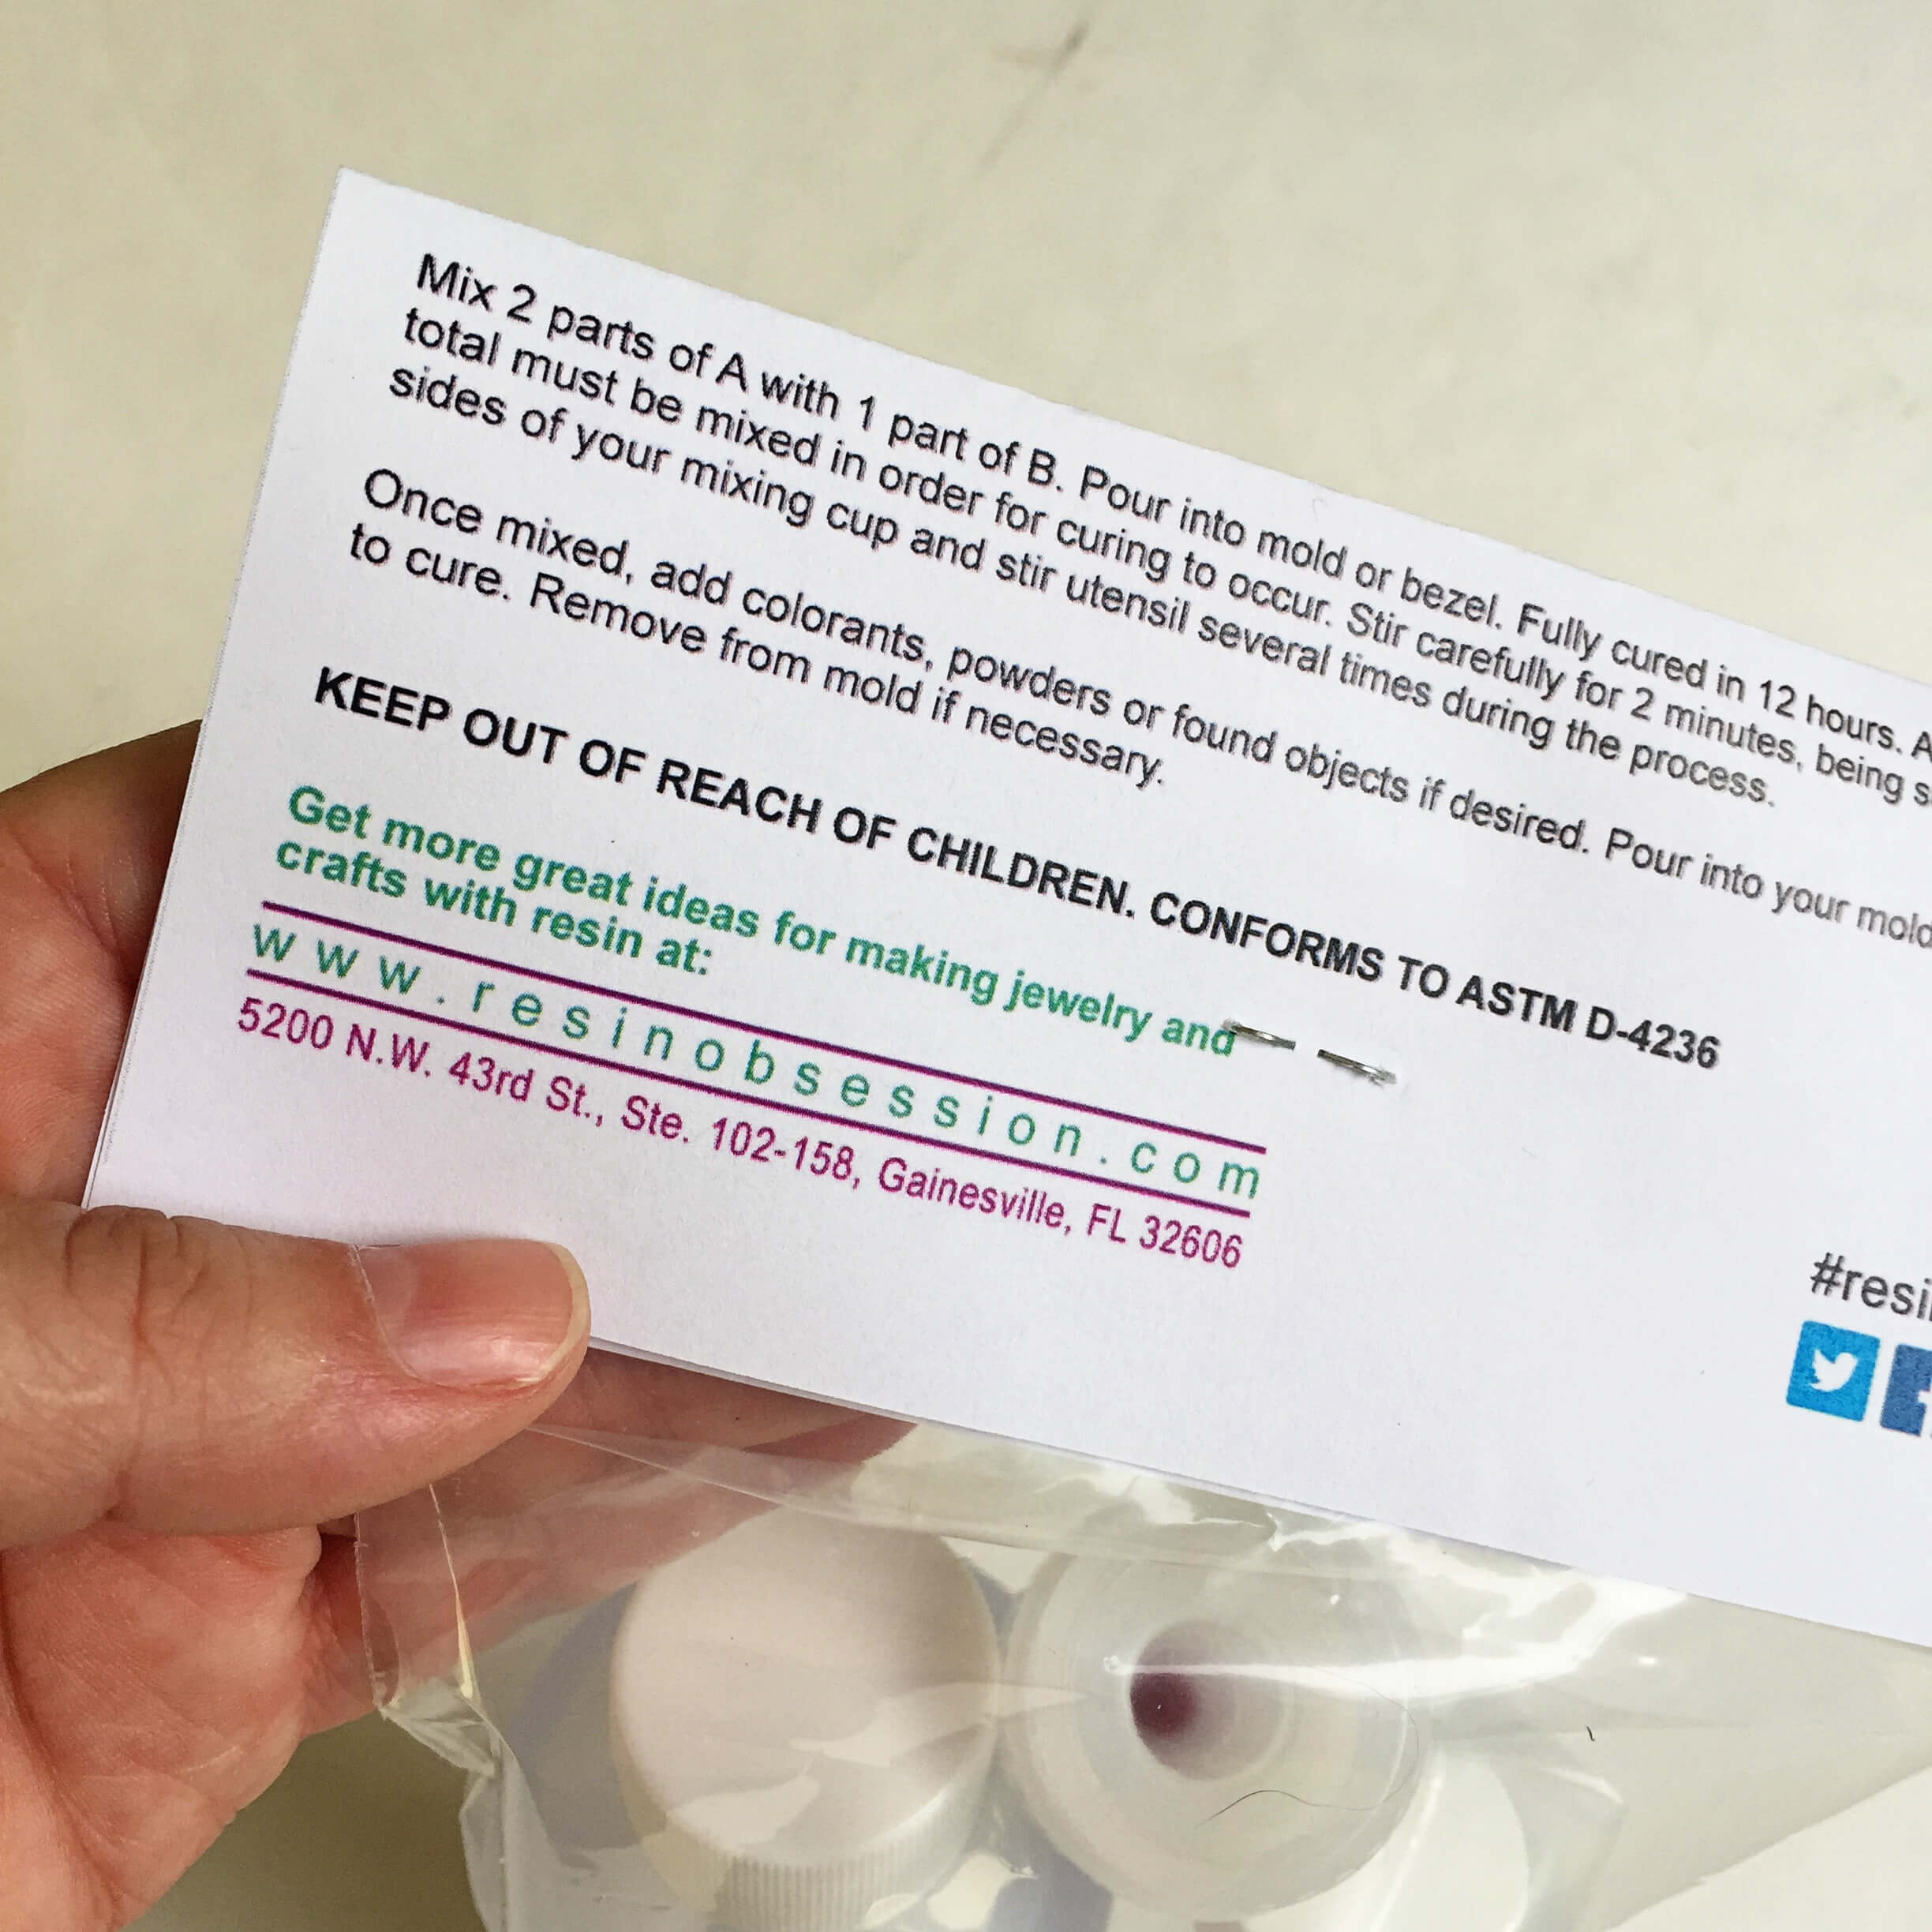
This is the resin casting basic of all basics you HAVE to get right.
I know because I’ve screwed this up. (and maybe you have too already)
Once you have your epoxy resin, read the directions. Then re-read the directions. You need to fully understand your resin and what it can AND can’t do.
Here are four details you need to know:
1. How much resin (part A) and how much hardener (part B) to mix together, either by weight or volume.
2. The minimum and maximum mixing amounts of the resin. If too little resin and hardener are mixed together, it won’t cure. If too much is mixed together, it may cure in your mixing cup.
3. The pot time. This is how much time you have to work with the resin mixture before it starts to cure.
4. The cure time. This is the time when your resin is fully hardened.
⭐️ BONUS: If you buy resin at Resin Obsession, we’ve got all that information for you in our resin buying guide.
Step 4: Measure
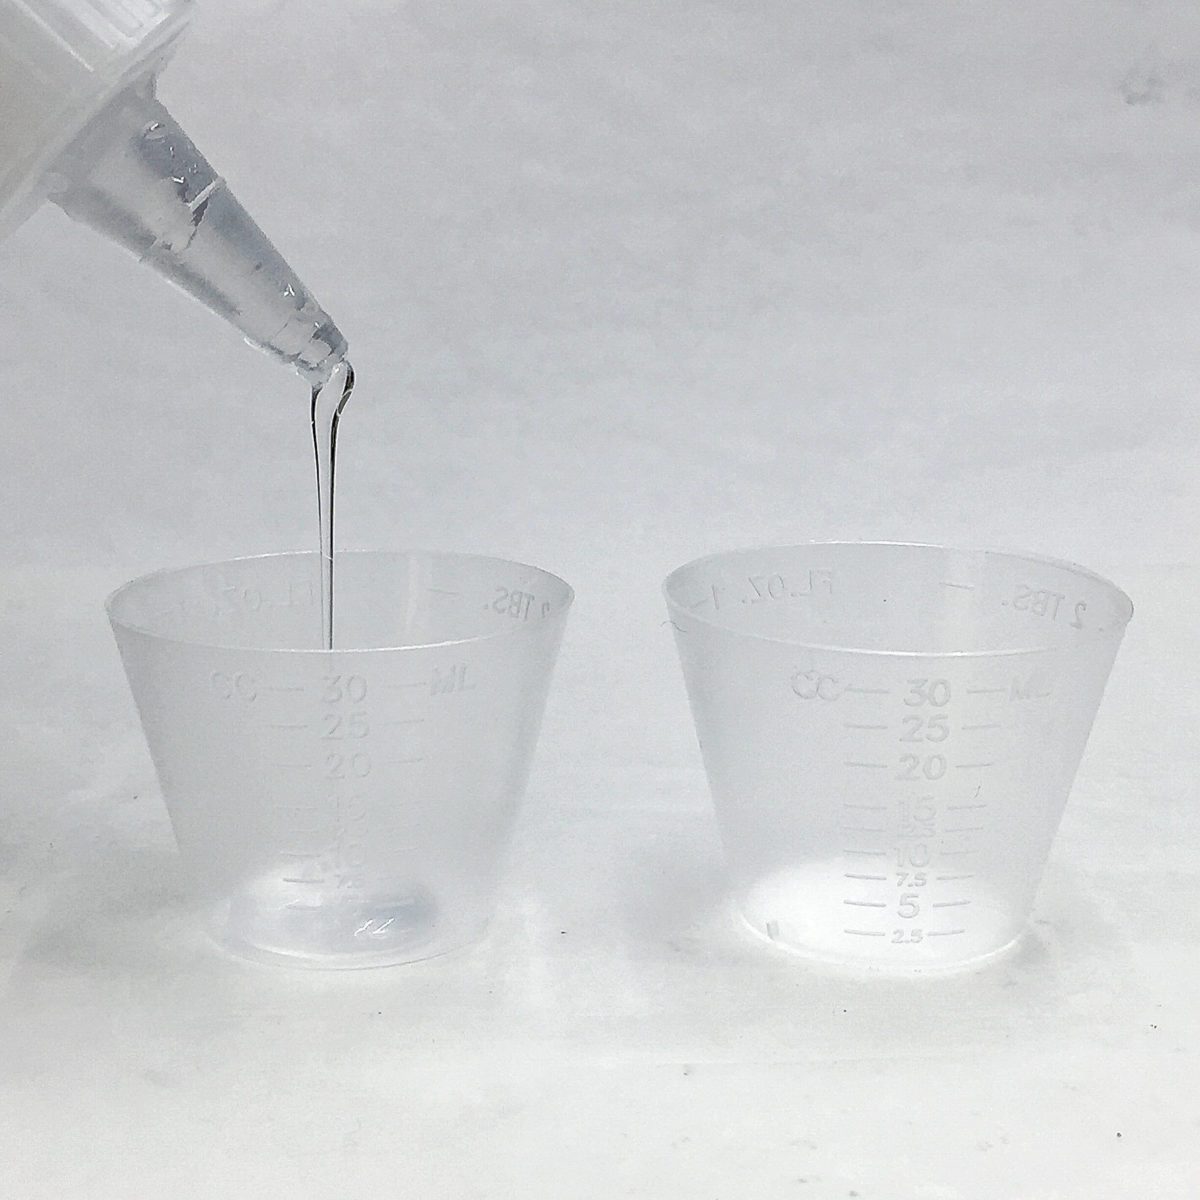
Carefully measure the resin and hardener. Use graduated mixing cups to get the most accurate measurements.
💡 Pro tip: There’s a 98% chance your resin kit is meant to be mixed by volume. While you can measure by weight, you’ll use up hardener faster and end up using having leftover epoxy.
Step 5: Mix
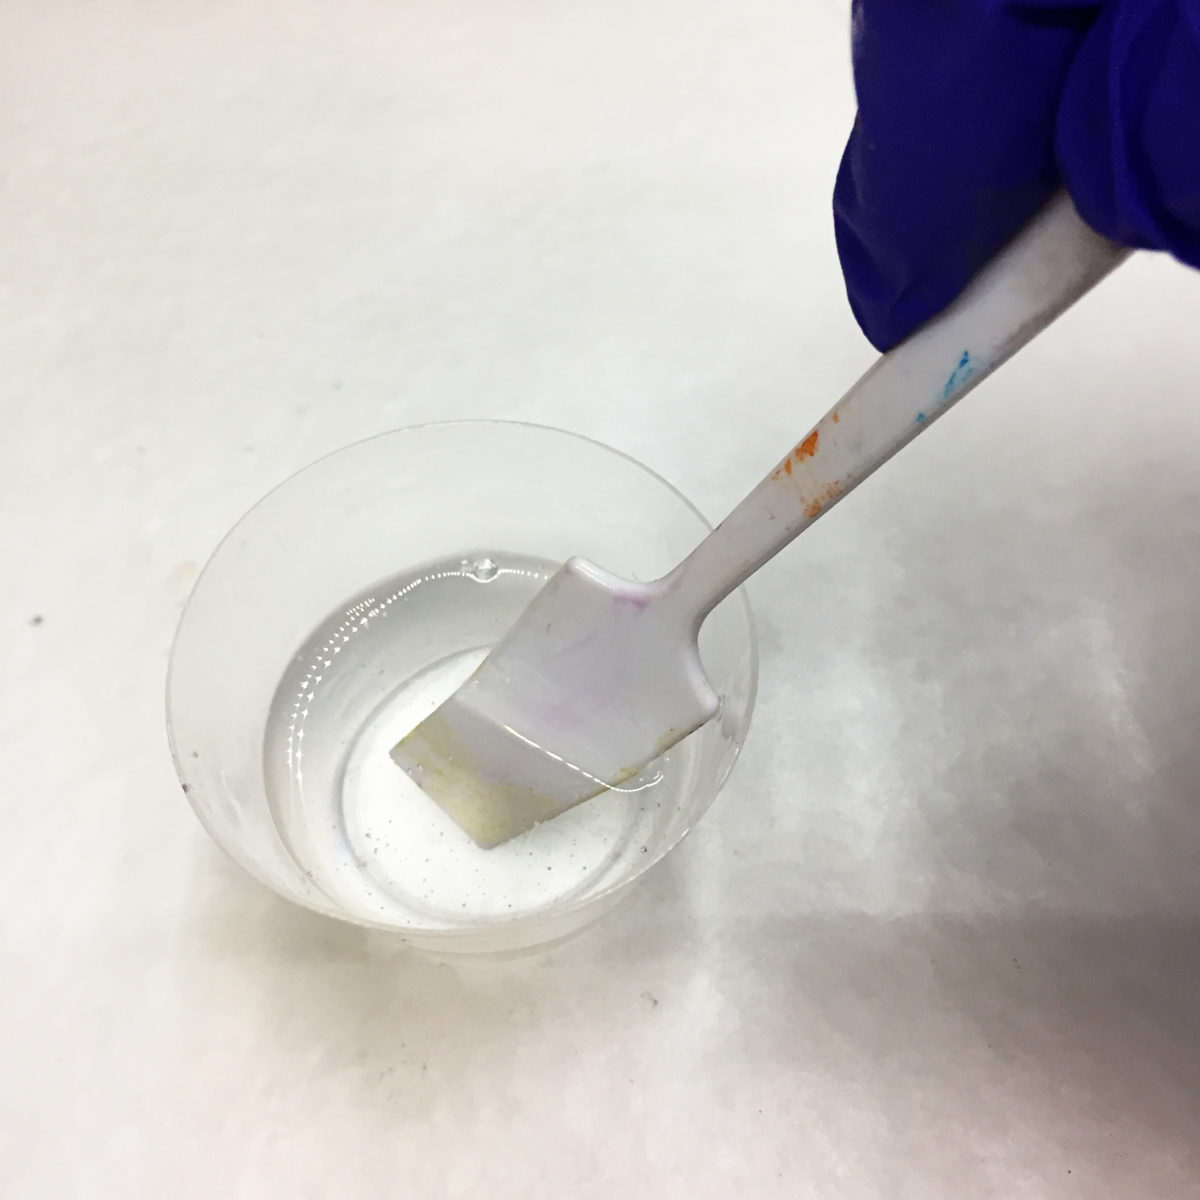
Mix both liquids together. Scraping your cup sides and stirring utensil during the process too. Mix until your resin is clear and streak-free.
💡 Pro tip: The number one reason for sticky resin is undermixing.
⭐️ BONUS: Want more help on this topic? Check out how to mix resin and hardener.
This is the step where you will also want to add colors, glitter, mica powders, etc., into your resin.
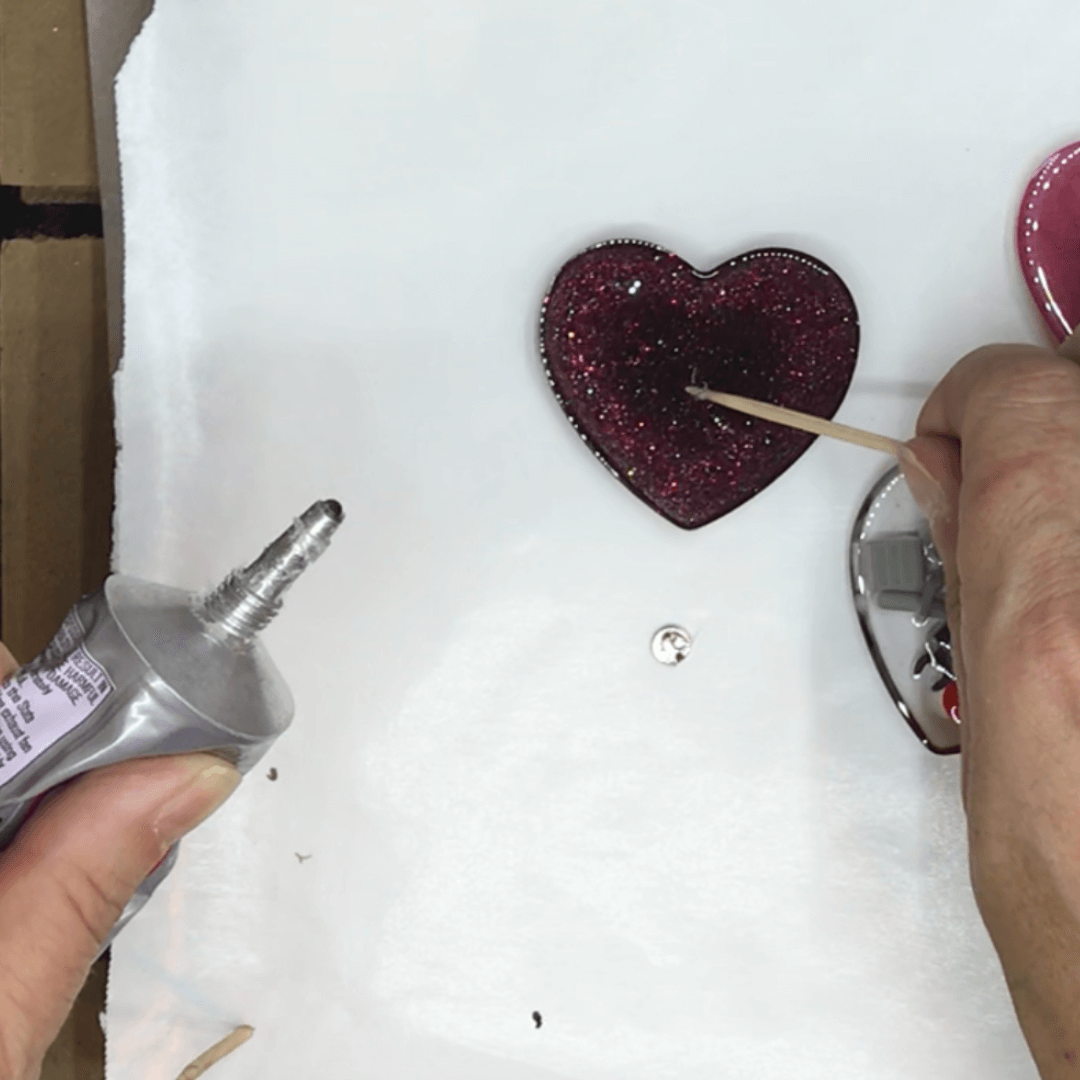
Step 6: Pour the resin
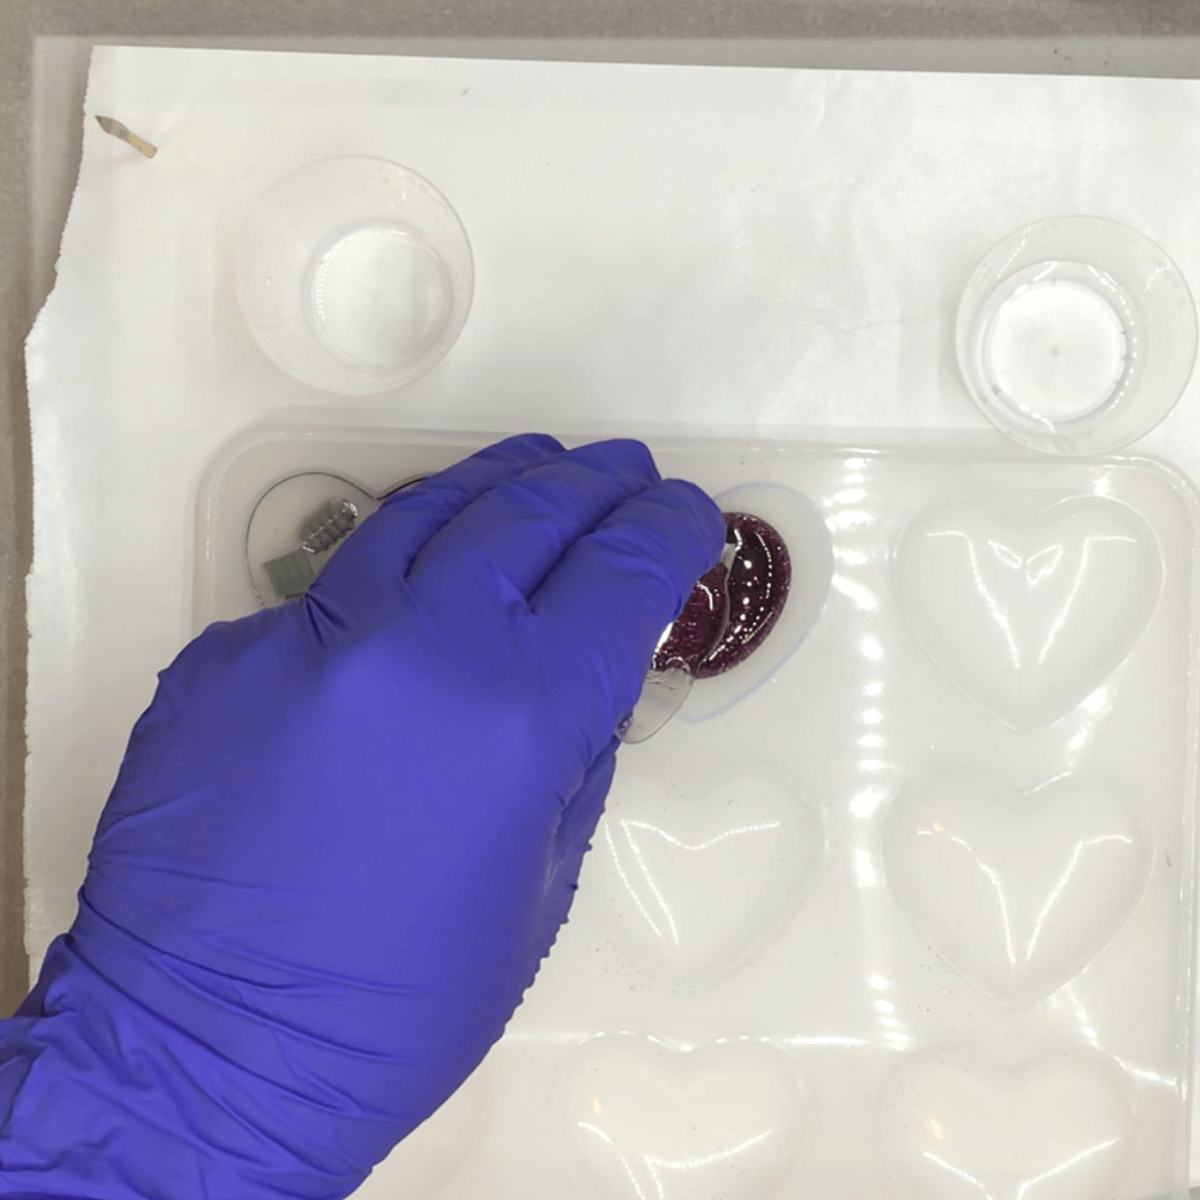
Cast the resin into your mold. Look for bubbles and remove them with a toothpick or heat gun. Check again several minutes later. Sometimes bubbles will rise to the surface as the resin continues to heat up.
Cover your mold with a plastic container to keep hair and dust off of it while the resin cures. Then, allow it to cure.
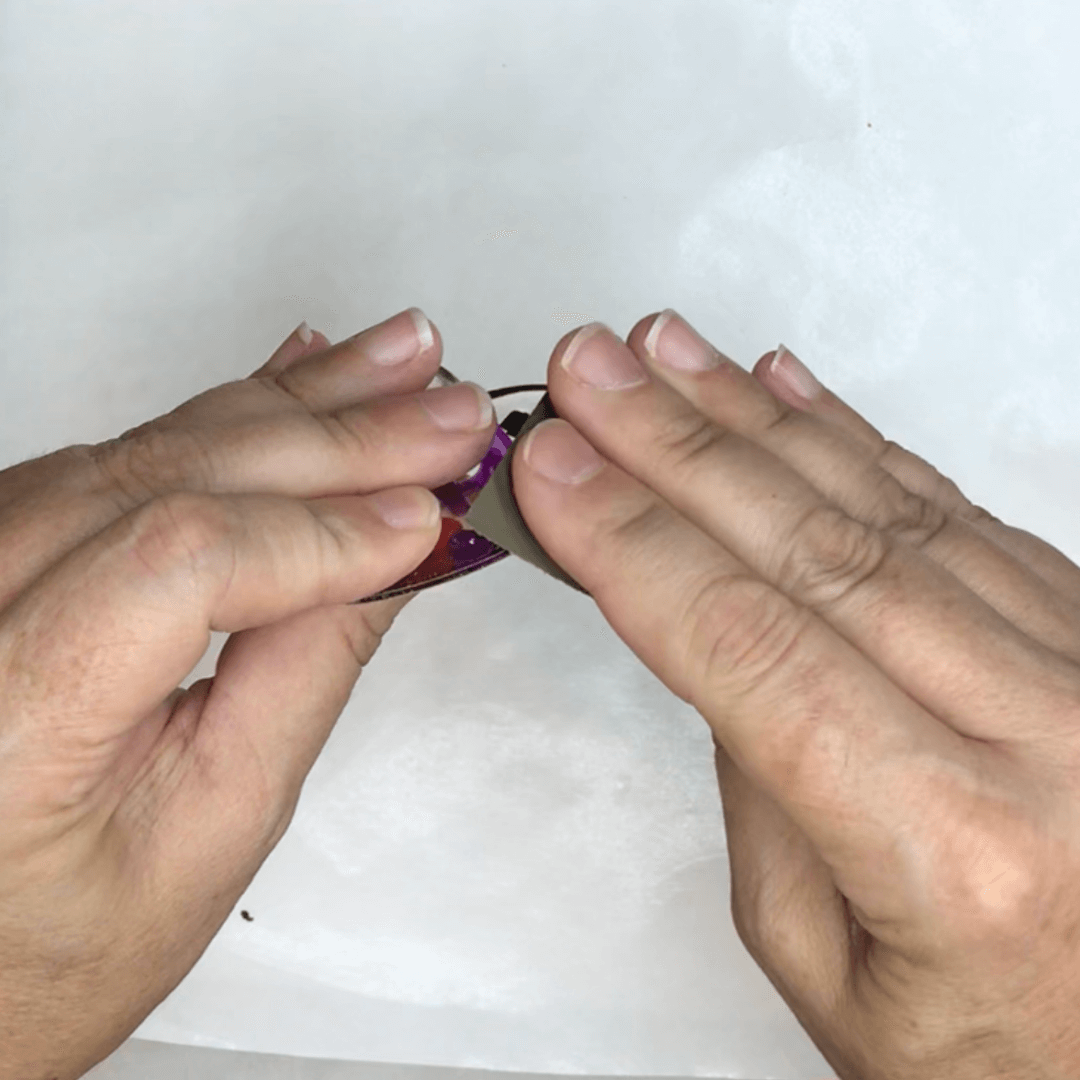
Step 7: Demold
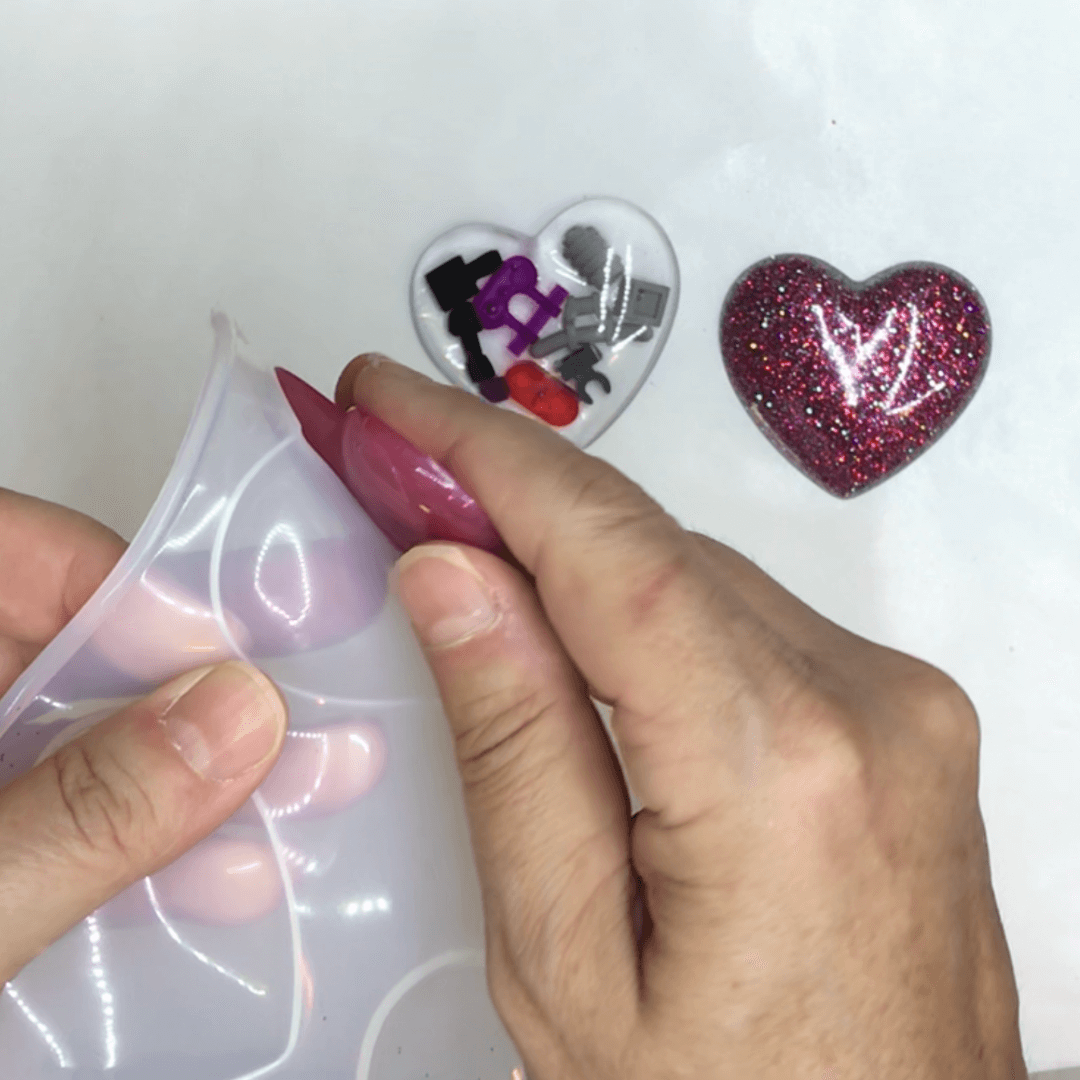
Twist and remove the resin from the mold.
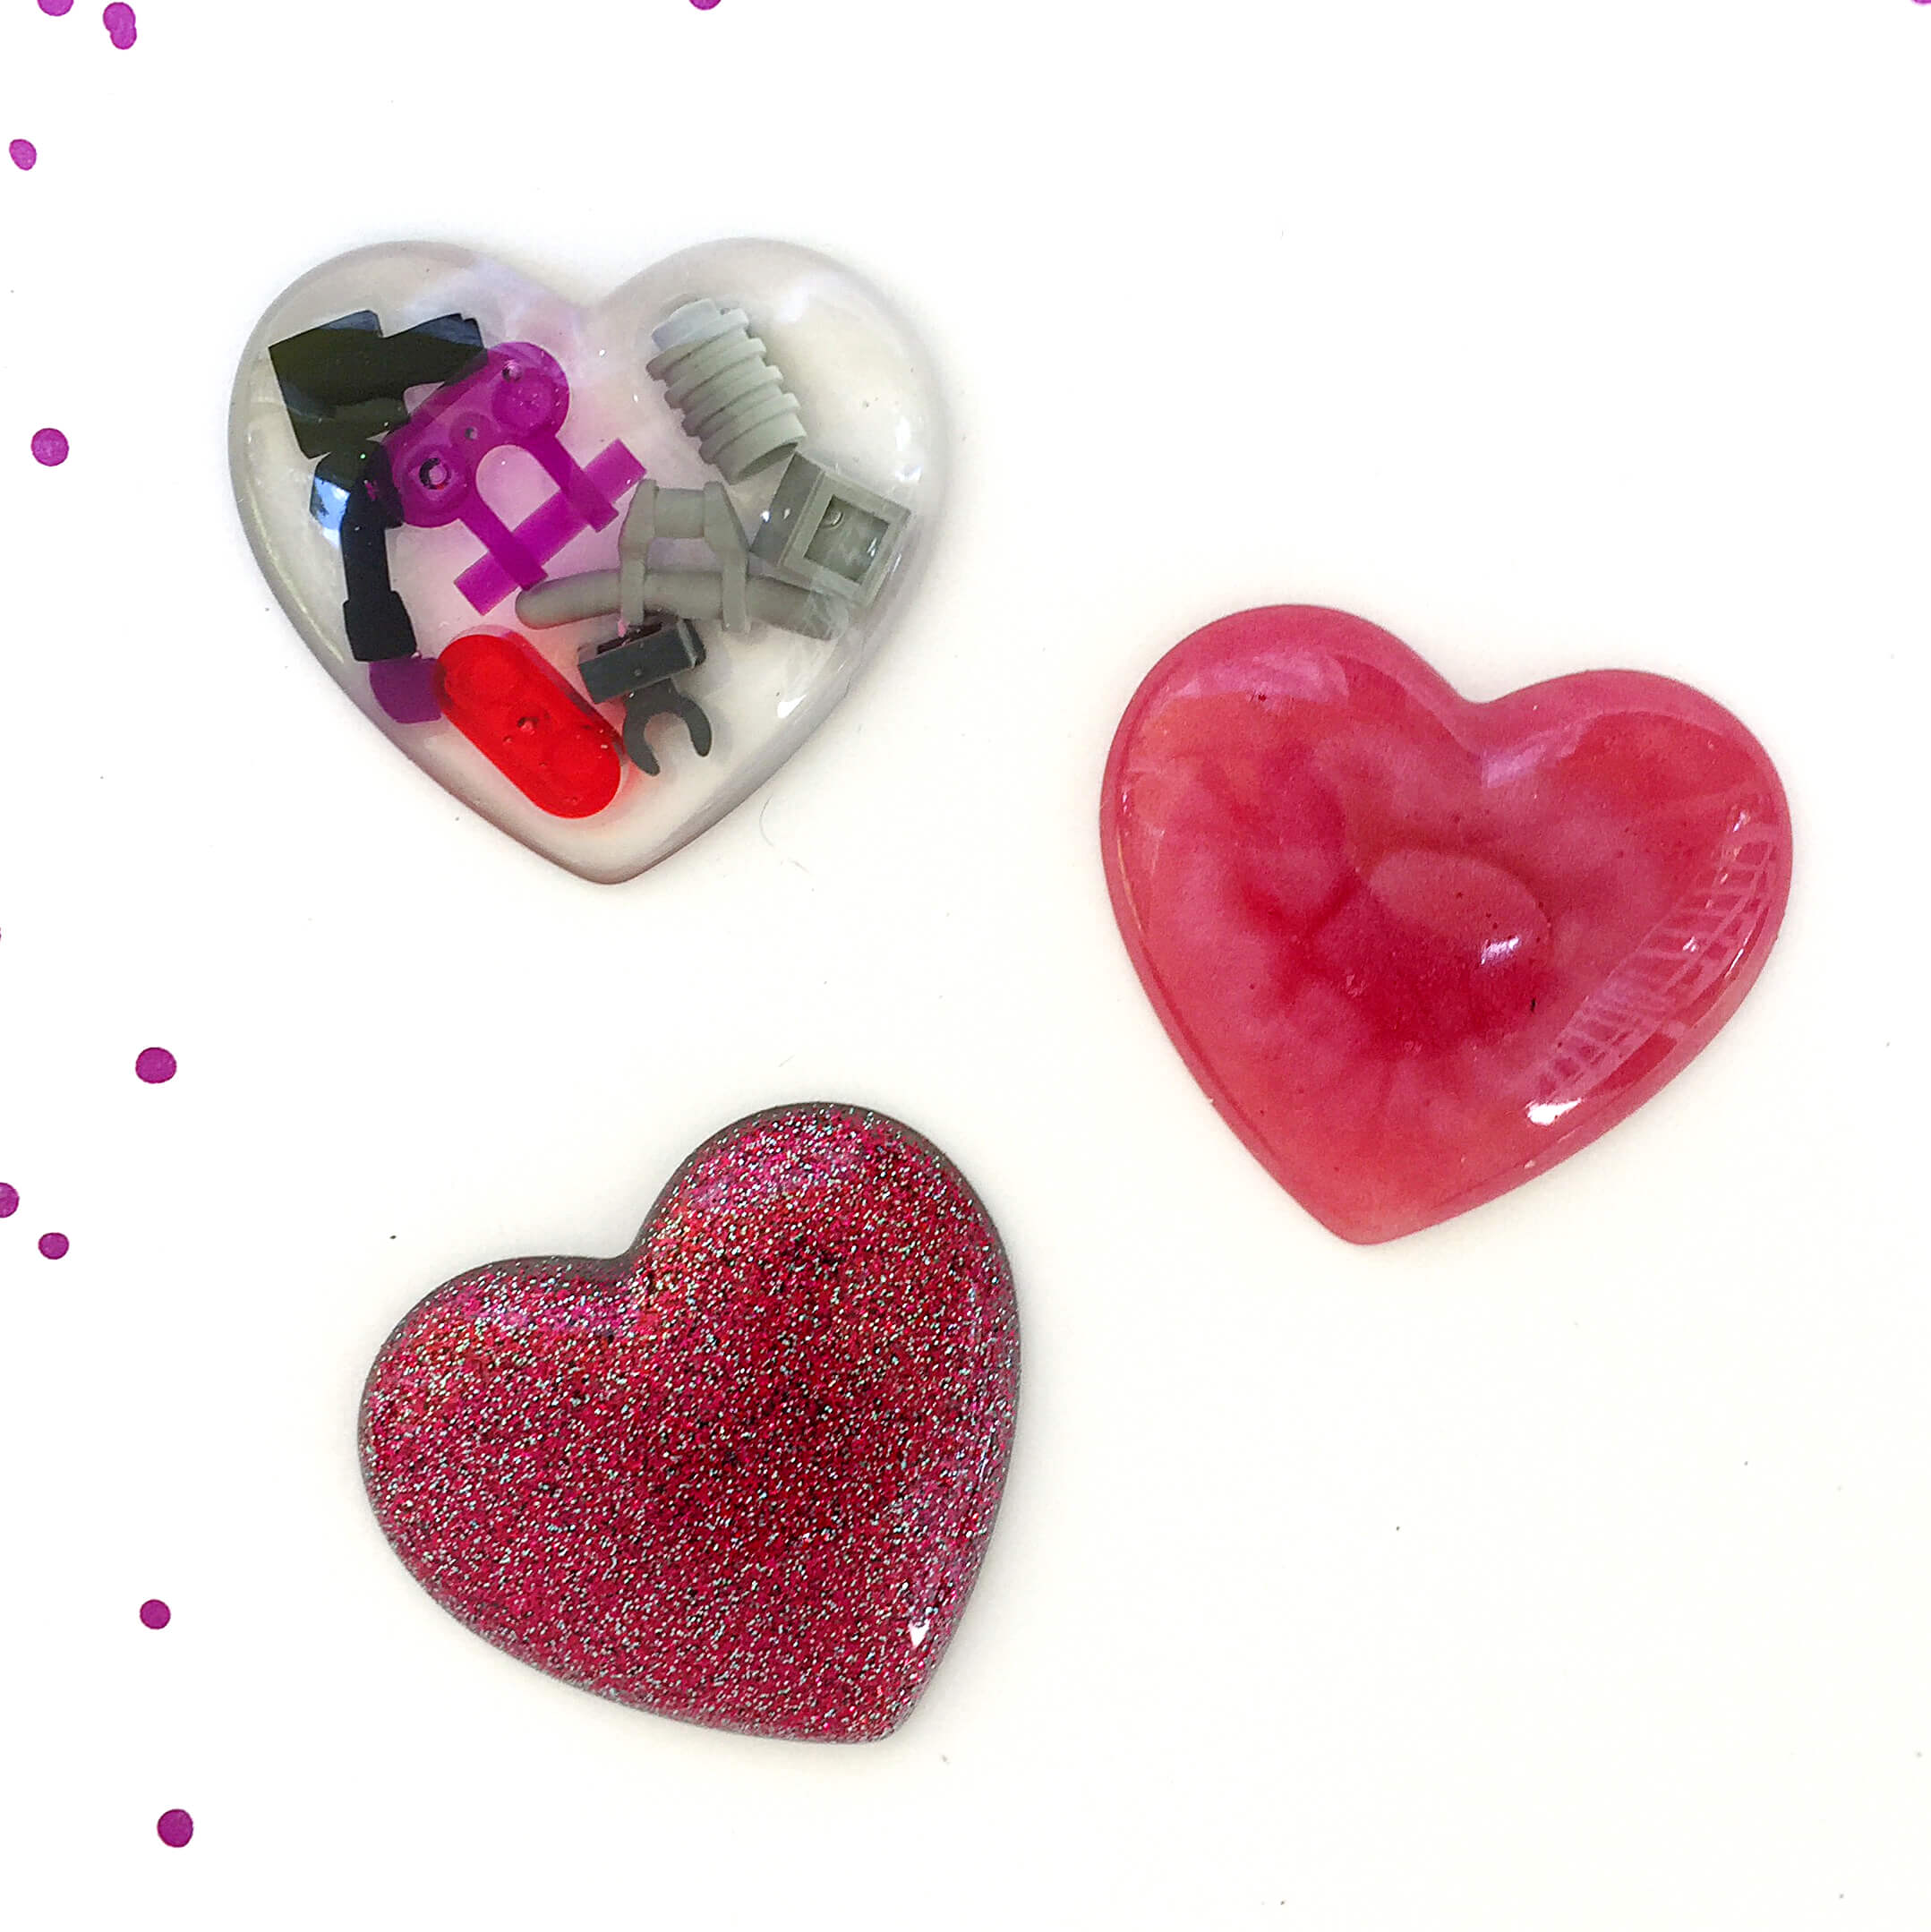
Step 8: Finish
Sand down any rough or uneven edges.
⭐️ BONUS: How to sand resin
Finish your resin charms as desired. Gluing magnets to the back with E6000 means you can put them on your refrigerator.
Pat yourself on the back. You just learned the resin casting basics without spending hours on TikTok.
Want to see how to do this? Learn basic resin casting techniques in this short video:
Want to learn more about basic resin casting?
Then you will want to get your copy of Resin Fundamentals. I wrote this PDF book with the resin beginner in mind. It will take you from confused to confident with resin in only a couple of hours. Buy the ebook now and get a download link to your email in minutes.
Unpublished Blog Posts of Resin Obsession, LLC © 2023 Resin Obsession, LLC
I AM TRYING TO PUT RESIN ON A NARROW CROSS TO USE OUTSIDE. BUT WHEN I USED THE POURING METHOD IT DOESN’T WORK. HOW CAN I USE A PAINT BRUSH TO DO 1 SIDE AT A TIME?
You will need to place it horizontal, then dome the resin on one side. Allow it to cure, then flip it over and repeat.
Hi, dis product are not easy to get in my country. So difficult any supplier shop here kindly help plz. I’m in Nigeria.
I’m afraid I don’t know of any resin suppliers in Nigeria.
Can I get your products in INDIA….and what are the shippings?
Hi Indu, yes, we ship to India. More details can be found on our shipping information page: https://www.resinobsession.com/shipping-policy/
This article would be a lot more helpful if it included all pertinent information instead of including several separate links. Just include the information
I am a successful woodworker and would like to add resin casting to my repertoire ¹
That’s awesome Arthur!
I am an avid woodworker and would like to start resin casting
That’s awesome Rog! My book, Resin Fundamentals, will get you up to speed. You can get a copy here: https://shop.resinobsession.com/collections/books/products/resin-jewelry-fundamentals-ebook
I am an author…. and I am wanting to create “interesting” elements to help promote my books at signings…
I thought about learning this resin crafting….
So as a GREENER THAN GREEN beginner…. ( I haven’t purchased anything yet) I need to learn from the bottom !
I have placed moulds I like in my cart, along with tiny items to place INSIDE the moulds…..
What do I need to do to accomplish what I see in my head !!! As the finished product ??
I have enclosed me email, easier for your replies !!
Thanks
Debbi
Hi Debbi, welcome to the world of resin. You are going to love it! I’ve got a couple of books to get you started!
Resin Fundamentals teaches you the basics of resin, regardless of what you are going to make. You can buy it in our store here: https://shop.resinobsession.com/collections/books/products/resin-jewelry-fundamentals-ebook
If you want to focus more on jewelry and crafts, my Resin Jewelry Making book is a better fit. It also includes information on how to use molds to make specific projects. You can buy it here: https://shop.resinobsession.com/collections/books/products/resin-jewelry-making
If I want to embed objects in casting resin, how long does it take to gel before I add my objects? I ask because if I don’t pour in layers, my object just move towards the center of the mold. Then how long after I place my objects in the gel’s resin can I pour my second layer? Thank you!
Hi Lisa, gel time varies between resins. This article explains more: https://www.resinobsession.com/resin-frequently-asked-questions/resin-gel-time/
Thank you so much!
Hey there! Thanks for the great beginner’s guide, and I’m really enjoying your other guides and tips.
I somehow came into possession of a heated vacuum chamber, and I was wondering if you had any experience with using vacuum chambers (or something like them) to remove bubbles from resin? I’ve seen them used in larger scale epoxy resin casting, and I’d love to put it to good use.
If that’s covered in the ebook I’ll definitely grab a copy, if not then I’ll get experimenting myself and see what I can learn!