
If there’s a reference about how to use epoxy on the internet, it must be true, right?

Spoiler. There’s a lot of crap advice out there that gets composted and recycled. And over. And over.
It’s like a game of telephone. Except at the end, you’re left with something gross and sticky. Which is way worse than hearing that there’s a gigantic spider behind you.
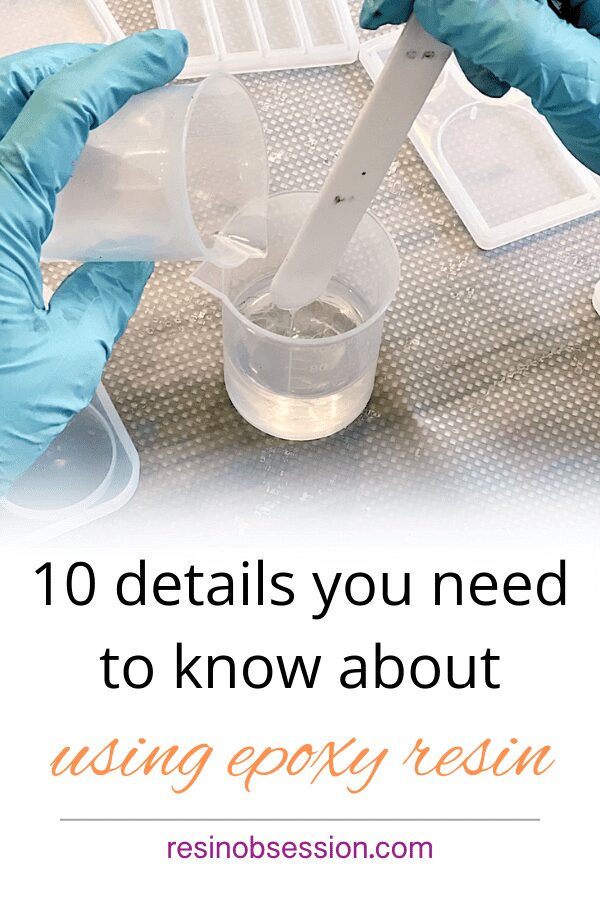
I’ve been a resin artist for 17 years, and these are the 10 mistakes I see creatives make when learning how to use epoxy resin.
Mistake #1: Thinking all epoxy resins mix the same.
It drives me nuts when I see other people telling you how to use epoxy. Saying stuff like — Just mix it 1:1.
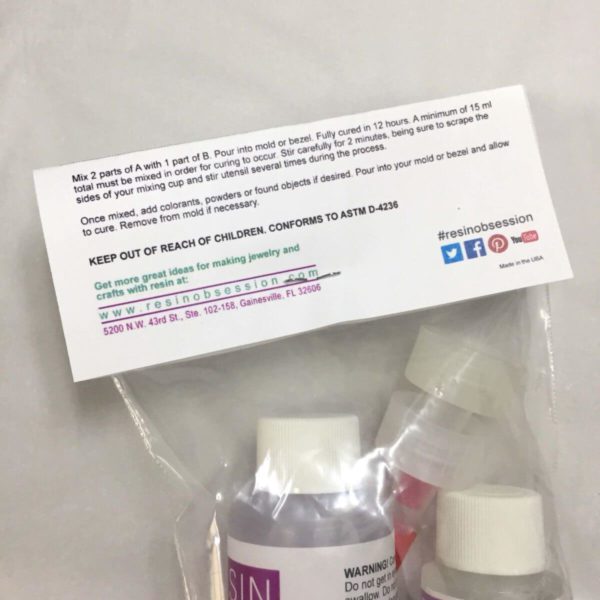
Truth: Each epoxy has specific instructions for how much of each part you need to mix together. There is no one size fits all mixing instructions.
⭐️ BONUS: Here are the five steps to mixing resin like a pro.
Mistake #2: Using one epoxy for all your projects.
Just grab one off the shelf. It’ll work.
At least, that’s what the people at those big box stores tell you.
Truth: You can’t use one epoxy for everything you want to make.
Well, I guess you can. But you won’t be happy with the results.
⭐️ BONUS: Get access to our buying guide so you can choose the right one for your resin project.
Mistake #3: Assuming all epoxy resins for sale are safe to use.
Like, of course, it’s risk-free. Someone monitors this. Who sells unsafe resin?
Truth: 90% of the resins out there are unsafe to use. The arts and craft industry works by the honor system. There is no resin police to keep you safe.
How do you know which ones are safe? Look for the conforms to ASTM D-4236 certification. If you don’t see it, don’t buy it. Ever.
⭐️ BONUS: Here are the ten questions you need to ask BEFORE you buy resin.
Mistake #4: Blaming the epoxy when your project turns out like crap.
Two-part epoxy kits want to cure when you mix them together. But the chemistry needs an optimal environment to make that happen.
But your epoxy can be crappy for other reasons. (More on that in a minute.)
Truth: You must support the reaction by ensuring your epoxy kit and work area are warm enough.
⭐️ BONUS: Here’s how you get the best resin mixing temperature.
Mistake #5: Buying the cheap stuff because why not?
Ever heard you get what you pay for? It applies to resin too.
Truth: Cheap resins come as industrial by-products. You can put it in a bottle with a pretty label, but it’s still a crappy product.
⭐️ BONUS: Here are the three dangers (literally) of buying the cheapest epoxy.
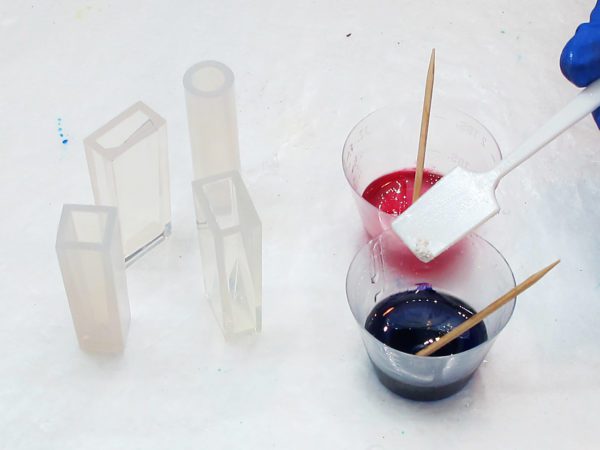
Mistake #6: Using anything to color epoxy.
Spend any time on social, and you see people use everything but moondust to color resin. That means everything and anything works. Right?
Truth: Resins are moisture sensitive. Anything you add impacts curing.
So how do you know what you can and can’t use to color epoxy?
⭐️ BONUS: Here are resin coloring guidelines, including the rules to follow. And rules to break.
Mistake #7: Thinking protective gear is optional.
You’re only using epoxy for a few minutes. And so many people on social don’t wear gloves. What’s the big deal?
Truth: Epoxy kits contain chemicals. Sometimes chemicals are dangerous. You need to use protective gear to guard yourself against these chemicals. Even if a formula says it’s non-toxic.
And non-toxic resin is a misnomer anyway. I can’t even call it a unicorn because unicorns might exist. Non-toxic resins don’t.
⭐️ BONUS: Here’s what non-toxic really means.
Mistake #8: Assuming your epoxy will cure the same way every time.
Sometimes your resin cures quickly. Sometimes it takes hours.
Even when it’s the same epoxy resin.
What’s up with that?
Truth: Mixed epoxy produces heat to cure. And the larger the solid mass, the quicker it cures. When you spread epoxy in a skinny layer, it takes longer to generate heat. And longer to cure.
⭐️ BONUS: How long does it take resin to cure?
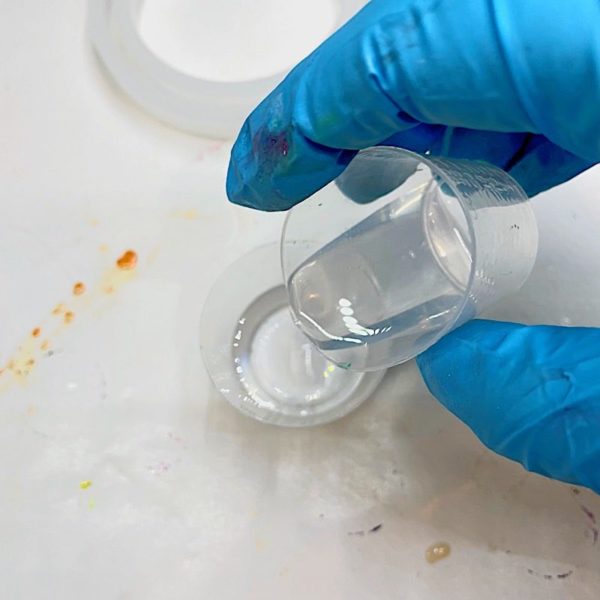
Mistake #9: Mixing any amount of epoxy and expecting it to cure.
Go ahead. Mix a few drops of resin and a few drops of hardener. You’ll be wondering tomorrow why it didn’t cure.
Or mix all of it together. And wonder why your resin is hot and smoking in a couple of minutes.
Truth: There is a minimum and maximum mixing amount for each epoxy formula. If you don’t mix enough of each part together, it won’t get warm enough to cure. Or mix too much, and you’ve got a real hot mess on your hands.
Don’t diss yourself for not knowing this. Unfortunately, a lot of companies don’t share this with you.
⭐️ BONUS: Here’s what you can do if your resin overheats.
Mistake #10: Hating your project because it didn’t turn out as you hoped.
>The color didn’t swirl just right.
>There might be a bubble you missed.
I>t didn’t demold quite as shiny as you expected.
Truth: There’s going to be something about what you just made that you think isn’t quite right.
It doesn’t mean you can’t fix it. Or live with it anyways. We are our own worst critics.
⭐️ BONUS: If you don’t like what you made, turn it into something else. One of my favorite ways to recycle a project I don’t like is to make terrazzo earrings.
Want to learn more about how to use epoxy?
Learn the same details I teach in my in-person classes in the ebook, Resin Fundamentals. In a couple of hours, you’ll learn the essentials of making something beautiful. Buy the PDF book now and get an email download link in minutes.
Unpublished Blog Posts of Resin Obsession, LLC © 2023 Resin Obsession, LLC
I find that pouring resin needs to be a slow, time consuming challenge. I use a small pressure pot to remove all air bubbles. Well actually the air bubbles, in a pressure pot are compressed to something so small they can not be seen with the naked eye
I pour resin over my acrylic on canvas artwork. Occasionally, I end up with a “hole” where the resin didn’t fill all the way. I’m unsure how to correct this. It happens during the curing process. I leave my pieces smooth as glass, then come back to find them like that. Any advice?
What kind/brand of resin are you using?
I have Pro Marine Supplies General Purpose Epoxy. It looks amazing after it’s cured, but I’m not sure why holes are showing up randomly when it looks perfect when I’m done pouring it and removing bubbles/etc.
When there are holes in the resin after curing, that is usually an indicator that the surface tension of the resin isn’t enough to make it want to stay in a single layer. I’m not familiar with their general purpose epoxy. A thicker formula is likely what you need.
what material can i use to make a square coaster?
on what material can i work with an open pendant? Will the resin stay at the penant? and how di I get it away from the underground (so which underground do i use?
We have an article that details the resins we sell, including their best uses. You can find it here: https://www.resinobsession.com/resin-frequently-asked-questions/resin-casting As for using resin in open-backed pendants, we have a tutorial on how to do that here: https://www.resinobsession.com/resin-tutorials/open-backed-pendant-tutorial
I have bought many silicone molds, I poured several small hemispheres after coating them with thin layers of mold release, the pieces came out dull. I have other silicone molds that do not need mold release. She’s updating I use mold release on silicone molds?
Hi Carol, I always recommend using mold release on molds. It prolongs the life of your molds, plus makes demolding easier. This article might explain why your resin came out dull: https://www.resinobsession.com/resin-frequently-asked-questions/cloudy-resin-why-is-my-resin-cloudy-reasons-for-cloudy-resin/
i am making 8×8 stone trivets with a luan base and wood frame. i have sprayed frame and base with a black spray paint, and have designed the polished riverstone placement. i want to do a resin pour to hide any cavities under the stones to keep the trivet clean. the stones will be higher than the resin surface by about 1/4″. do i have to glue the stones, then pour resin? is there a “best” resin for the job?
I would glue the stones only because I would want to be sure of the placement before I even poured resin. Since the stones will be above the resin, it’s probably unnecessary. How thick of a resin layer do you think you will have? That will help me to best direct you to the best resin for this project.
in response to your question….
i think the stones will be in about 1/8″ or just high enough to cover the undersides of the stones so that the trivets can be kept clean of dust and food particles
Hi – I’m putting bits of text that I’ve printed out on paper onto plastic checkers game pieces, and I want to attach it and seal it. I thought the thickness of resin would be a nice touch and perhaps even magnify the text, but the resin appears to be 1) making the paper translucent, revealing the glue beneath it, and 2) blurring or undoing the water-based dyes in the paper so that it loses its hand-dyed quality. Any advice?
Yes, it sounds like you need to seal both items before using the resin. We have a few ideas on how to seal the papers here: https://www.resinobsession.com/resin-frequently-asked-questions/how-to-seal-papers-or-findings-for-including-in-resin/
How do I touch up the edges where resin did not cover fully?
Hi Amber, this article will help: https://www.resinobsession.com/resin-frequently-asked-questions/fix-holes-and-dents-in-resin/
My resin sticks to my molds 😞 Can I use Vaseline as a release agent? Thank you for your articles. Jude
Hi Jude, I’ve used Vaseline as a mold release, but it leaves streaks on the resin. Instead, I like to use a mold release designed for resin. This article explains more: https://www.resinobsession.com/resin-frequently-asked-questions/resin-mold-release/
I use puzzle glue to seal anything paper, it’s the glue used to hold jigsaw puzzles together for mounting and framing. The stuff I have came in an applicator like a bingo dauber, easy to use and dries clear and very quickly. I believe it is available at craft supply stores.