
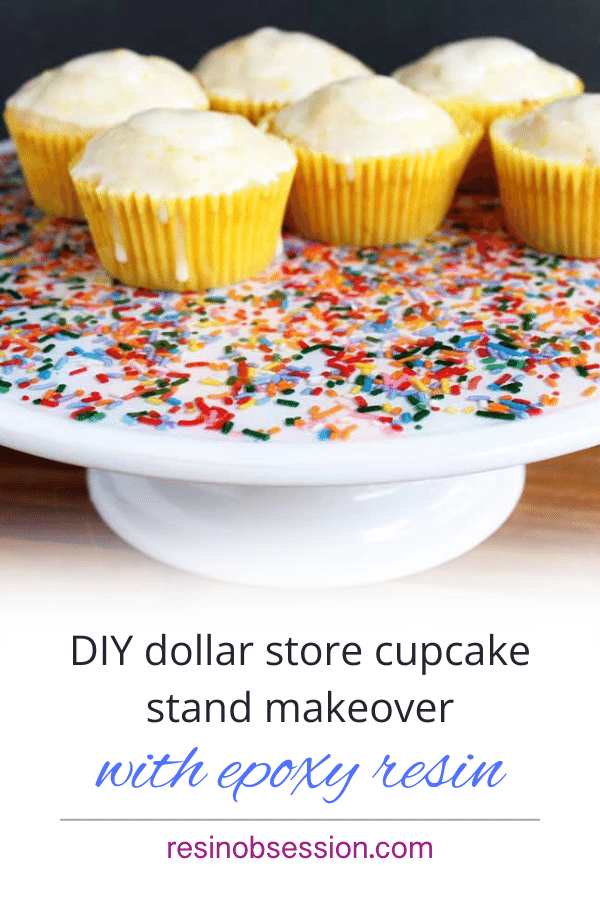
Serve up your cupcakes at a party in style by creating a sprinkles cupcake stand. It’s a fun project for those who love to go buy items from the dollar store and use them in epoxy projects. I used multi-colored sprinkles but you can use anything to match the theme of any party you are hosting.
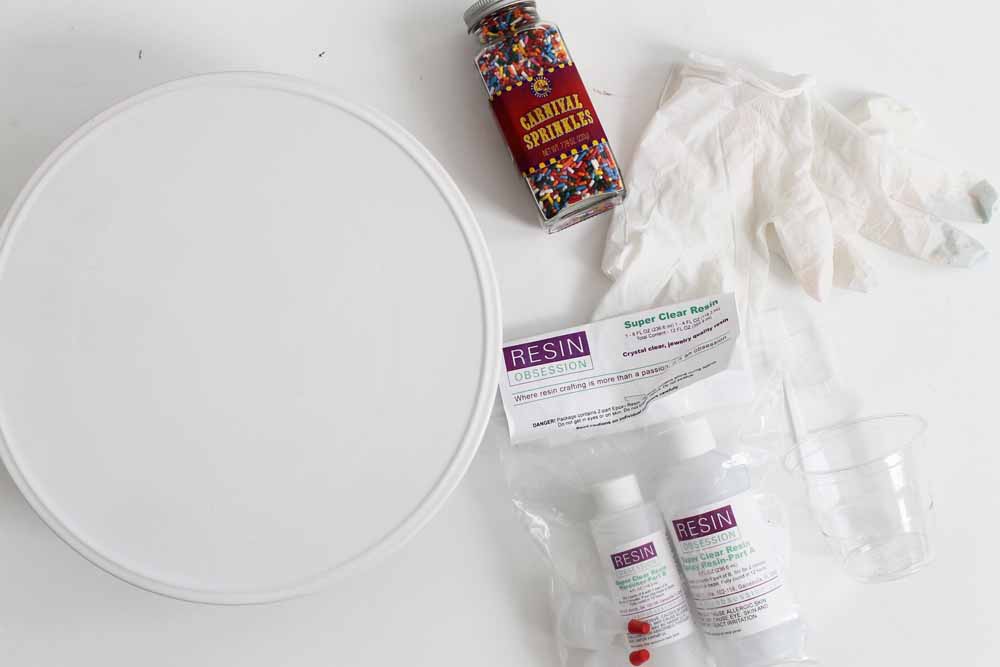
Resin supplies:
• Cake stand with a raised edge
• Resin Obsession Super Clear Resin
• Sprinkles
• Gloves
• Mixing Cups
• Stir Sticks
• Packing Tape
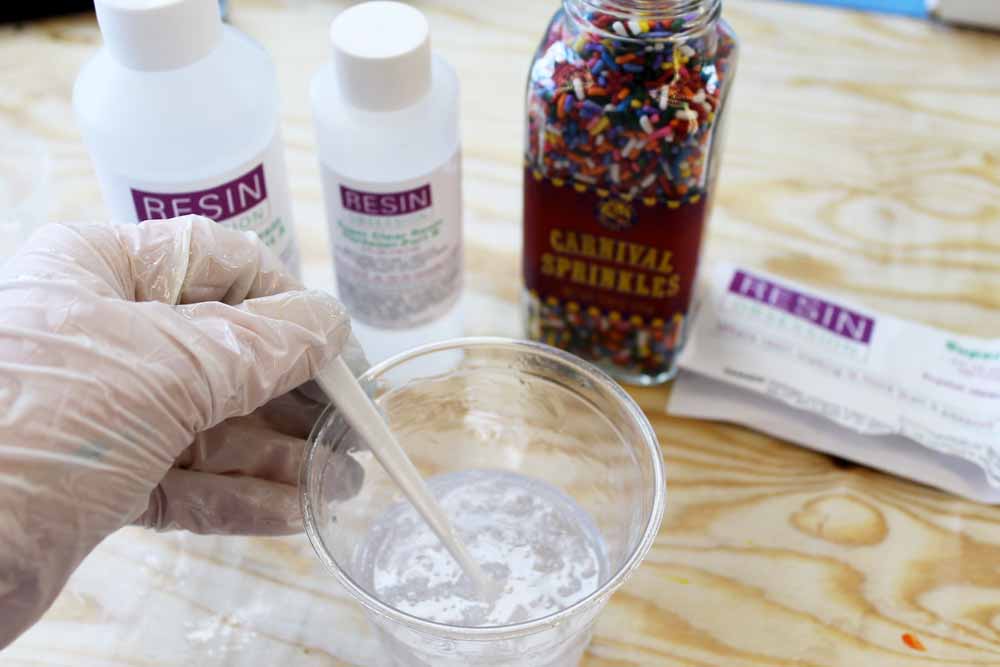
Step 1: Mix the resin.
Start by mixing 3 ounces of the Resin Obsession Super Clear Resin. Since it mixes 2:1, you’ll need 2 ounces of Part A and 1 ounce of Part B.
⚠️ CAUTION: Always wear gloves and protective equipment when working with resin products.
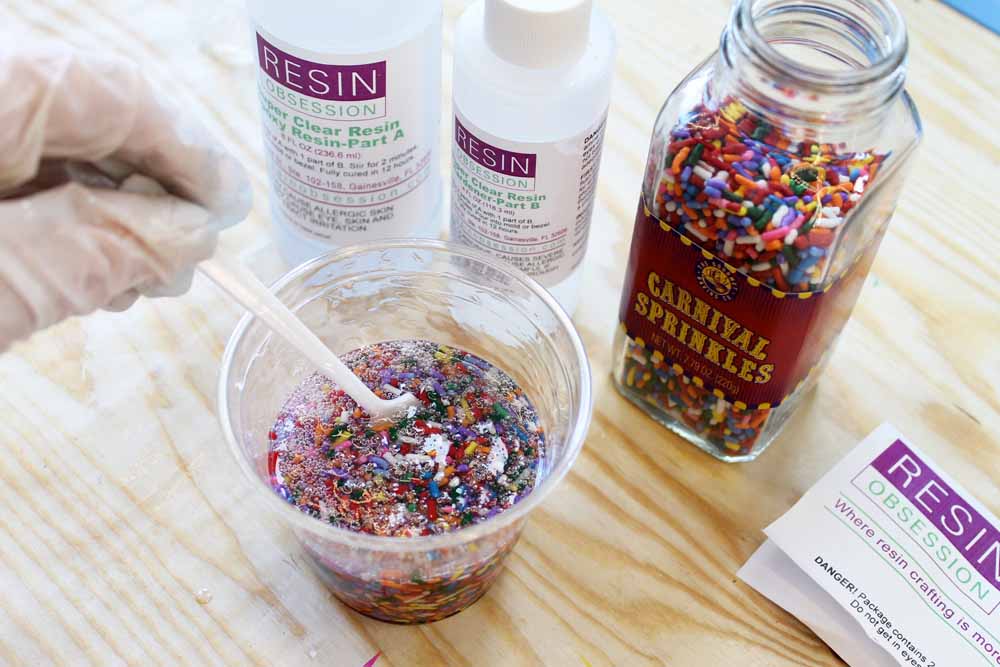
Step 2: Add sprinkles.
Add the sprinkles to the mixed resin. You want the sprinkles to be distributed evenly throughout the entire cup of resin.
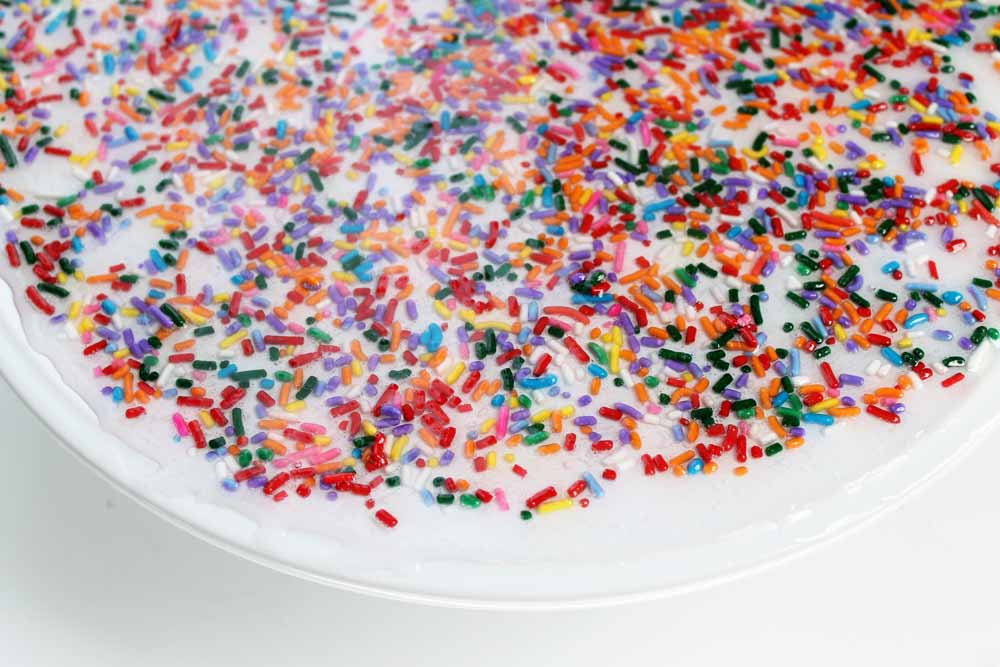
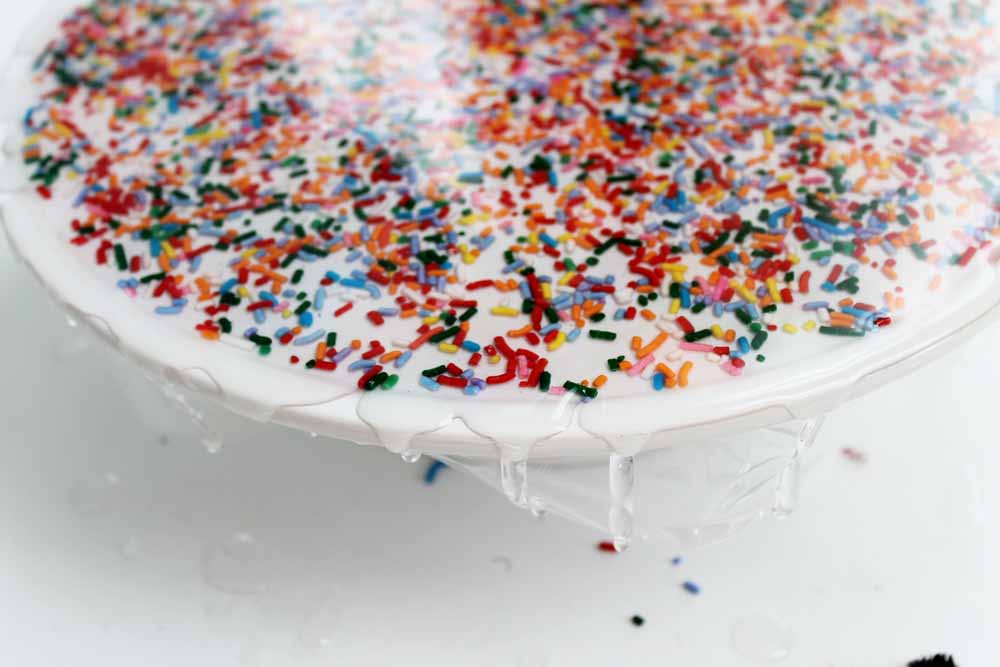
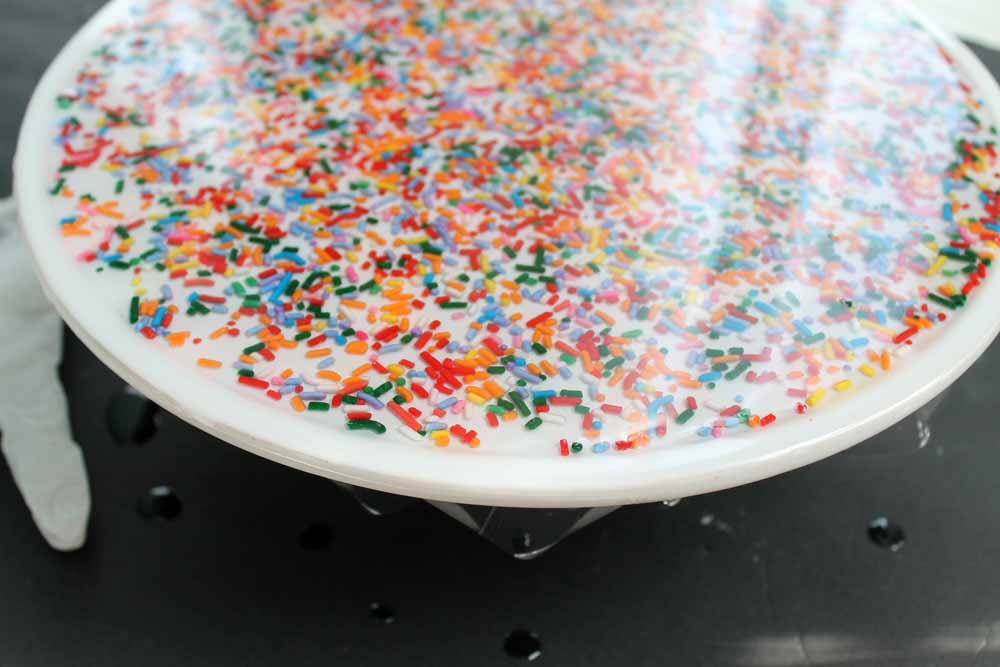
Step 3: Pour the resin.
Ensure your cupcake stand is on a flat surface where you can leave it alone for 24 hours. Then, pour the epoxy resin over your stand to the lip on the cake stand. Or, if the stand does not have a lip, pour to where it almost comes to the edge. You may notice areas that do not have any sprinkles or other places where the sprinkles are on top of one another.
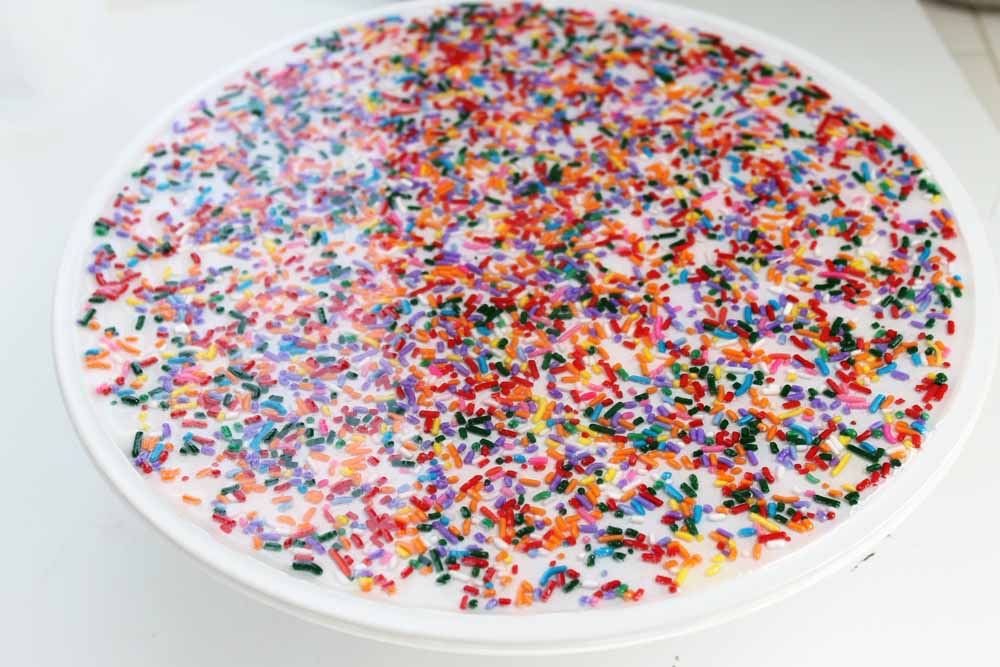
Step 4: Even out the resin and let cure.
Work with the sprinkles until they are spread out evenly, with none on top of each other. This is very important but relatively tedious. Look at the stand from multiple angles to ensure the sprinkles lie flat. Wipe away any excess resin that escapes from the lipped surface or comes close to the edge. Pop any bubbles before your resin starts to cure.
Allow the entire stand to cure for at least 24 hours.
TIP: Cover the stand with a box while curing to prevent dust and other debris from getting in your resin.
After 24 hours, you will have a cured stand, but the sprinkles will not be completely covered.
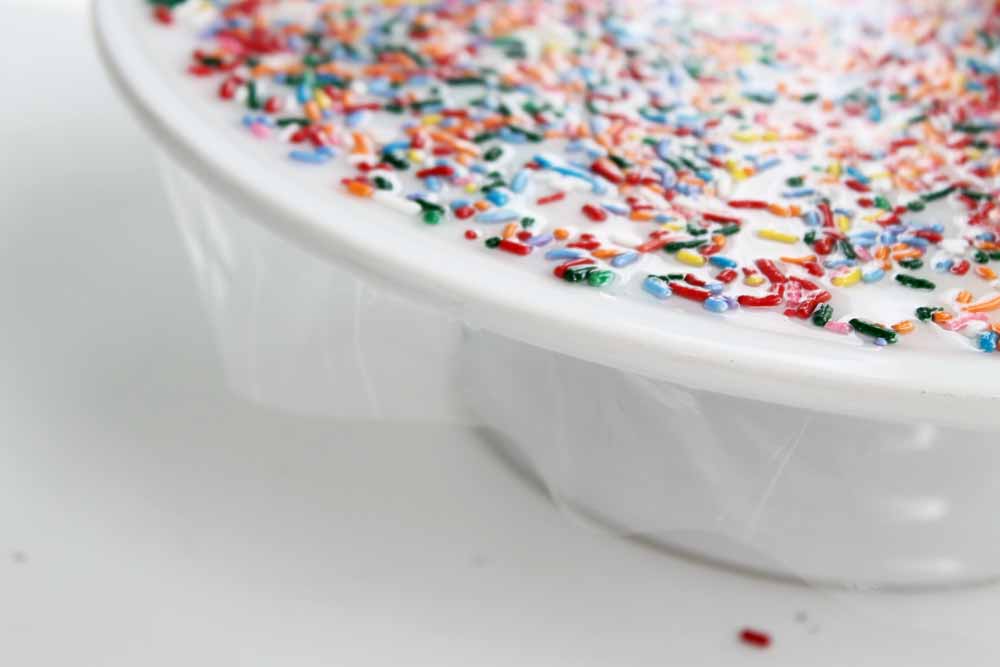
Step 5: Apply packing tape
Cover the edge of the cake plate with the packing tape and adhere well to the edge.
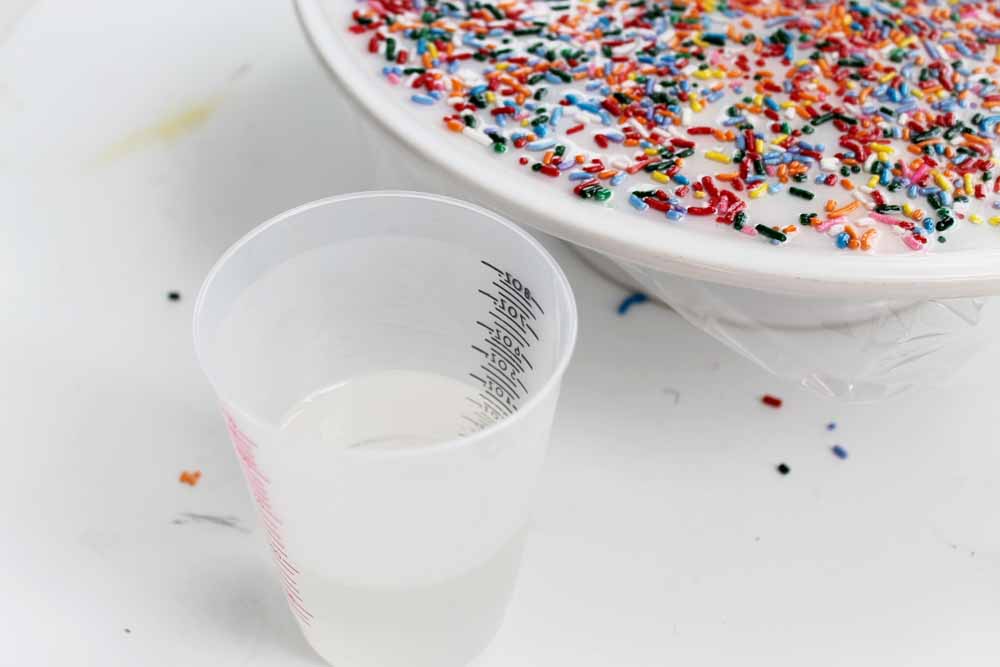
Step 6: Mix and apply a second layer of resin.
Mix up another batch of super clear resin. Use the same amount the first time you mixed the resin for your cupcake stand.
Pour over the top of the surface until the product floods the edges. Make sure the resin covers all areas. You can push it around with your mixing tool. Remove any bubbles before it starts to cure.
Allow the clear epoxy to cure for about 45 minutes. Then, make sure there is no more dripping before going to the next step.
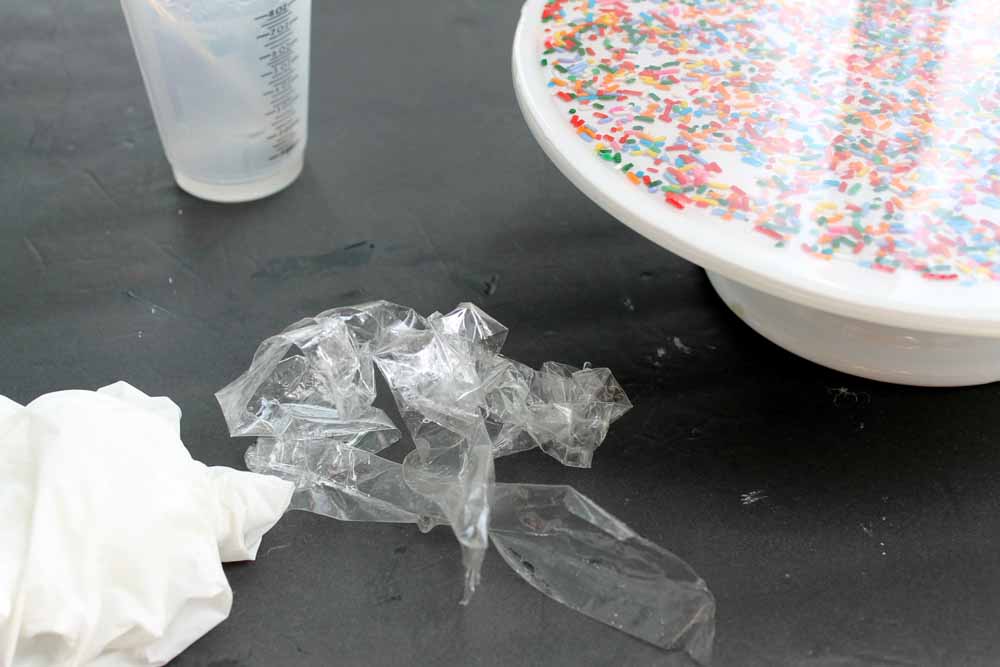
Step 7: Remove the packing tape.
Remove the tape from the edge and clean up any resin that has gotten on any other areas of your DIY cupcake stand.
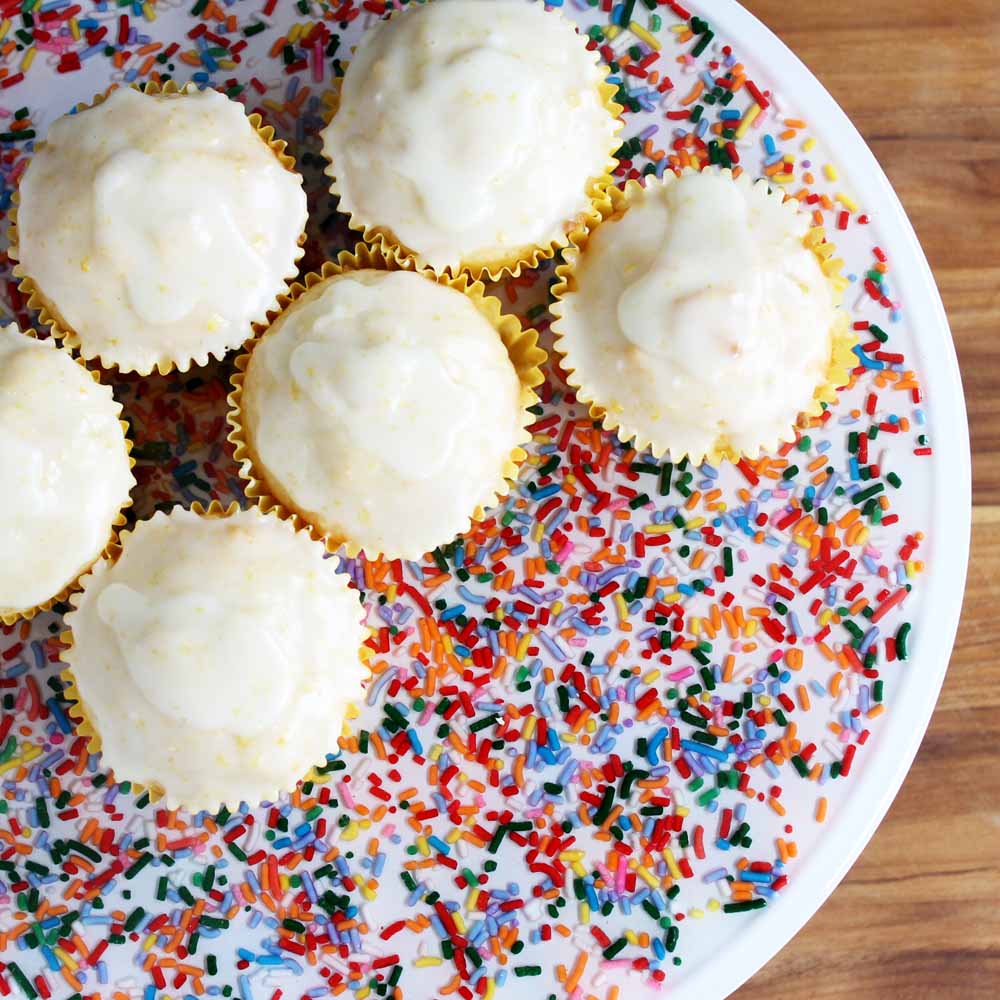
Step 8: Fill with cupcakes.
Allow curing completely before moving. Remember to cover to protect from debris. You can add cupcakes for your next party once the stand has completely cured.
This cupcake stand is the perfect addition to any party you are hosting.
What will you try to do with your cupcake stand?
Wondering what other crafts you can make with resin?
Then you’ll want your copy of the ebook, Ten Epoxy Crafts. It’s inspired thousands of crafters worldwide make something that has people saying, “I can’t believe you made that?!” Buy the PDF book now and get several projects you can make this weekend.
Originally written by Angie Holden
Unpublished Blog Posts of Resin Obsession, LLC © 2023 Resin Obsession, LLC
that is so fun! great idea. I looked at those stands you linked. boy are they expensive! A cheap person like me would go to thrift stores for candle holders or suitable glass tumblers and plates to resin together and then decorate the plate! hummm, how about some confetti? that shaped kind. . . . even just large glitter would be cool.
Did you have a problem with the candy dissolving?
Which resin would you suggest if my plate has slanted sides? probably as much as 3/8″ or maybe more, I haven’t measured it yet.
Love this, what a great idea. Do you think a plastic turntable would work, like the kind made to store spices?
Is the food safe resin washable by hand of course once it has cured?
Yes, I think a plastic lazy susan would be ideal for this project as well. Yes, the food safe resin is hand washable after curing.
Amazing idea! I will give it a try for sure!
I wonder how this would look if you used glitter, instead of the sprinkles! I guess the reisin stops the sprinkles from breaking down? It looks neat! Glad I clicked on your link party link!
What an awesome idea. This would be perfect for a kids’ birthday party.
Thanks for sharing at the #InspirationSpotlight party @DearCreatives Sharing
This is such a fun idea!! I love rainbow sprinkles on anything and I love how festive they make this cake stand feel!! Stopping by from SITS Girls and hope you have a great weekend!
What a fun idea! Very festive and creative! Thanks for
sharing at Celebrate It!