
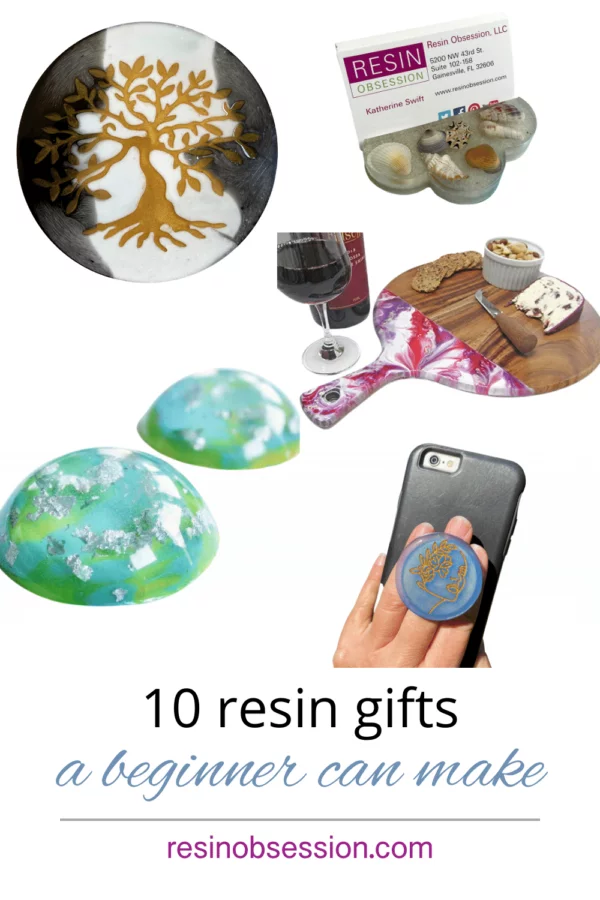
Are handmade gifts better to give or receive? It doesn’t matter as long as they’re made with epoxy. If you’re ready for some creative time, here are ten gifts you can make with epoxy resin.
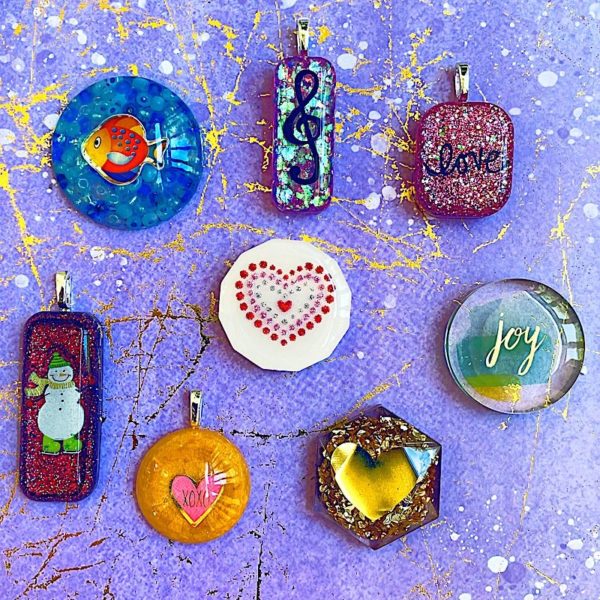
1. Jewelry
Using found objects in a resin mold is an easy way to make personalized jewelry. (And the found part usually equals free.) Things like buttons, stickers, metal charms and more do great in jewelry.
⭐️ BONUS: What’s the easiest way to make resin jewelry? Use stickers in resin.
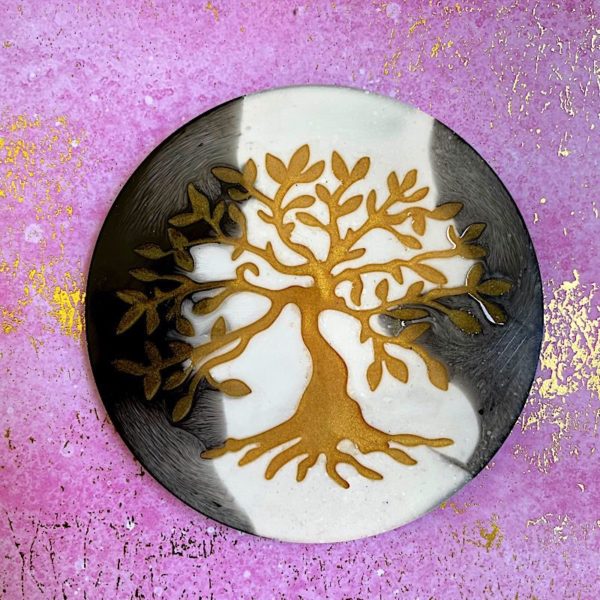
2. Coasters
Nothing says wow more than a set of coasters with a unique pattern like in these Tree of Life resin coasters. And the best part? The coaster creates the tree detailing for you.
⭐️ BONUS: Here’s how to make epoxy coasters.
 3. Art
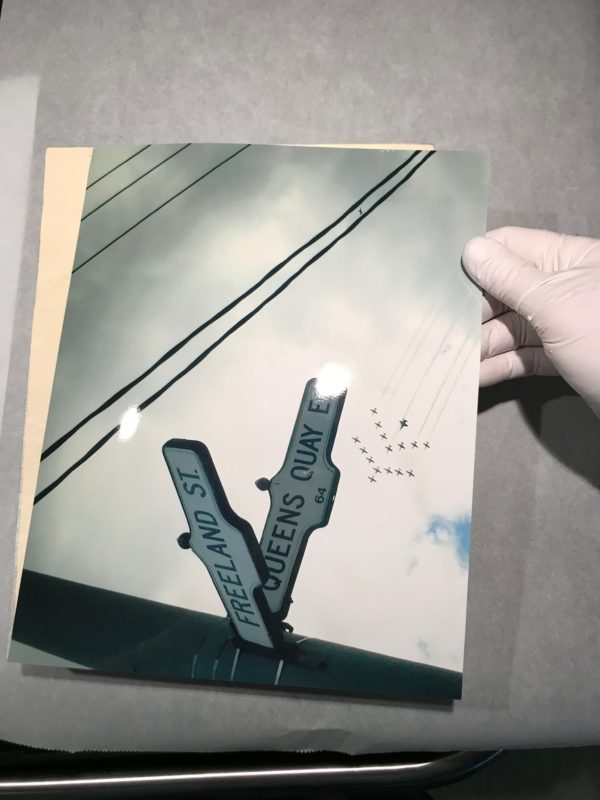 3. Art
You captured that perfect photograph. So how do you make it really pop? Finish it with a coat of resin for art. Once you calculate how much resin you need, the resin is easy.
⭐️ BONUS: Here’s how to resin a photo on canvas.
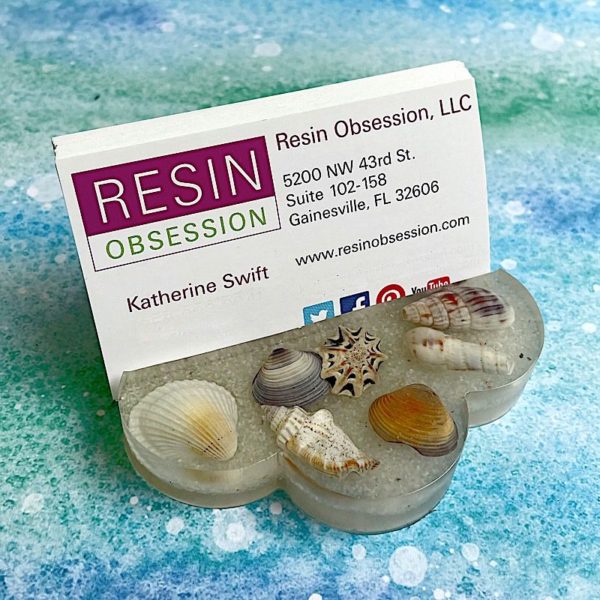
4. Business card holder
Craft a business card holder to celebrate a new job. You’ll love showing off your cards in a holder personalized with your passions. Plus, this holder can double as a phone holder.
⭐️ BONUS: How to make a business card holder with epoxy.
 5. Ornaments
 5. Ornaments
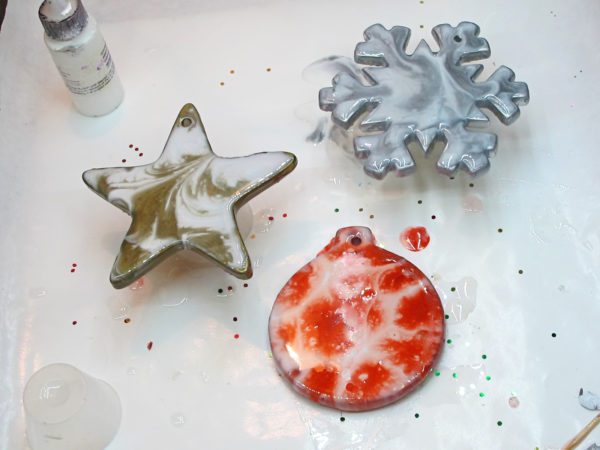
Start with ornament blanks, then embellish them with resin. There won’t be any two alike. And this works for any holiday. All you need is a blank ornament to serve as your canvas.
⭐️ BONUS: Here’s how to DIY Christmas ornaments.
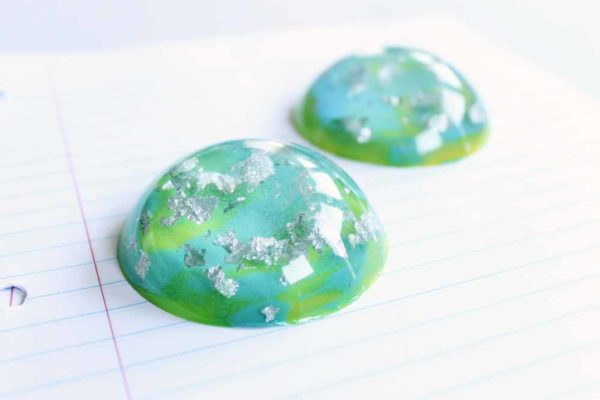
6. Paperweight
Give a desk or table a unique flair with colorful paperweights. You can even add mementos and tchotchkes to make it unique to your gift recipient.
⭐️ BONUS: Learn how to make a resin paperweight.
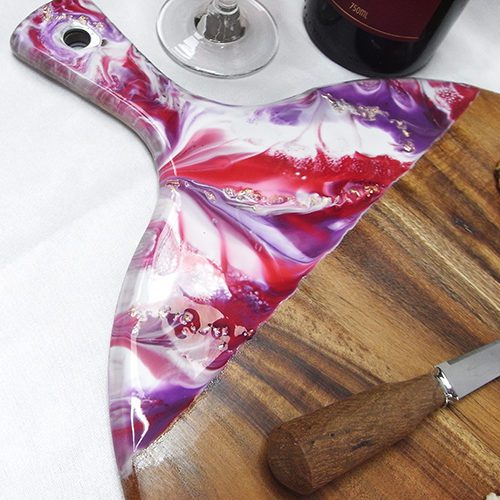
7. Cheeseboard
This has got to be the gift that keeps on giving. Not only will it glam up a space, it just might outshine your yummy appetizers. Of all the gifts you can make, this one makes an amazing housewarming present.
⭐️ BONUS: Here’s how to make a resin charcuterie board.
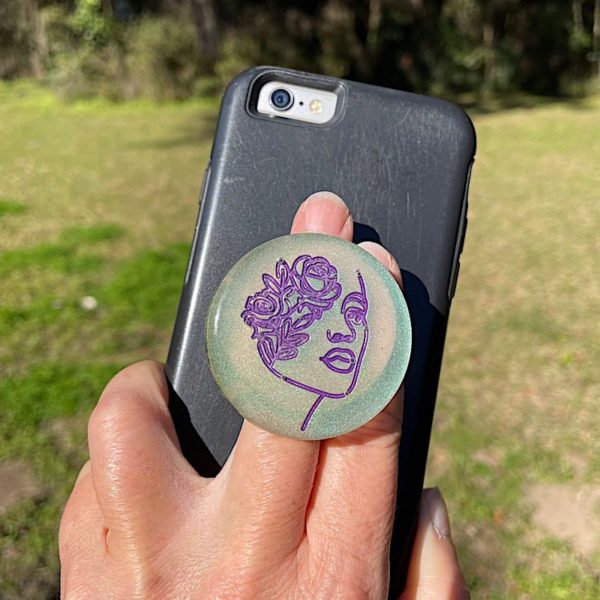
8. Phone grip
Give your frumpy smartphone a makeover. Craft a phone grip that lets everyone see your personality without saying a word.
⭐️ BONUS: How to make a resin smartphone grip.
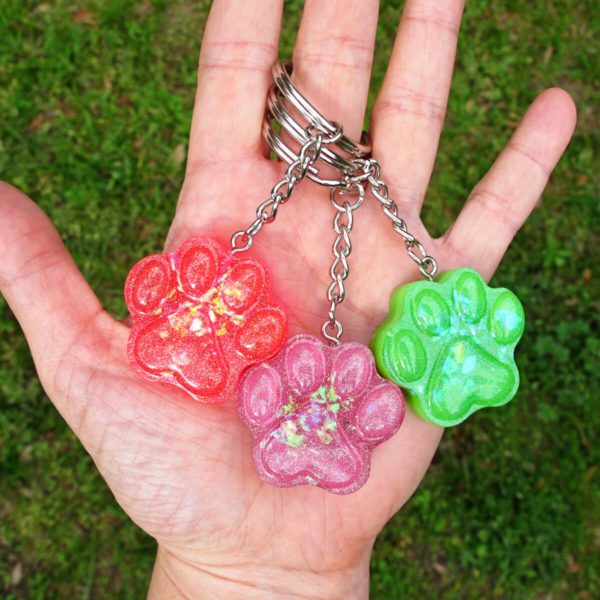
9. Keychain
What’s the easiest way to find keys in your purse? You make them hard to miss. And that starts with a big, bold resin keychain. Choose your design, add resin colors, then finish with hardware. It might not make your keys easier to find, but it can’t hurt.
⭐️ BONUS: Make a resin pawprint keychain.
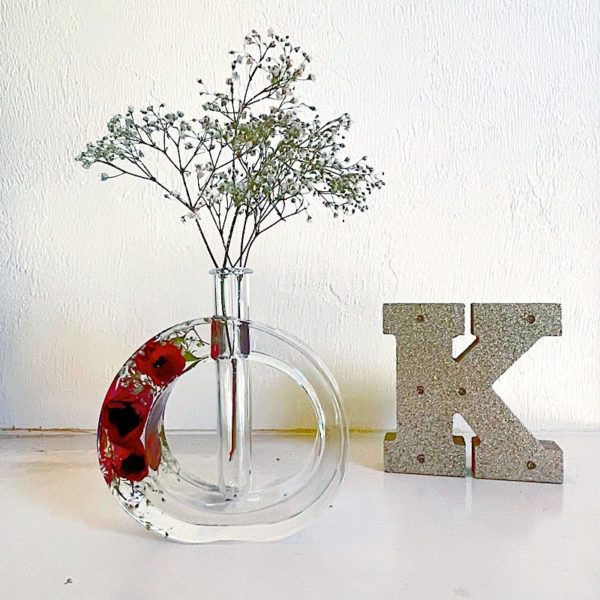
 10. Flower vase
 10. Flower vase
Your beautiful flowers deserve an even more beautiful vase. Plus, it will be the perfect excuse for you to always have fresh flowers hanging around.
⭐️ BONUS: Here’s how to preserve flowers in resin in a vase mold.
Which of these gifts you can make is your favorite?
Want more beginner resin help?
Then download your copy of Resin Fundamentals. The PDF book takes you from confused to confident to create with resin, even if you have never worked before. Buy the ebook now and get a download link in minutes.
Unpublished Blog Posts of Resin Obsession, LLC © 2023 Resin Obsession, LLC
Hi there, I was wondering if there will be any courses available other than online courses after the lockdown? Thank you. Clarence.
Hi Clarence, unfortunately, we do not know when we will offer in-person classes again. Are you on our mailing list? Subscribers will be the first to know. You can join here: https://shop.resinobsession.com/pages/subscribe-to-email-updates?
I enjoyed the info, thanks.
Thank you Darak!