
 Who’s ready for a beginner resin project? Then you’re in the right place. I’m going to show you how to use stickers in resin.
And you’ll totally rock this project, even if you’re new to resin crafts.
Let’s start with why using stickers in resin is pretty cool.
1. You can buy or make tons of designs to personalize your projects.
2. They probably don’t require sealing before using them in resin. (More on that shortly)
3. It’s the perfect excuse as an adult to hoard them. (They store nicely with your glitter stockpile.)
What kind of stickers should you use in resin?
You can use any stickers in resin. The question needs to be whether you need to seal them first.
Foil stickers, puffy stickers, and vinyl stickers don’t need sealing. But paper stickers will if they aren’t printed on waterproof paper.
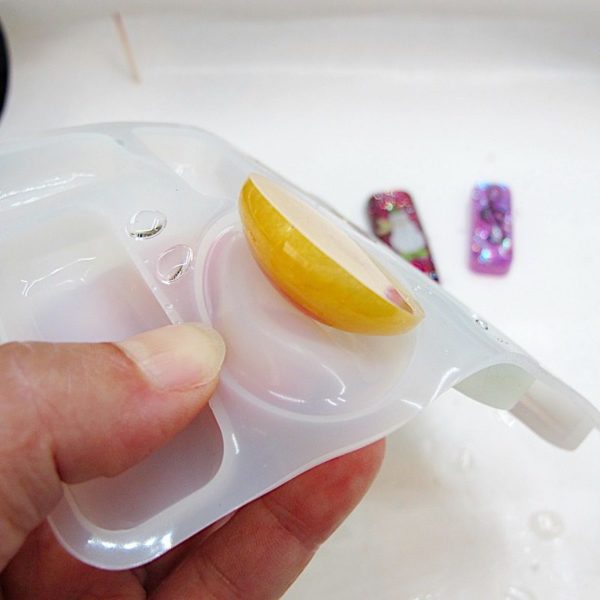
Here’s the easy way to know. Cut a corner of your sticker sheet and run it under water. If it changes color, you’ll need to seal it.
⭐️ BONUS: Here’s how to seal papers before including them in resin.
Now that we’ve got that out of the way, here’s how you’ll use stickers in resin.
Gather your resin supplies:
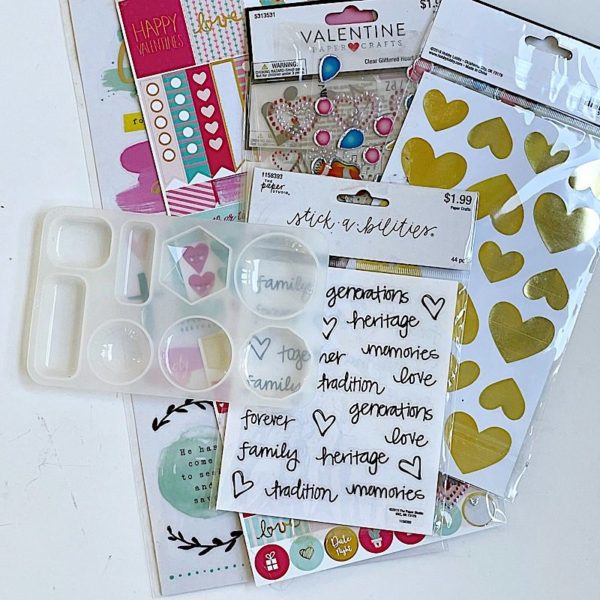
Cabochon charm mold
Amazing Clear Cast super clear jewelry resin for molds
Stickers
Epoxy resin colors
Step 1: Plan your project
Grab your sticker collection and think about how you want to use them. You want to know how they will look in your resin mold before you add epoxy. Do a ‘test run’ and see how they fit and look.
Plus, when you use stickers in resin, you’re making your project in layers. (You’ll see how in a minute.) Think about what you’ll put in the second layer that will show behind the sticker. You don’t want something to clash or your sticker to become hard to see in the new layer.
Step 2: Mix resin
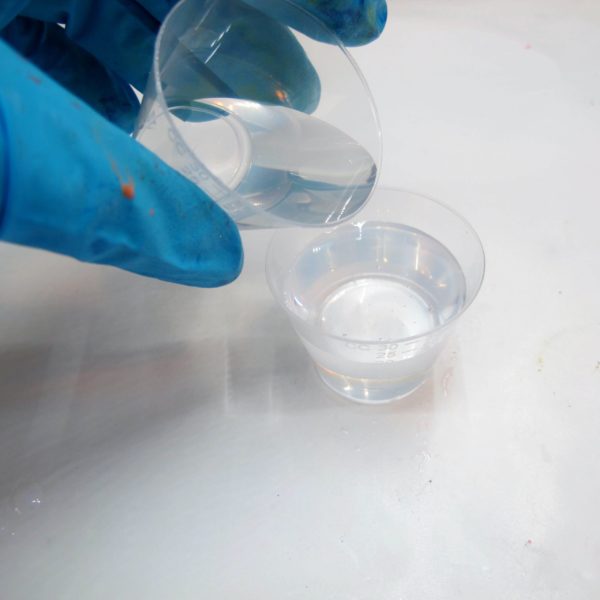
Now’s the time to pull out your crafting resin. You’ll want to use the super clear resin for this project. It’s specially designed for molds. It releases bubbles easily and cures hard. You don’t have to worry about resin charms getting bendy as you do with some other brands.
For the first layer in this mold, mix ¾ ounce of resin.
⭐️ BONUS: Here’s an easy way to figure out how much resin you need if you’re using a different jewelry mold.
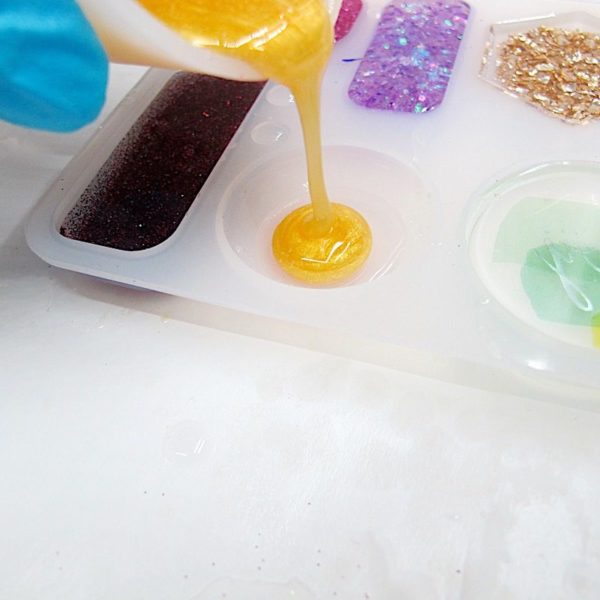
Step 3: Add resin to the mold
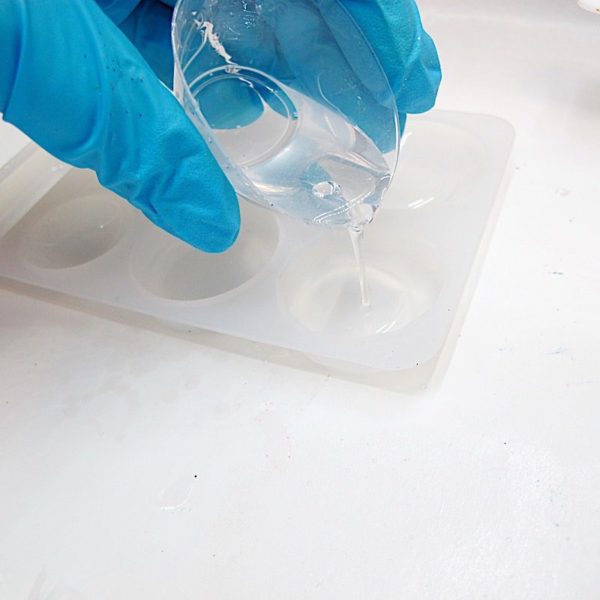
Add enough resin to cover the bottom of each mold cavity.
Step 4: Add stickers to the resin
If you’re multitasking, come back to me. This is pretty important.

The bottom of the mold will be the front of your resin charms.
That means you’ll need to place your stickers front side facing down.
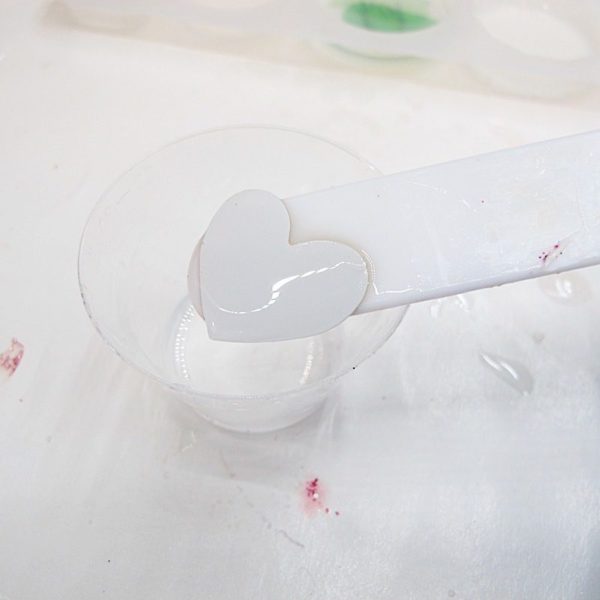
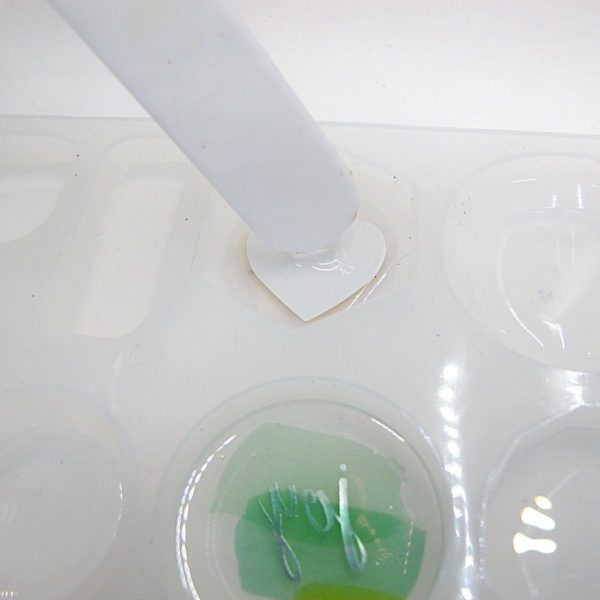
⭐️ Pro tip: Dip your sticker into the mixed resin before placing it into your resin mold. That breaks the surface tension and makes it less likely you’ll trap bubbles in front of your sticker.
Use your stirring stick to move your sticker into place.
[OPTIONAL] Step 5: Add extra resin
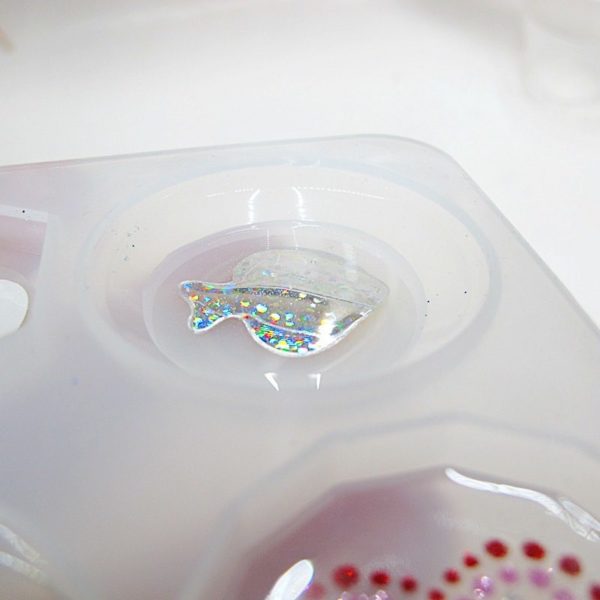
You can add more clear epoxy resin to this layer if you want. But don’t go crazy. Some stickers will float in resin. That means the sticker will appear further from the front of your charm after demolding.
(And more on why you might want this first layer to be thin in a minute.)
Check for bubbles before letting your resin cure.
Step 6: Mix and pour a second resin layer
Mix more super clear resin (about 2 ounces for this second pour for this mold). Divide it among several cups and color as you want.
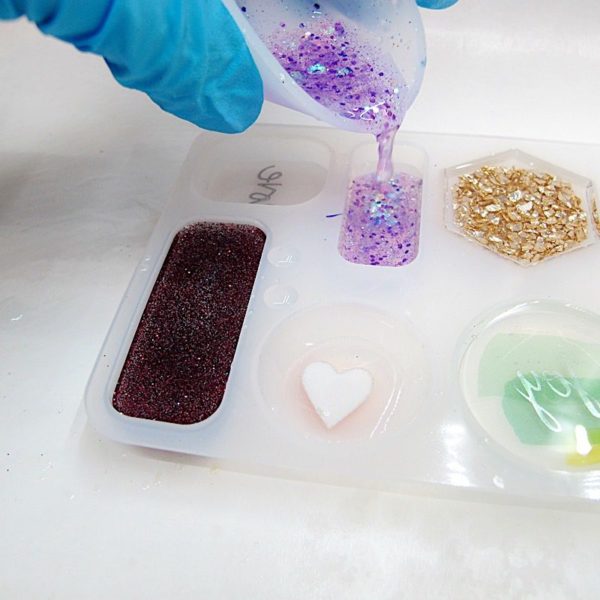
This clear epoxy resin looks great with glitter, mica powders, white pigment, and beads.
Remove bubbles, then let cure.
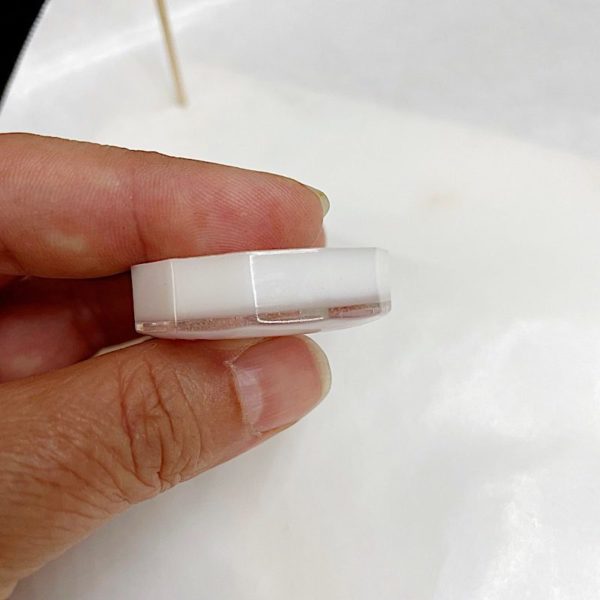
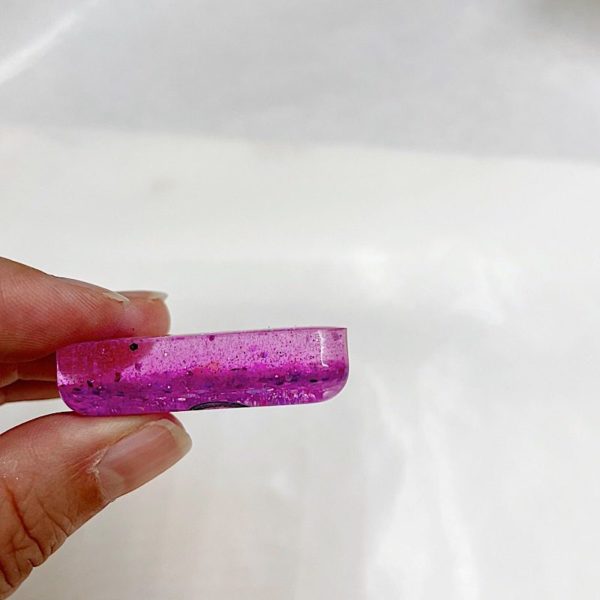
Step 7: Demold
Once your resin is dry (about 12 hours with the super clear resin), peel it out of the mold. And yes, it’s as fun and satisfying as it looks. #visualASMR
Step 8: Finish
Check your resin charms for any sharp edges. You don’t want them to scratch a surface or pull your favorite sweater.
The easiest way to finish these charms is with glue-on findings.
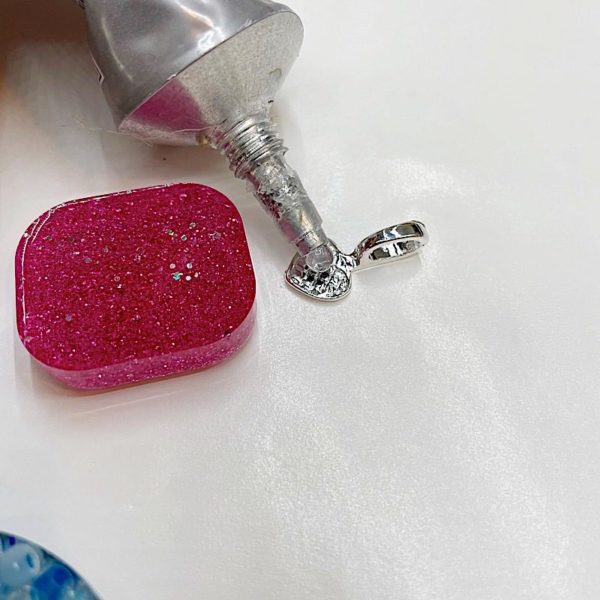
Add E6000 adhesive to the pad of a bail and the back of the charm. Press together and let dry for 24 hours.
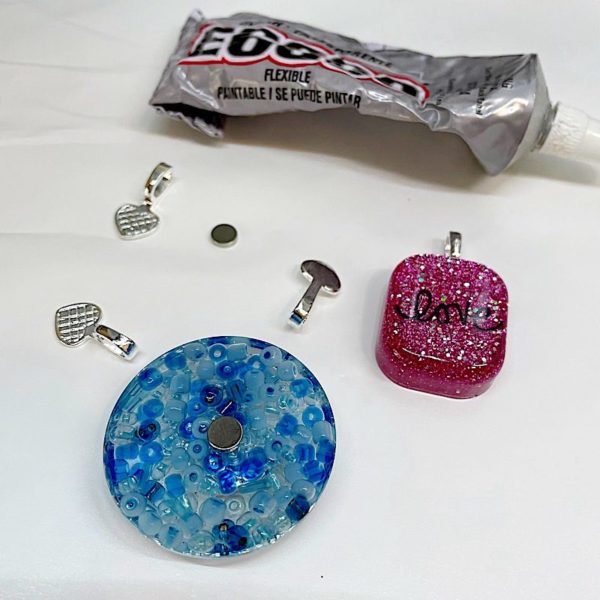
Stickers in resin also work great as locker or refrigerator magnets. Add a rare Earth magnet. They’re stronger than the other kind. Plus, you can use a smaller size than you would for a regular magnet.
💡 Pro tip: If you decide to drill into your resin, here’s why it’s a good idea to have a thin first layer and a thick second layer. You can drill into the second layer, and your pin stem stays hidden.
This works with glitter charms too, even if the glitter sinks. The layer of glitter will hide whatever is behind it.
Ta-da! You just learned how to use stickers in resin.
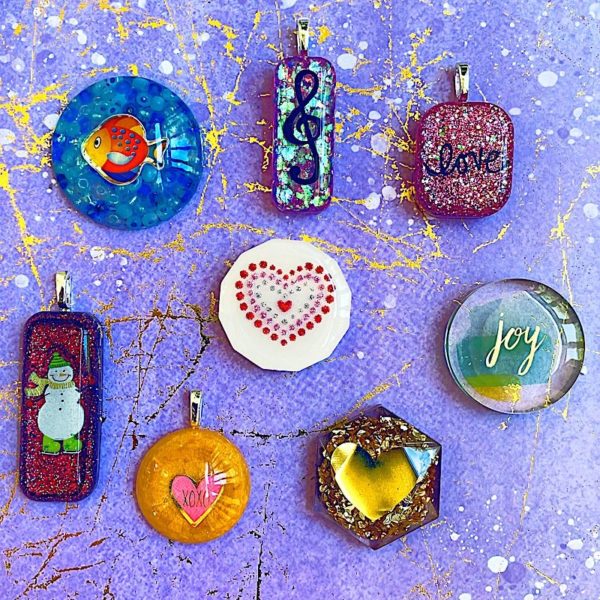
I love how you can use stickers in resin to make personalized gifts.
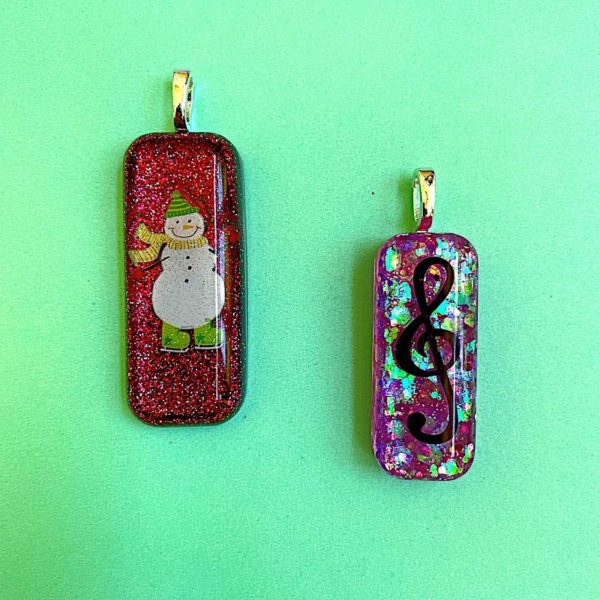
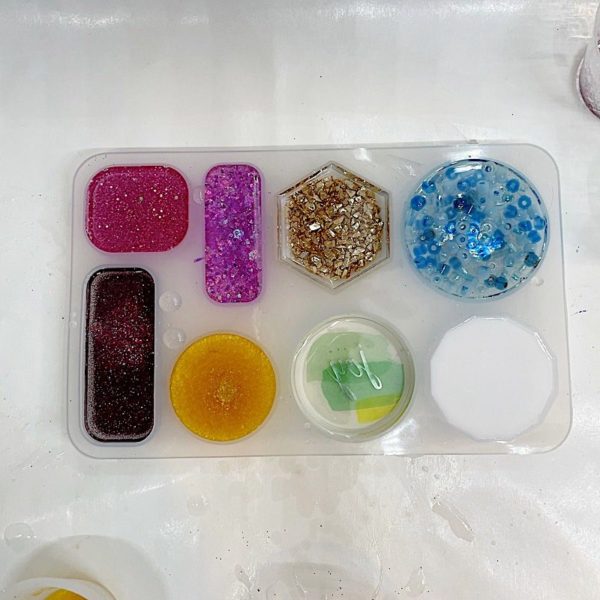
These pendants were made with stickers in the front resin layer and glitter mixed in the second layer.
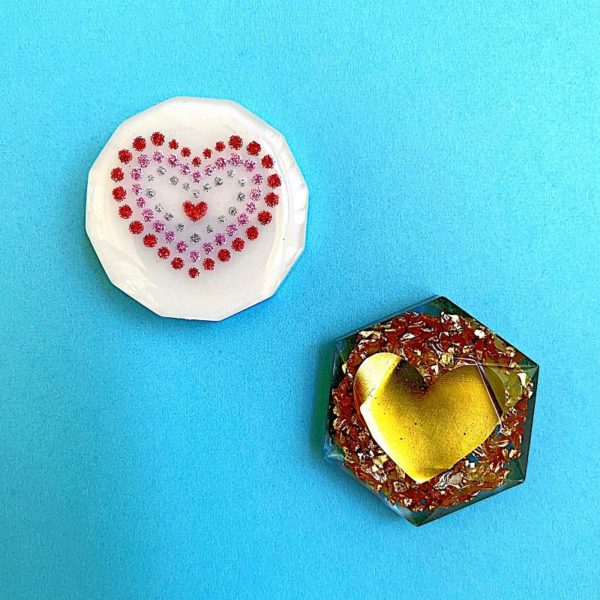
You can turn these charms into drawer pulls. The heart charm on the left has a layer of opaque white resin behind it. The gold heart has chunky gold-colored glitter behind it.
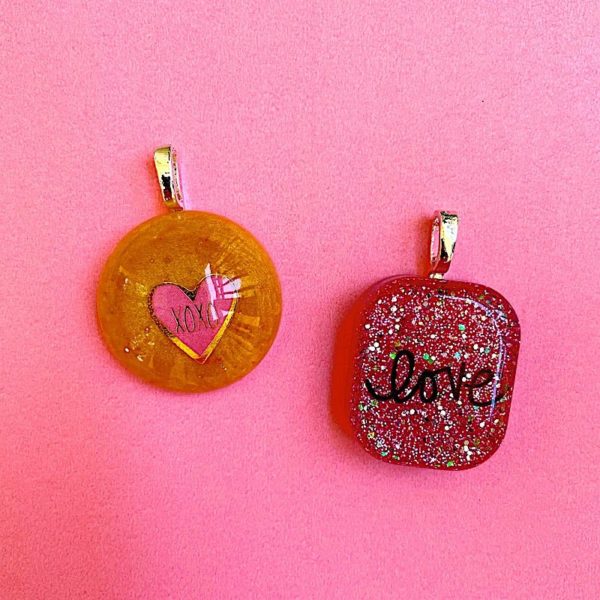
Then there are these cute examples of stickers in resin. While they make me think of Valentine’s Day jewelry, they aren’t the typical red. You can wear these all year round.
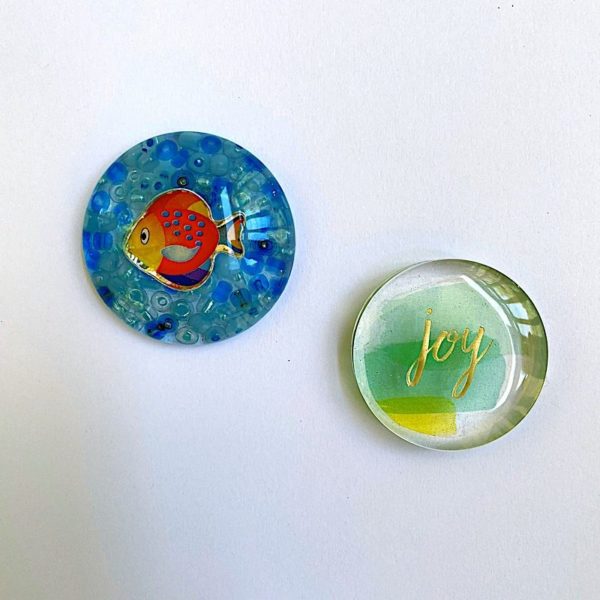
Then, these oversized round charms work great as magnets. The blue beads behind the fish make it look like something from an aquarium. And the ‘joy’ charm on the left has no color. The second layer is more clear epoxy.
Ready to take on more projects besides using stickers in resin?
Then you’ll want to get the ebook, Resin Jewelry Making. It gets you to expert status in only a couple of hours. Plus, it’s got five different projects you can do this weekend. Buy the PDF book now, and it’s yours to read in minutes.
Unpublished Blog Posts of Resin Obsession, LLC © 2023 Resin Obsession, LLC
I am making a chess board and using yinyl shelf liner in wood finish for half the squares, what do you think would be the easiest way to lay the preut pieces into the mold. do i also have to remove the backing
Hi Sheri, I’d do it like I show in the article for the first layer.