
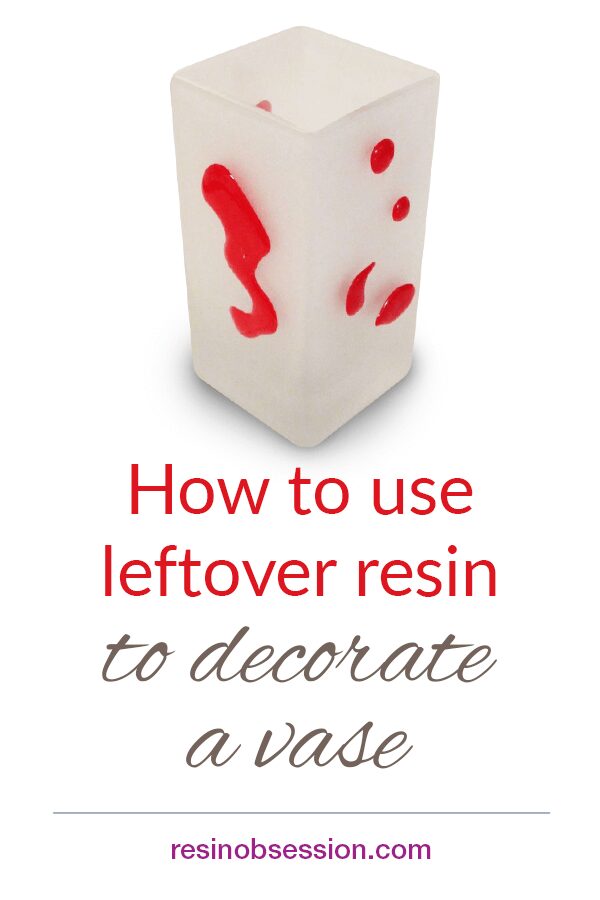
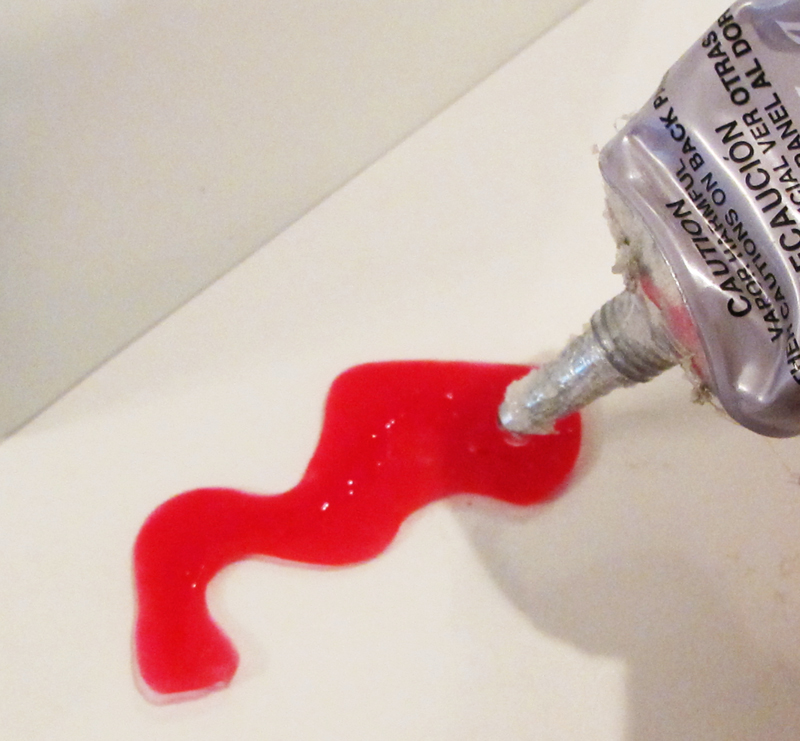
 Here’s how you know when you have a resin obsession. You’re looking for a way to use the leftover epoxy in your mixing cup.
Just so we’re clear–I’m not judging you. You’ve worked hard to mix your resin. So it only makes sense that you use every last drop.
Here’s how to turn your leftover epoxy into a home decor project.
Resin materials and supplies:
- Leftover liquid resin
- Wax paper
- Vase
- Spray paint
- E-6000
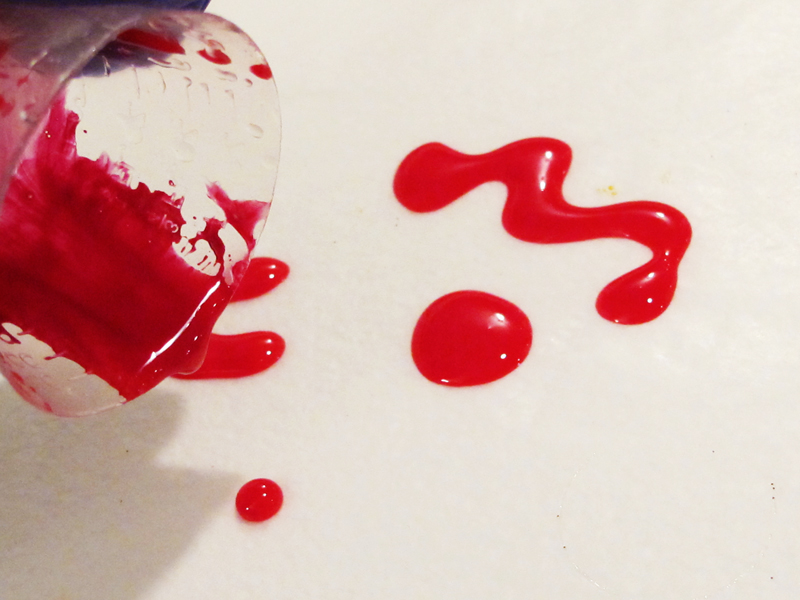
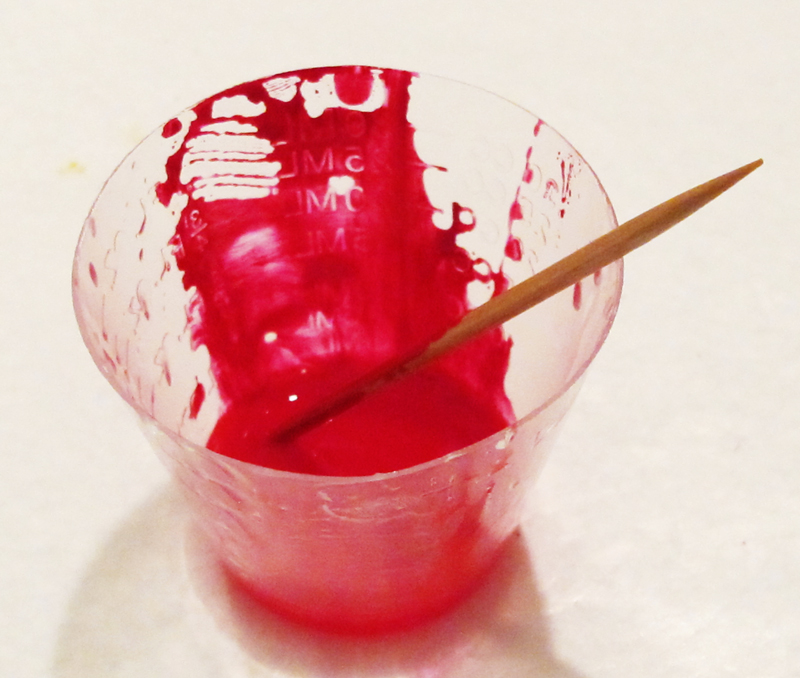
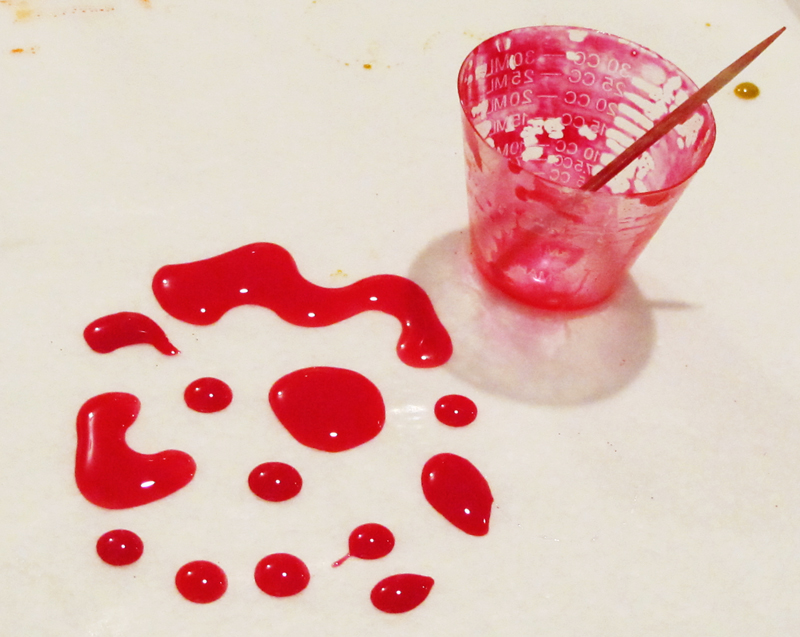
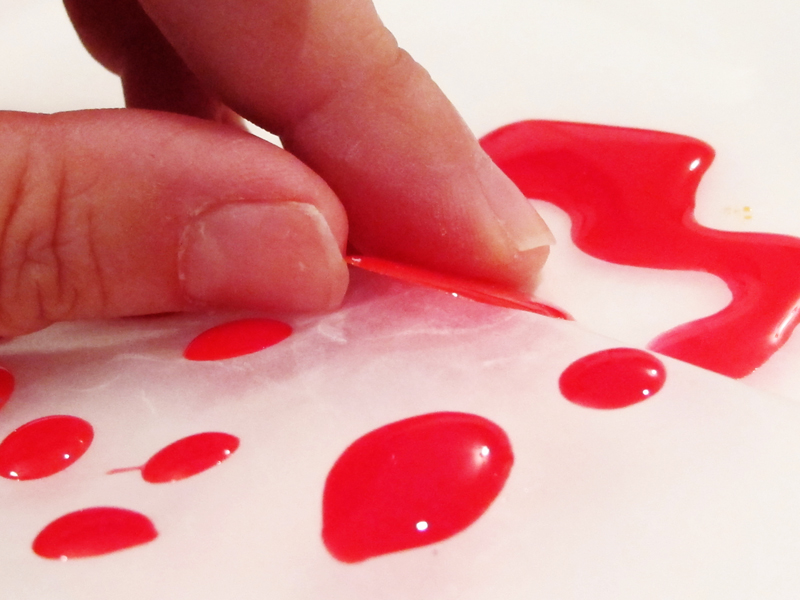
Step 1: Pour the resin onto a flat surface
Tape wax paper to a flat surface. Pour your resin onto the wax paper into funky shapes, dots, or patterns. Your resin will spread.
Step 2: Let the resin cure
Let the colored resin fully cure.
Step 3: Paint a vase
While your leftover epoxy is curing, you can prepare your vase.
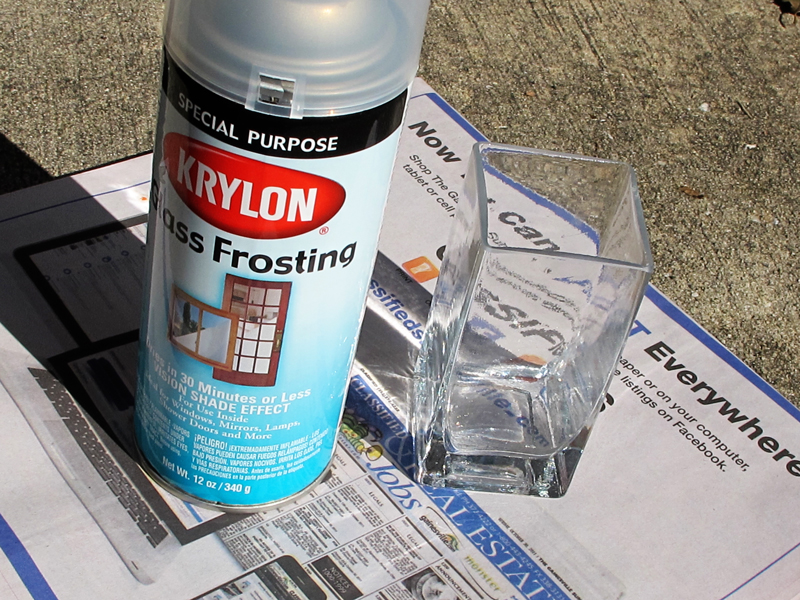
Make sure the surface of your glass vase is clean. Just because it looks clean doesn’t mean there aren’t any oils, waxes, etc., on it. Wash it well with soap and water.
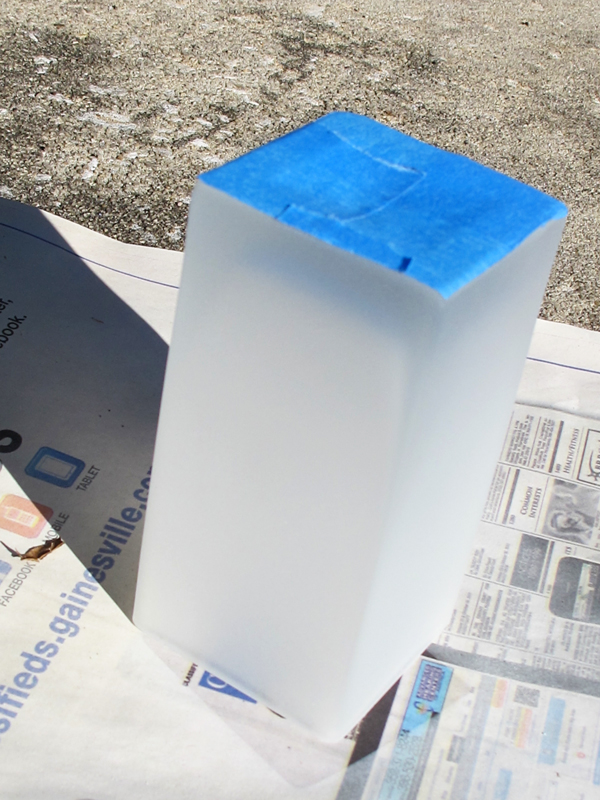
Cover the bottom with painter’s tape. Then, paint the surface.
💡 Pro tip: Paint doesn’t like to stick to glass. That means you must get paint intended for glass or paint with primer. You don’t want the paint to chip off later.
Step 4: Gather your leftover epoxy chips
Once your resin is dry, lift it away from the wax paper.
Step 5: Glue to the vase
Apply a small amount of E-6000 to the back of your epoxy resin and where you want to place it onto your vase. Wait approximately two minutes before pressing the resin onto the vase.
💡 Pro tip: Don’t use too much e6000. You might take your paint with it when you scrape off the excess.
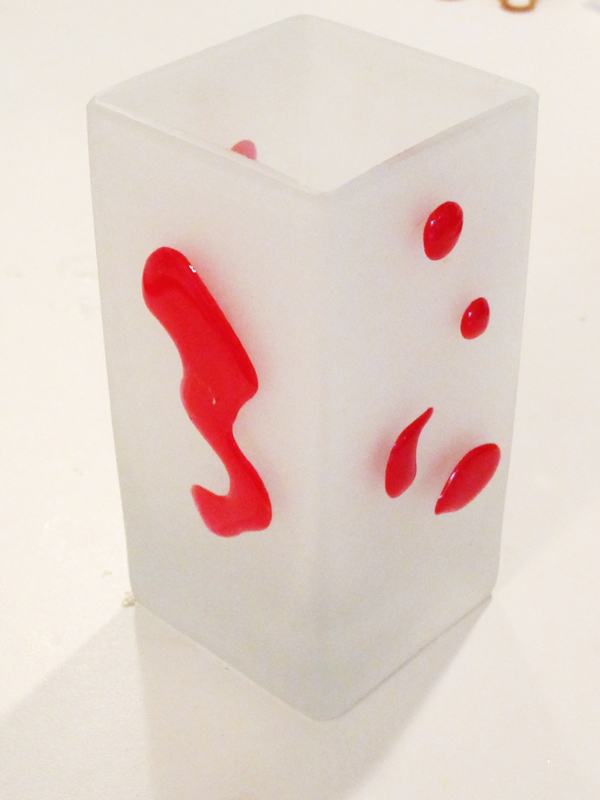
Allow your vase to dry for 24 hours before use.
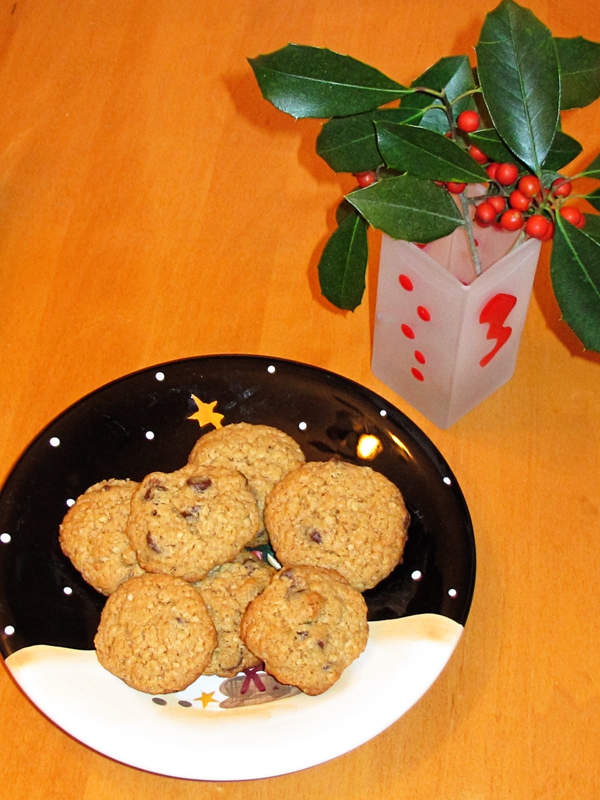
Your new vase is now ready for some seasonal flowers and greens. (Cookies are optional, but they can’t hurt.)
Want more resin project ideas?
Then you’ll want a copy of the ebook Ten Epoxy Crafts. For less than the cost of a resin kit, you’ll get a PDF book of ten projects you can make this weekend.
Unpublished Blog Posts of Resin Obsession, LLC © 2023 Resin Obsession, LLC
Never tried resin but this popped up on facebook (interesting pop up for once) and looked really interesting so I have subscribed by e mail and have clicked like
Thank you
Thanks for republishing this. I missed it before and I can hardly wait to try it. What a cute idea for leftovers!
So cool. You can actually use those bits and pieces to decorate or embed into other resin products as well. I did this with some glittery leftovers and then put them in a cool bangle bracelet.
Great tips and how DIY craft projects!
Thank you, Kim!