
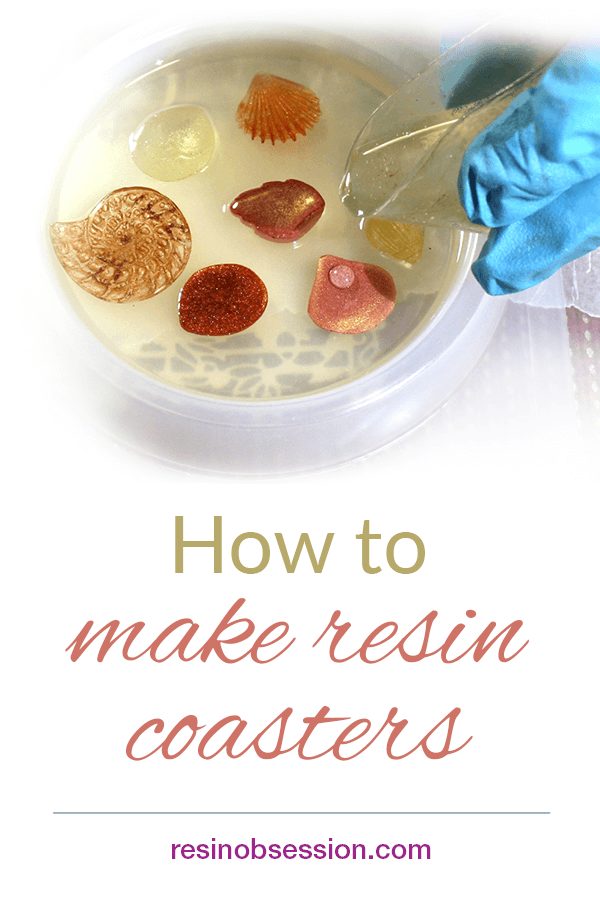
If you’re looking for an easy and fun way to make a handmade gift, then this resin coasters project is for you.
Making small resin charms from other projects, then including them in a new project like this resin coaster DIY is a great way to double the handmade fun. This project will show you how fun it is to learn how to make resin coasters with resin leaves and shells you’ve already made.
If you’re asking yourself how to make epoxy coasters without making your own resin charms, don’t worry. You can make these coasters with found objects.
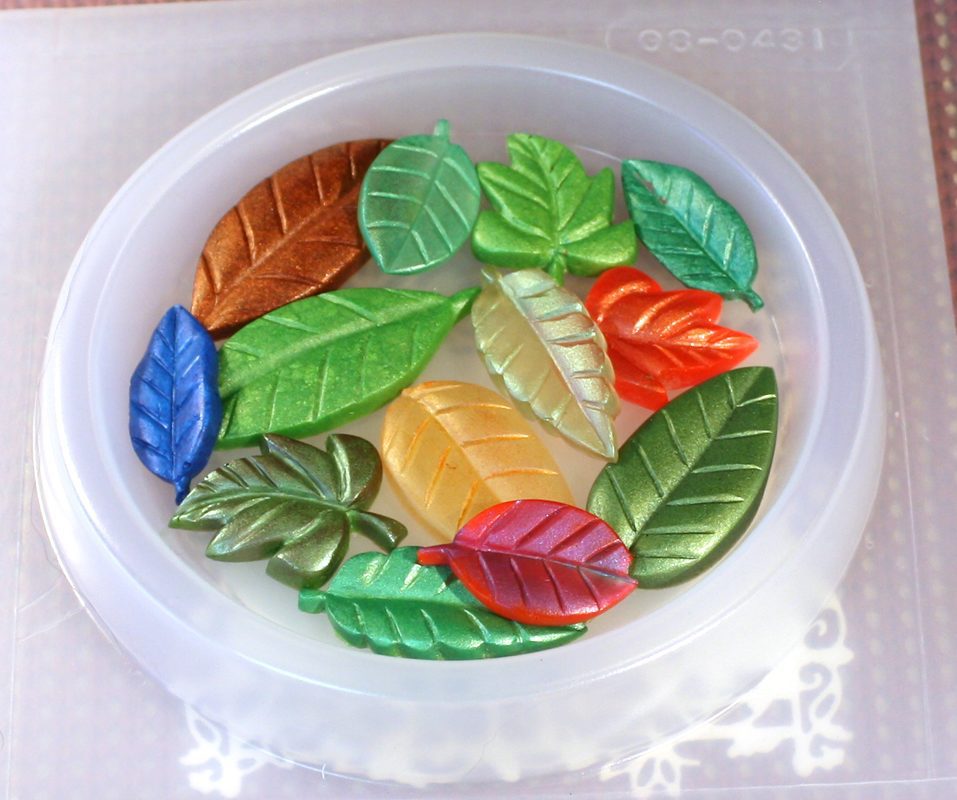
In the tutorial Using Pearl Ex with Resin Two Ways, we made a variety of resin leaves and shells using the same techniques. These are perfect for including in a resin coaster.
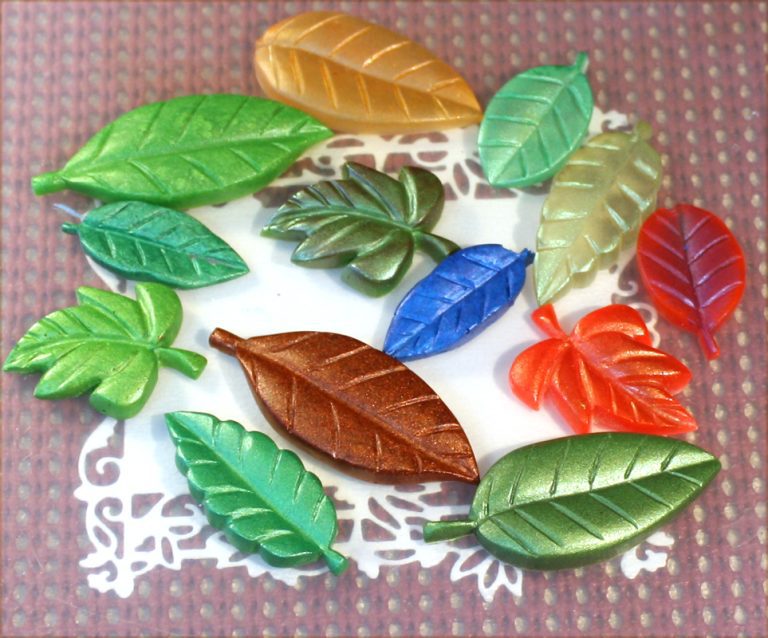
Other small items, such as bugs, beads, flowers, or buttons, will work great, too. The items will also need to be smaller than the coaster mold.
Supplies for your how to make resin coasters project:
- Resin items you’ve made previously
- Resin Obsession super clear resin
- Resin coaster mold
- Castin’ Craft Mold Release
- Small mixing cups
- Large mixing cups
- Stir Sticks
- Nitrile gloves
- Resin Curing mat
- Safety Glasses
- Paper dust and filter mask
- Clear dot “bumper pads”
- Cork sheet
- Craft knife
- Craft glue
- Wet wipes
- Scissors
For these resin coasters, I’m using the Resin Obsession super clear resin because it’s a great resin for crafts. It cures hard and durable and won’t dent when you use your coasters.
Decide which way you’re coaster will face
If you want the side facing the table to be the top, you will need to put everything in upside down. Otherwise, if you want the side facing you to be the top, everything will be facing up. It can be much easier to arrange them the way you want if you have everything facing you since you can see exactly how it will look.
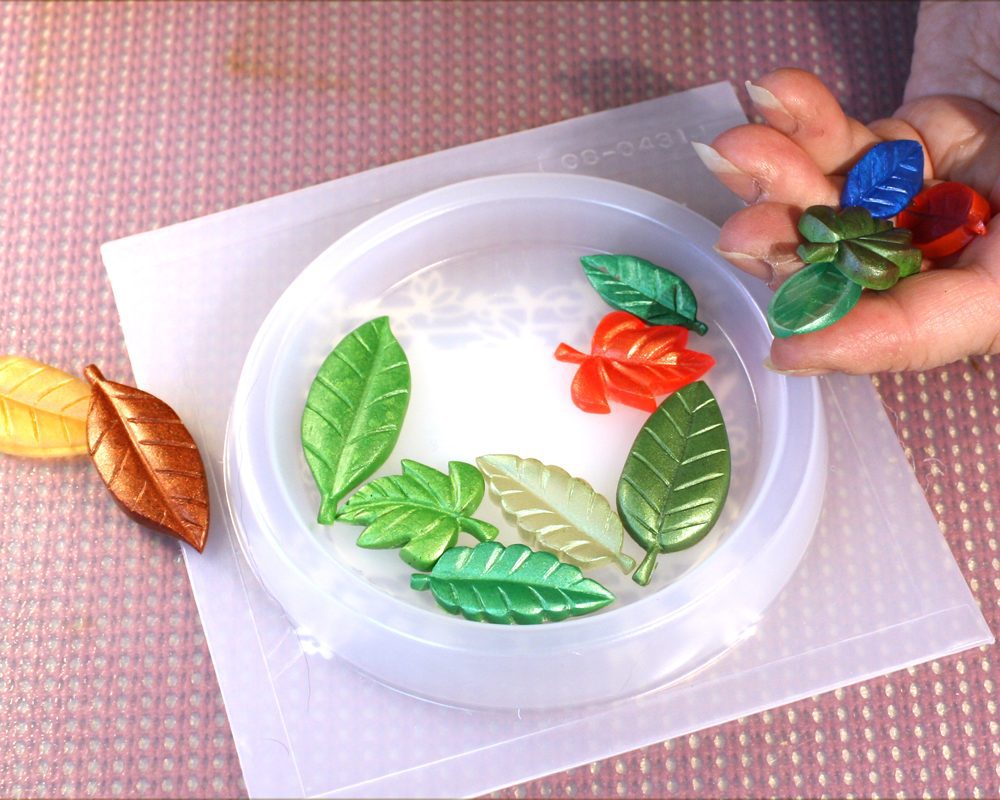
Choose what to put in your coaster
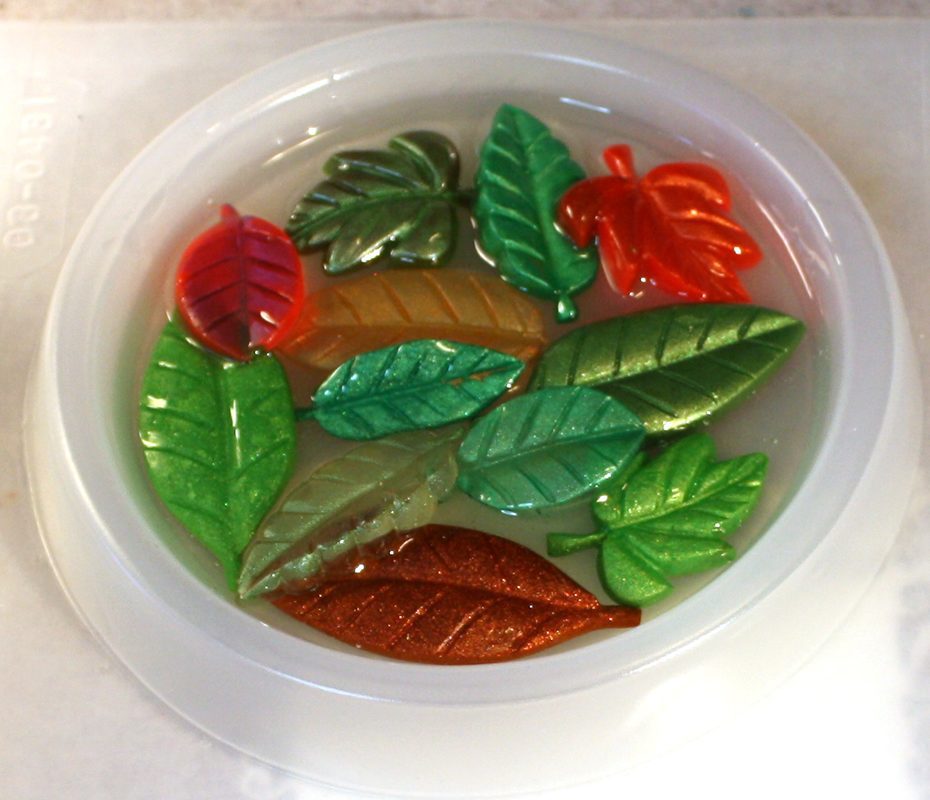
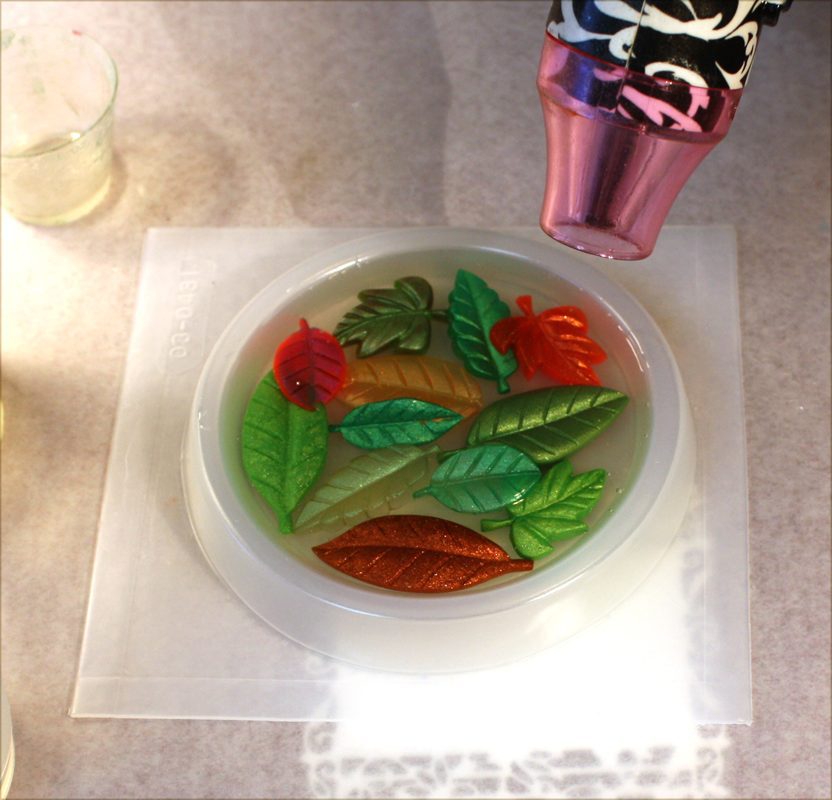
Place the charms you want to use into the mold. See how they’ll fit and how you like them placed together.
💡 Pro tip: Take a picture of how you placed your items in the dry mold to use as a guide when putting them in with the resin later.
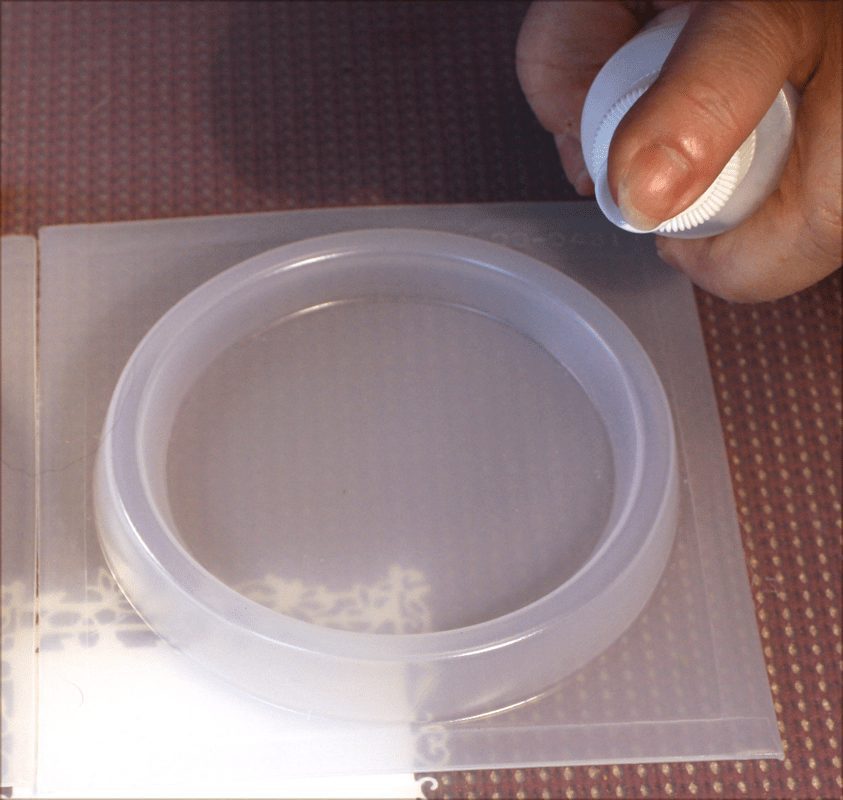
Get ready
Spray the mold with the mold release and set it aside to dry for at least 30 minutes.
Before you start mixing the resin, you should put on a pair of protective gloves.
Resin likes a warm, but not hot room. For the best resin curing results, make sure your room temperature is 72F to 74F.
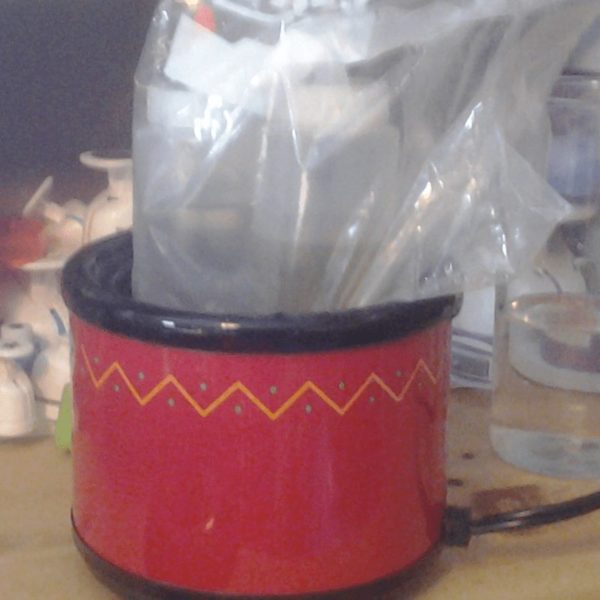
💡 Pro tip: Warming your kit in a hot water bath will help reduce bubbles in the resin. You can use a bowl with hot water or an electric salsa pot for no more than 5-10 minutes.
Version 1: One resin layer
I’m mixing a bit more than 3 ounces of resin for both coaster molds. This resin calculator helps you know exactly how much resin to mix.
The marks on my resin mixing cups are essential to making sure I get accurate measurements.
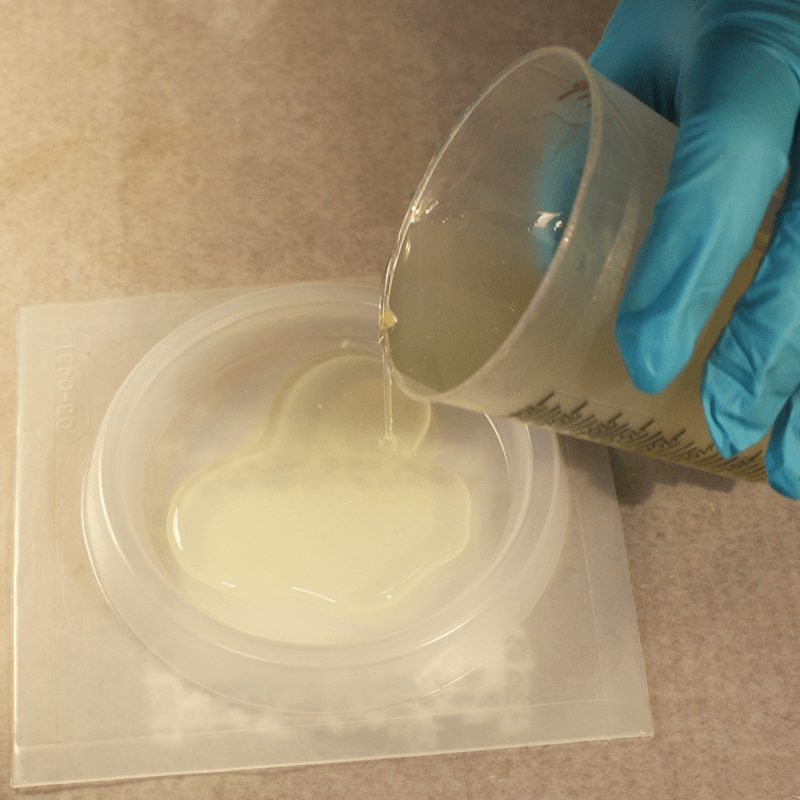
Pour a small amount of resin into the coaster mold.
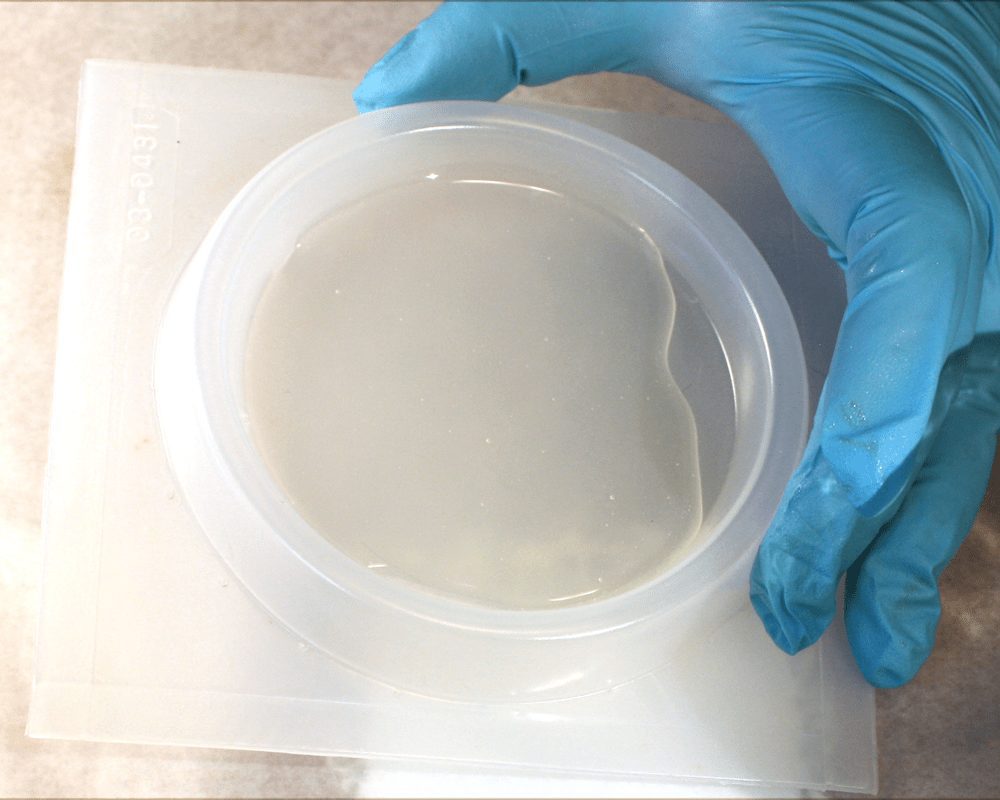
Tip it slightly from side to side. You want only about 1/8” to cover the bottom of the mold.
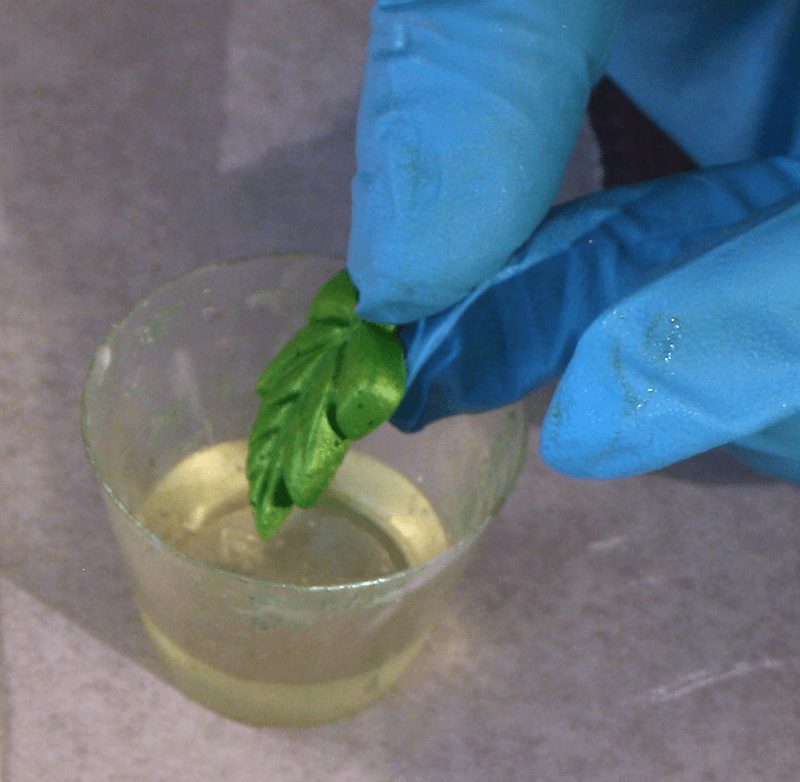
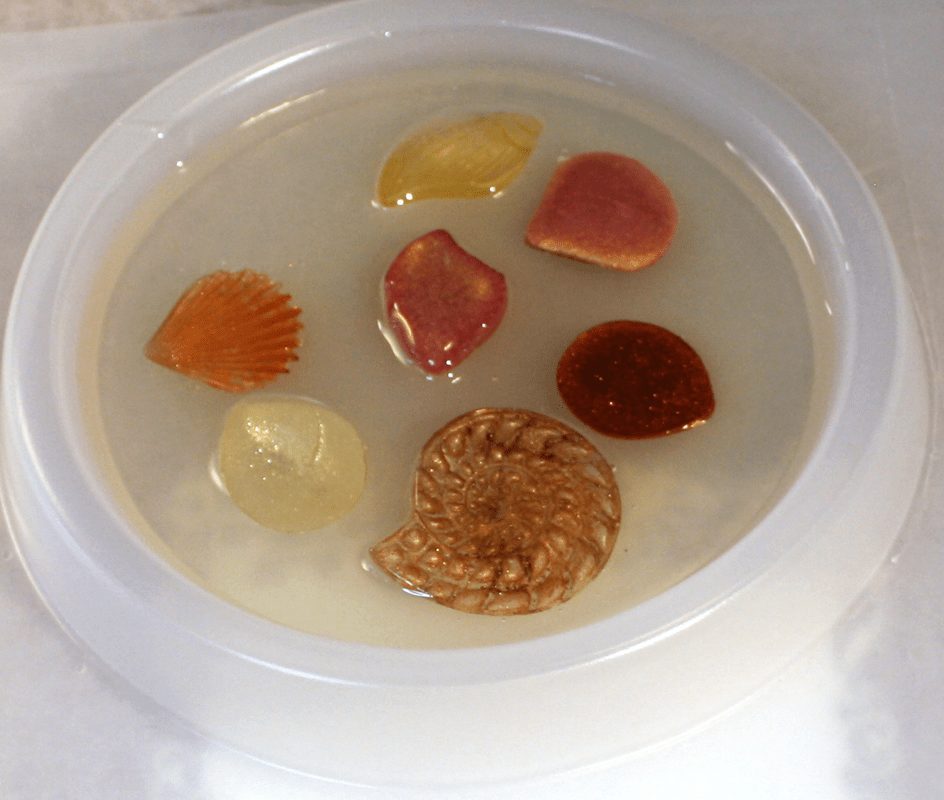
Drop one of your resin charms into a cup. Spoon resin over it with the stir stick.
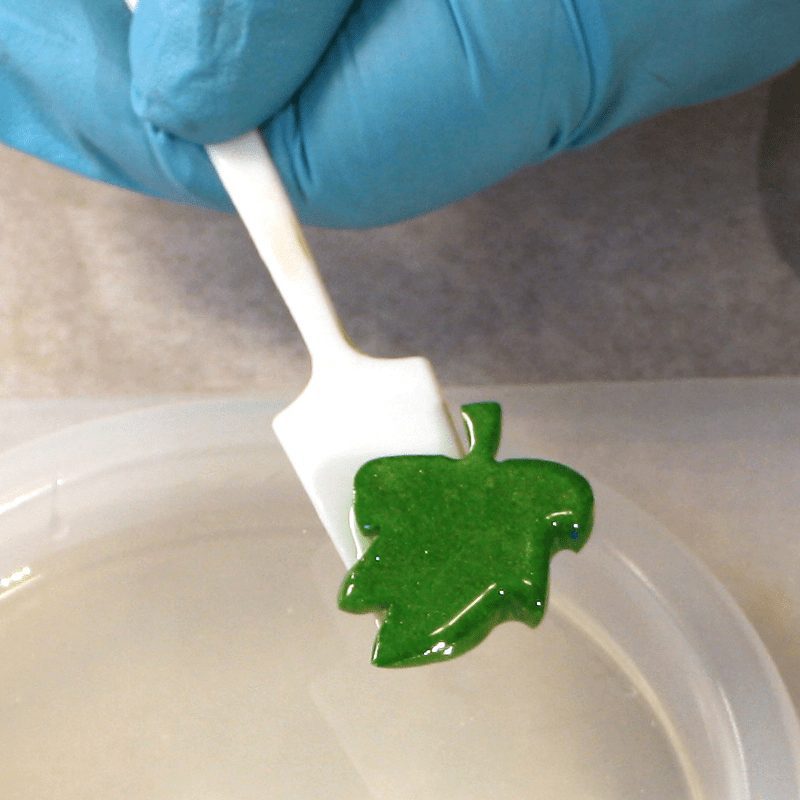
Once it’s coated with wet resin, slip it into the mold into the thin layer of resin.
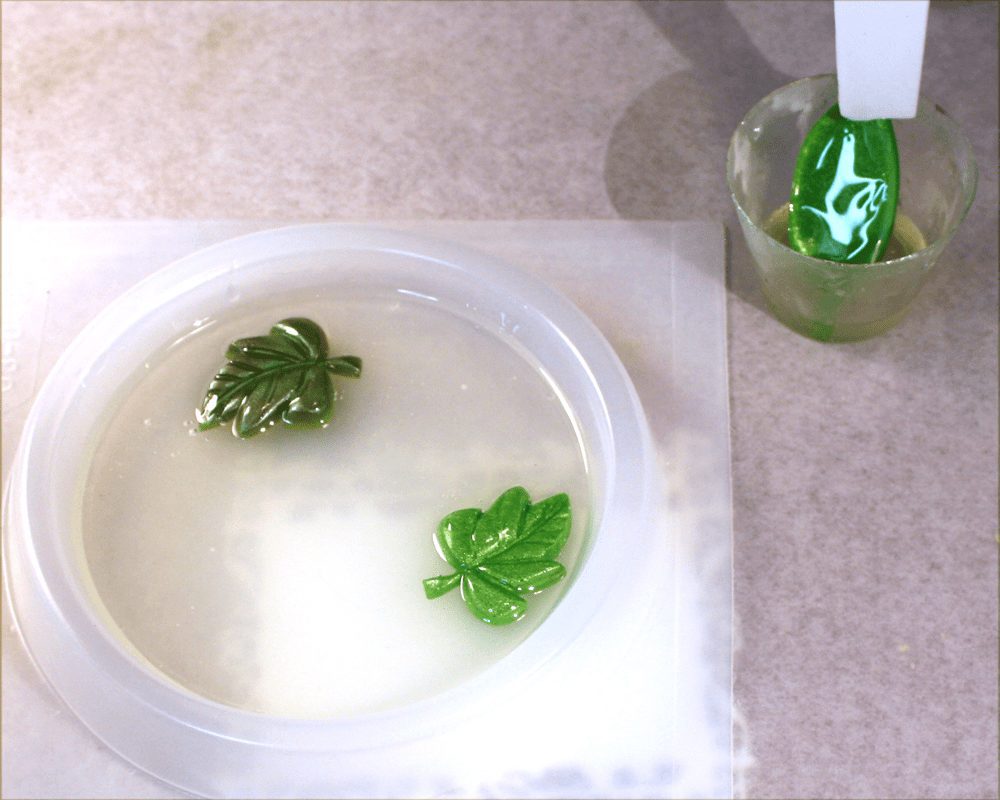
Add more charms, first covering each in resin. Then, use your stir stick to move them around in the mold.

Add more resin to cover your charms. Pour the resin to about 1/8” below the lip of the mold.
Check for bubbles before letting the resin completely cure.
Version 2: Two Resin layers
An easy way to highlight the resin charms in your coaster is to pour a colored layer behind them. So instead of filling the mold completely full for the first layer, you’ll only add enough resin to cover your charms.
Then, after the resin has cured at least 4-5 hours (gel phase), you can add more resin. Or, you can wait until it’s fully cured to add the next layer to the coaster.
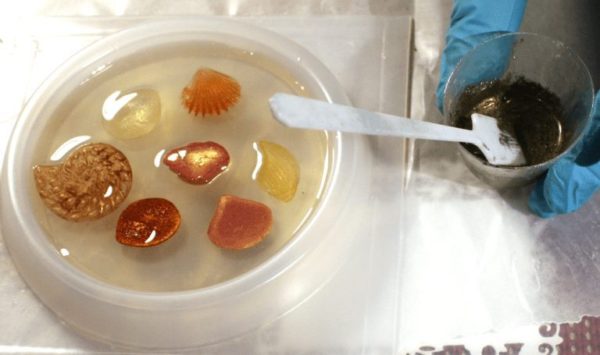
Pearl Ex colors are great for making unique hues in resin.
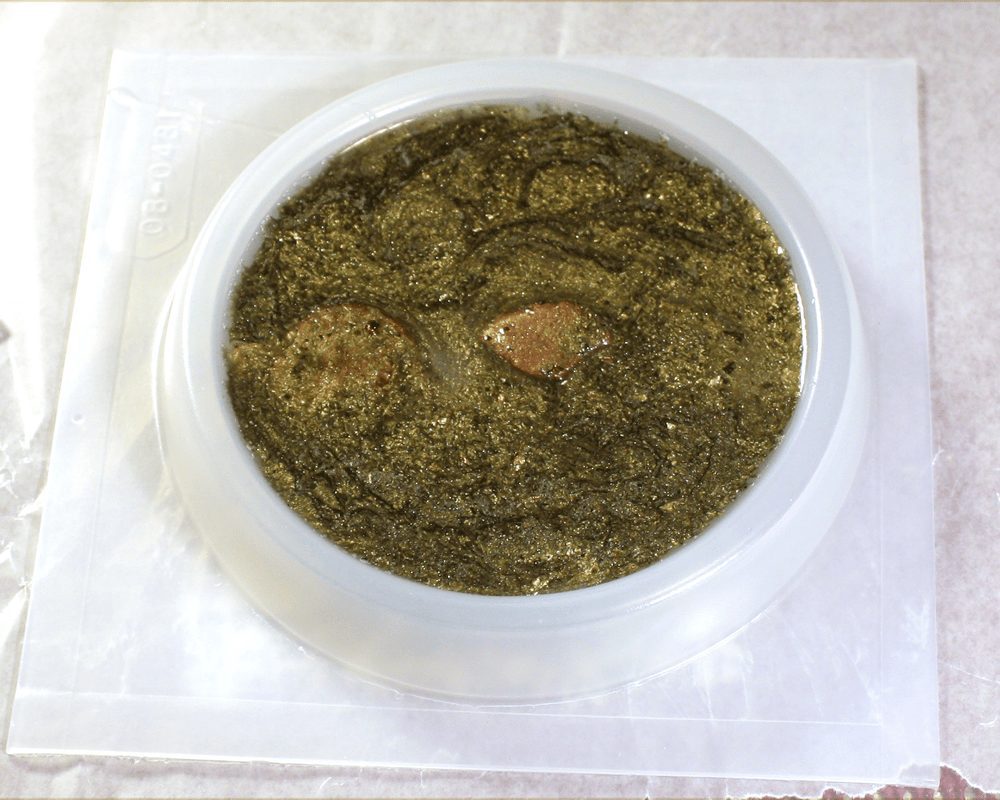
Then, use your colored resin to finish filling the mold.
Popping Bubbles
To help reduce bubbles in the resin coaster, you can use a heat tool or lighter for popping surface bubbles. You might have to use a toothpick or the edge of a clean stir stick to scoop out bubbles that won’t pop. When you have inclusions in the resin, it’s essential to check them, too. Bubbles can get trapped in shapes.
Leave to Cure
Cover your molds with a box or container and wait for the resin to cure. It is always best to cover your curing resin because you don’t want dust, cat hair, or other unwanted things to become part of your project.
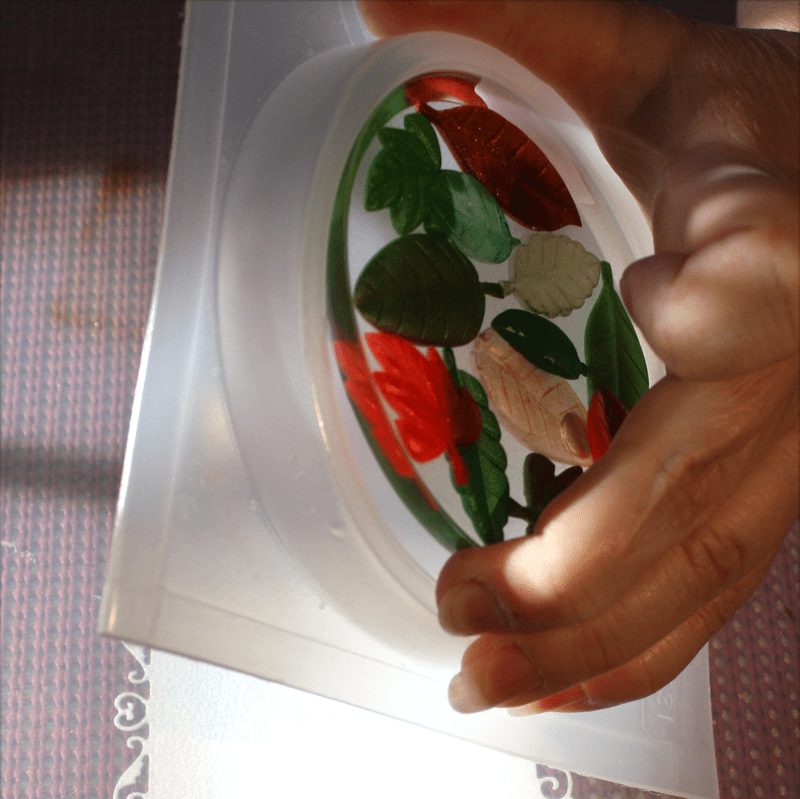
Removing the resin coaster from the mold
Your resin coasters should be ready to remove from the mold 12 to 24 hours after pouring your last resin layer. Carefully bend the mold while pressing from the center back of the mold. Continue lightly flexing the mold until you can lift part of the resin coaster free. Because we used mold release at the start, the coaster should come out easily.

Sanding
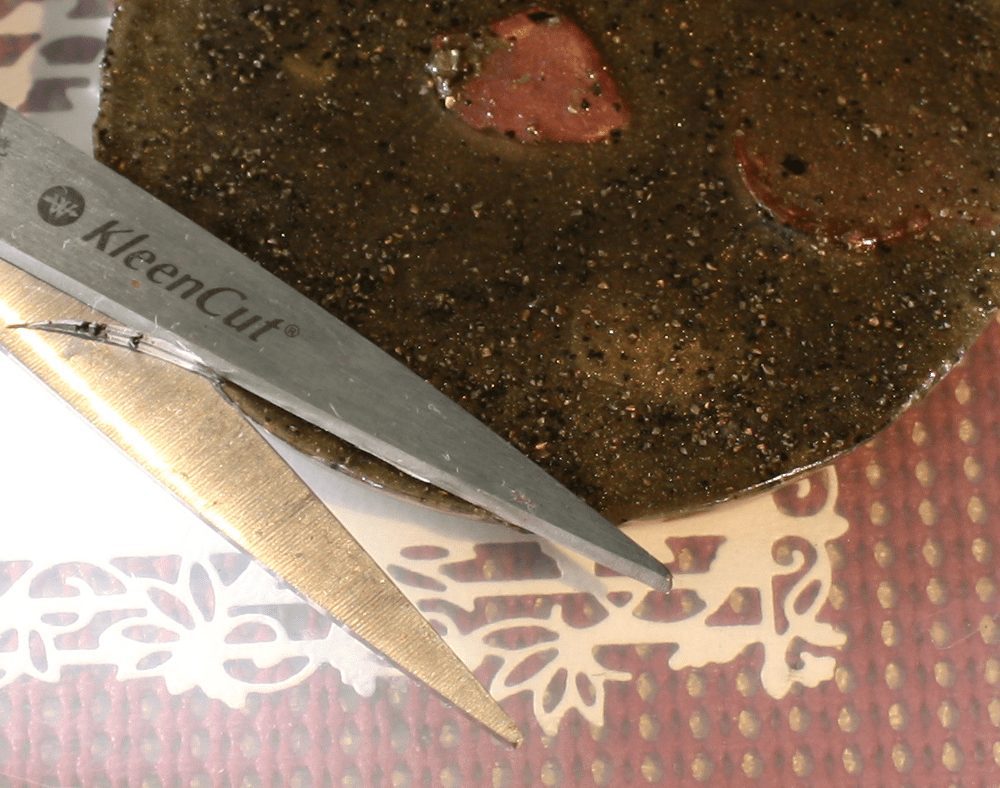
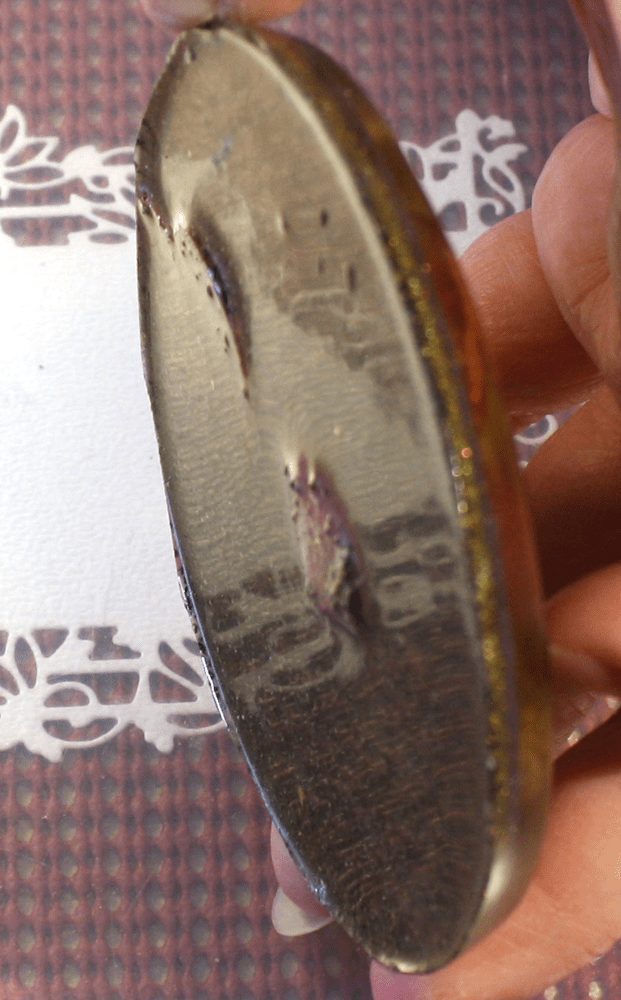
When you cast in a mold and don’t fill to the absolute top of the edge or dome, the resin will cure ever so slightly concave. This will leave a sharp and potentially uneven edge all around that’s difficult to show in pictures, but your fingers will feel it.
You can carefully cut away the majority of the sharp edge with a sharp pair of scissors. The resin is pretty thin in this location and can be simply cut away. Make sure you cut around the mold evenly.
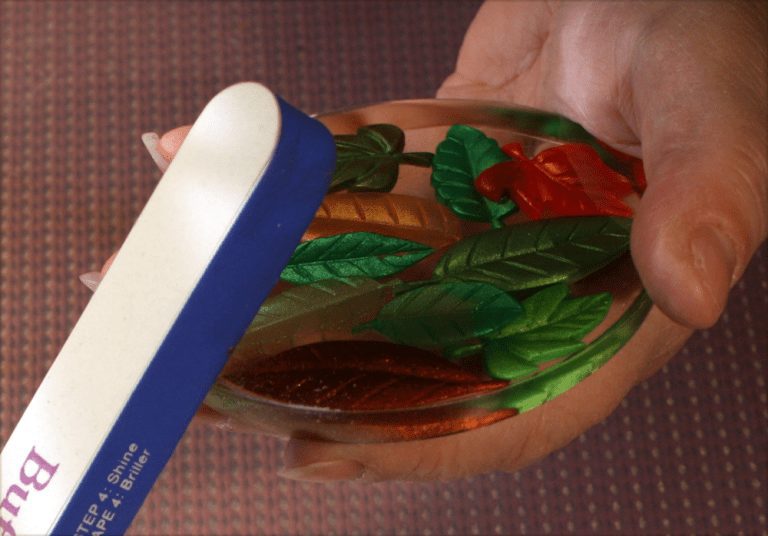
You can also sand the resin edge. A nail sander from the dollar store works great because it’s an easy shape to hold in your hand, and the sanding surface is not too coarse. You generally don’t want anything rougher than 400 grit.
Be sure to wear safety glasses and a dust mask any time you’re sanding resin.
💡 Pro tip: If some of your charms stick out of the back of your resin coasters, sand them down a bit.
Adding a Cork Base to the Resin Coaster
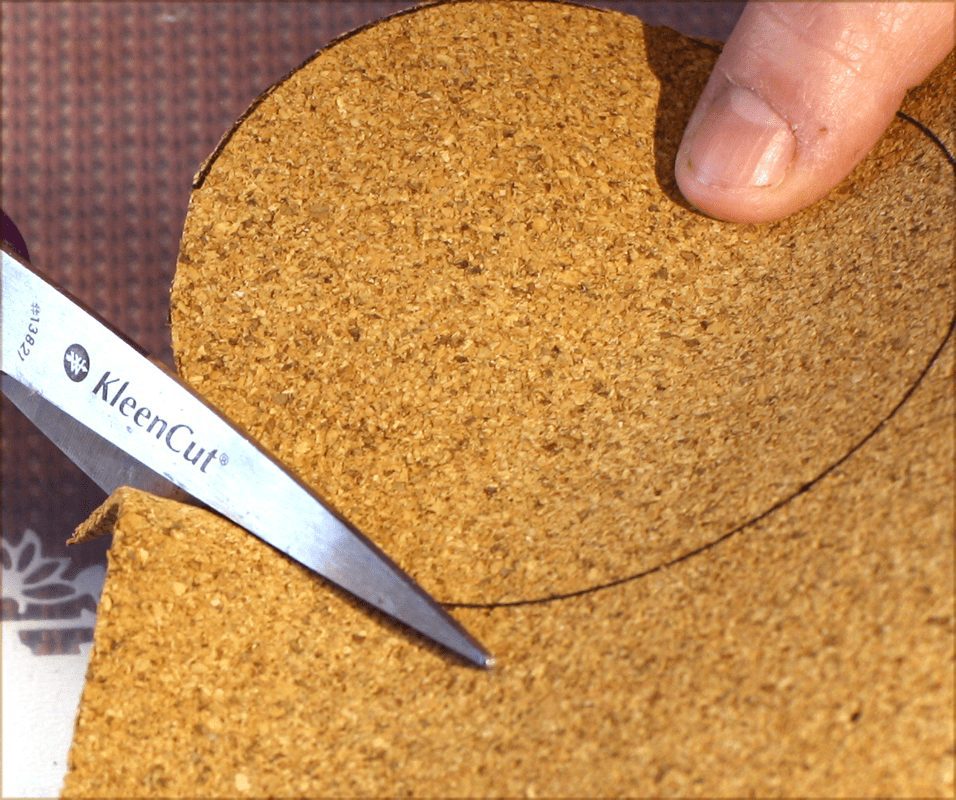
Since the shell coaster in this resin coasters DIY has an opaque bottom, this is a perfect time to add a cork bottom. It will also be less likely to scratch any surfaces. You could also use felt for this step.
Trace the mold onto the cork with a pen or pencil. Then, cut it out on the inside of the line.
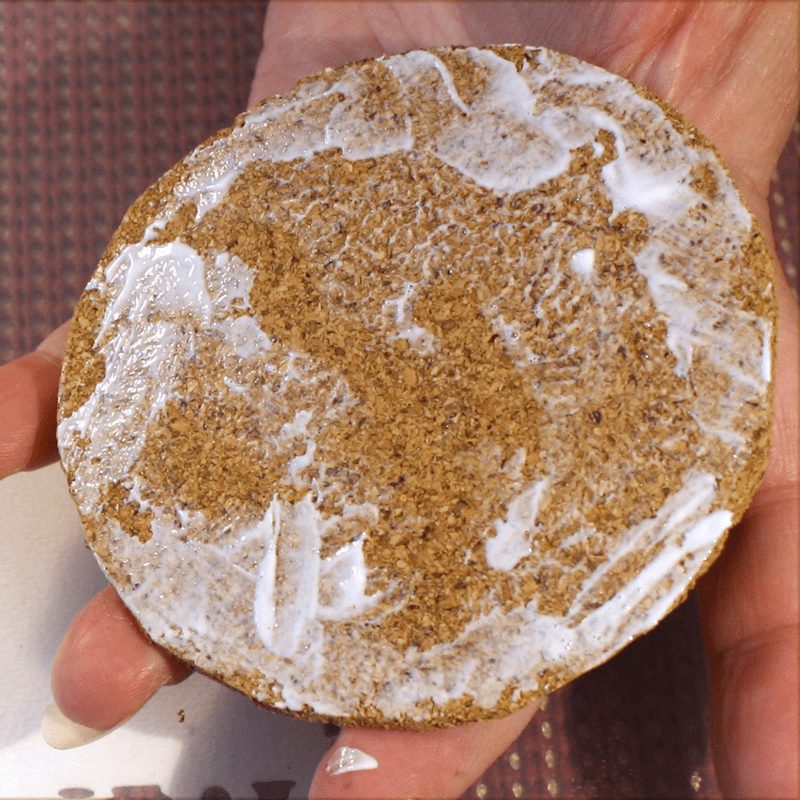
Slather the cork disc with craft glue. Be sure to get the glue out to the edges and not too thick.
Place the cork disc to the backside of the coaster and press firmly to adhere well.
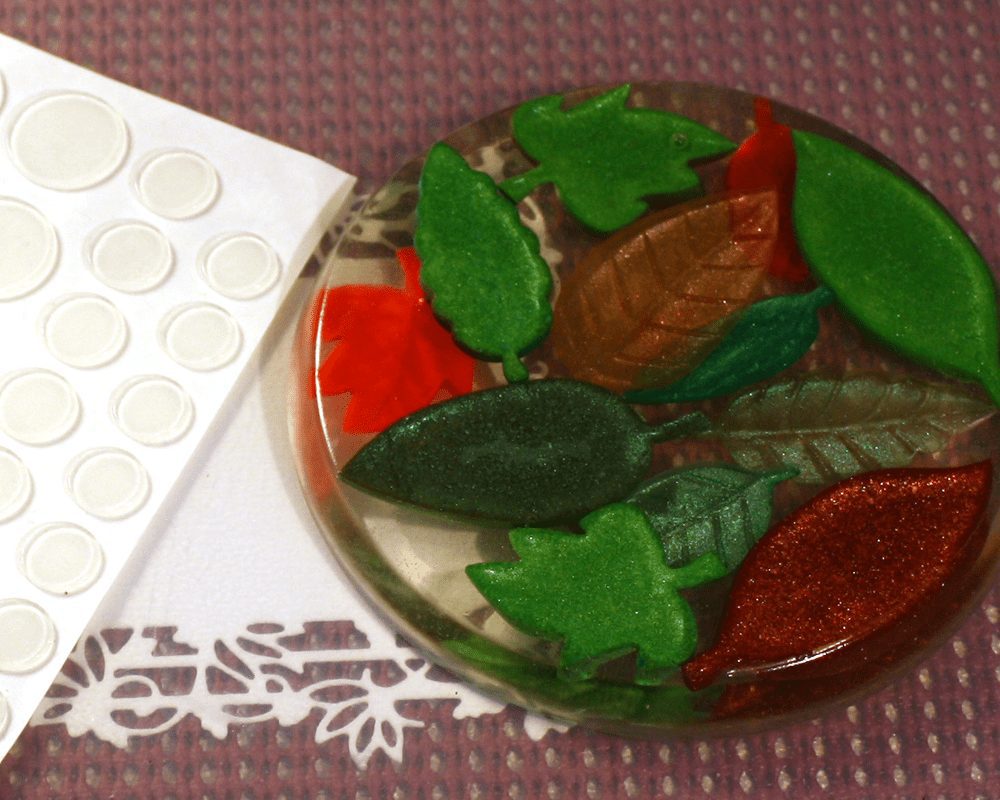
Adding Clear Dots to the Coaster Base
After the leaves design of our resin coaster project is fully cured, we can finish it, too.
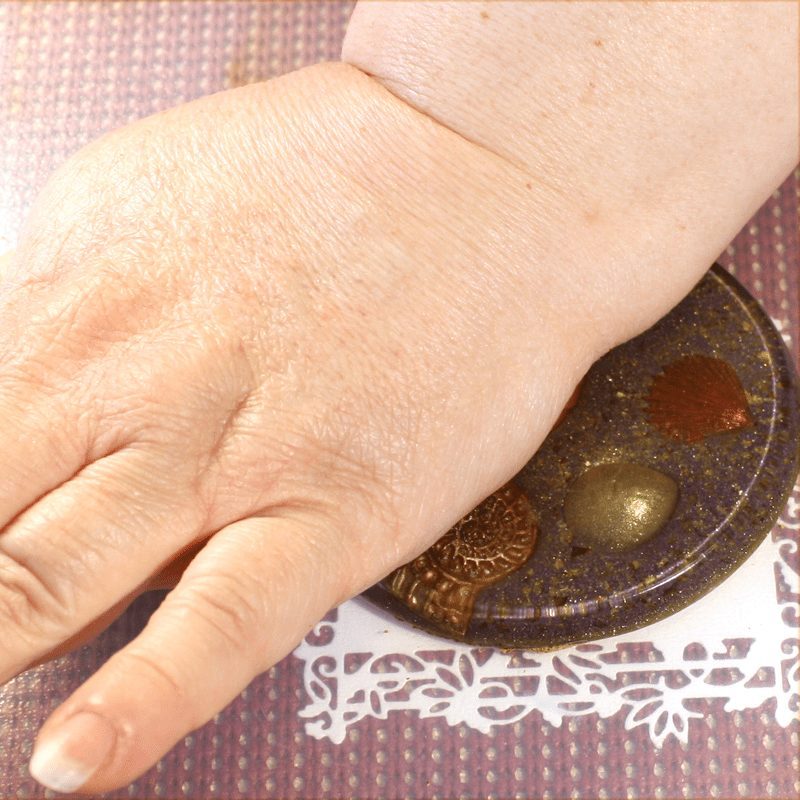
To preserve the transparent look of the coaster, we’ll add some clear dots to the bottom. This will help prevent the coaster from scuffing surfaces and keep it from moving. You can buy bumper pads at hardware or craft stores. They are usually in the area of hardware for hanging pictures or cabinet doors.
Most bumper pads are self-adhesive. Simply peel them off and stick them where you want.
Since I wanted a clean look with the leaves coaster, I placed them behind the opaque leaves. You want the pads evenly spaced, so the coaster doesn’t rock when something is placed on it.
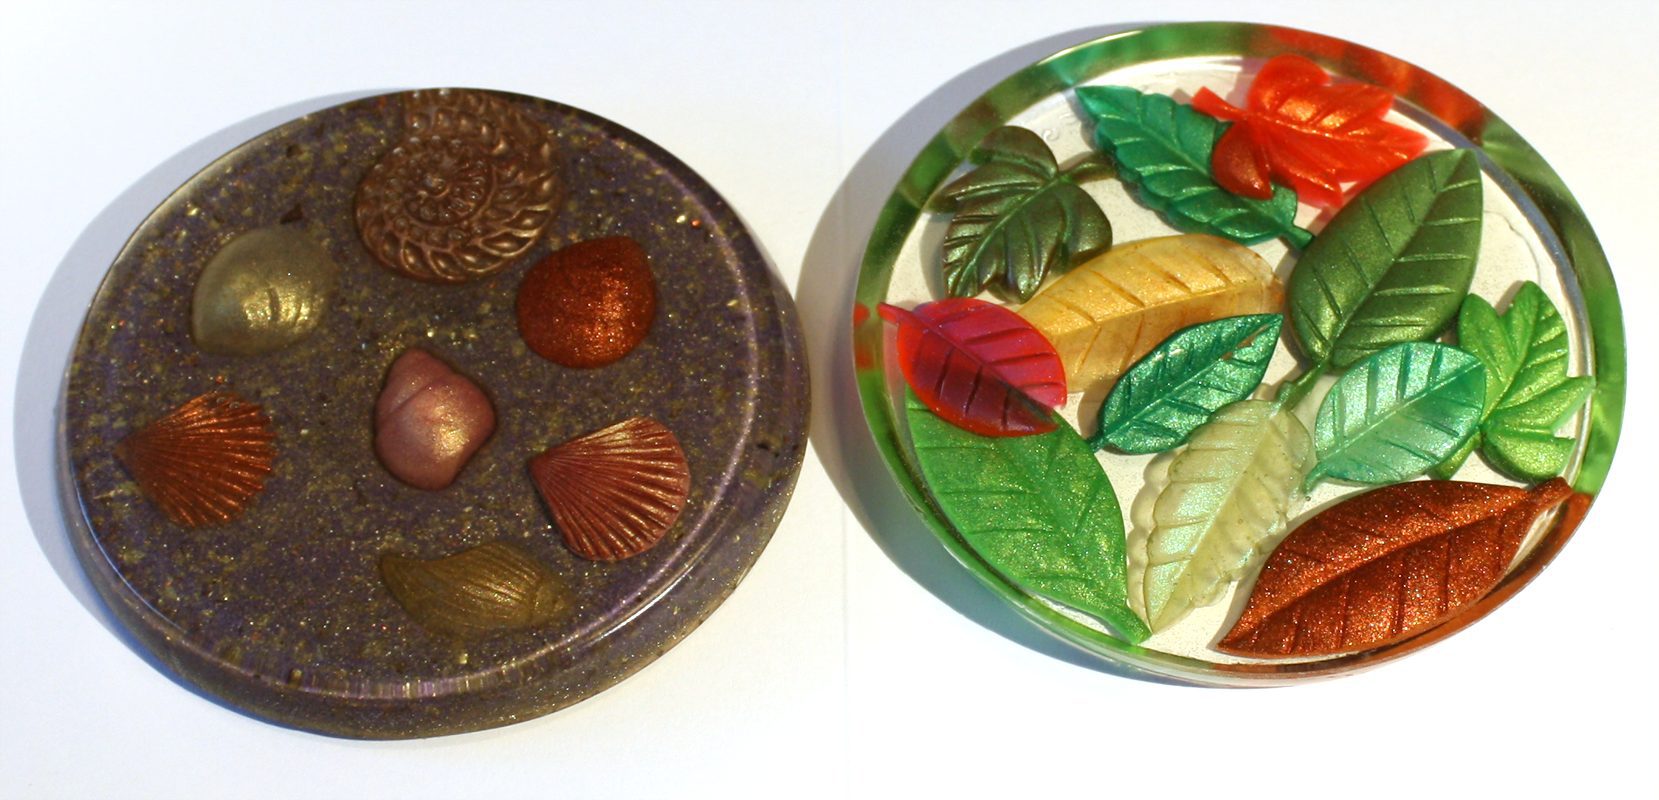
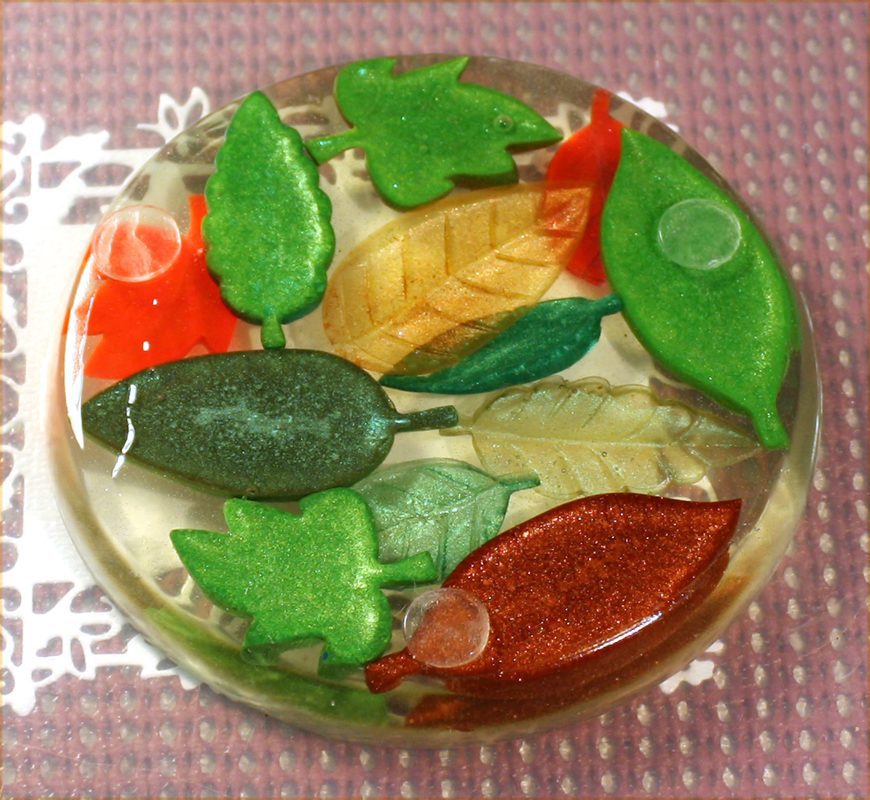
Finished Resin Coasters
Tada! We now have two resin coasters! It was fun making two styles using the same coaster mold. This resin coaster DIY also covered a lot of techniques you can apply to endless resin projects.
Ready to take on more projects beyond resin coasters?
Then you will want to get your copy of the instantly downloadable book, Ten Epoxy Craft Projects. You’ll get inspiration for the days you need resin ideas. Buy the PDF book now and you’ll get an email download link in minutes.
Originally written by Kate Ledum
Unpublished Blog Posts of Resin Obsession, LLC © 2023 Resin Obsession, LLC
Awesome I am going to make these with guitar picks for my husband and his friend.
hi, how is your spray? what’s are made of? or what can we use for mold?
Can you use put a picture inside the coaster? Just a regular photo?
Yes, that works well.
Does resin stick to glass? I have an idea for something similar but I want a free form edge so I’m looking for a surface to pour on. Would putting the mold release on a glass surface be enough?
Resin sticks to glass. Using a mold release will help, but I can’t guarantee it will work.
Looks amazing! I have sunflowers growing and I was thinking of cutting some of the heads and making a few coasters for my grandparents. Is mold release absolutely necessary with silicone molds or does it just make it easier to remove?
Great question Soona! I always use mold release. I describe why in this article: https://www.resinobsession.com/resin-frequently-asked-questions/resin-mold-release/
I have been making coasters with resin, but am running into the problem that when a mug with hot coffee/water whatever is placed on the coaster it leaves a ring on the coaster that doesn’t come off. What can you do to prevent this or stop this?
What kind/brand of resin are you using?
I use Famowood that is supposed to be for bars and such and is heat resistant to 110 degrees and Easy Cast.
Hi there,
I would also like to know what resin to use to avoid “heat rings” from hot beverages being set on coasters. Please don’t forget about us!
Please advise!
Thanks,
Renée
A polyester resin would likely be your best choice. We have one here: https://shop.resinobsession.com/collections/resin/products/castin-craft-polyester-resin-16-oz
Regarding the checking for bubbles on the underside – in order to keep the mold stable – could you move the mold (after the pour) onto a piece of plexiglas or glass so that you could easily pick it up and look at the bottom side of the mold?
I’m wanting to make a resin coaster with a river running through it. How can I separate these spaces so the colors don’t blend throughout? Any suggestions would be great, I’ve never done any resin work before.
We have a discussion about this going on in our forum: https://www.resinobsession.com/forums/topic/barrier-in-resin-painting-to-keep-areas-from-mixing
How do you keep drinks from sticking to the coasters? I’ve got them nice and flat, but drinks are sticking if the glass has any condensation on it.
Hmm. I don’t know.
I am trying to do a small desk top. I covered it with small shells and a few larger ones that I want to stick out a bit . I covered with polyurethane resin but it wasn’t enough . Later I covered with another thicker layer but I could not have been so careful it has not dried. What do I do ? Plus it still needs more. Advice please. I had nobody to advise me from the beginning.
I would try to clean off the uncured resin and use an epoxy resin instead. This one would be my choice: https://shop.resinobsession.com/collections/resin/products/alumilite-amazing-clear-cast-epoxy-resin-16-ounces
I would like to pour resin into a baked polymer clay ring dish. I would like to submerge a small dried flower from my father’s funeral into the resin. Which type of resin do you suggest?
How did you make those beautiful leaves 🍁
We have a leaves mold here: https://shop.resinobsession.com/products/leaves-mold-657-6-cavity
Where can I buy the coaster molds you are using in this project?
Hi Karen, we have coaster molds in our store here: https://shop.resinobsession.com/collections/molds/coaster
My friend Lindsay made me so many resins magnets and a coaster and I love them so much!!!!!!!!!
Do you recommend pre-coating ALL accessories on resin before adding to the coaster?
If you can, yes. It will help prevent bubbles.
thank you! I’m so excited to receive my order and get started! I ordered some dolls to take apart, inspired by your monster high bracelet.
Also, can you direct me to another blog that explains how to keep insertions from tipping?
Yeah! Can’t wait to see your doll bracelet.
I’m not sure I understand what you mean by ‘insertions from tipping’. Can you tell me more?
Sure! I’m not hip with resin lingo, so my apologies for the confusion!
I tested a bangle bracelet with small metal gear charms. Instead of staying the in the positions in which they were placed, they leaned forward or backward in the mold. Is there a way to prevent that? I used an epoxy resin.
Did you get an answer about insertions? I’d like to know too.
Thanx
Whenever I make coasters, even though they appear nice and dry and smooth, the glasses stick to them. Even if they are empty with no hot or cold liquid in them.Apparently, many resiners have the same problem.
Hi Adele! I didn’t. I’ve abandoned bracelets and am perfecting coasters. What I’ve learned, and is probably relevant to the tipping problem, is two things: wall building or waiting. If you want an inclusion to sit a certain way, it has to be supported by a cured wall of resin. I’ve also learned that waiting 30-40 minutes, before inserting, let’s the resin thicken. At that point, you just have to be diligent about keeping things upright until the resin cures to where it’s just about gel. Perhaps YouTube has the answer!
Love this article. So much good informatiin. I love making resin crafts, picture framed glass, coasters, sun catchers. This is the best explanation I have seen, and I have read many before starting! Thank you!
Thanks so much Della!
On a dresser tray made from resin (to keep rings perfume bottles on), if perfume drips on it will that ruin the finish?
Hi Marion, I wouldn’t expect it to, but I can’t say for sure. If you wipe it up right away, you should be fine.
I made six resin coasters with molds. Three dries good but the other 3 did not. Still sticky after 3 weeks. Is there anything I can do?
Hi Sandy! Ugh, I hate sticky coasters too. This article will give you some ideas on how to fix them: https://www.resinobsession.com/resin-frequently-asked-questions/how-to-fix-sticky-resin/
Hello
Can you pls tell me how to make sure my projects don’t concave?? I’ve tried to fill like suggested but then it ran over. How do you do it??? HELP!!! Thank you
Hi Cindy, unfortunately, there is no easy way to keep this from happening. The more you work with a specific resin, the more you will gain a feeling on how much to overpour so that it shrinks close to flat.
Are they heat resistant? Can I put There A coffe or only A glass od water? Because my resin coasters are not heat resistant
Hi Alek, in general, you can only put a warm mug on cured resin.
Do you know how to make the blooming resin coasters. What paint or inks should I use for the white? I love them and want to make some.
Hi Beth, that sounds like a good future tutorial. Thanks for the suggestion. 😉
I generally use 1to 1 ratio for my resin. It states to measure by volume. All videos I’ve watched seems to measure by grams, oz, or ml. Is there a difference?
Hi Susan, yes, there is a difference. If you measure a 1:1 resin by weight, you’ll likely use up hardener faster than you would be measuring by volume. This article explains more: https://www.resinobsession.com/resin-frequently-asked-questions/mixing-resin/