
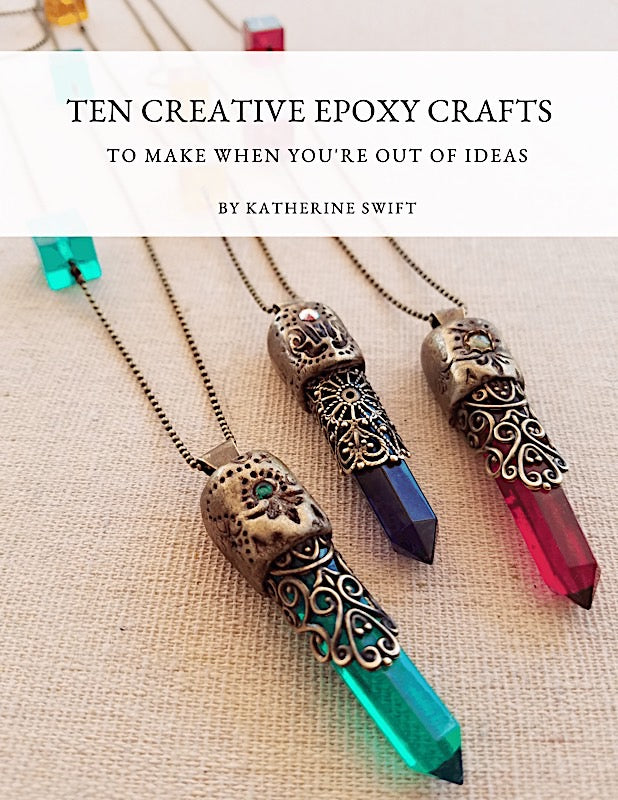
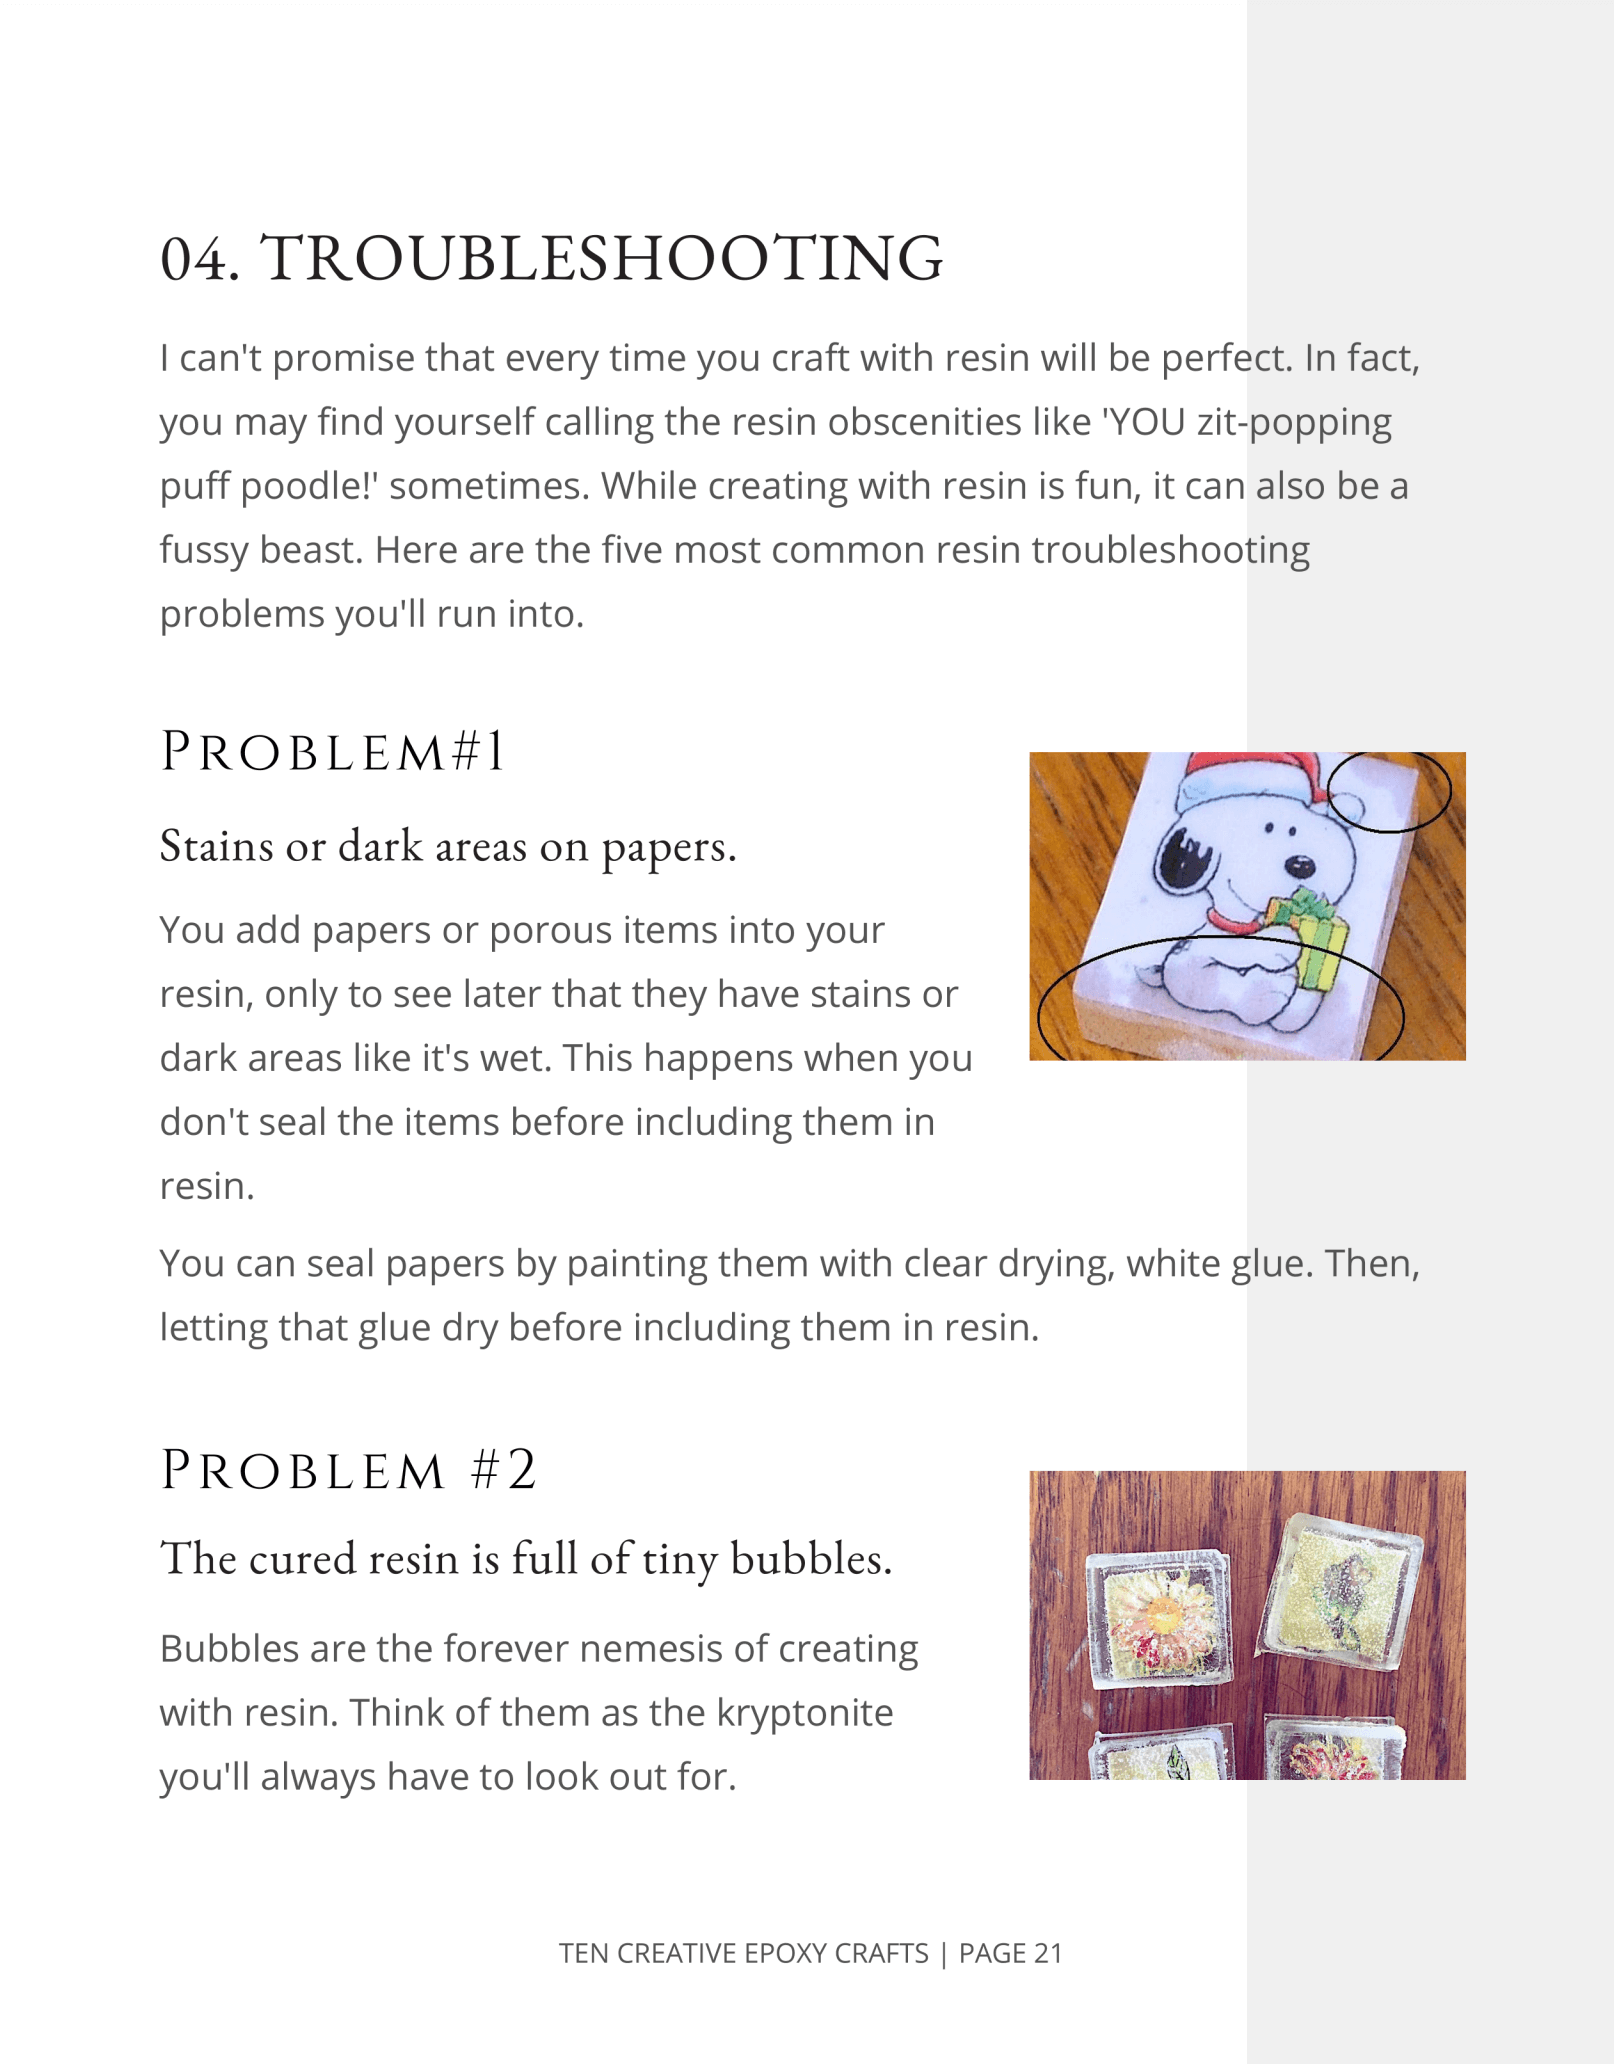

Ten Epoxy Craft Projects - Resin Crafting Book
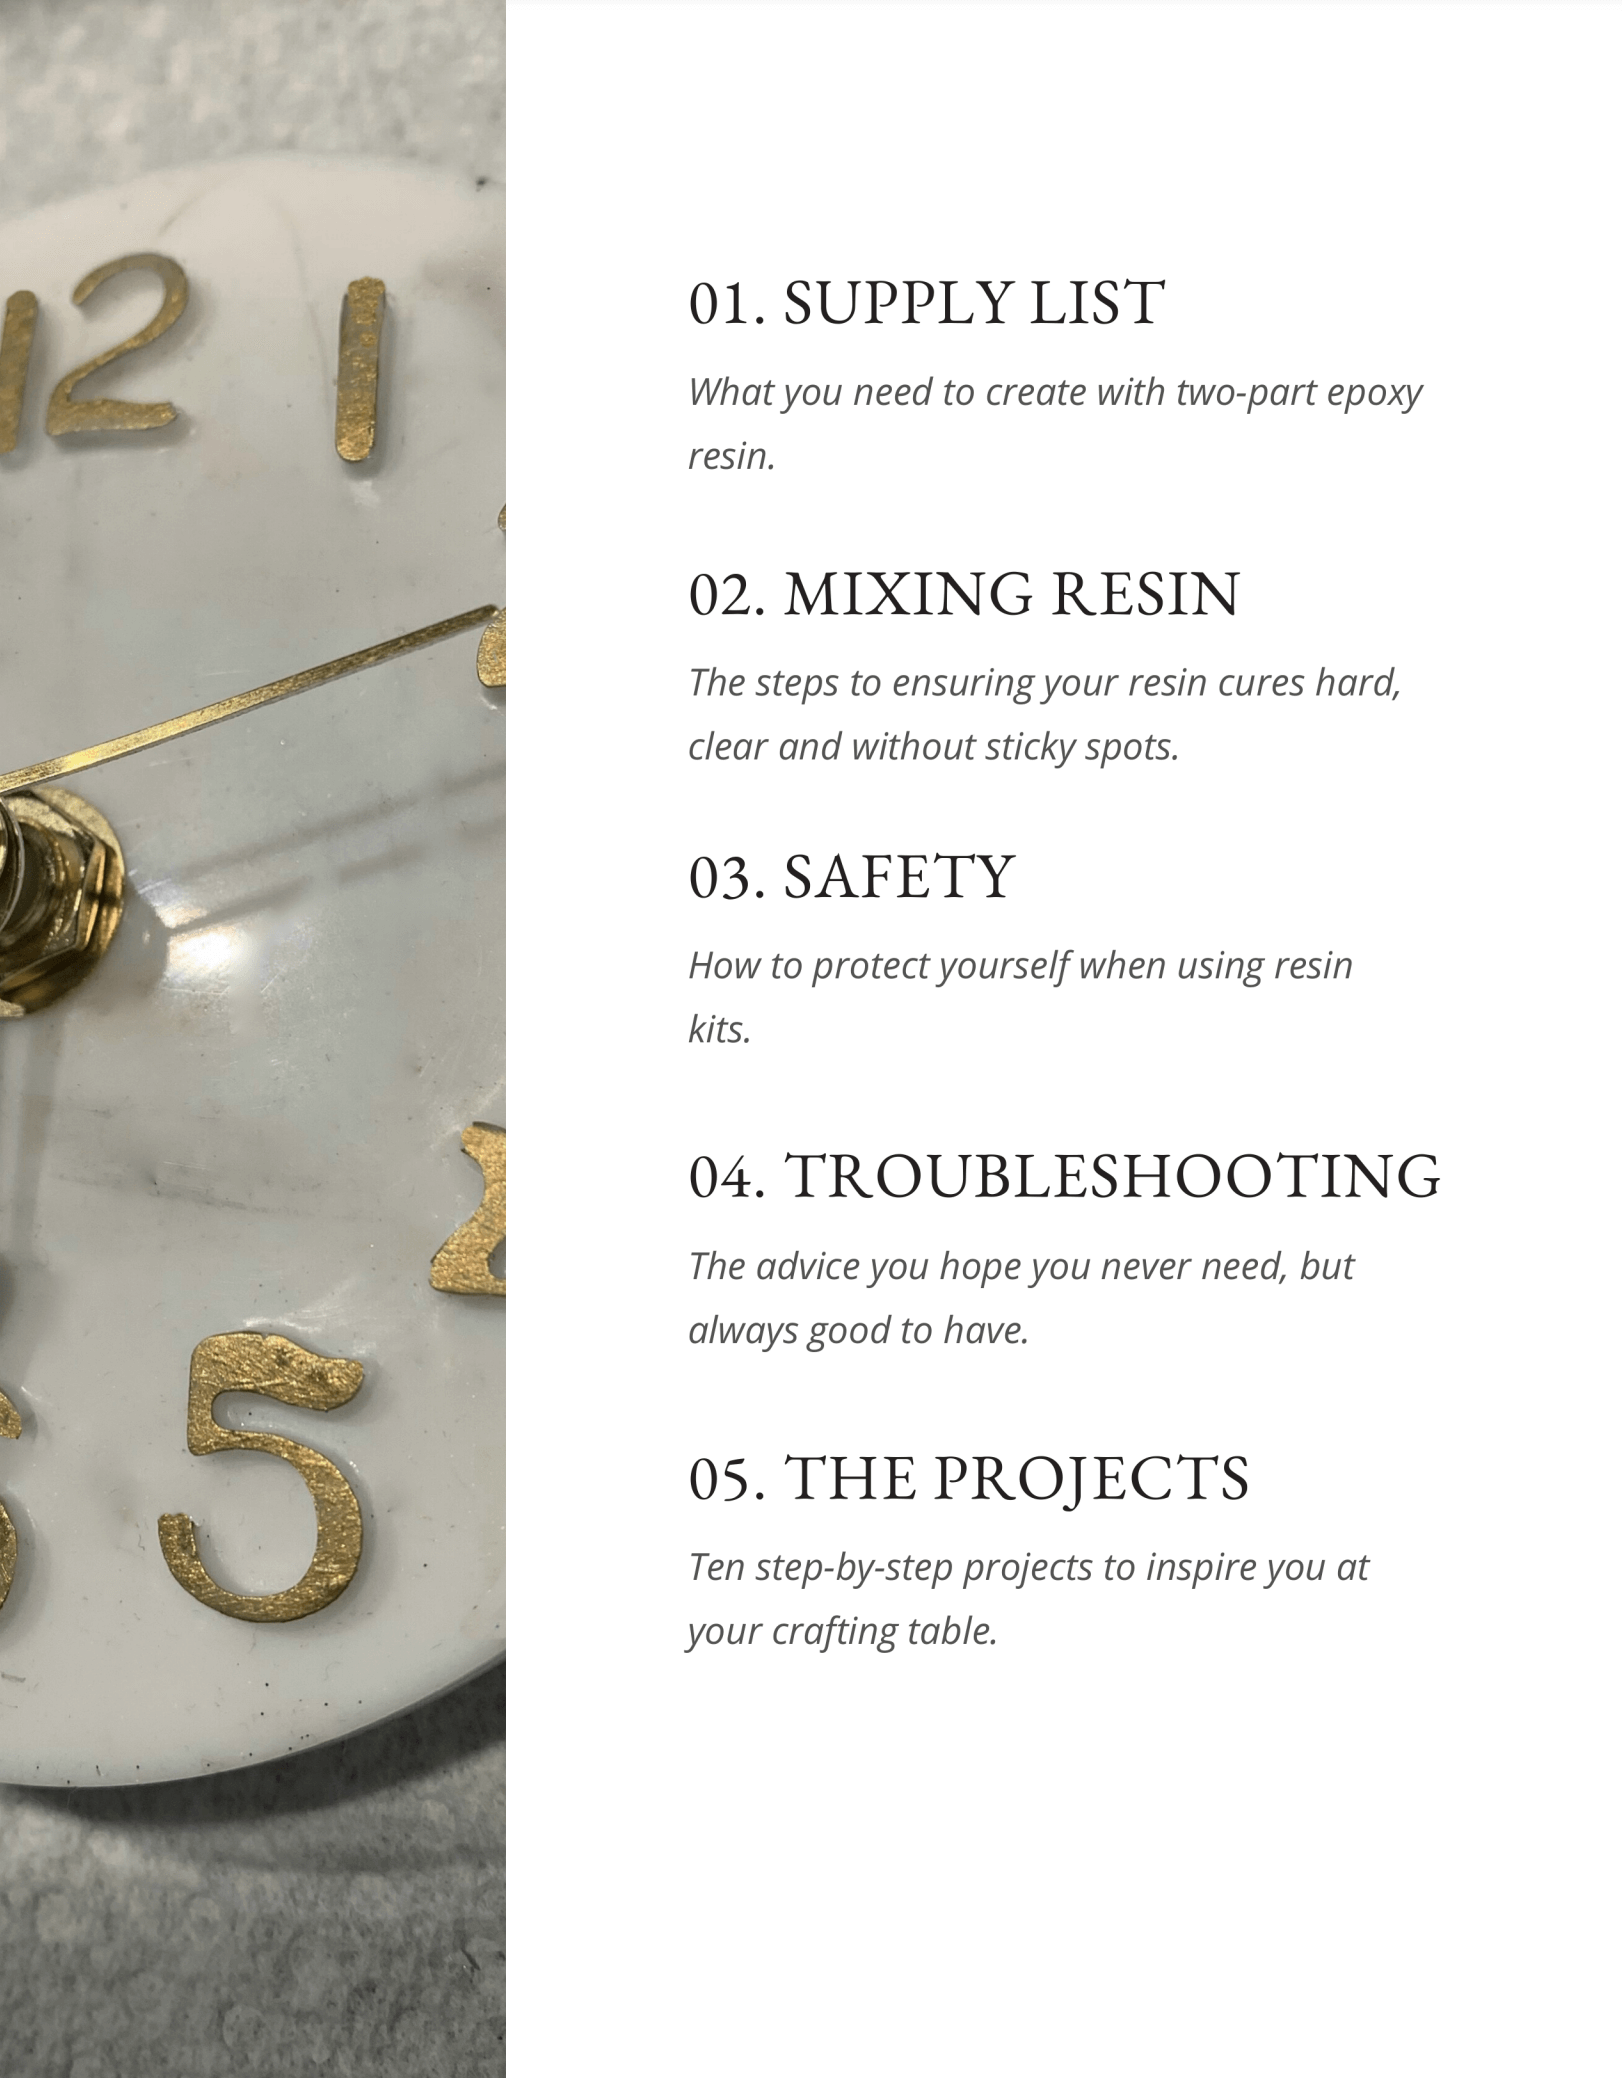
- Details
- How to Use
- Shipping & Returns
Tired of searching for inventive resin ideas only to see the same projects over and over? In an unimaginative dead space and looking for a quick fix to get your artistic juices flowing? Or maybe your resin ideas are feeling boring, and you need a pick-me-up. FAST. Get ten creative ideas for crafts with epoxy resin in this book. They're perfect to inspire you when you need a jump on what to make next.
This book is for those with prior resin experience. If you're a beginner, check out Resin Fundamentals. It's the perfect book for those new to epoxy resin.
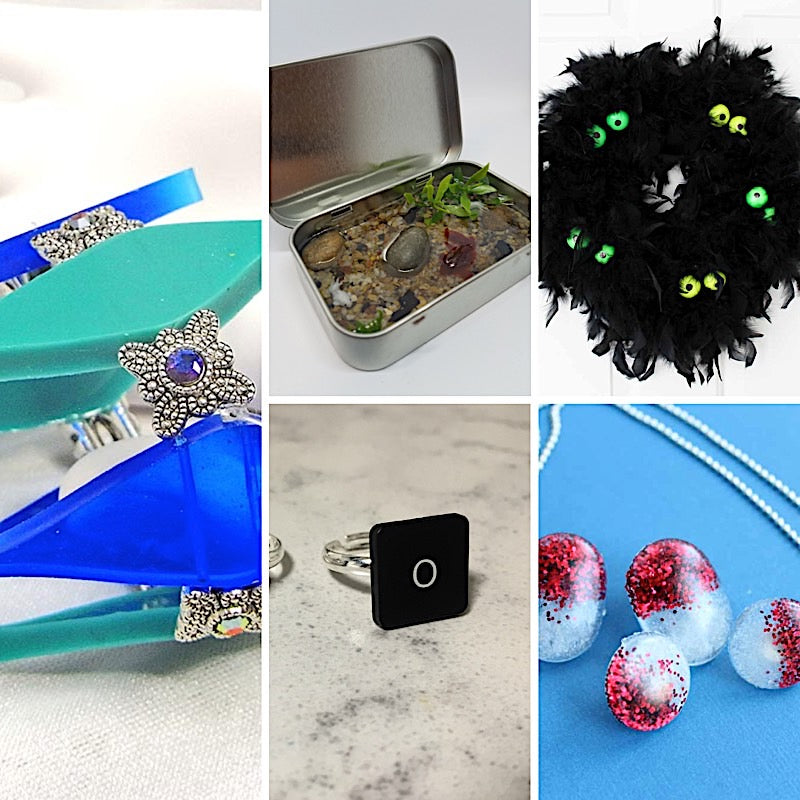
After a few resin reminder chapters, you'll get ten projects that include supply list, pictures, and step by step instructions.
You'll learn how to:
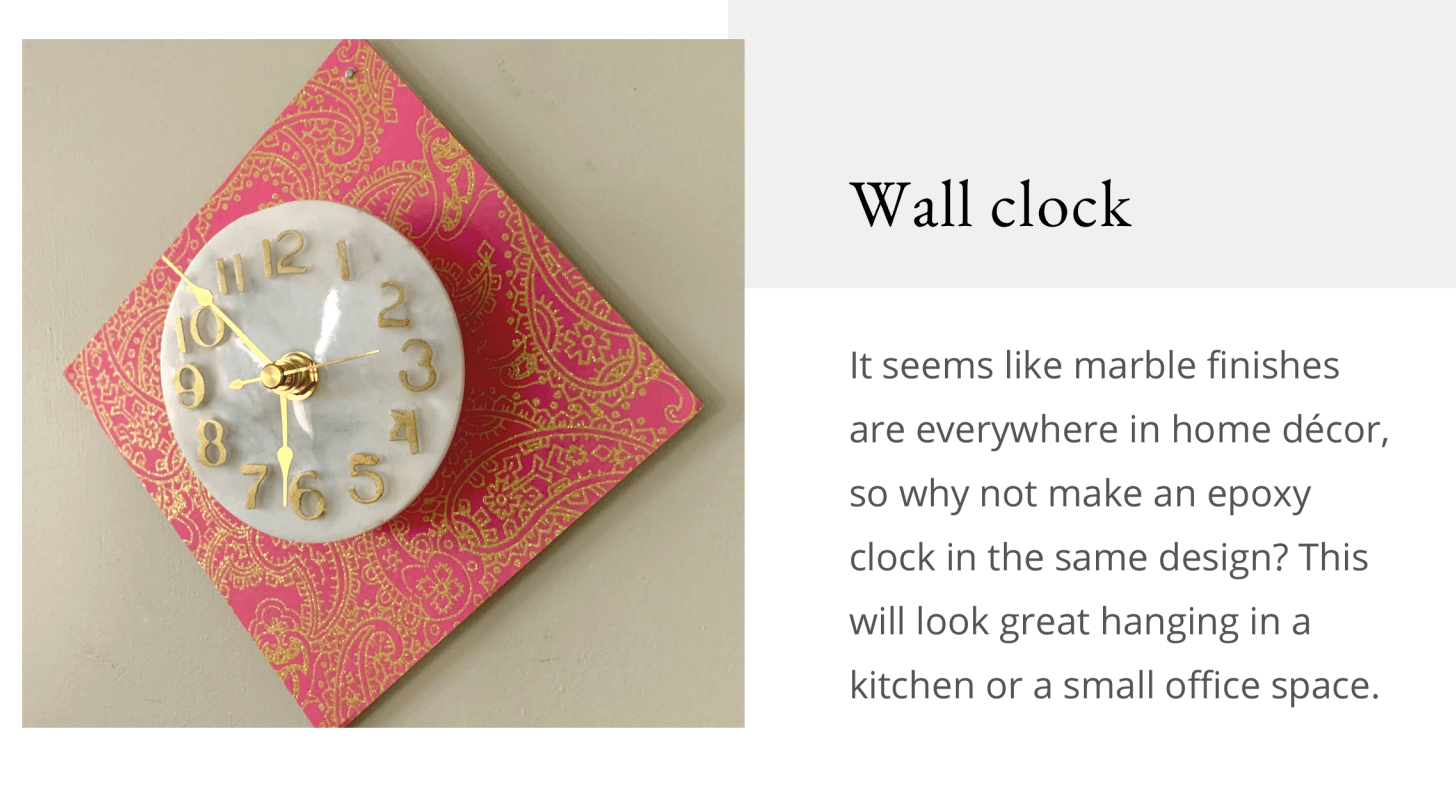
- Make a decorative wall clock
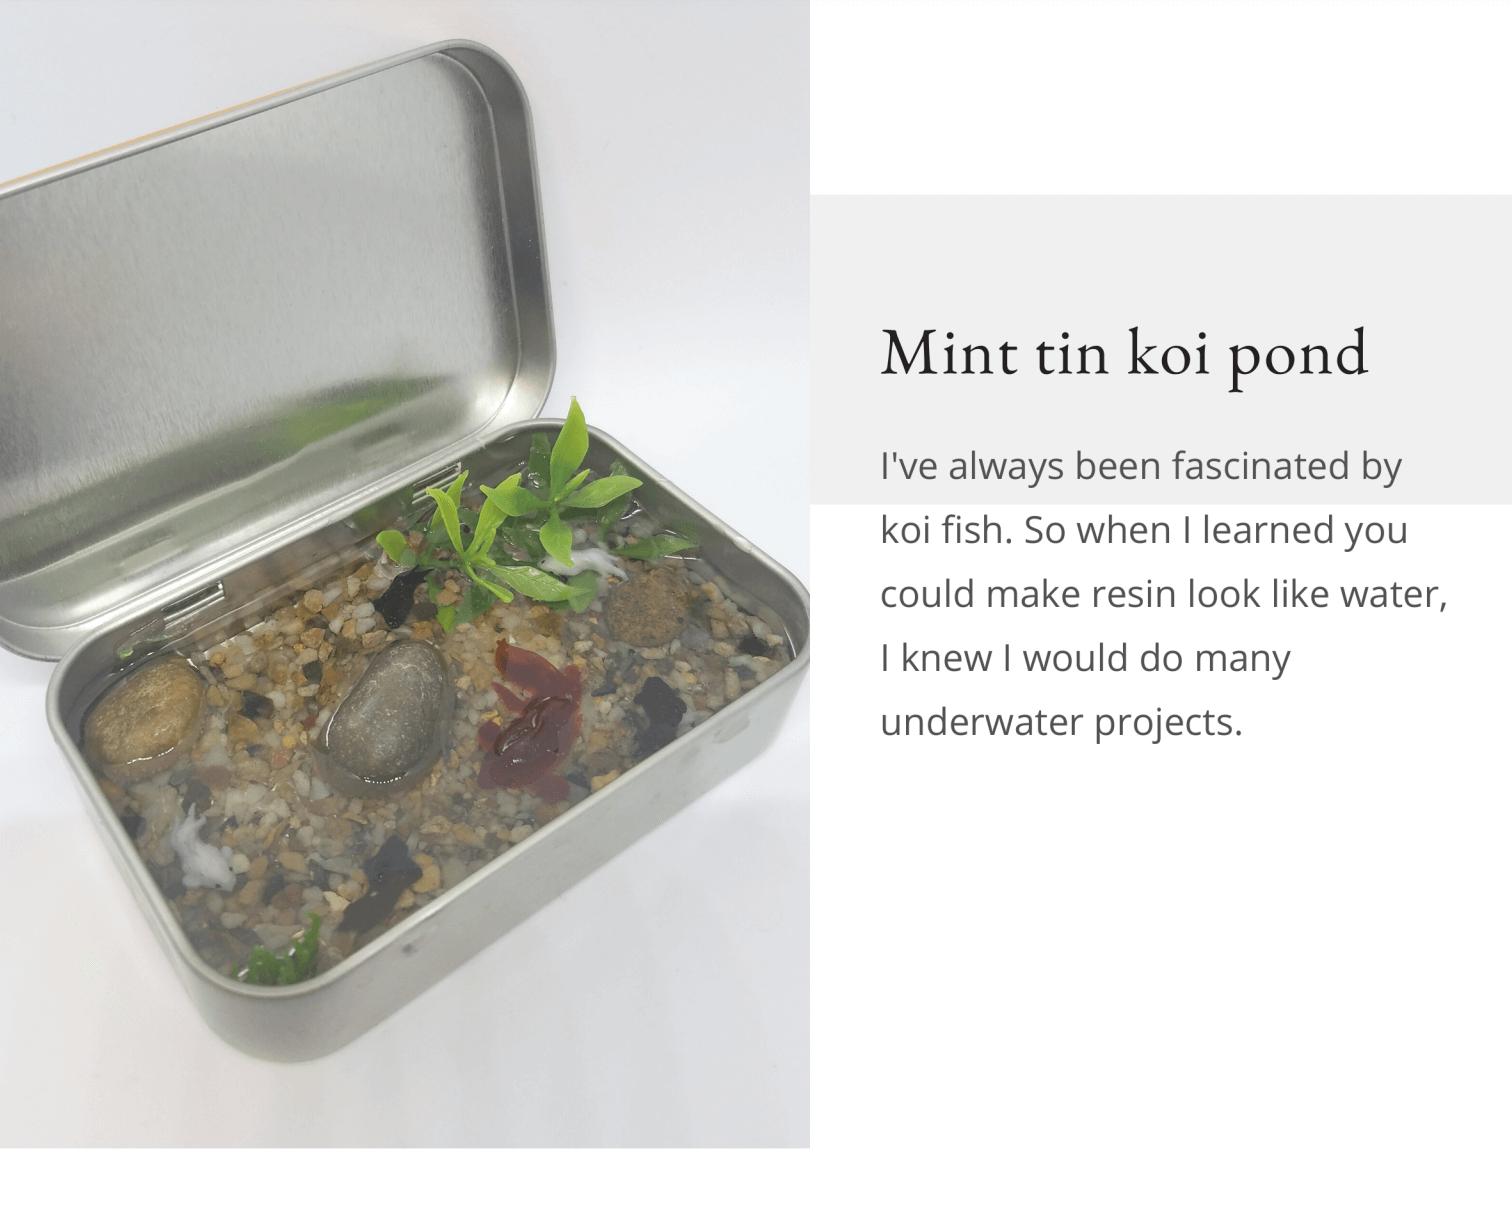
- Recycle a mint tin into a koi pond
- Craft lookalike gemstone crystal pendants
- Turn a broken keyboard into a resin ring
- Use an unusual silicone mold to make a bracelet
- Create a jewelry set for a book party
- Emulate a beloved brick toy into a jewelry set
- Upcycle a plain pumpkin into a gorgeous centerpiece
- Construct a cute and not-so-scary Halloween wreath
- Combine resin with concrete to make a coaster set
You can remake any of the projects to keep, gift, or sell.
And you'll love having these creative ideas in your back pocket for when you're needing a nudge. You might even find that the projects inspire you to create something new and amazing, in your style.
Stop the mindless social scroll waiting for something to inspire you. Buy this epoxy crafting book and know you'll make something GORGEOUS.
Here's how to get to your copy of this epoxy craft projects book:
Step 1: Buy the book, being sure to check out with your email address.
Step 2: Check your email in a couple of minutes for an email with the download link for the resin book PDF.
Step 3: Learn the details in this resin resource and get ready to make something beautiful.
While this book is geared toward beginners, all skill levels will enjoy making the projects and learning from Katherine’s passion for resin, including her exclusive ‘pro’ tips. Put an end to feeling hesitant about getting started. Buy this book and know that you can handle any project and have the confidence it will be magnificent!
You will love that you can make all the projects with a small crafting budget. So, instead of wasting money on supplies, take pleasure in learning how to do things right the first time. And, you can recreate the resin jewelry to keep, share or even sell.
This PDF download can be downloaded to any computer and shared with your favorite tablet. After purchase, you will receive an email on how to get your copy of the book.
Need a hard version? Simply print the PDF. In order to receive the download link for the book, please provide an email address when completing your order.
You will have up to 30 days to complete the download. You will not be mailed a hard copy. Digital download books are not accepted for return or exchange.