
 Resin coasters are one of my favorite things to make. You can easily design them to fit the décor of a room, plus they make a great gift. And speaking of gifts, let’s talk about doing a coasters DIY for Father’s Day this year.
Dad doesn’t need another tie. (ICYMI, casual Friday is now casual every day)
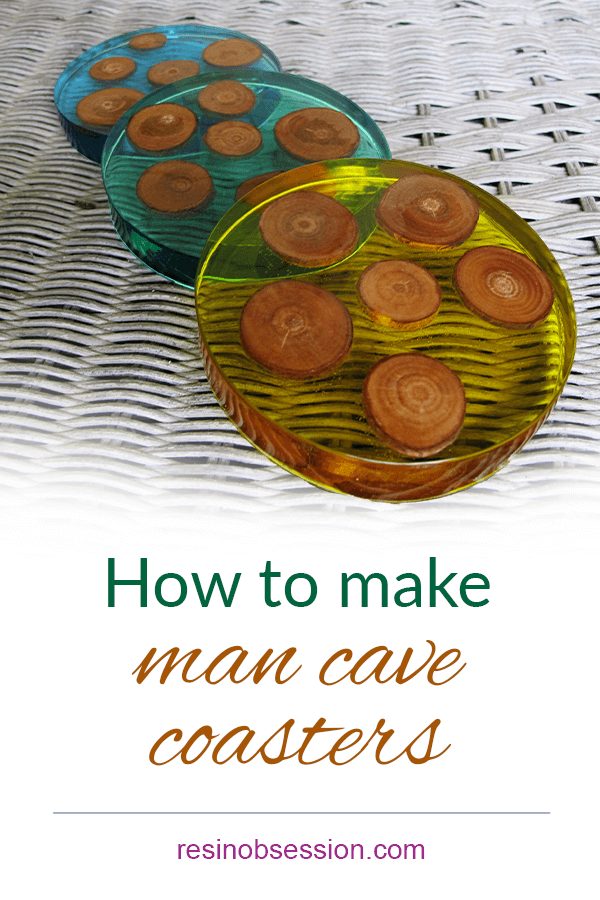
How about spicing up his man cave with a few wood and resin coasters? I promise they’ll hold is favorite beverage (and you’ll be happy the table won’t get ring marks).
Resin supplies list:
Epoxy casting resin
Coaster mold
Wood slices in assorted sizes
Transparent resin colors
Heat gun
Sandpaper in assorted grits from 400 to 800
Step 1: Seal the wood slices
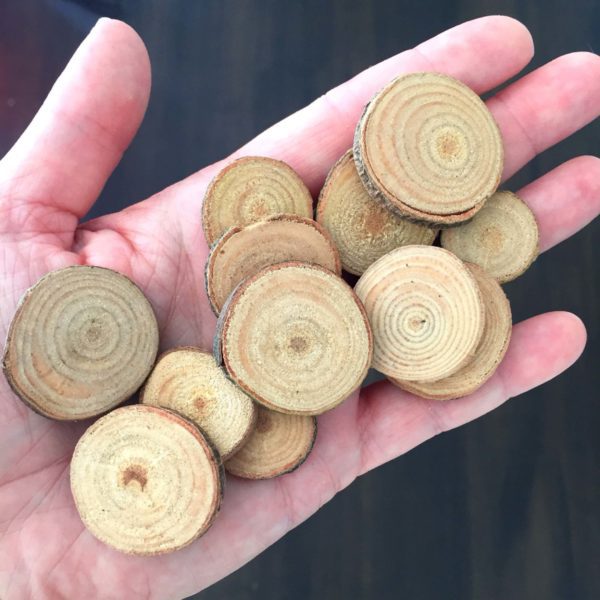
Because the wood is porous, it will leak air bubbles into the resin. To keep this from happening, you will need to seal them with resin.
Cover the wood slices with a thin layer of resin that soaks into the wood. This lets air bubbles come to the surface and pop. Then, the remaining air bubbles are sealed inside and won’t come out when you use the slices in your resin mold.
Step 2: Place the wood in the mold
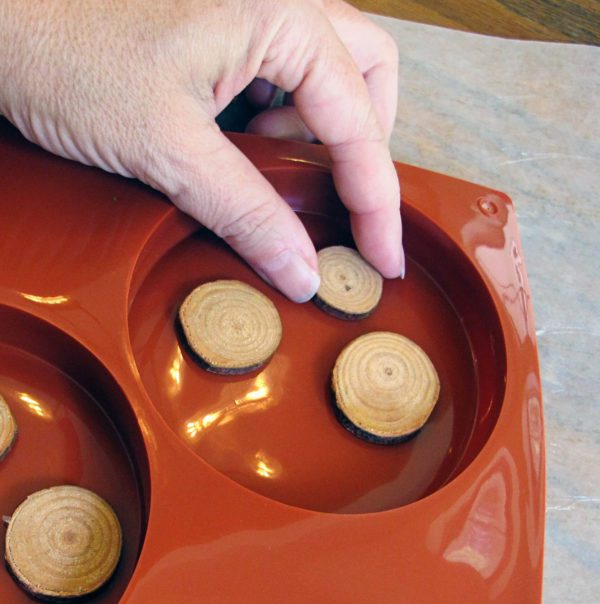
Place wood slices in random patterns in the silicone coaster mold. Be sure the pieces lie flat and fit comfortably in the mold cavity. The wood surface you put face down in the mold cavity will face up when you demold your resin coasters.
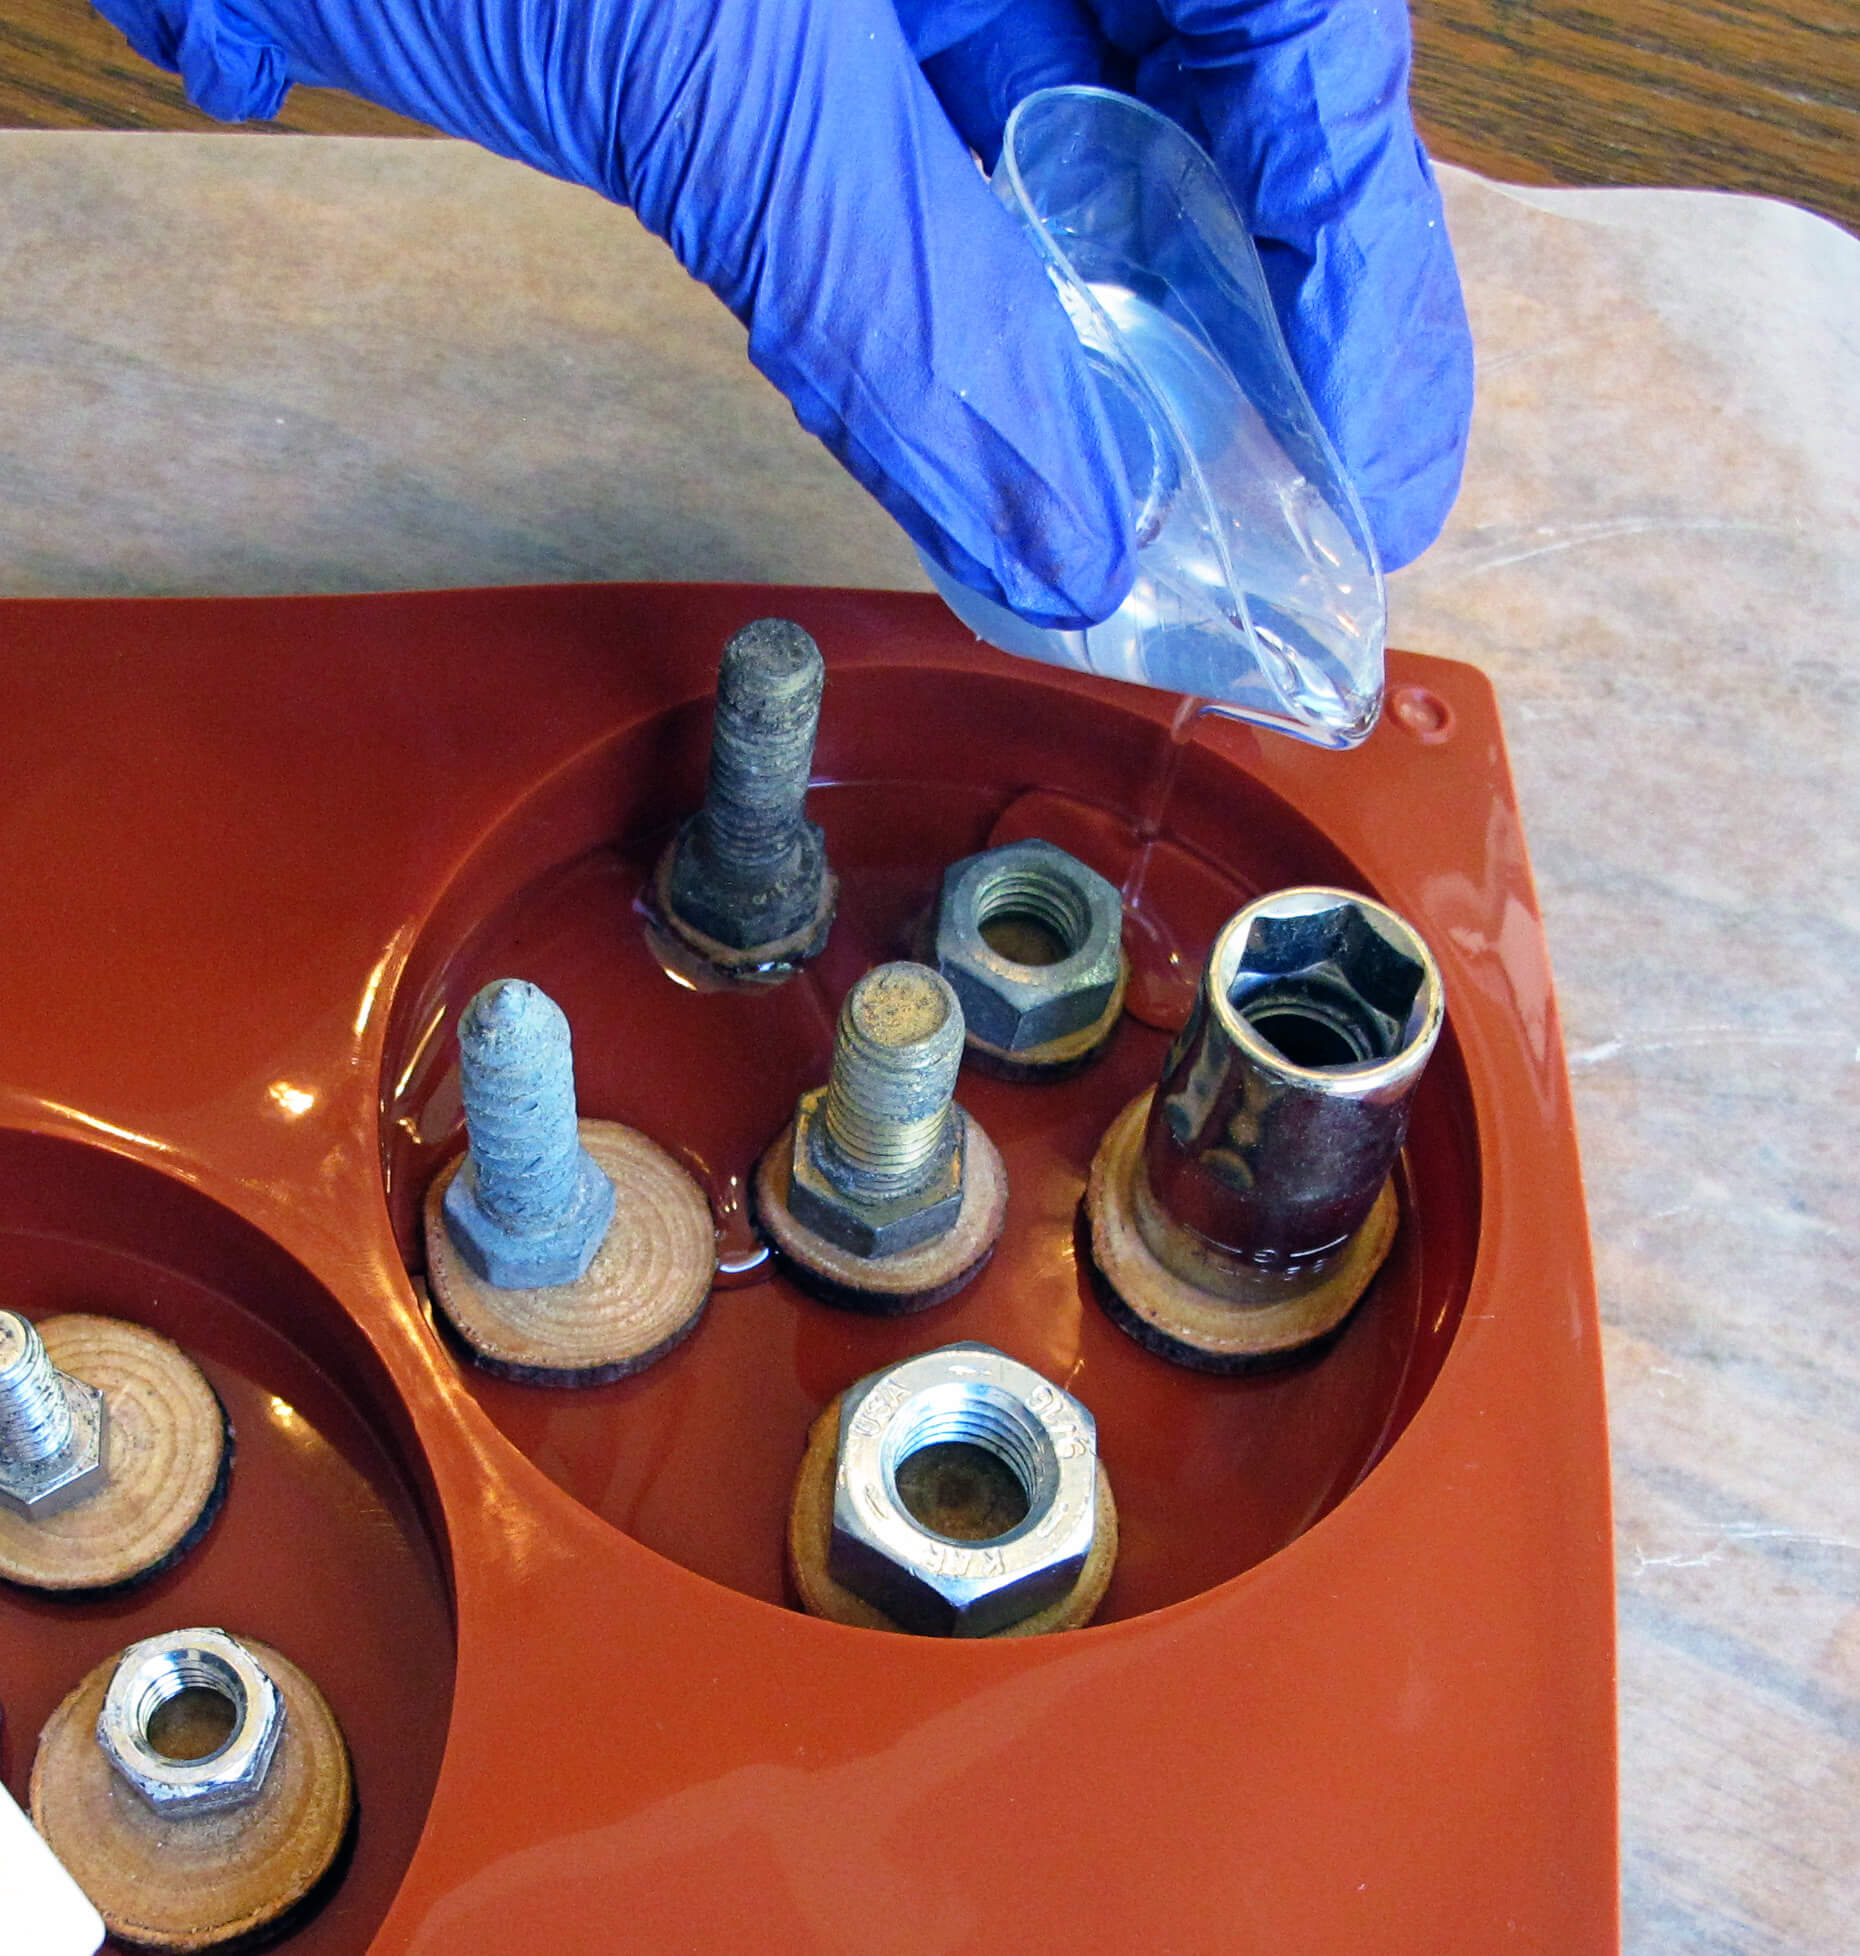
Step 3: Weigh down the slices
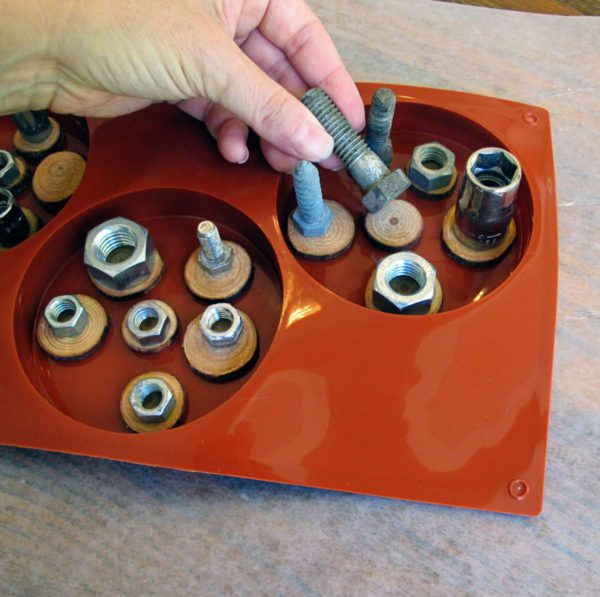
Because wood is lightweight, you will need to weigh them down before pouring the resin. A random assortment of nuts and bolts suffices for this step.
(Who knew that the Father’s Day gift you got him last year would be important for this DIY coasters project?)
Step 3: Mix and pour the first resin layer
Mix and pour enough resin to cover the bottom of the mold and a couple of millimeters up the sides of the wood slices. It takes 1/2 ounce of resin in each cavity for this layer for this coaster mold.
💡 Pro tip: Be sure not to get resin on your weights; otherwise, the weights will permanently stick to the wood slices. Not to mention, you’ll have a hard time explaining why two Father’s Day gifts ended up in the same DIY coasters project.
Go over the resin surface with a heat gun before setting it aside to cure. Let the resin fully cure before proceeding.
Step 4: Fill the mold with colored resin
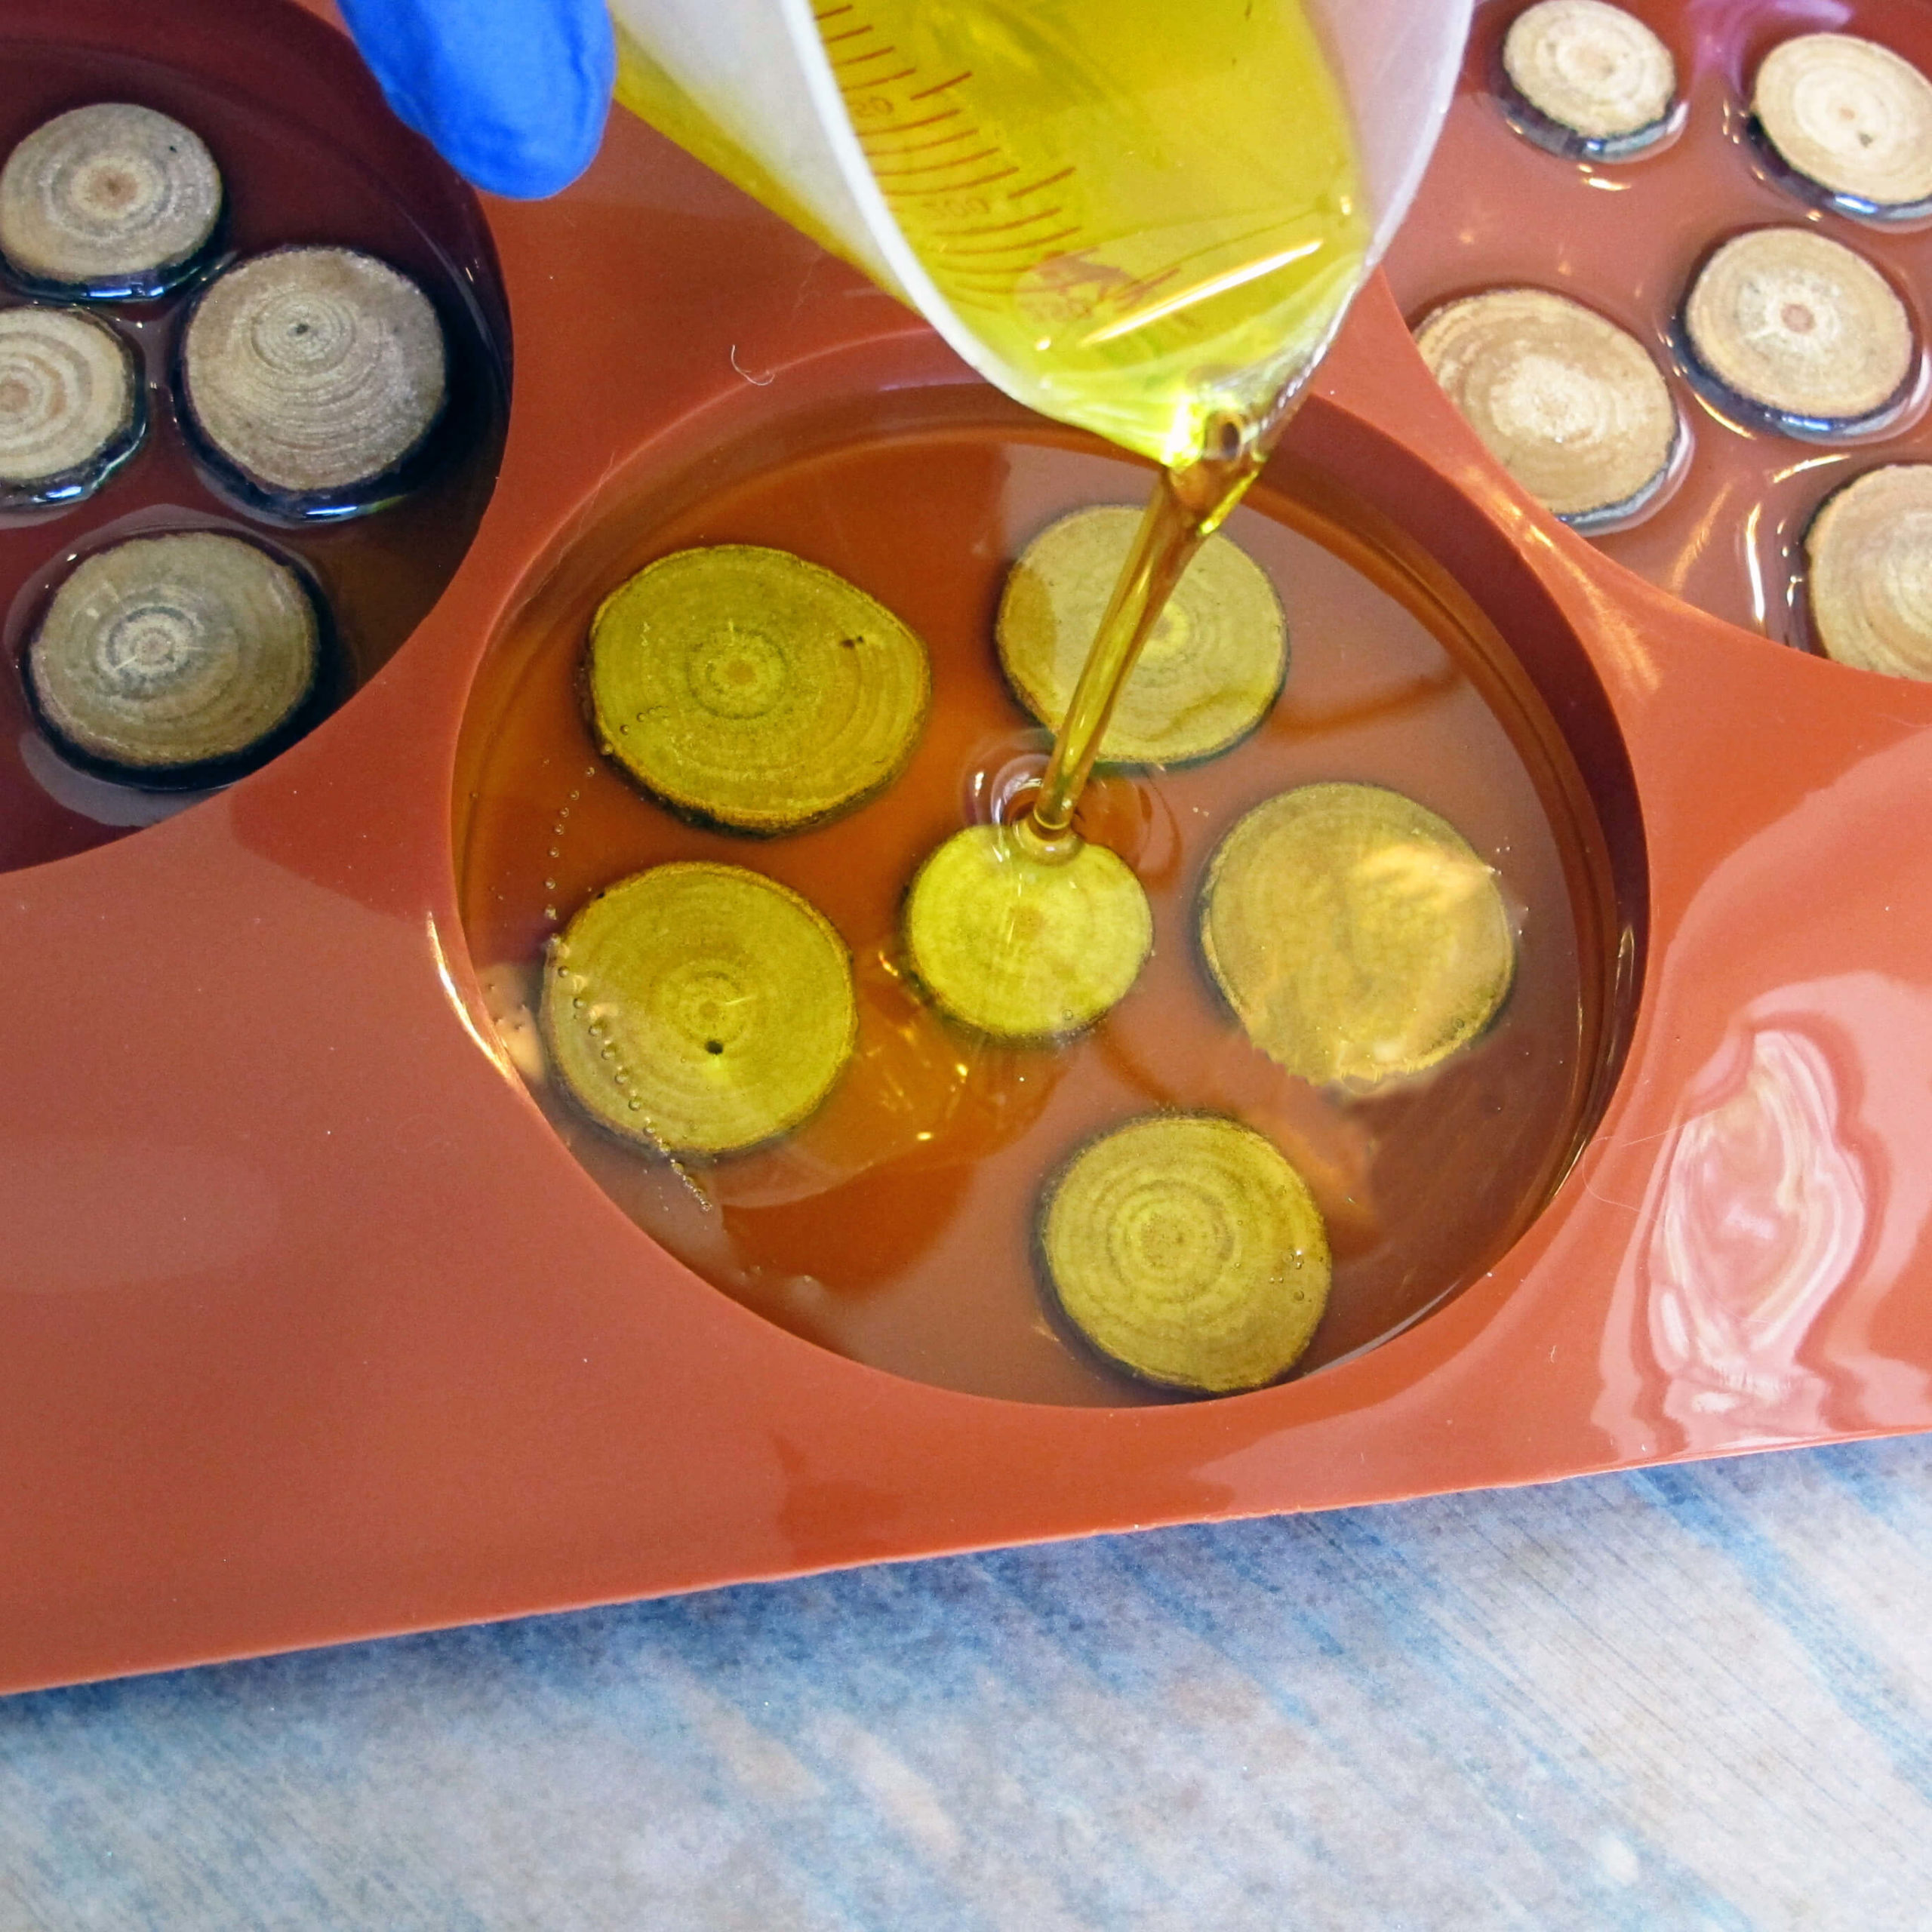
Remove the weights from the wood slices. Mix and pour enough resin to fill up the mold cavities completely. For each cavity, that will take 4 ounces.
⭐️ BONUS: If you aren’t sure how much resin you need, this resin calculator does the math for you.
Once you mix the clear epoxy resin, add a small amount of transparent resin pigment to color it.
Fill the resin mold cavities.
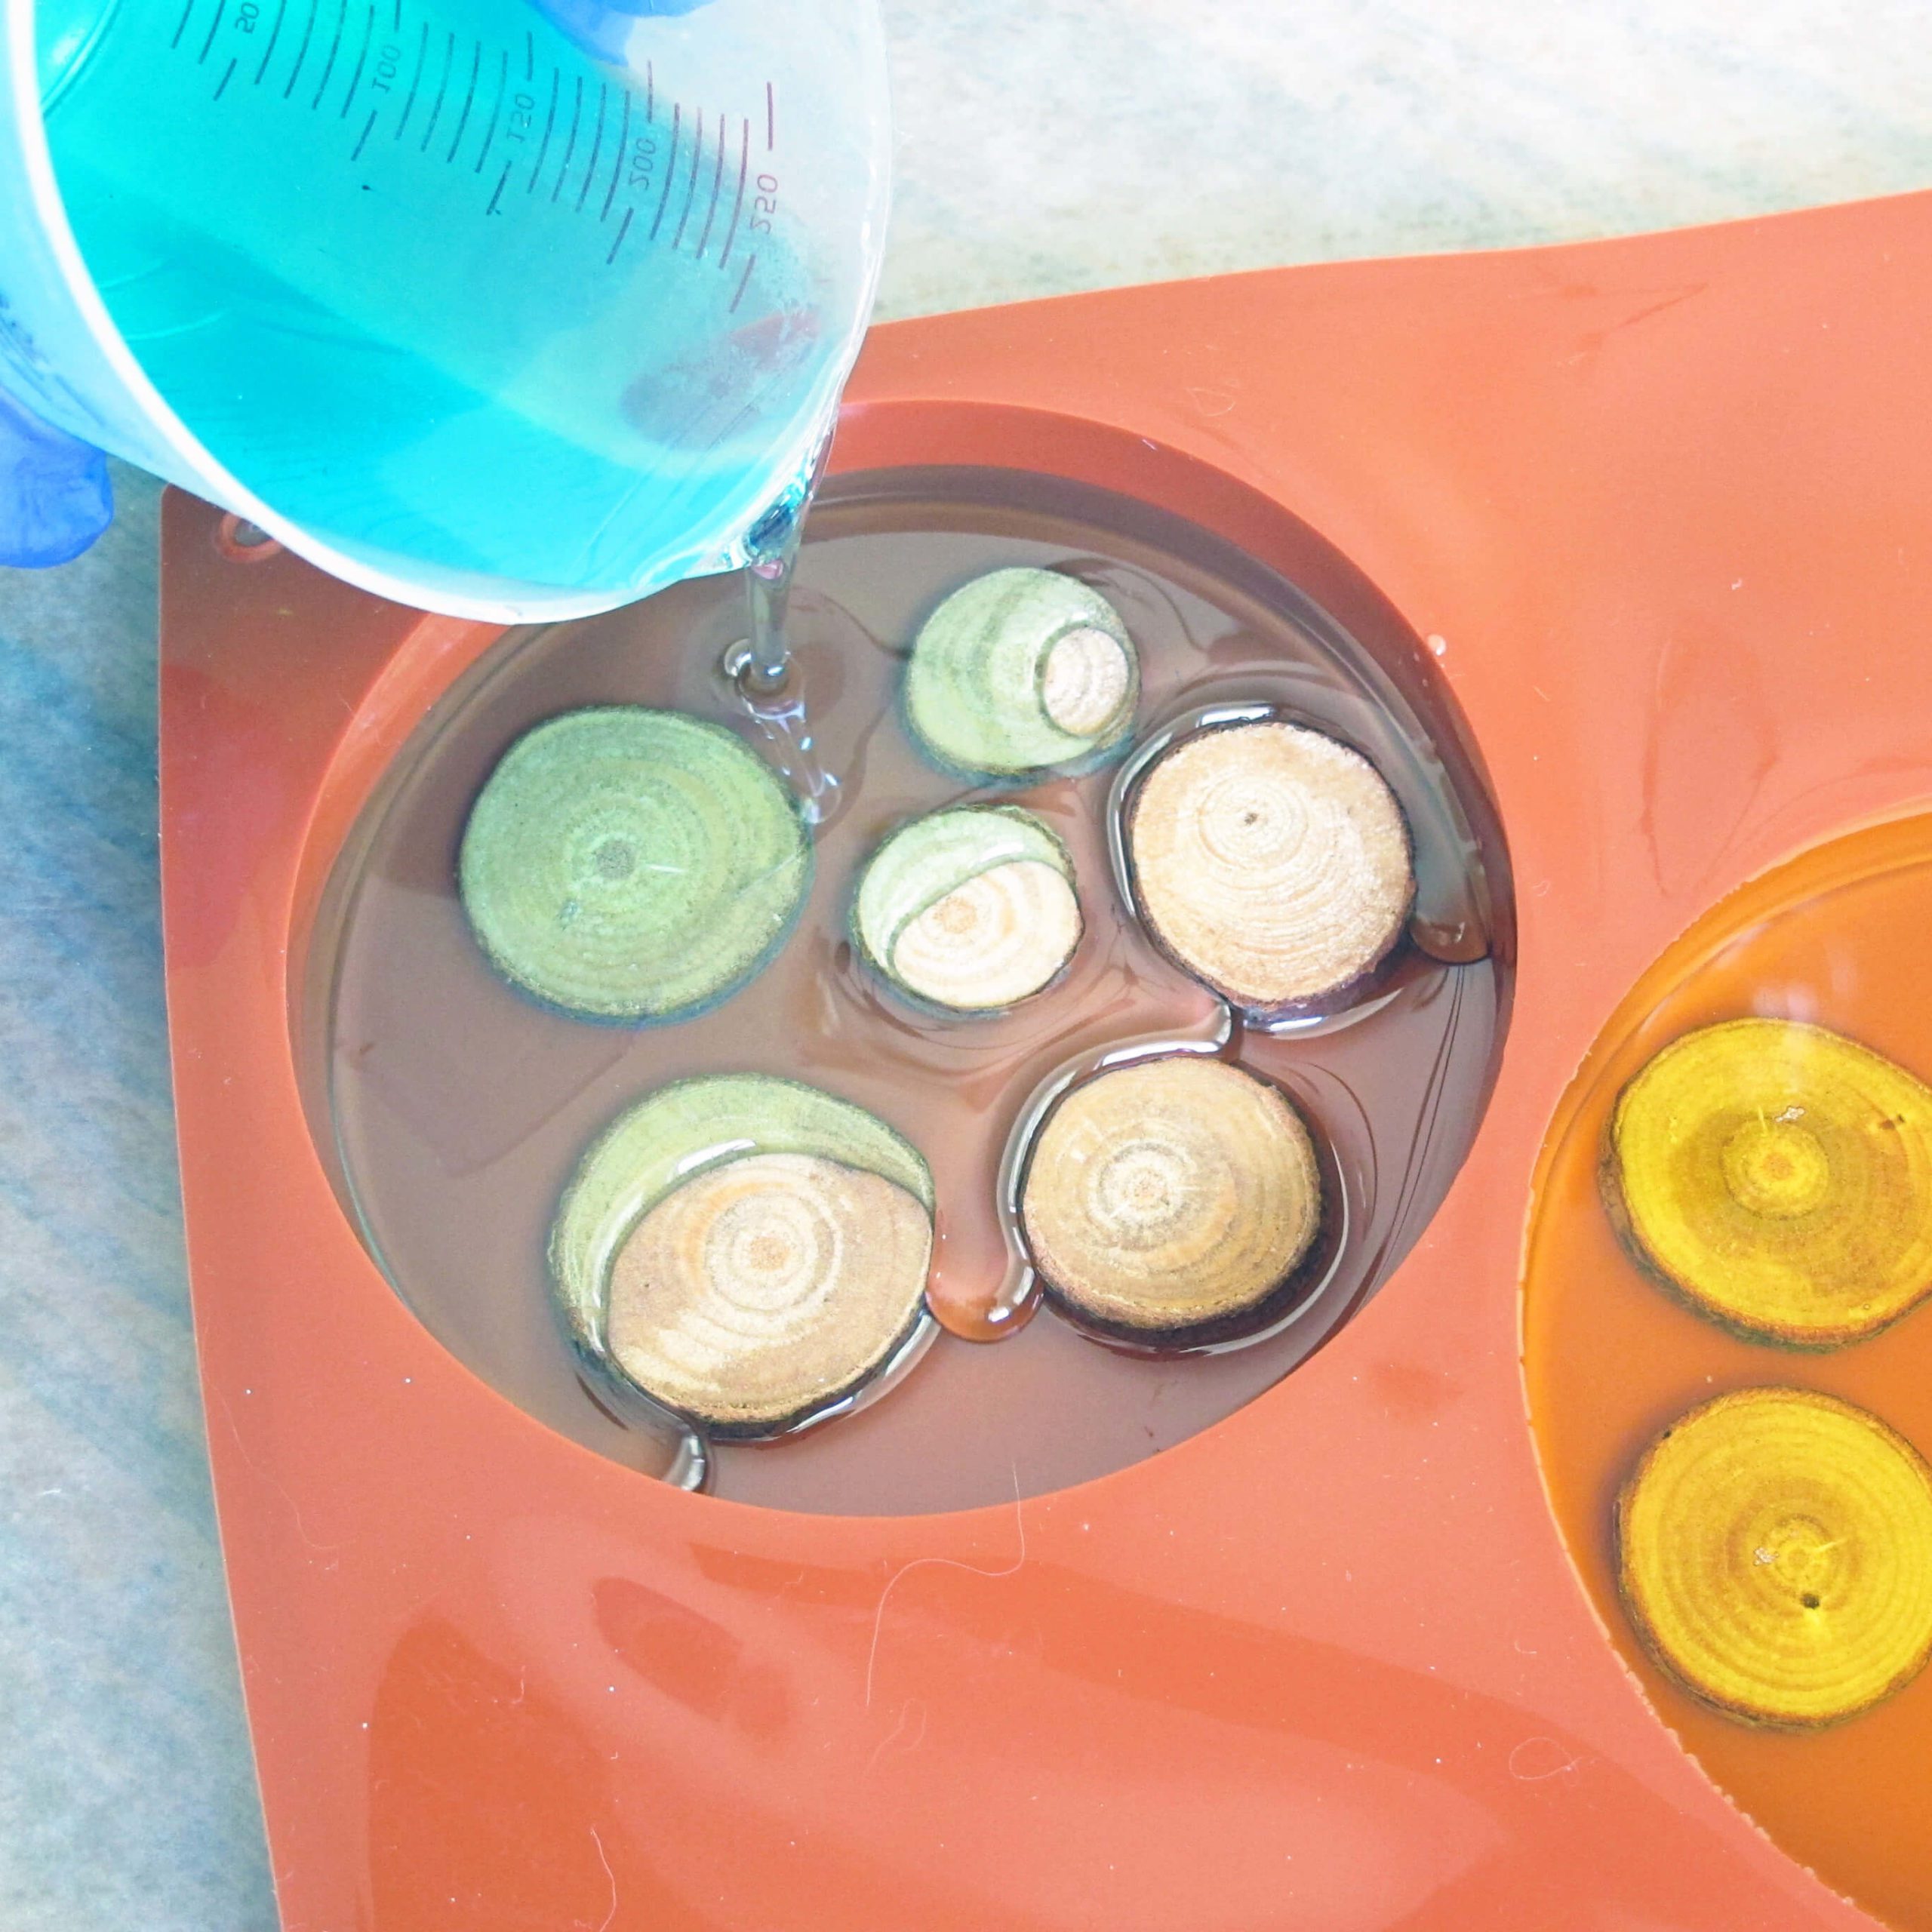
The great part about making these resin coasters is that you don’t have to make a matching color set. Instead, the wood slices bring everything together. Your DIY Father’s Day coasters gift will look like a matched set, even when the colors are different.
Once the mold cavities are full, go over the top of the resin with a heat gun to remove any bubbles. Cover your mold before setting the resin aside to cure.

💡 Pro tip: Because bubbles can pop up later, check on your coasters a few times while the resin is still liquid. You might find more resin bubbles that need popping.
Step 5: Demold the coasters

After the resin dries, demold the coasters by peeling the mold away from the cured resin.
Step 6: Finish the coaster edges
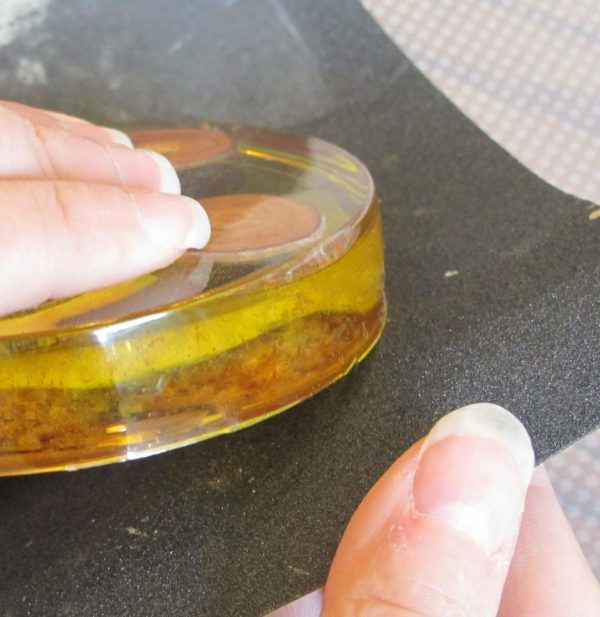
Use coarse wet/dry sandpaper to sand off any sharp edges that might scrape a tabletop. Then, continue sanding with finer grit sandpapers until the edge is smooth.
Now marvel at the DIY coasters you made for Father’s Day.
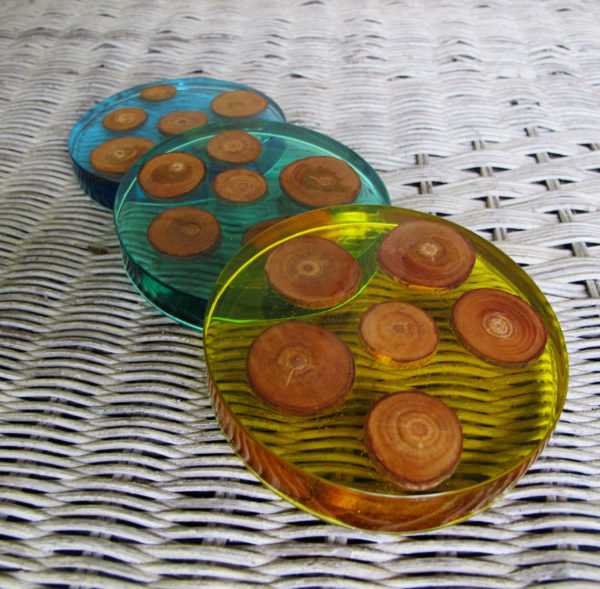
This set is perfect especially if you don’t want resin coasters that exactly match.
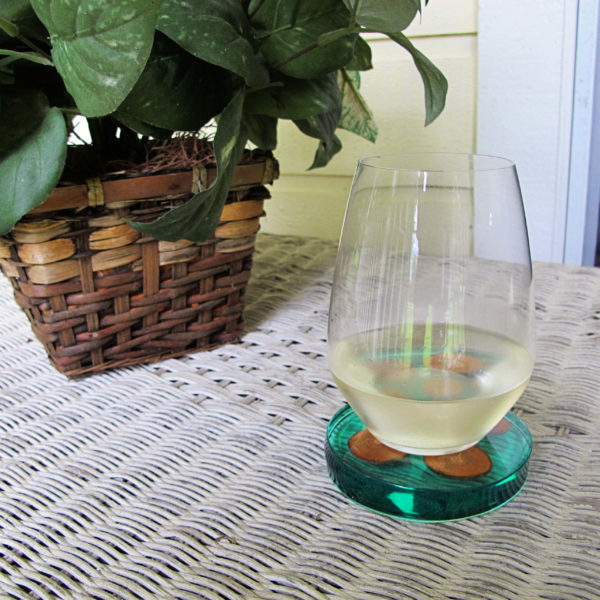
Just in case Dad isn’t a beer drinker, the coasters can hold a glass of wine quite easily.
Ready to get started with resin but confused about the next step you need to take?
I get it. There is so much information about making resin crafts out there. How can you possibly know it all? It’s why I wrote the ebook Resin Fundamentals. I’ve taken my seventeen years of resin experience and turned it into an easy-to-follow PDF book. Learn how to make something beautiful with resin from day one. Buy it now and have a copy in minutes.
Unpublished Blog Posts of Resin Obsession, LLC © 2023 Resin Obsession, LLC0
Great.
Where do you buy your molds?
Hi Kati, you can get coaster molds in our store here: https://shop.resinobsession.com/collections/molds/products/round-three-cavity-silicone-coaster-mold
This is so cool..Gave me a brainstorm for Christmas gifts..Instead of wood I would like to use pictures,could you give me tips for using photos..Thanks
You’re welcome Brenda. I can’t wait to see what you make!
Hi,
I like these but would like to do them with small shells and some with pictures.
That’s a great idea Brad. Those would be so pretty!
When I’ve seen this on youtube vids they usually seem to show for maximum adhesion when doing layers of resin, you let each layer get tacky and pour the next, but you mention to let it fully cure before the next layer?
Great article by the way!
Hi Ian, you could speed things up by waiting until the clear layer is in the gel phase, not fully cured, then pouring the colored layer. I waited until things fully cured on the chance that moving the weights would cause a problem while the resin while soft or rubbery.
very nice ! Thank you for sharing such detail for us newbies . I’ve purchased your products because you properly educate on how to use it . I’m excited to try new projects but, I need to finish the one that I started. Thanks again
Thanks so much, Lorrie. Good luck with making your own coasters!
Thanks for sharing. I really need to get going on some resin items.😁 I have everything I need just need to find the time. I enjoy watching your videos.
Thank you Laurie!
When you sand down the edges how do you get such a clean non scratched look?
Lots and lots of sanding! I explain how to sand resin here: https://www.resinobsession.com/resin-frequently-asked-questions/how-to-sand-resin-smooth/
Thank you, l can’t wait do do my first coaster. Your directions are
easy to understand and the tips will come in handy.
You’re welcome. Good luck!
enjoyed your tutorial ,, helped a lot .you mentioned every step clearly , no confusion ,, thanks
So glad you found it helpful. Thank you, Rosey!
Hello I would like to know do I need to prime/seal mdf coasters before I resin? I will be using mica powders with resin and wanted to know if the coasters need to be sealed before I use. Will the resin make the coasters heatproof and water resistant? Thank you
Hi Tamy, any primer from the hardware store will work. Unfortunately though, the resin will not make them heatproof.