
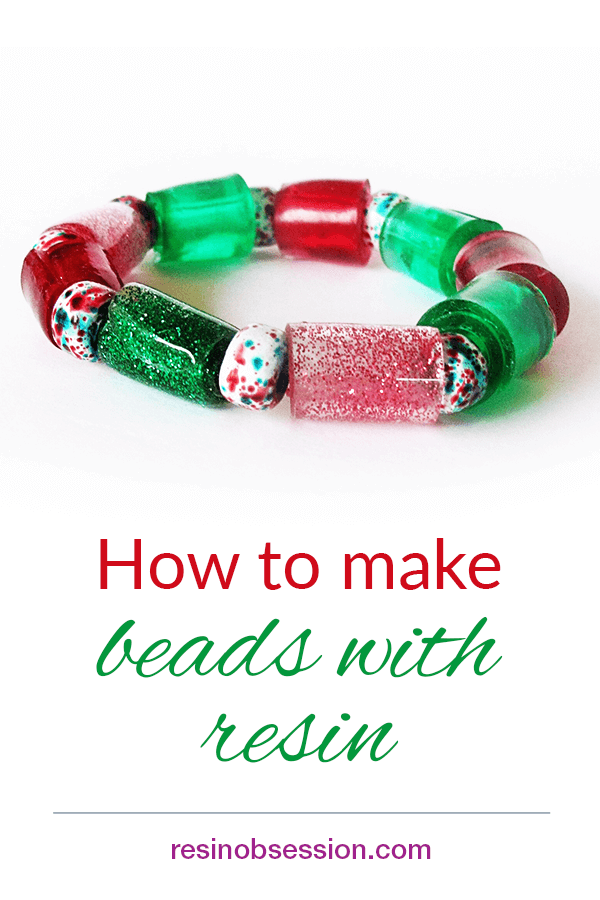
 So you hate wasting resin. Me too. And here’s a fun way to use that leftover epoxy to make resin beads.
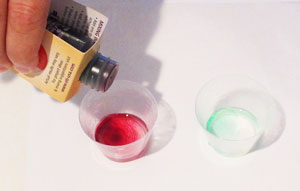
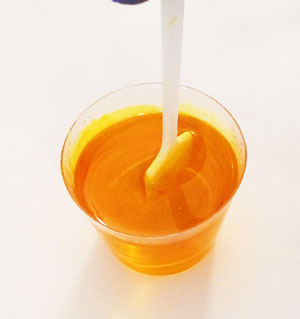
Step 1: Color your resin
Step 2: Pour onto a non-stick surface
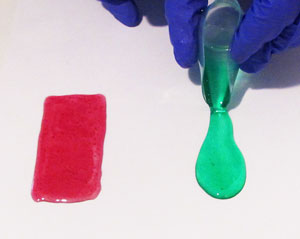
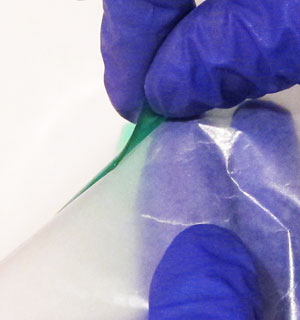
Then, pour the colored resin onto a piece of wax paper or a silicone mat. Spread it out to a rectangle shape using a stirring stick. Cover and allow to cure partially.
Step 3: Shape the resin
This step is critical to make these resin beads.
When the resin is formed, but bendy, peel it off the wax paper. This time varies between epoxy types. You’ll need to check on it every couple of hours after pouring.
⚠️ IMPORTANT: Since the resin is still not completely cured at this point, you’ll need to wear safety gloves.
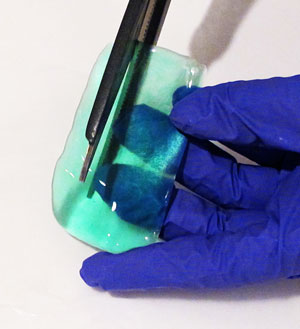
Use a pair of scissors (not meant for food) to cut the semi-cured resin into rectangle shapes.
Your resin strip should be an even shape after trimming.
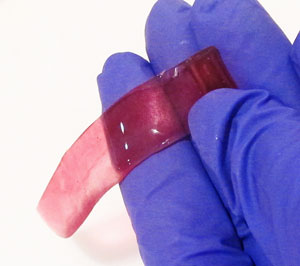
Start at a narrow end and roll the resin strip onto itself to make a tube. A hole will form in the center.
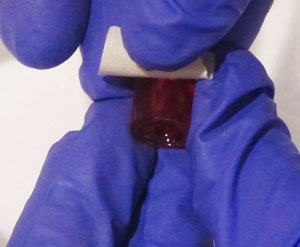
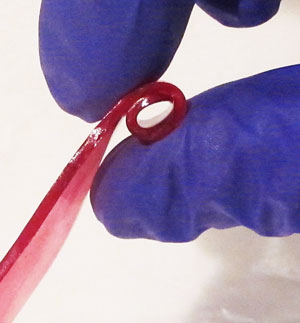
Once the resin is tube shaped, you’ll need to apply a piece of tape over the end to keep it rolled up while it is curing. At this point, the resin is a tad tacky but has cured enough that it won’t stick to itself. Leave the tape on while the resin continues to cure.
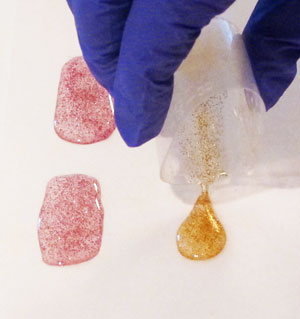
You can also make the beads glittery. A little bit of glitter goes a long way since the layers will lie over each other when rolled up.
Step 4: Assemble the finished beads
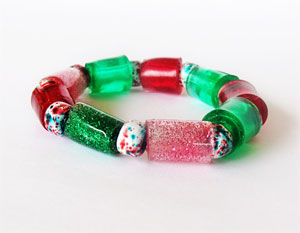
After the resin is dry, remove the tap. Then, string the resin tube beads onto a stretchy bead cord. Beading wire or leather works well too.
Want to learn more of the basics you need to know to make resin beads?
Get your copy of the ebook Resin Fundamentals. It walks you through the essential details you need to know to successfully create with resin. Buy the PDF book now and get an email download link in minutes.
Unpublished Blog Posts of Resin Obsession, LLC © 2023 Resin Obsession, LLC
This is a GREAT idea. I’m going to try this with embedded transparencies.
I love this tutorial. I have not seen any one do thus. I wish you show how to make your own beads on YouTube. Thanks
New to resin, but if I wanted to make charm style beads could I use this method to form around grommets and somehow smooth out the seam?
I haven’t tried that method. If you do, let me know if/how it works.
We have an entire section dedicated to this on our blog: https://www.resinobsession.com/category/resin-jewelry-making-business
Hi .ingredients r not mentioned here
Which items were you most interested in?