

How to Make Metal Ear Wires for Jewelry - DIY Earwires
- Details
- How to Use
- Shipping & Returns
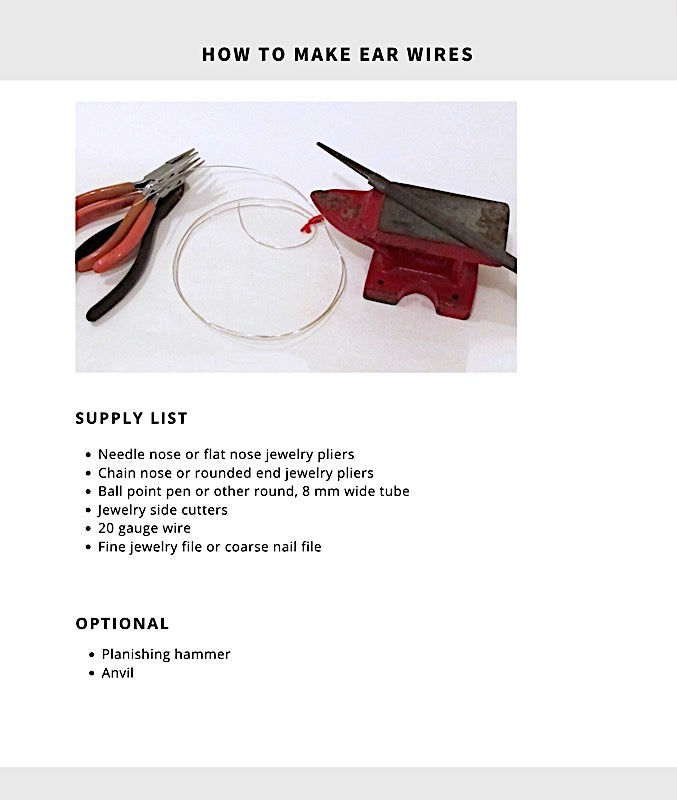
Learn how to make ear wires in this 10-page colorful PDF ebook. You'll get a supply list, steps with pictures, plus pro tips for making ear wires that are the perfect jewelry accent.
Step 1: After purchase, check your email! You will receive an email with the link to download the PDF.
Step 2: Save the download to a folder on your desktop, phone or tablet.
Step 3: Open the book and start learning about resin!
Need a hard version? Print the PDF and put it in a binder. Instant reference book!
You'll have 30 days to complete your download. You will not be mailed a hard copy. However, the book is formatted to print beautifully in full color or black and white.
This book only comes in English.
Digital download books are not accepted for return or exchange.
And when you're ready to buy epoxy resin to make your jewelry, we can help you with that too.