

Bubble Up Your Resin Art: A Fun Way to Create UV Resin Bubbles!
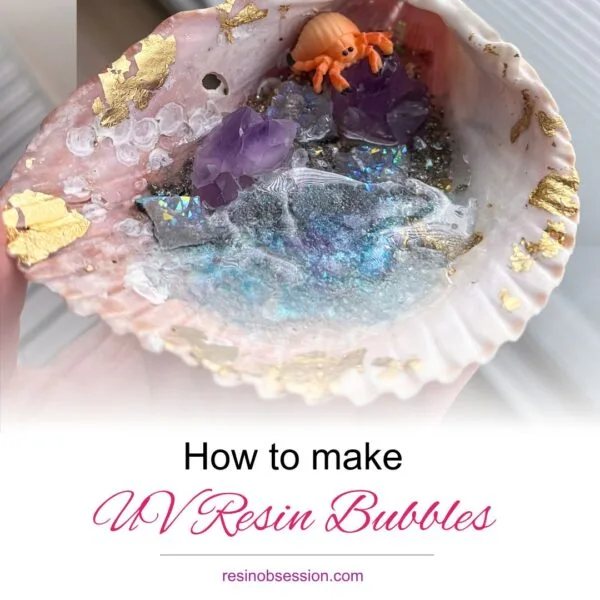
Welcome, fellow resin craft enthusiasts and bubble aficionados! Today, we’re diving into the world of UV resin art, and guess what’s bubbling up on the agenda? That’s right, UV resin bubbles! Whether you’re a seasoned resin artist or a curious newbie, get ready to add a pop of fun to your creations! You can also find a video detailing this project at the bottom of this post.
Step 1: Let’s talk tools and materials. Here’s what you’ll need:
- UV resin (the star of the show!)
- A UV lamp (to cure the resin)
- Toothpicks or a needle tool (for precision and popping any unwanted bubbles)
- Mix-ins (think glitter, colorants, or tiny charms for that extra flair)
- Protective gear (glasses, gloves, and a well-ventilated space – safety first!)
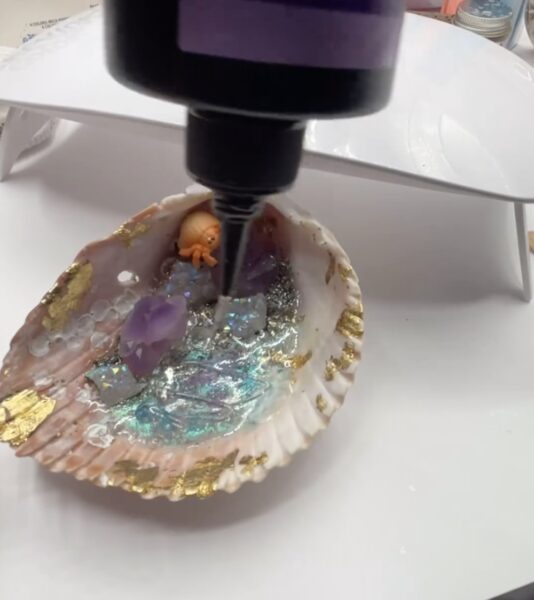
Step 2: Initial UV Resin Layer:
Start by laying down a thin layer of UV resin on the surface where you want to add the textured effect. This layer should be even and cover the entire area you plan to work on.
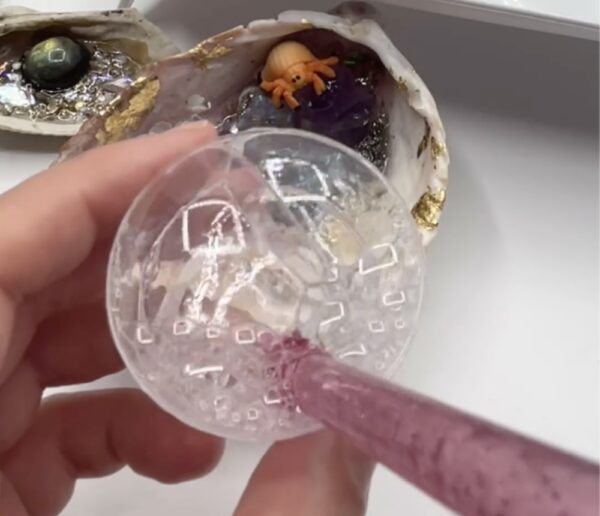
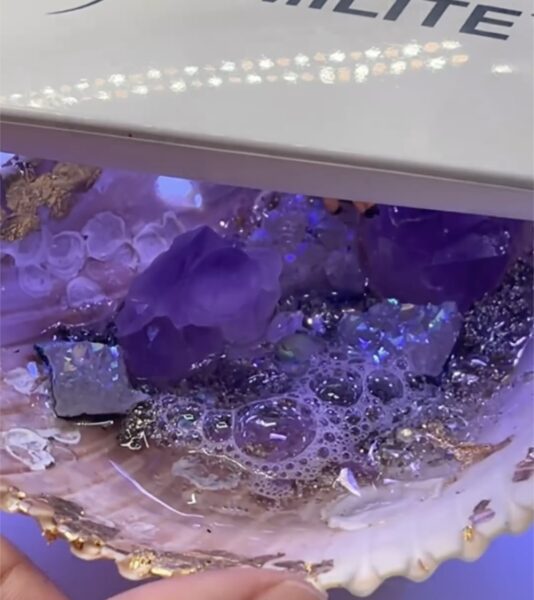
Step 3: Create those Bubbles!
Begin by filling a bowl or cup with water and adding a few drops of soap. Using your sink faucet add water to the bowl to create bubbles. Use can also use a whisk or mix by hand to agitate the soapy water. This will create bubbles in the water. Once bubbles have formed, use a spoon or a flat surface to skim off the top layer of bubbles. Collect these bubbles for application onto the uncured resin. Ensure you gather enough bubbles to cover the resin surface evenly. Adjust the soap concentration or the amount of water as needed to achieve the desired consistency of bubbles.
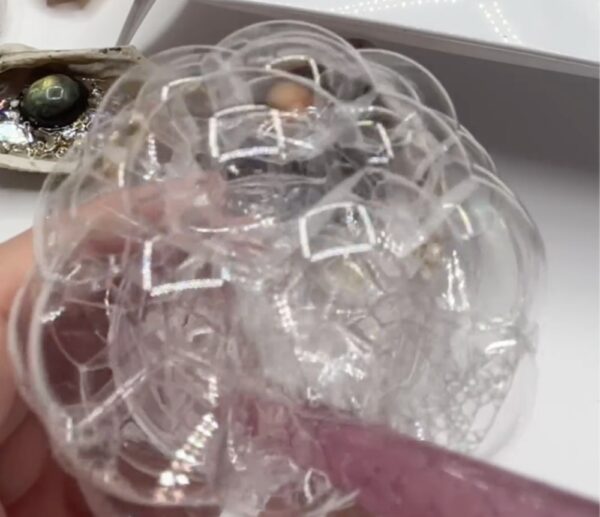
Step 4: Adding Bubbles for Texture:
After applying the initial resin layer, take your bubbles and lay them on the uncured resin. Aim to cover the resin with a layer of bubbles. The size and amount of soap can be varied to create different textures. I recommend shaking the soap in a bottle to create a lot of bubbles, and then skimming the bubbles on the top off.
Step 5: Curing the Resin and Bubbles:
With the bubbles resting on the uncured resin, place the project under a UV light. The heat from the light will cause the bubbles to pop, leaving behind textured impressions in the resin as it cures. Ensure the resin is fully cured under the UV light, which should also help evaporate any moisture from the bubbles.
Step 6: Cleaning the Surface:
Once the resin is cured and the bubbles have popped, carefully wipe off the surface to remove any residual soap or water. Be gentle to avoid disturbing the newly formed textures.
Step 7: Repeating for Enhanced Texture:
If you desire a more pronounced texture, repeat the process of adding another layer of UV resin and bubbles. Cure under UV light again and clean the surface. You can repeat this step as many times as needed to achieve the desired effect.
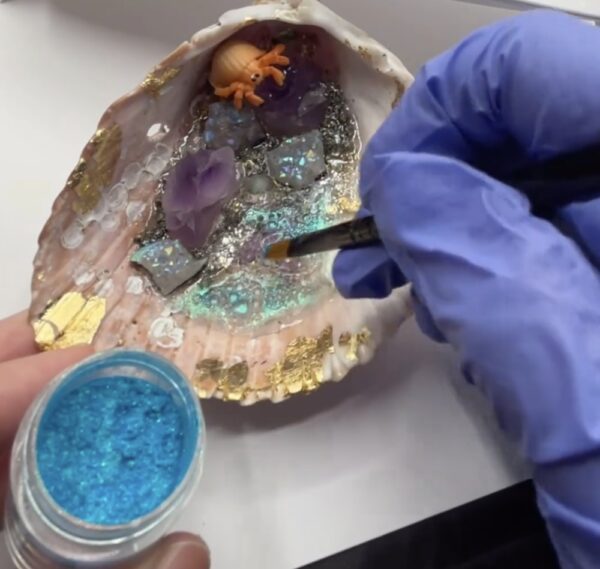
Step 8: Adding Mica Powder:
For the final touch, apply a layer of UV resin to the areas where you want to enhance the texture and shine. Sprinkle mica powder over these areas before the resin cures. Mica powder comes in various colors, allowing you to choose the best hue to highlight the textures!
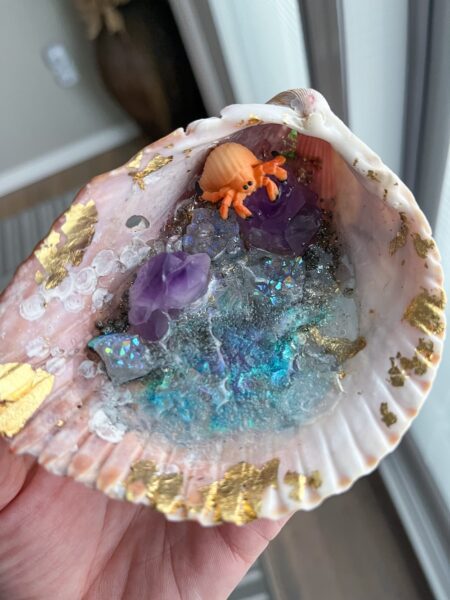
Step 9: Final Cure:
Place the project under the UV light for a final cure. This step will solidify the last layer of resin and set the mica powder in place.
Pro Tips & Tricks for UV Resin Bubbles:
- Experiment with different mold shapes for unique bubble effects.
- Try layering different colors of resin in stages for a multi-dimensional look.
- Remember, UV resin can be sensitive to prolonged exposure to sunlight, so store your finished pieces carefully.
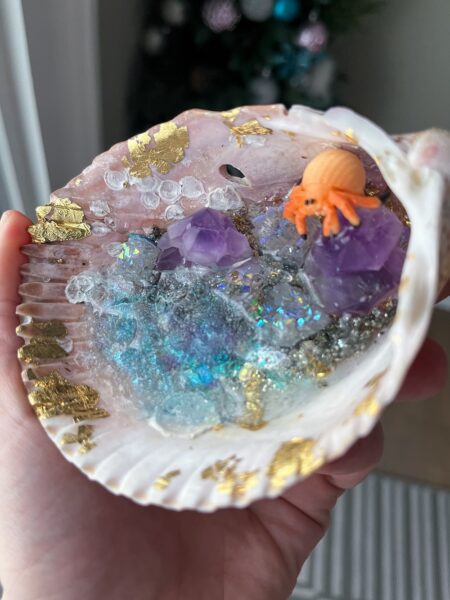
There you have it, folks – your step-by-step guide to creating fun and quirky UV resin bubbles. Dive in, experiment, and most importantly, have a blast with it! Keep popping with creativity! 🌟💫✨
View this post on Instagram
Hello! I’m just getting into this world.I got a little mold for earrings with the resin I bought at Michaels. I also bought the resin color additives. There is a beautiful teal color. I mixed it up in a disposable container and poured it. After curing I brought it out and it was gray! What did I do wrong??
Hi Barbara! Unfortunatley I’m not familiar or experienced with those products so I can’t speak to your results. What a bummer!