
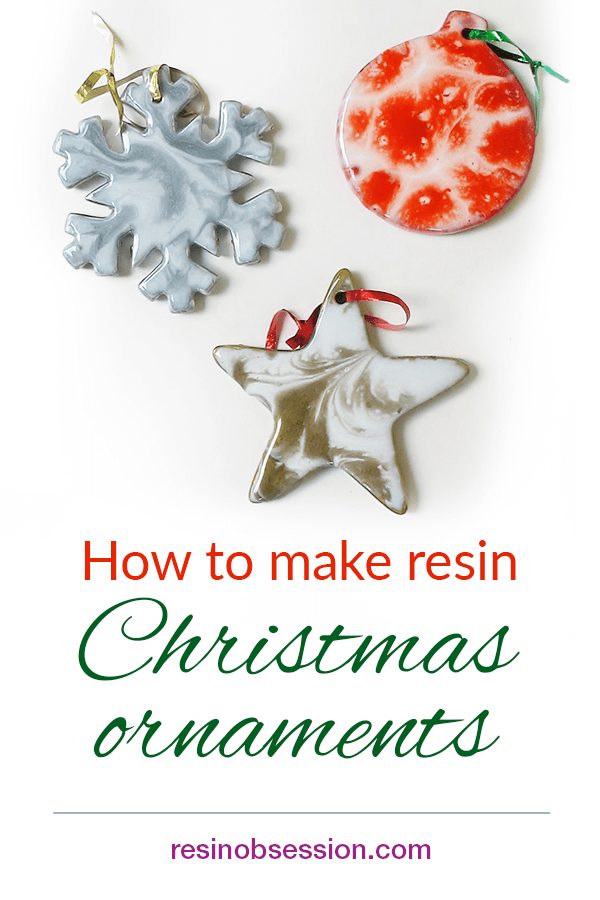
It wouldn’t be Christmas without a crafting project. So what do you say about a DIY resin Christmas ornaments afternoon? You won’t believe how easy this resin project is.
Step 1: Paint the Ornaments.
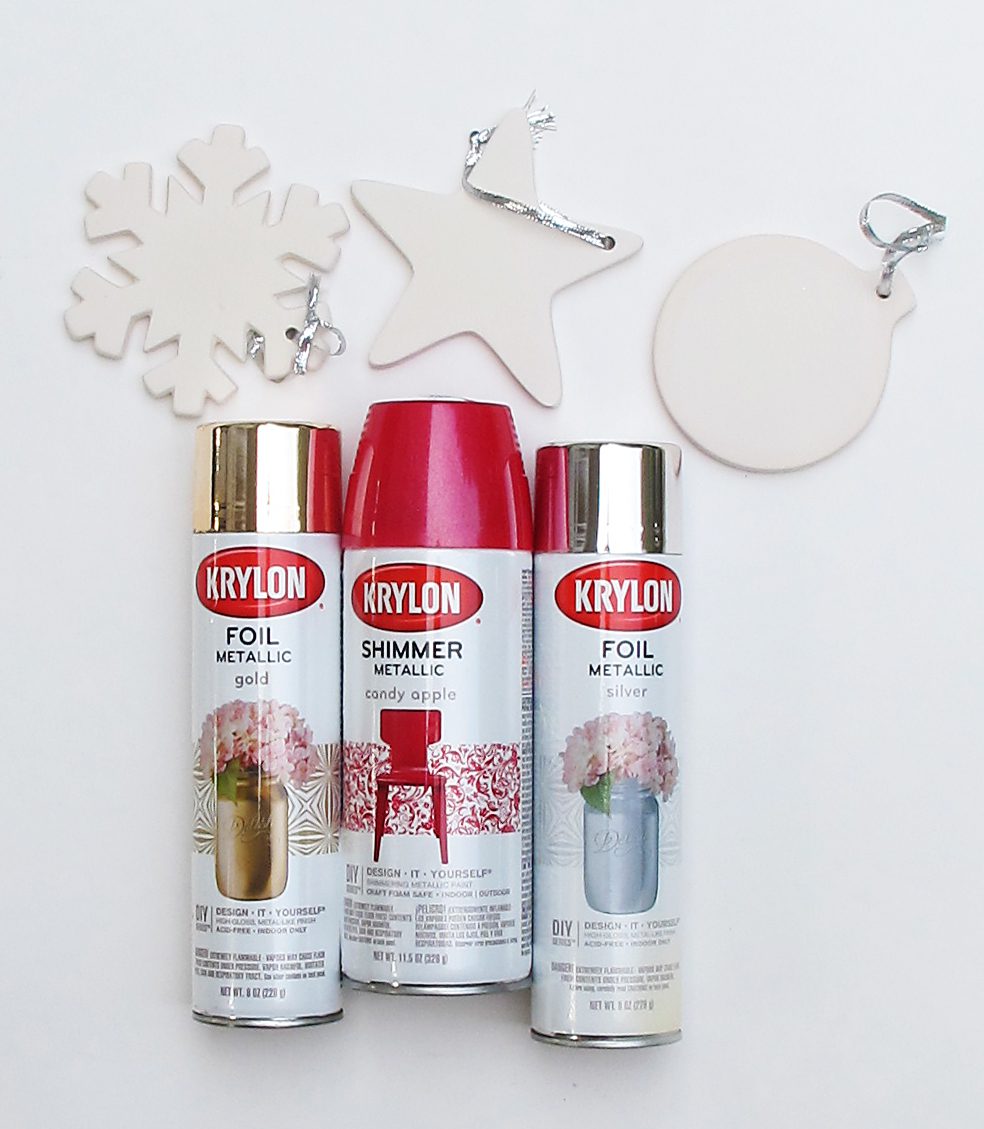
First, start with something to serve as your DIY resin Christmas ornaments base. I’m using unglazed ceramic ornaments, but wooden cutouts will work too.
Pick holiday spray paint colors and use them to paint your ornaments.
If you aren’t in a hurry to get these painted, you can place them on paper, paint on one side, and allow them to dry. Then, flip and paint the other side.
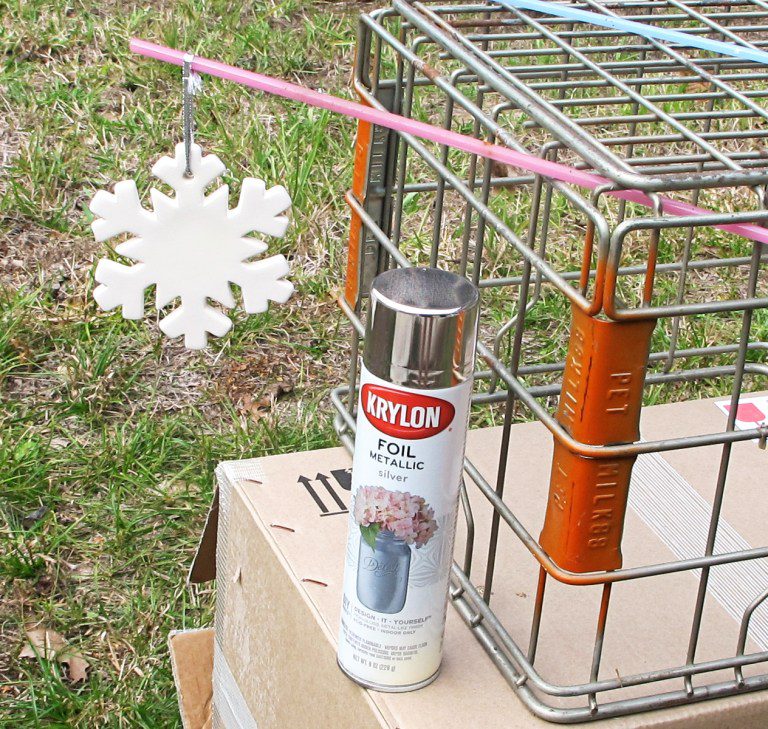
Or, you can channel your inner MacGyver and stack boxes, a milk crate, and glass rods to hold onto the ornaments to paint both sides at once.
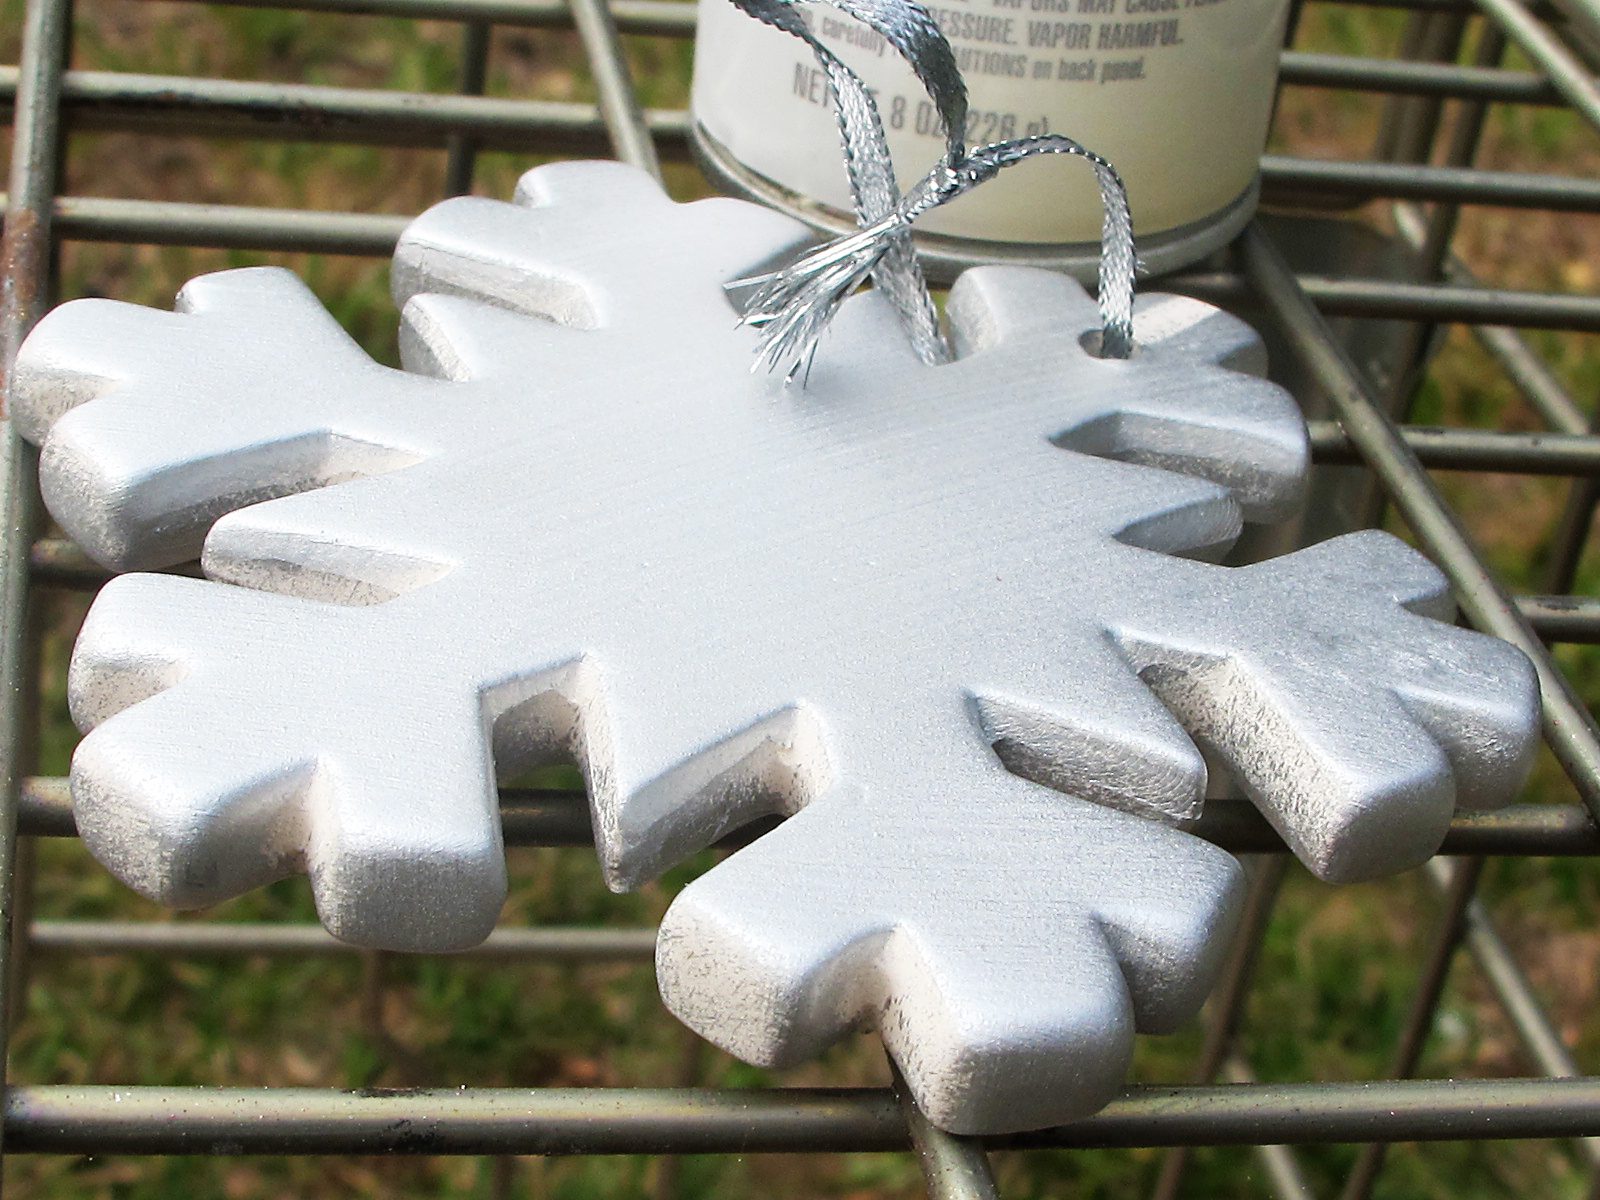
Check the edges of your ornaments to make sure they’re painted too.
Let them dry for 24 hours.
Step 2: Apply resin to the first side.
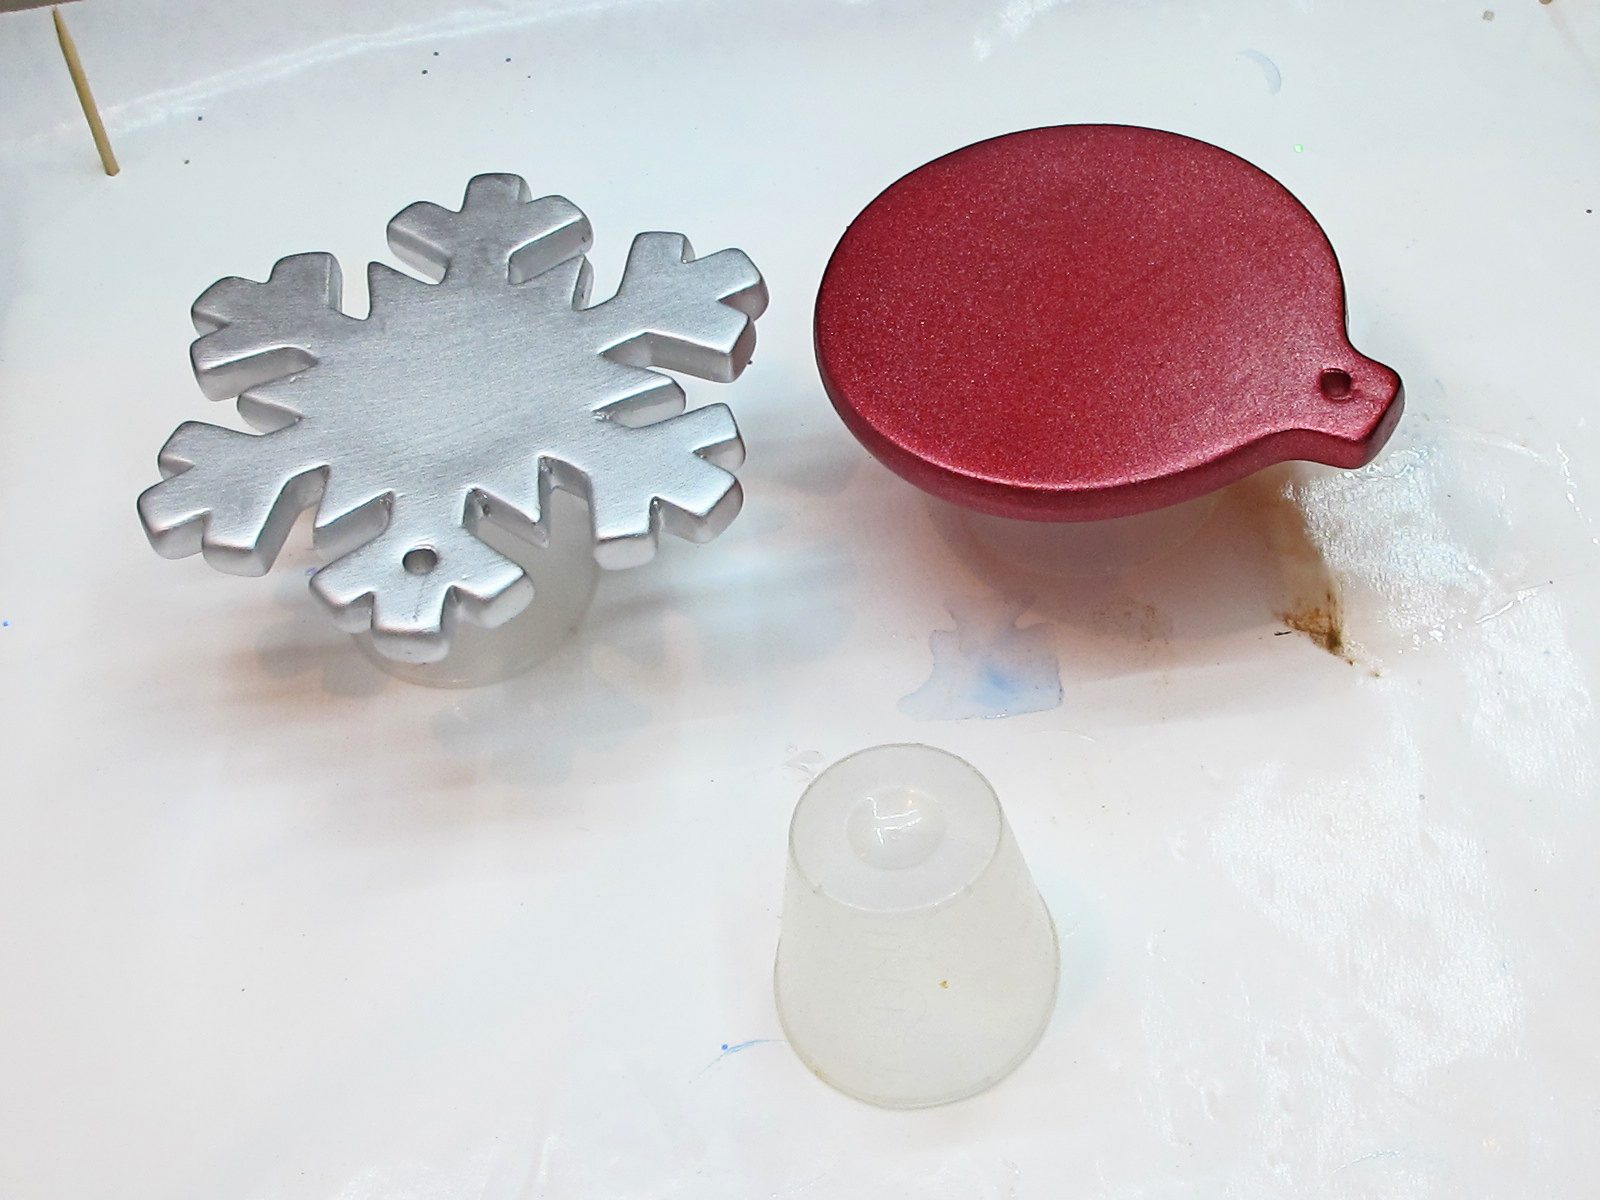
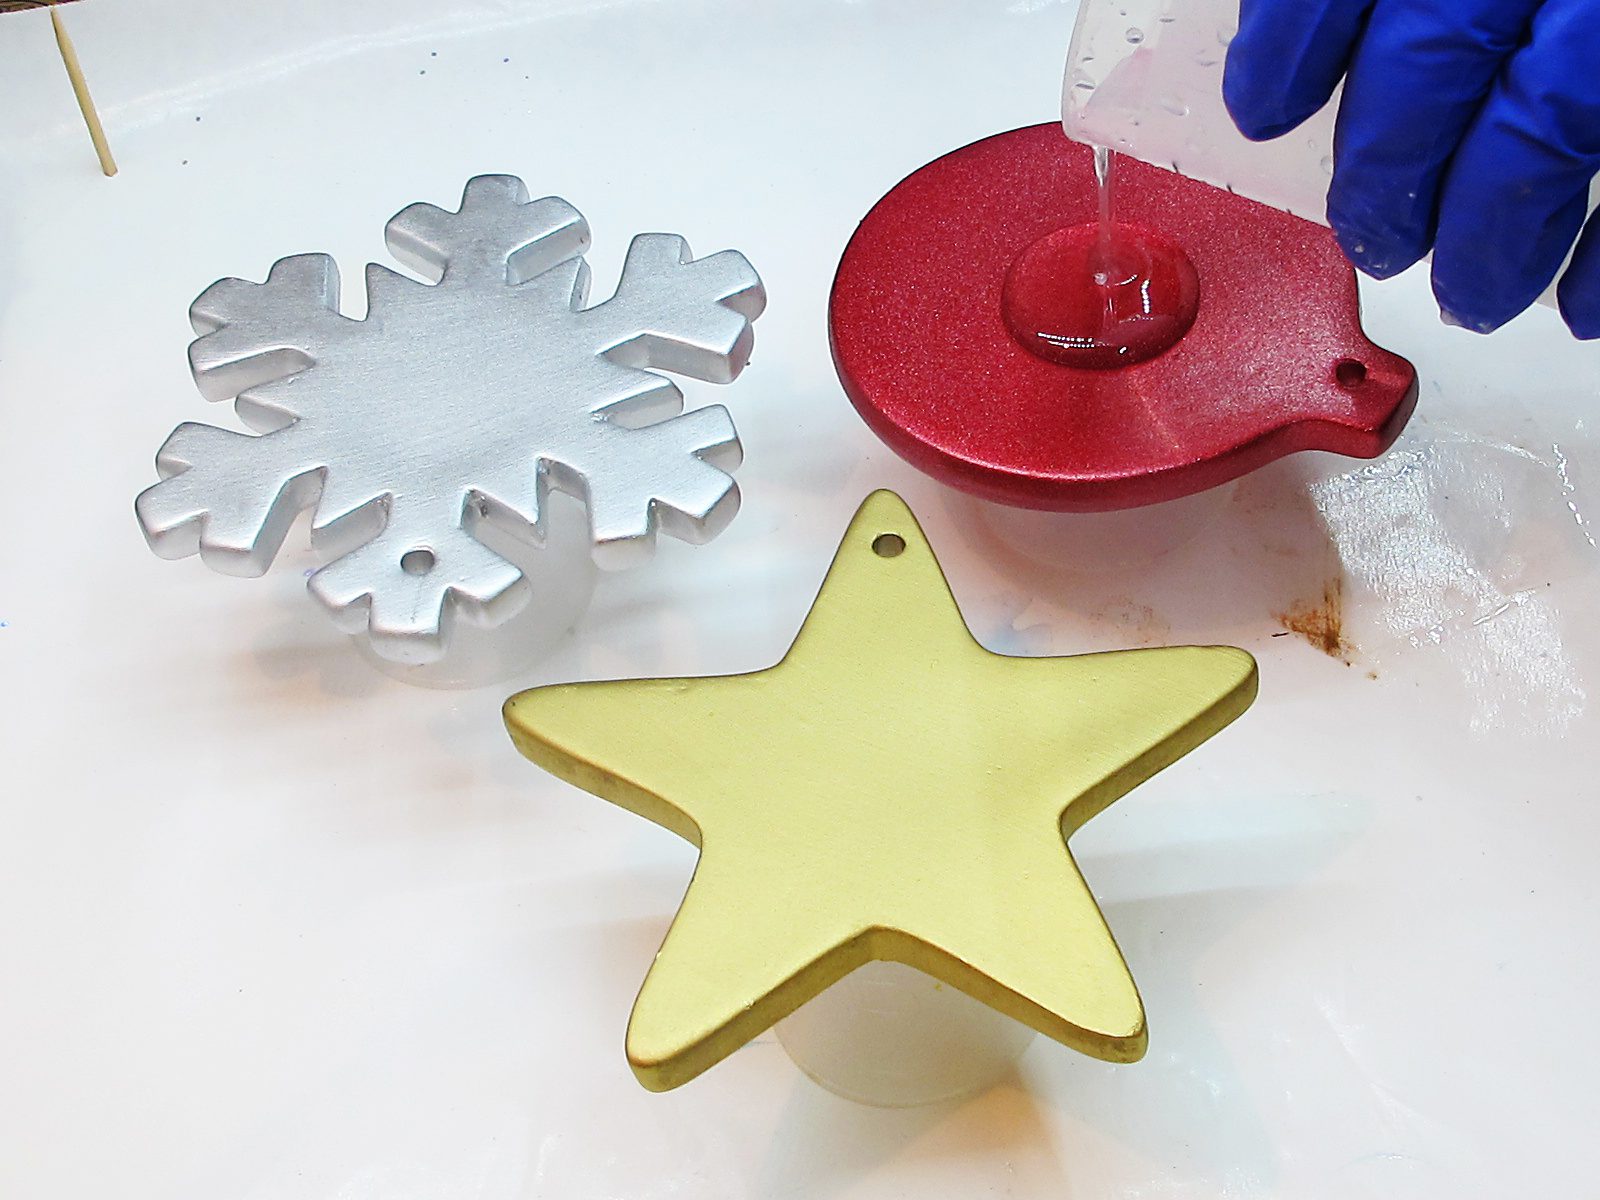
Set your ornaments so that they are elevated above your crafting area. Mixing cups work great for this.
Mix resin for the first side. Because it needs to mix thick, the Resin Obsession crystal doming resin is a perfect choice.
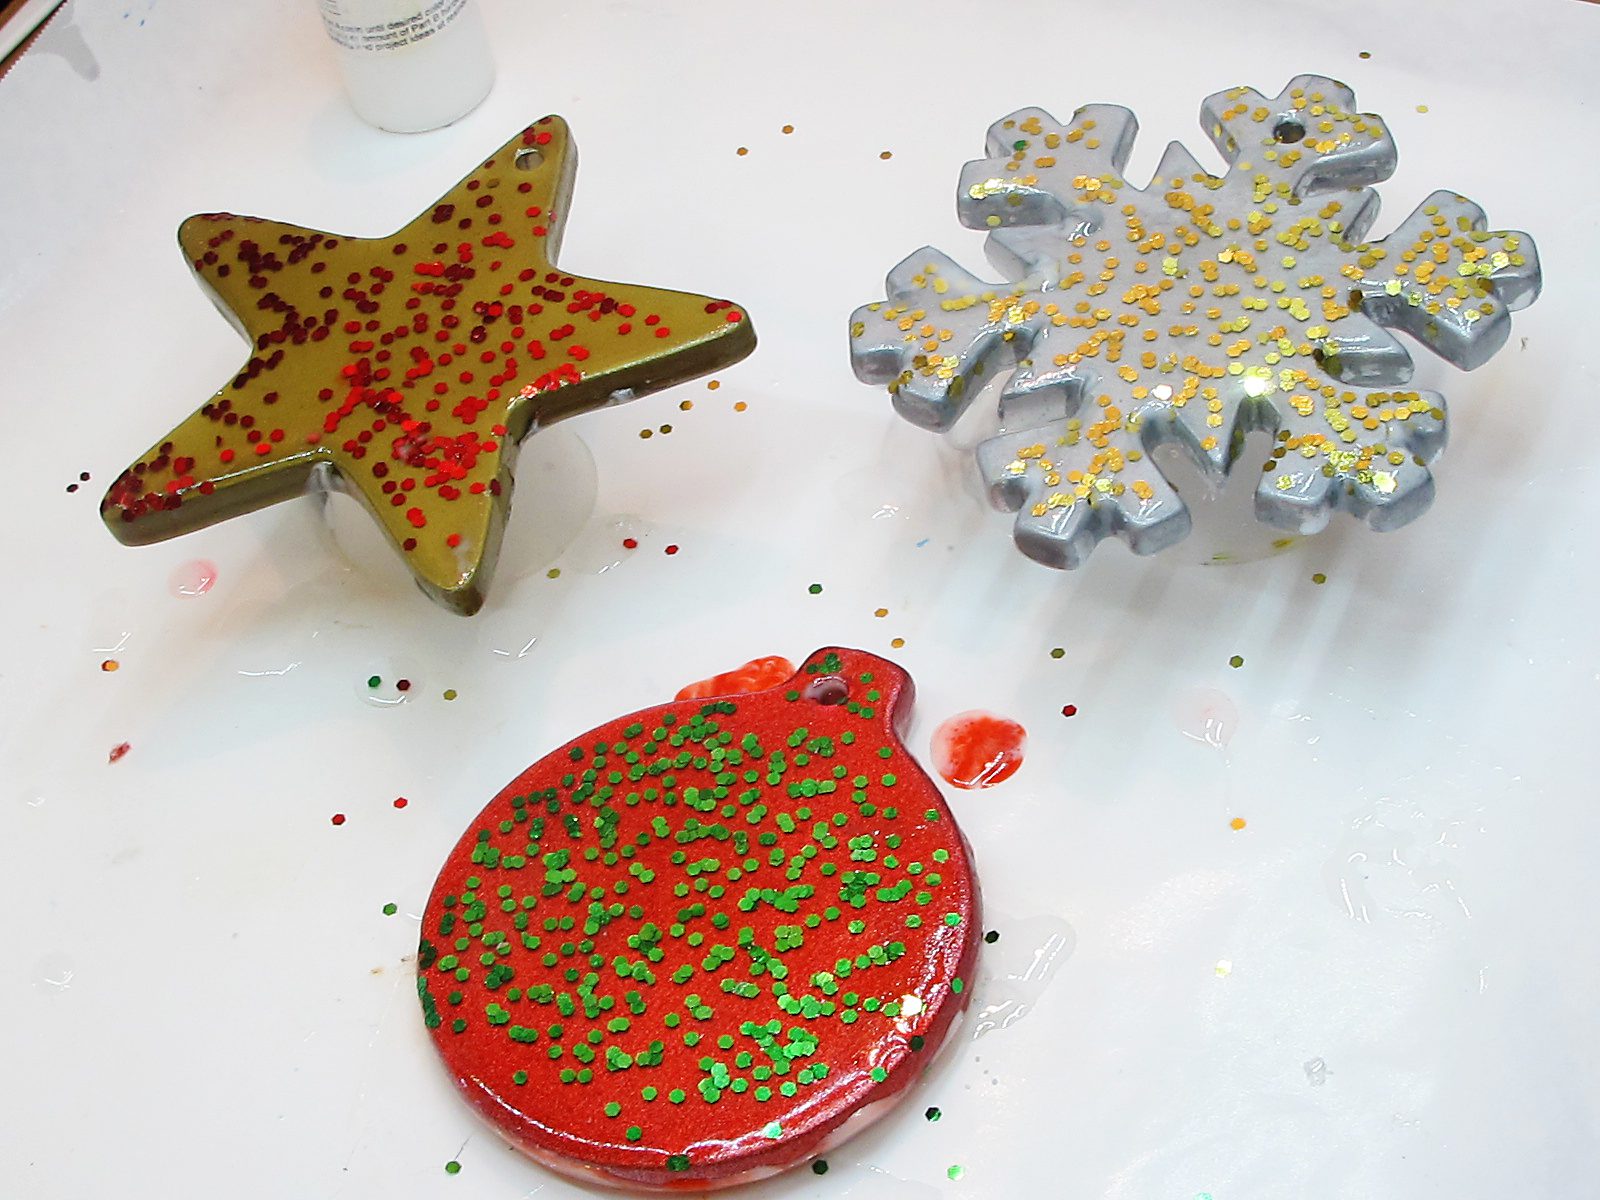
Pour the resin into the center of the ornament. You want to dome this on the surface. Then, use your stirring utensil to draw the resin out to the edges.
Once you’ve coated the surface with clear resin, add glitter to the top.
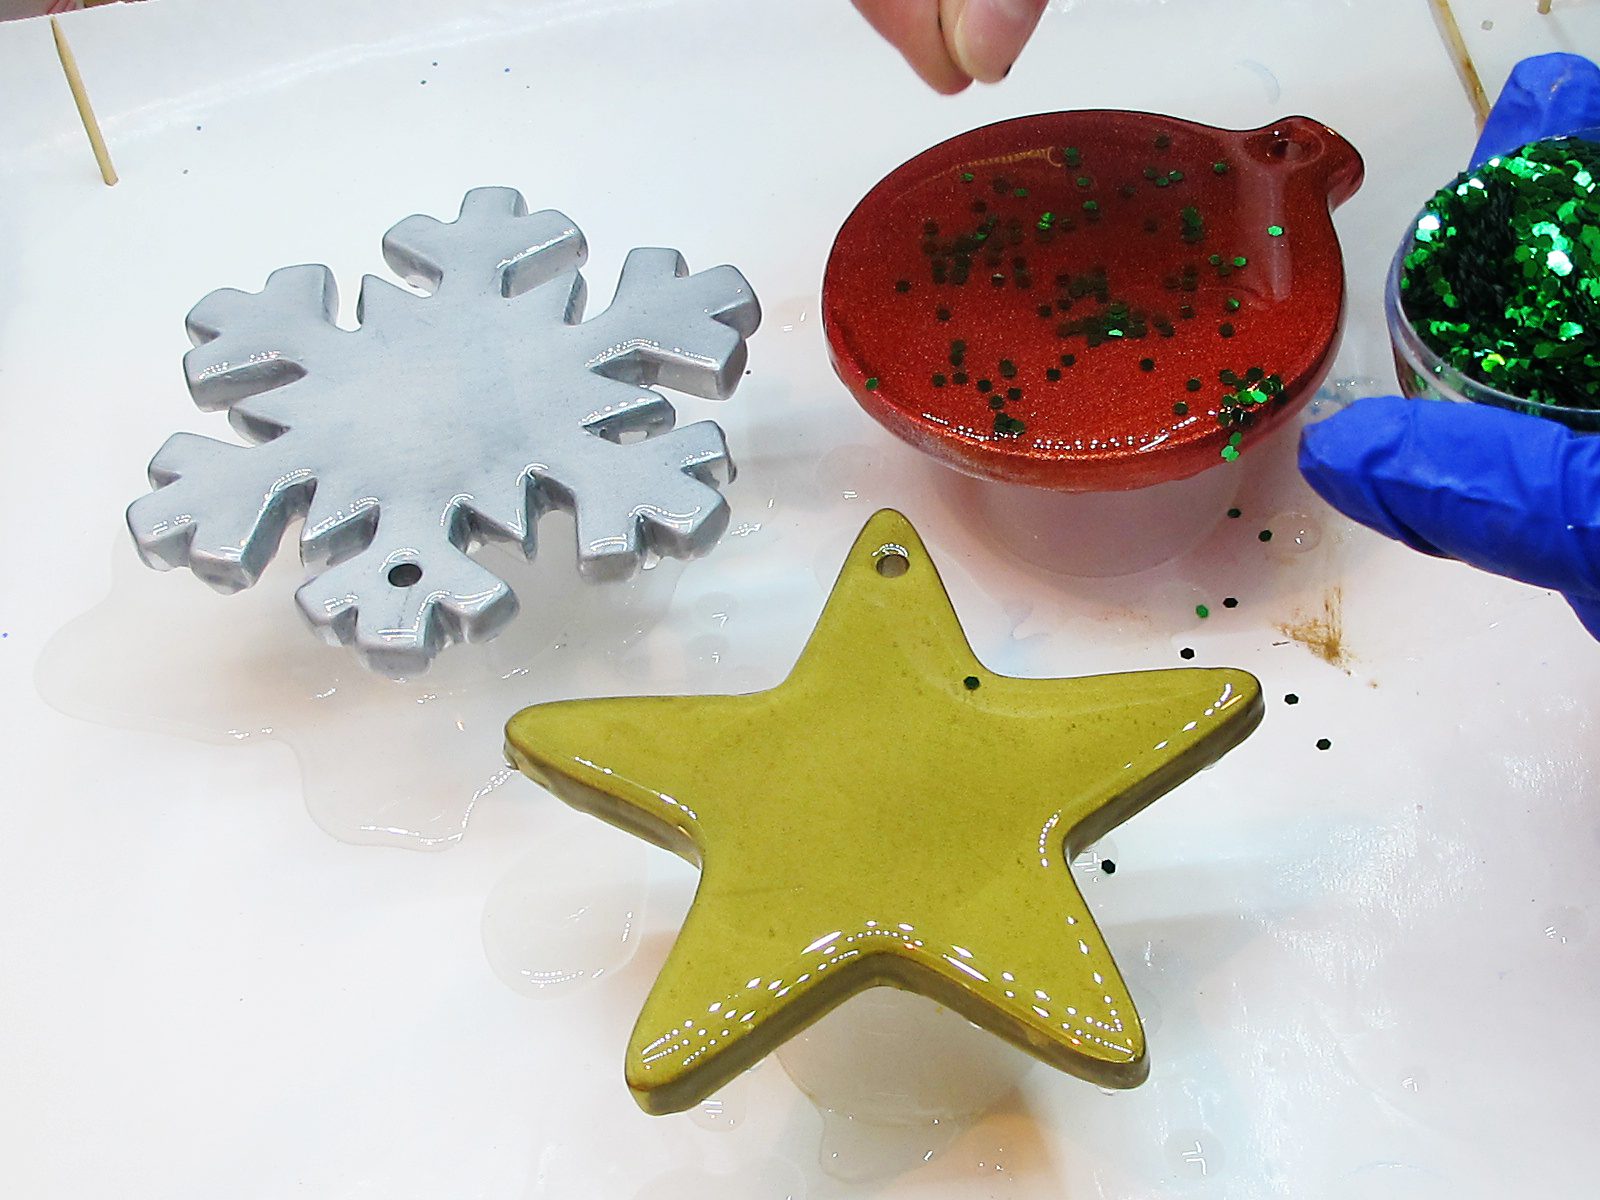
Your resin is likely to drip over the side. Scrape it off as necessary. You will need to do this for the next hour to an hour and a half.
💡 Pro tip: You could put painters or masking tape on the back side, which you can peel off once the resin cures.
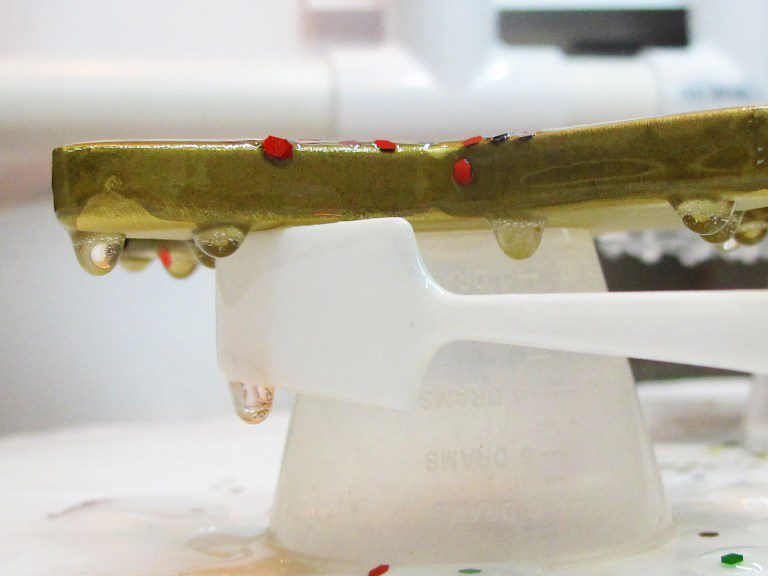
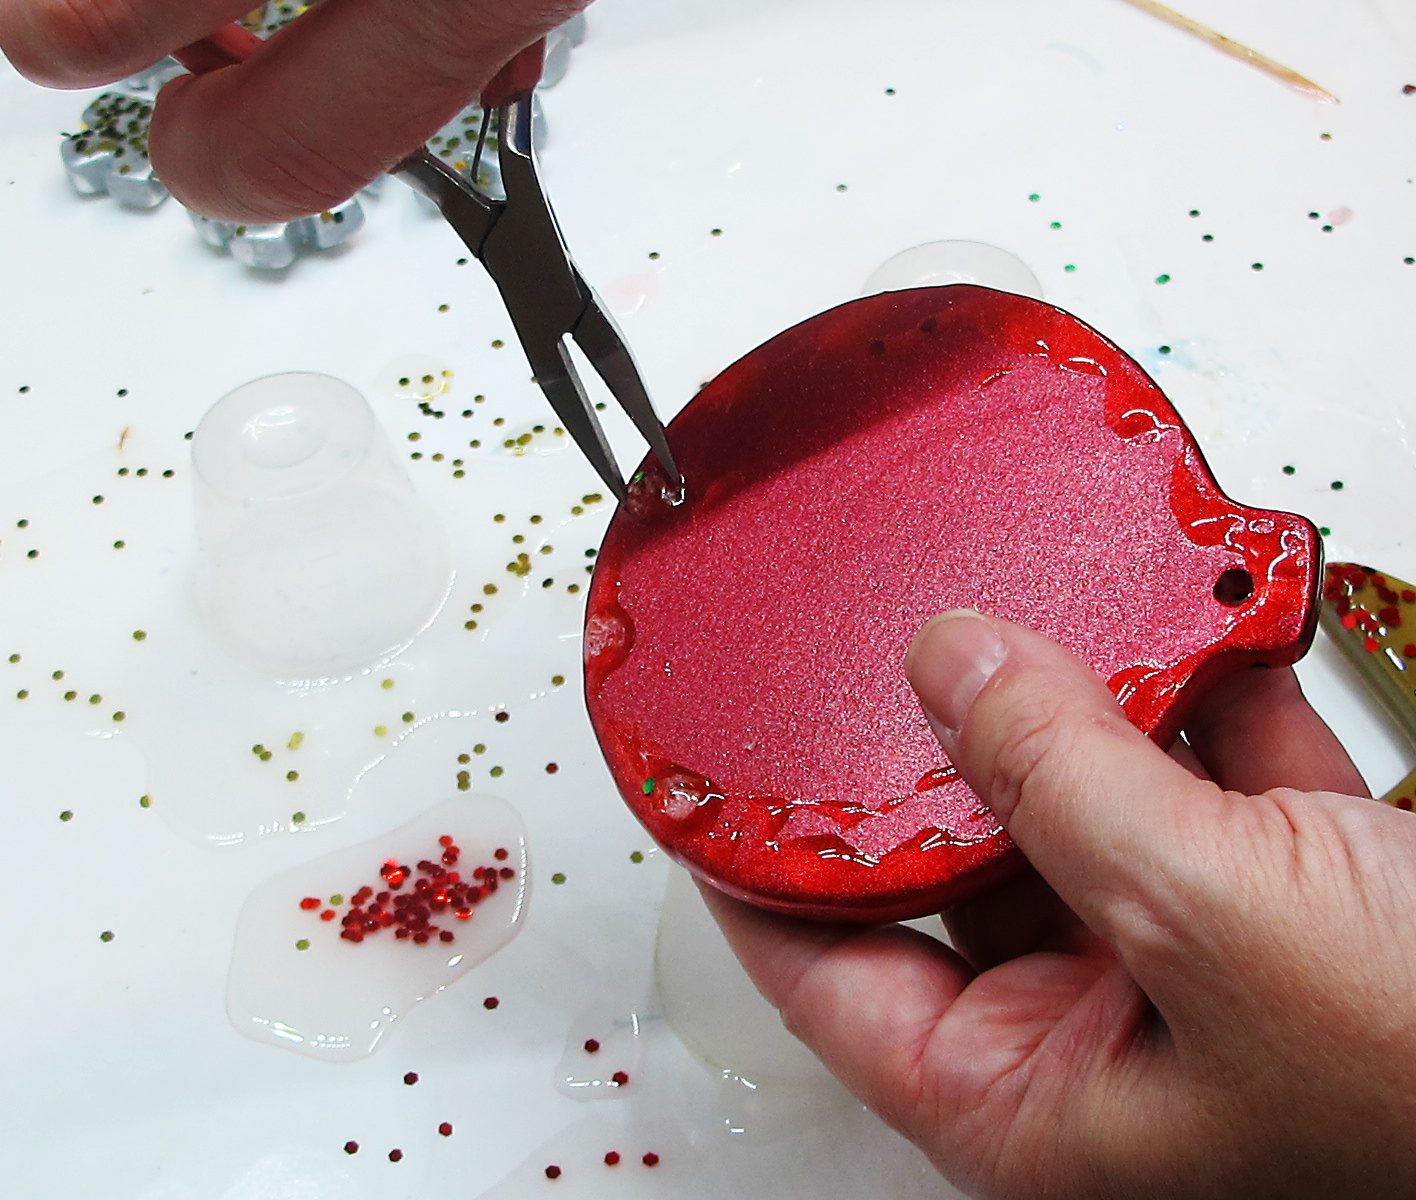
If your DIY resin Christmas ornaments have drips, use pliers to pull off the big drops while the resin is in the soft cure stage. You don’t need to get them all off, just the big ones that would push through another layer of resin.
Step 3: Add the second resin layer.
Once the resin cures (which takes 24 hours), you can prepare for the next resin pour.
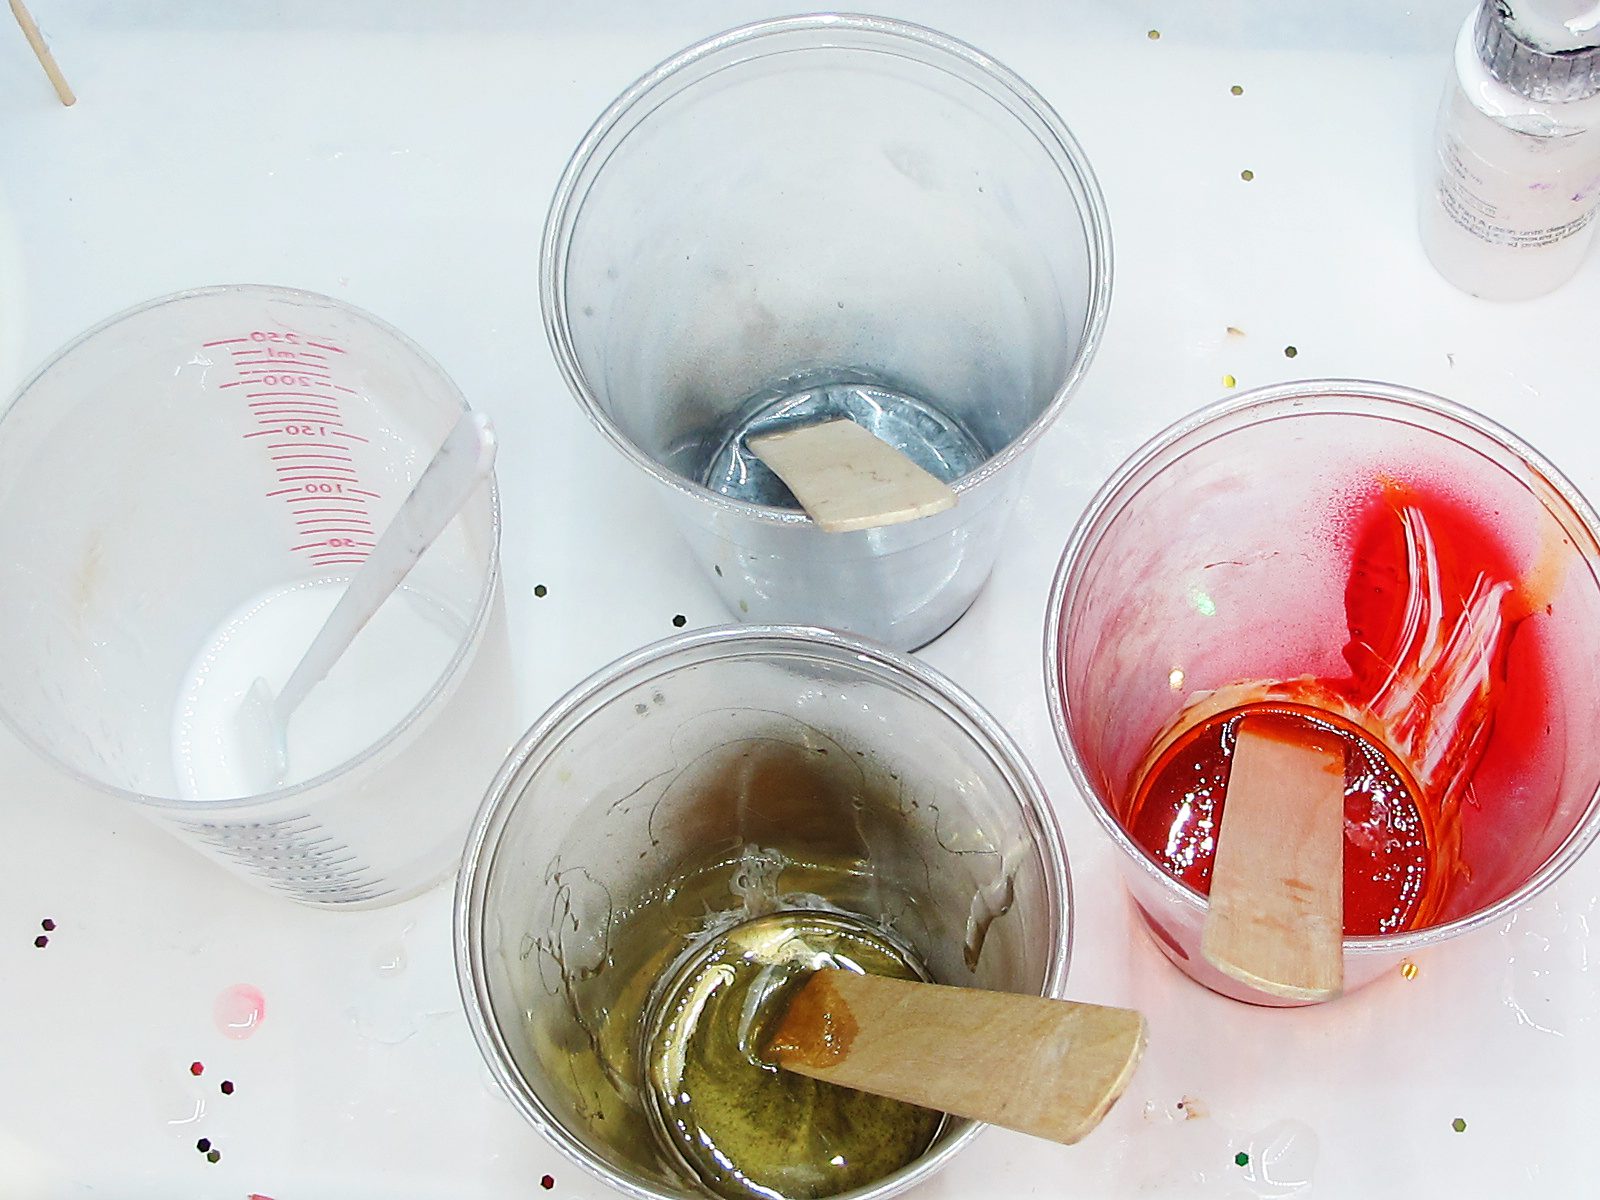
Mix another batch of Resin Obsession crystal doming resin.
Then, put a burst of each of the spray paints into their own cups.
⚠️ IMPORTANT: Only use spray paint outside.
Next, add 1 to 1 1/2 teaspoons of the mixed, clear resin into each color.
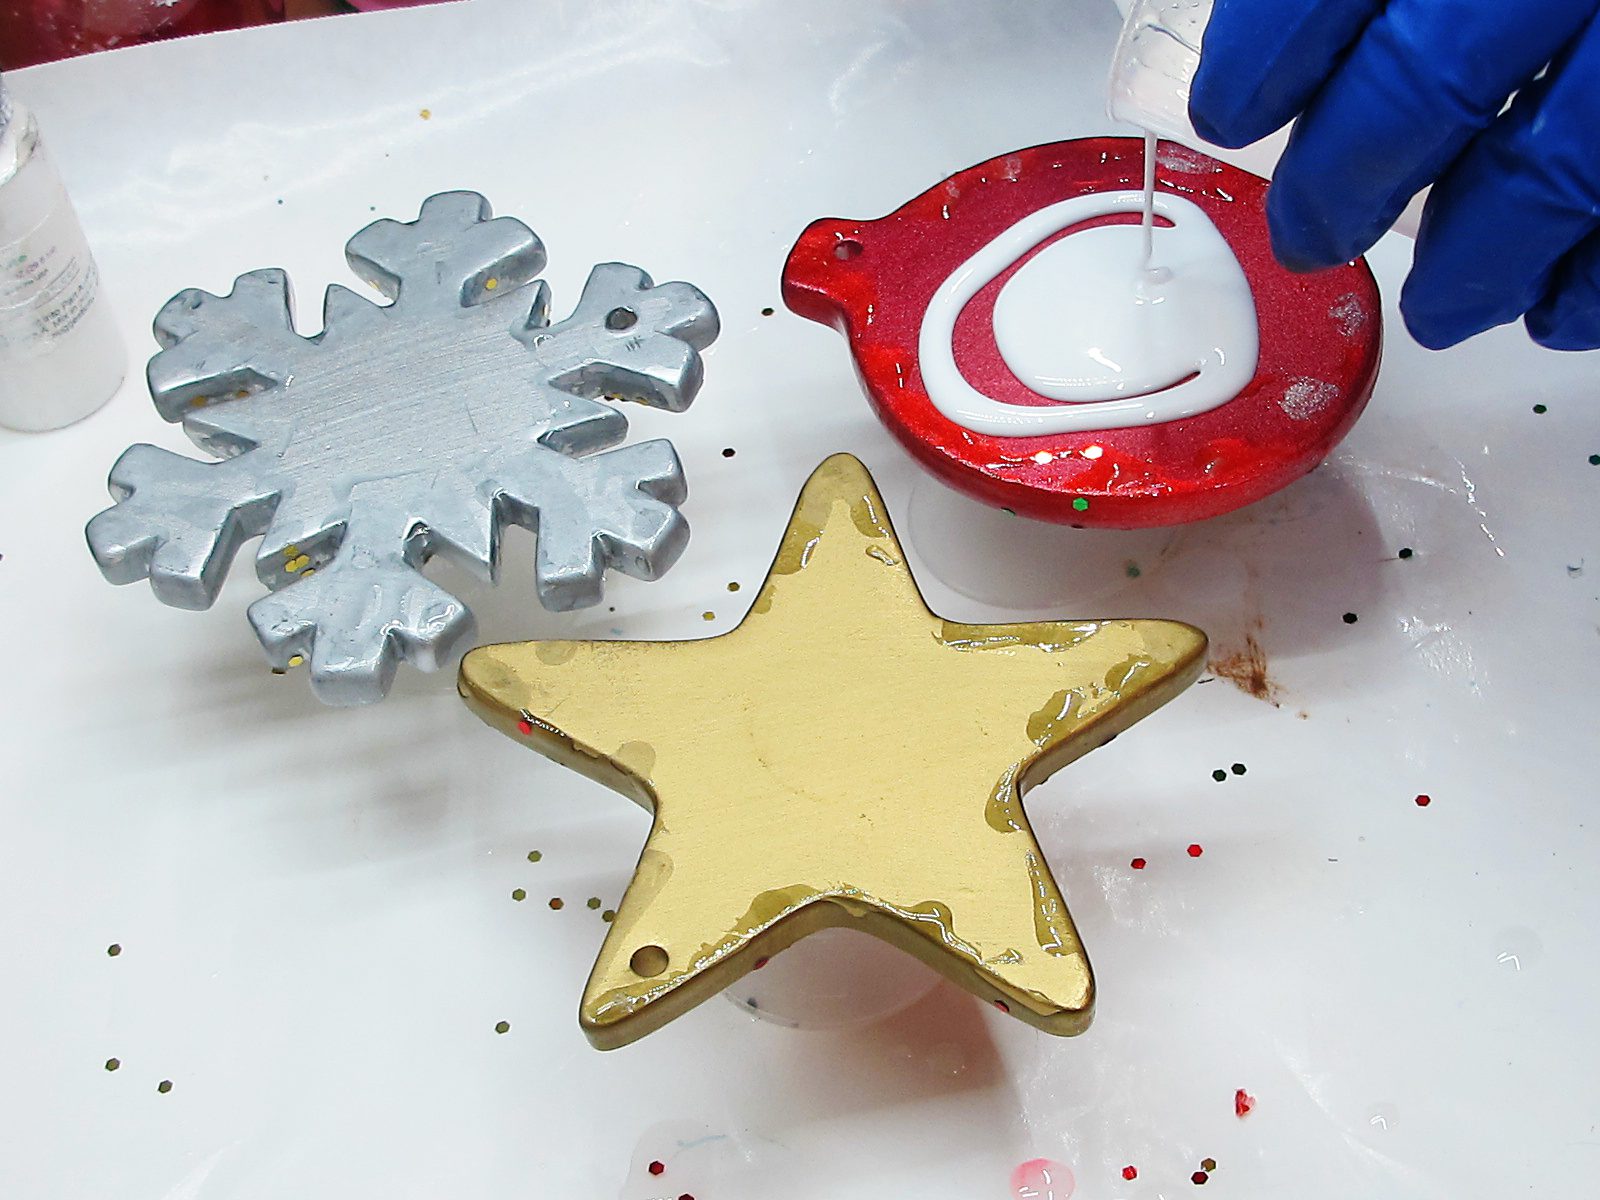
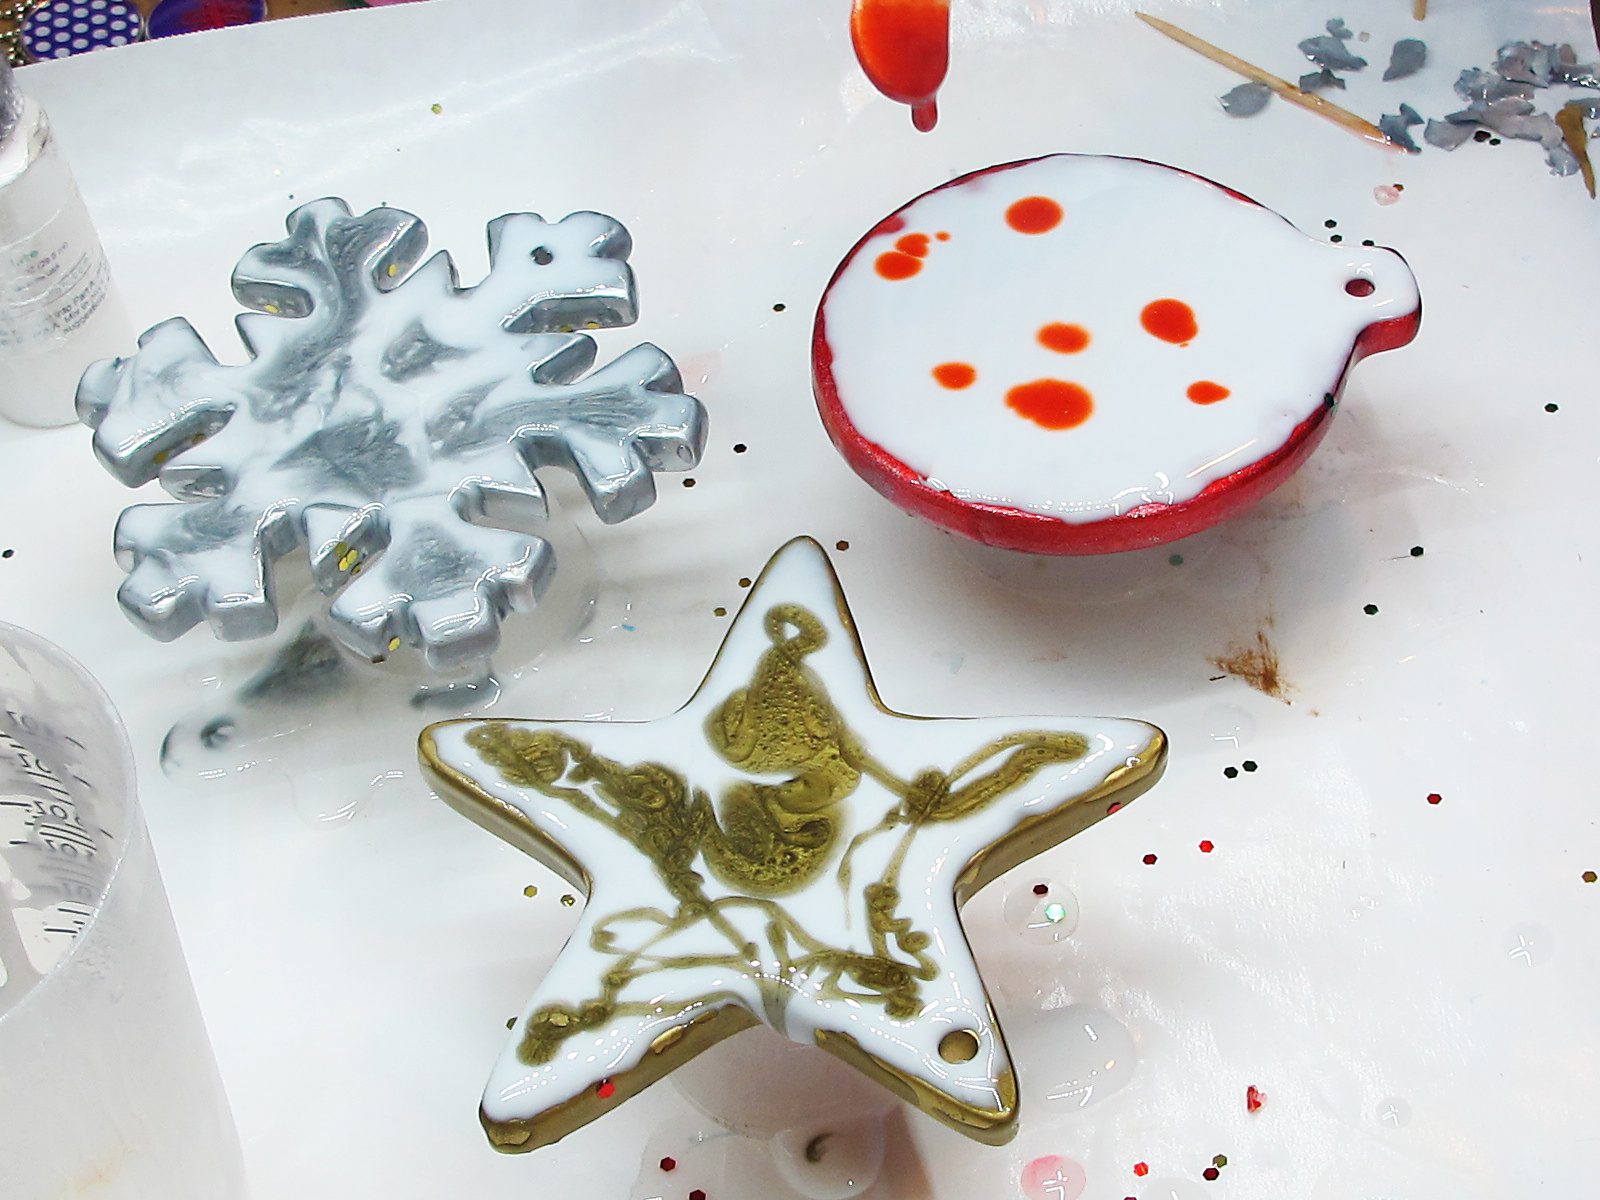
Color the remaining resin with Resin Obsession opaque white pigment.
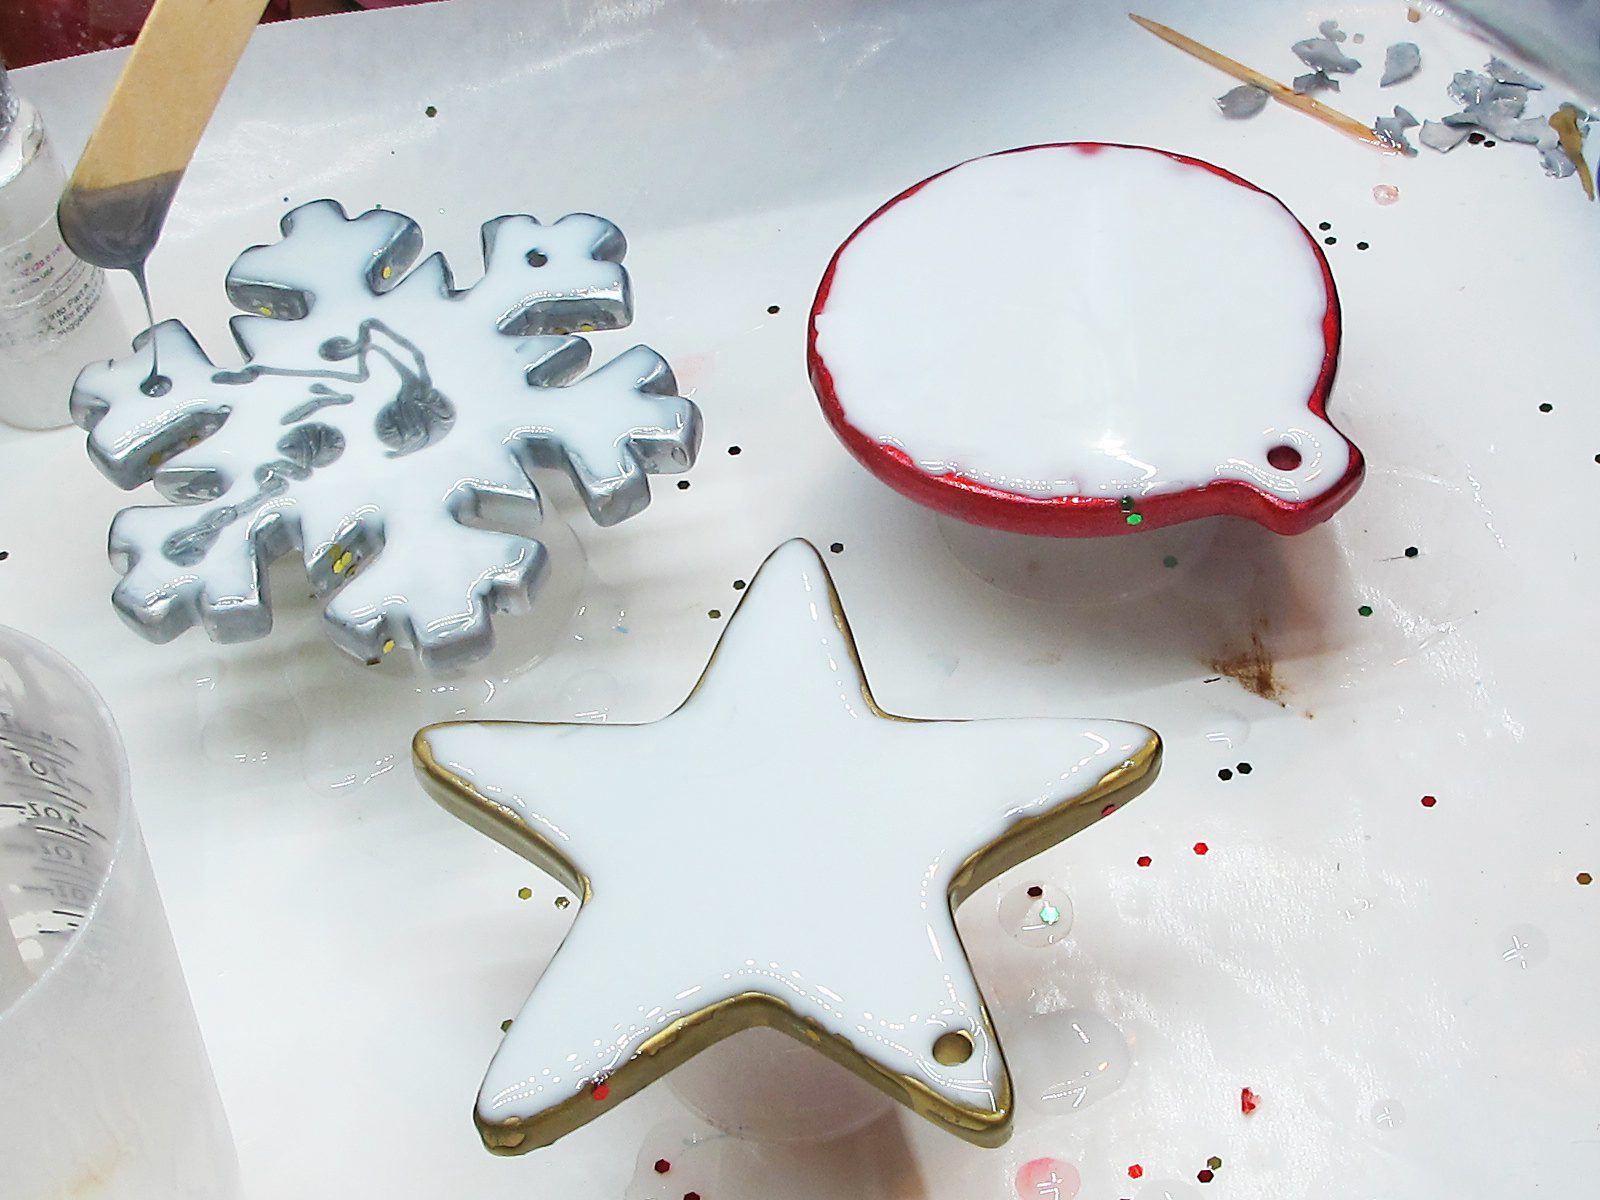
Cover the other side of each resin Christmas decoration with white resin and draw the resin to the edge.
💡 Pro tip: You don’t have to be exact here. Take the ‘icing a cookie’ approach, meaning you don’t have to get the resin precisely to the edge.
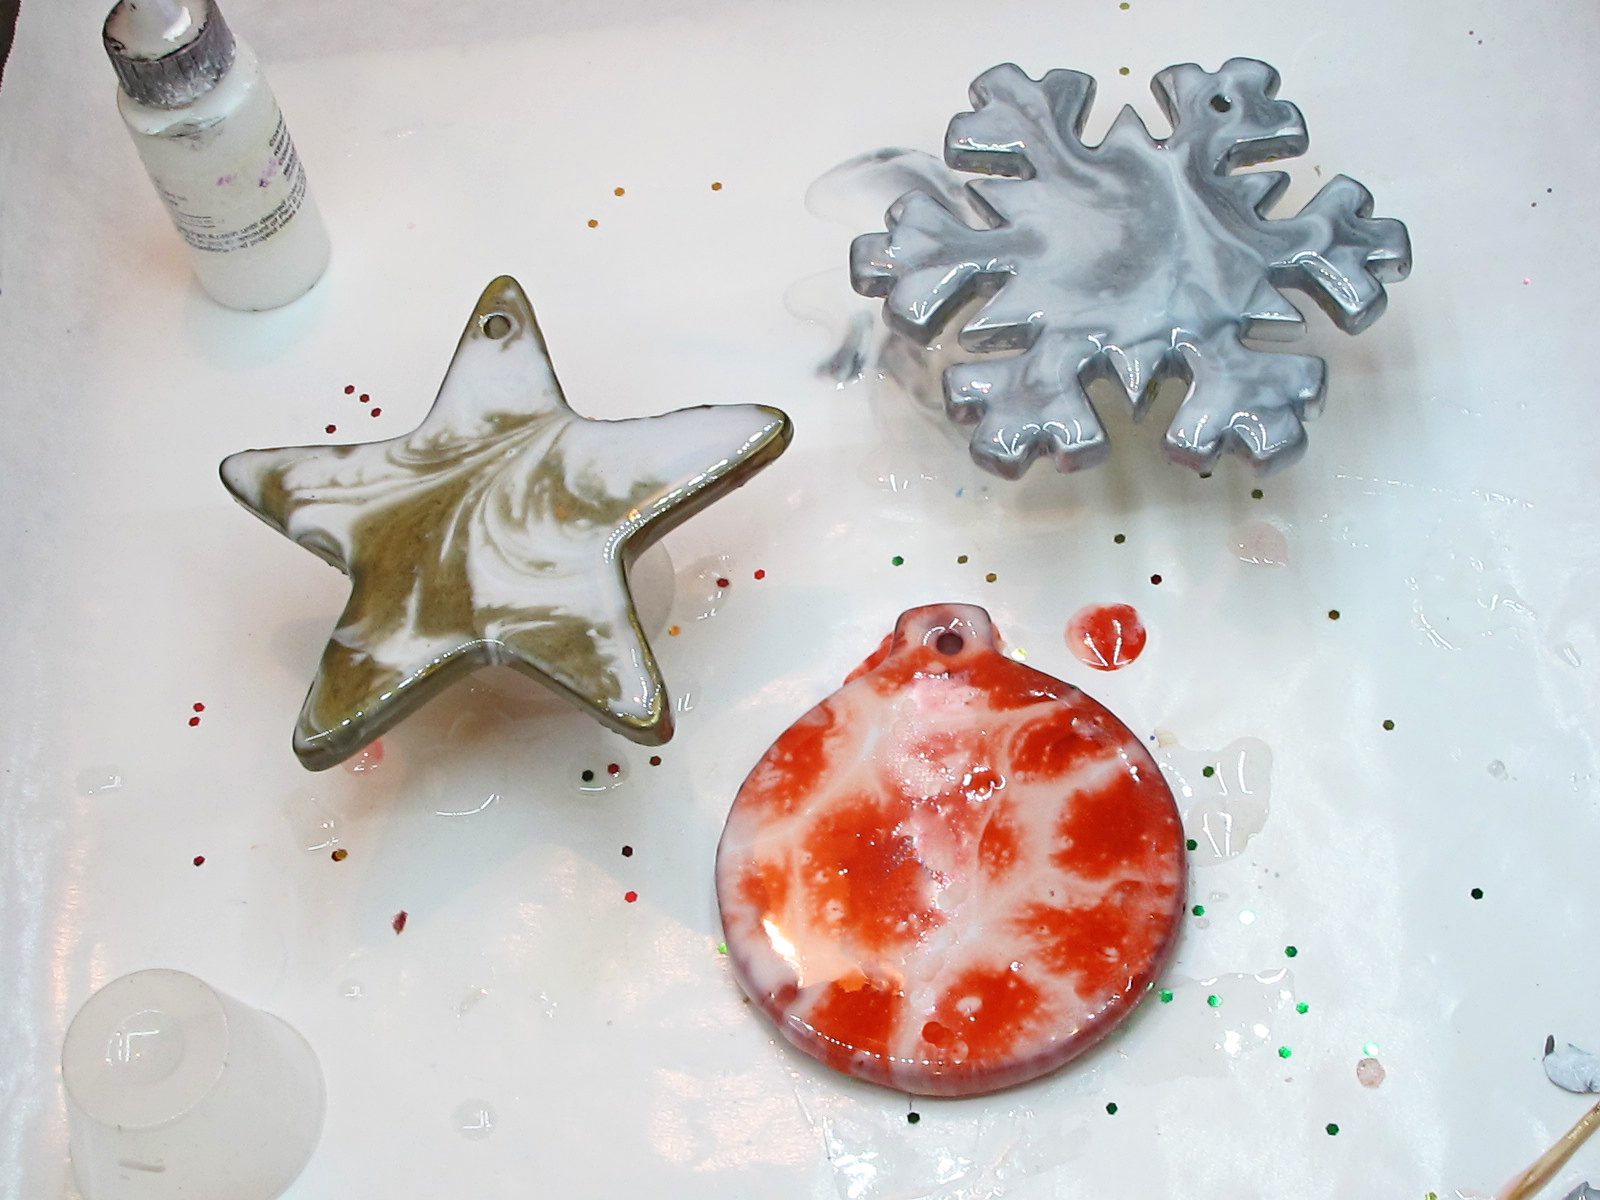
Once you have the white resin covering your ornaments, drop in your colored resin.
Don’t move the resin but let it move on its own.
You’ll have to babysit these for a while to wipe off drips (unless you use the tape method). Resin drips won’t peel off as easily at the soft cure stage this time because resin loves adhering to itself.
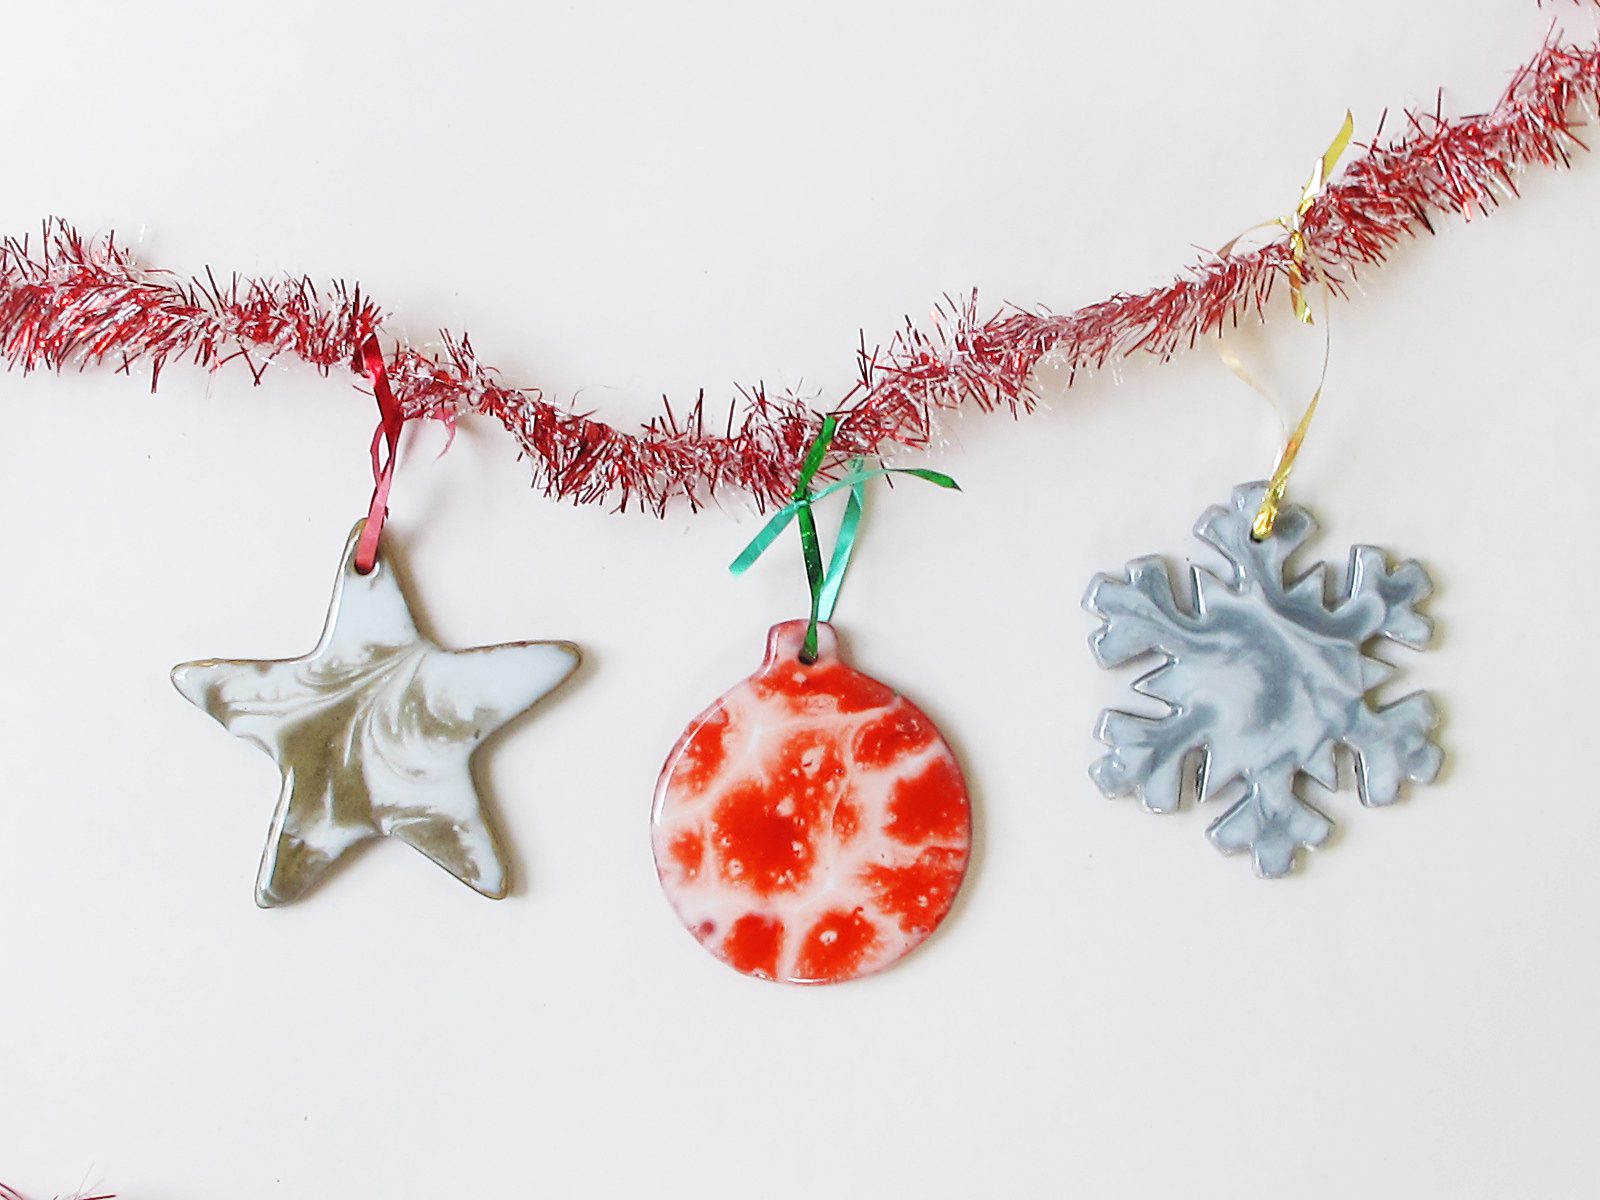
Here are the finished DIY Resin Christmas Ornaments:
Front side
Back side
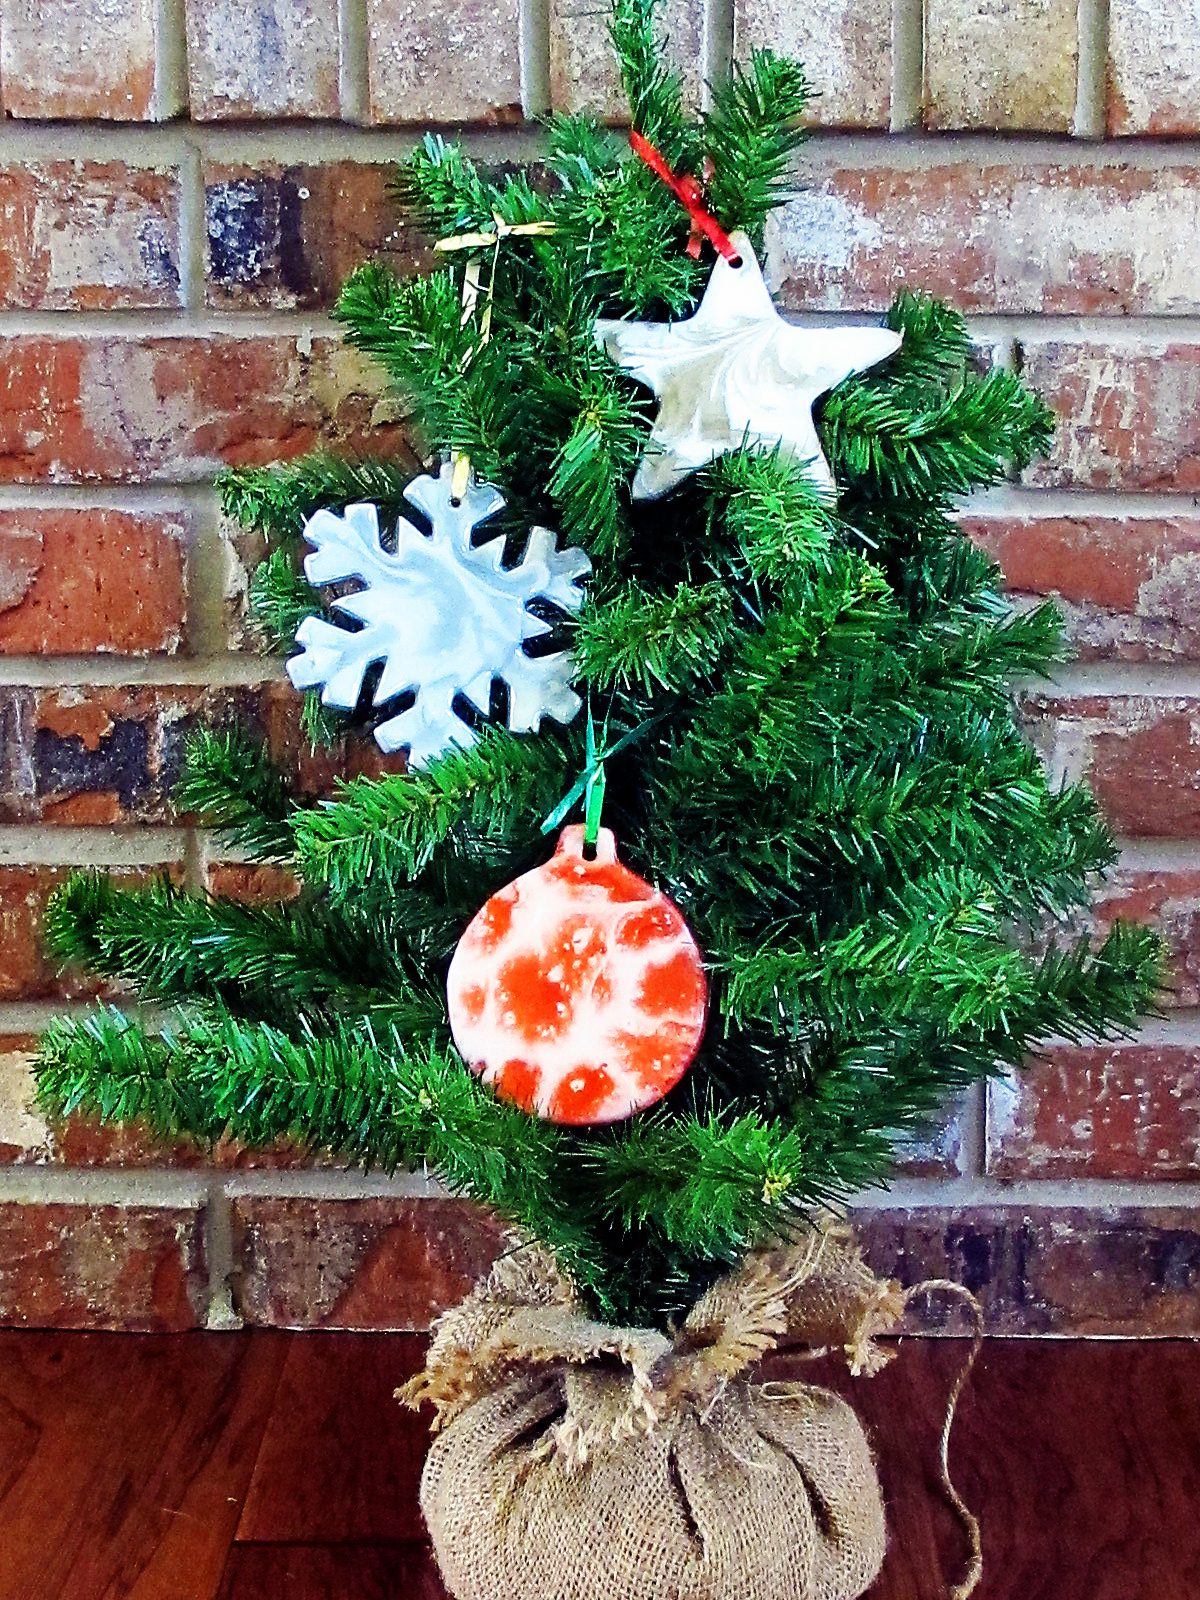
I have a little Christmas tree in my office. These resin Christmas decorations look great on it.
If you were to make this DIY resin Christmas ornaments project, you wouldn’t have to do a different design on each side. I couldn’t decide what I wanted to do, so I found a way to do both.
Which one of these DIY resin Christmas ornaments is your favorite?
Interested in how I made the colors come together? You can see more of that here:
Ready to try resin but hesitant to get started because you don’t want to make a mistake?
I get it. I made a lot of them when I first started. It almost made me want to quit. That’s why I wrote the ebook Resin Fundamentals. It shares a clear path to make something amazing with resin, avoiding mistakes and frustration in the process. Buy the PDF book today, and you can have it to read in minutes!
Unpublished Blog Posts of Resin Obsession, LLC © 2023 Resin Obsession, LLC
Can you simply do these into the resin and hang them up to dry?
Sure Pamela, I think that would be a fun project!