
 You’re in a redecorating mood. And you need something extra zippy to go over your new sofa. And a DIY, one-of-a-kind project is what you’re looking for. Yes. You can do it. Get ready, beginners–you’re going to learn how to make resin art.
Step 1: Prepare your resin art workspace
While creating resin art is fun, it is MESSY. You will need a table where you can:
*Cover it with plastic (unless you don’t mind cleaning resin drips off the floor).
*Elevate the painting so the resin can drip off the side.
*Leave it alone for at least 24 hours while it cures.
*Enclose it with a box or container to keep dust off of it while it cures.
💡 Pro tip: You can make your resin art in another container. This can be a plastic container, cardboard box, or a plastic swimming pool. Just make sure it’s something you don’t mind getting messy.
Step 2: Choose your painting surface
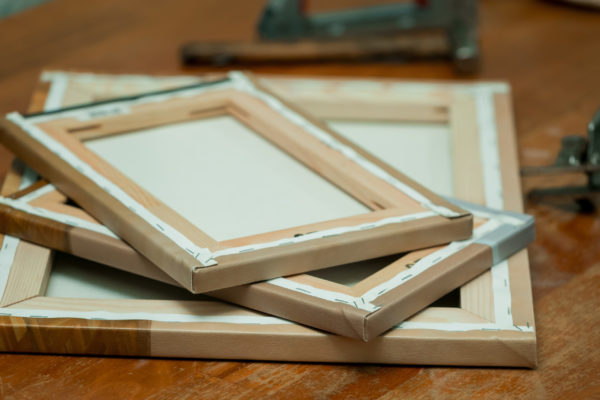
You can choose from any number of surfaces for resin painting. But it must be flat. If it isn’t, resin won’t cover the surface evenly, and you can end up with dimples in your resin.
Plus, you’ll need to elevate your painting with shims to let the resin run off. That’s a lot easier to do if you’re creating art on a flat surface.
💡 Pro tip: My favorite resin art painting surfaces for beginners are white ceramic tiles from the home improvement store. You can usually get them for less than a dollar each. They’re perfect to practice on.
Protect the back and sides of your resin surface with painter’s tape. This tape will collect the drips that run underneath. Once your resin has soft-cured, remove this tape so that your resin cures with a crisp edge.
This video shows you how to do that:
Step 3: Gather your art supplies, including your epoxy resin.
This step is essential for beginners to get right when making resin art. You must use an epoxy resin for art. It mixes thick enough to stay on the surface of the painting, with minimal drips off the sides.
The Resin Obsession artwork resin works perfectly for creating resin art. It pours a beautiful, level surface free of dimples and locks in colors. Plus, it finishes with a beautiful shine.
You’ll also need mixing cups, stirring utensils, resin colors, and safety equipment like gloves, goggles, and a respirator.
⭐️ BONUS: Get a resin art supplies shopping list.
Step 4: Figure out how much resin you need
You only have to do a tiny bit of math here. And Resin Obsession can do the heavy lifting for you. Go to our resin volume calculator and input your dimensions. Then, the calculator will tell you how much resin you need.
Step 5: Elevate your painting surface and make sure it’s level
Grab a level and make sure your surface is level in all directions. If it isn’t, your resin will settle over the surface unevenly. Use shims to lift and level the surface.
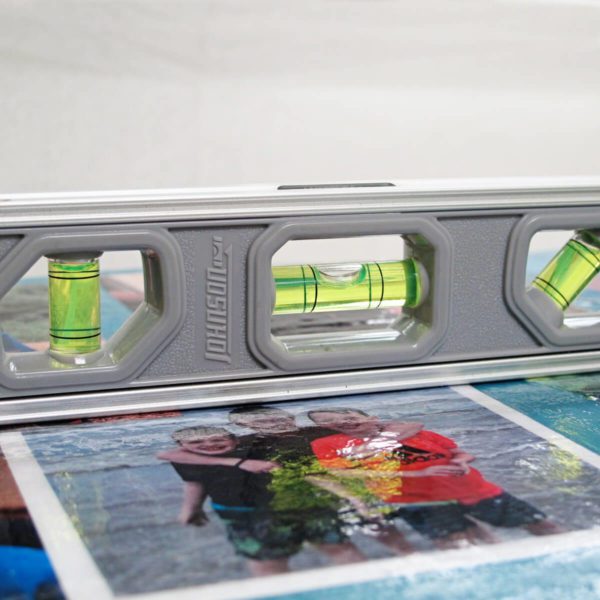
💡 Pro tip: Shims don’t need to be expensive. I use plastic drinking cups and popsicle sticks for this part.
Step 6: Mix your resin
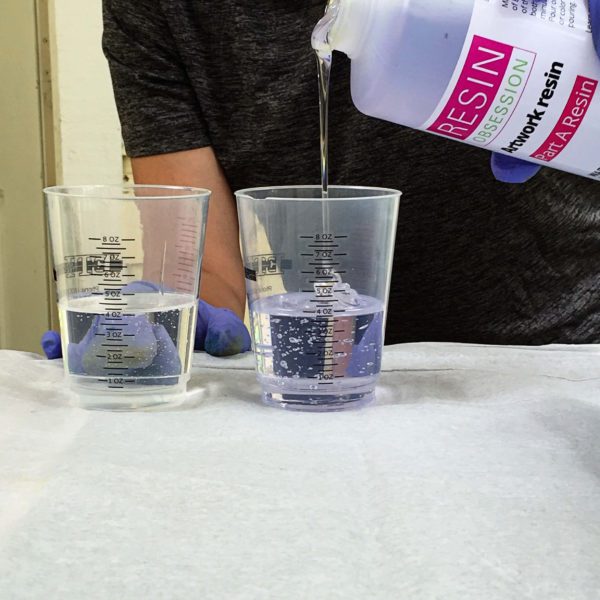
This step is also pretty important when learning how to make resin art–and another one beginners mess up.
Let’s say the resin calculator told you to mix 20 ounces of resin. That means 20 ounces TOTAL of resin. The Resin Obsession artwork resin mixes 1 part A (resin) to 1 part B (hardener) by volume. That means you must measure 10 ounces of resin AND 10 ounces of hardener. When you put them together, you’ve got 20 ounces of resin.
Measure each part in separate cups, then mix together. Continue blending until the mix is clear and streak-free. This takes about 3 minutes.
⭐️ BONUS: See how to mix resin with all kinds of tips for beginners.
Step 7: Add colors
It wouldn’t be much of an art painting if you didn’t add resin colors. Split your resin amongst several cups, and color in your favorite hues.
⭐️ BONUS: Here’s how to color epoxy resin and get the best results.
Step 8: Pour
This is what you’ve been waiting for. It’s time for all you beginners to pour your resin and make art. Flow it onto your surface and let the resin spread. You can also use you’re stirring stick to spread the resin over your painting surface.
💡 Pro tip: Use a timer to help you keep track of the resin’s pot time. It’s easy for time to get away from you, and before you know it, your resin is thickening, and you are nowhere near finished.
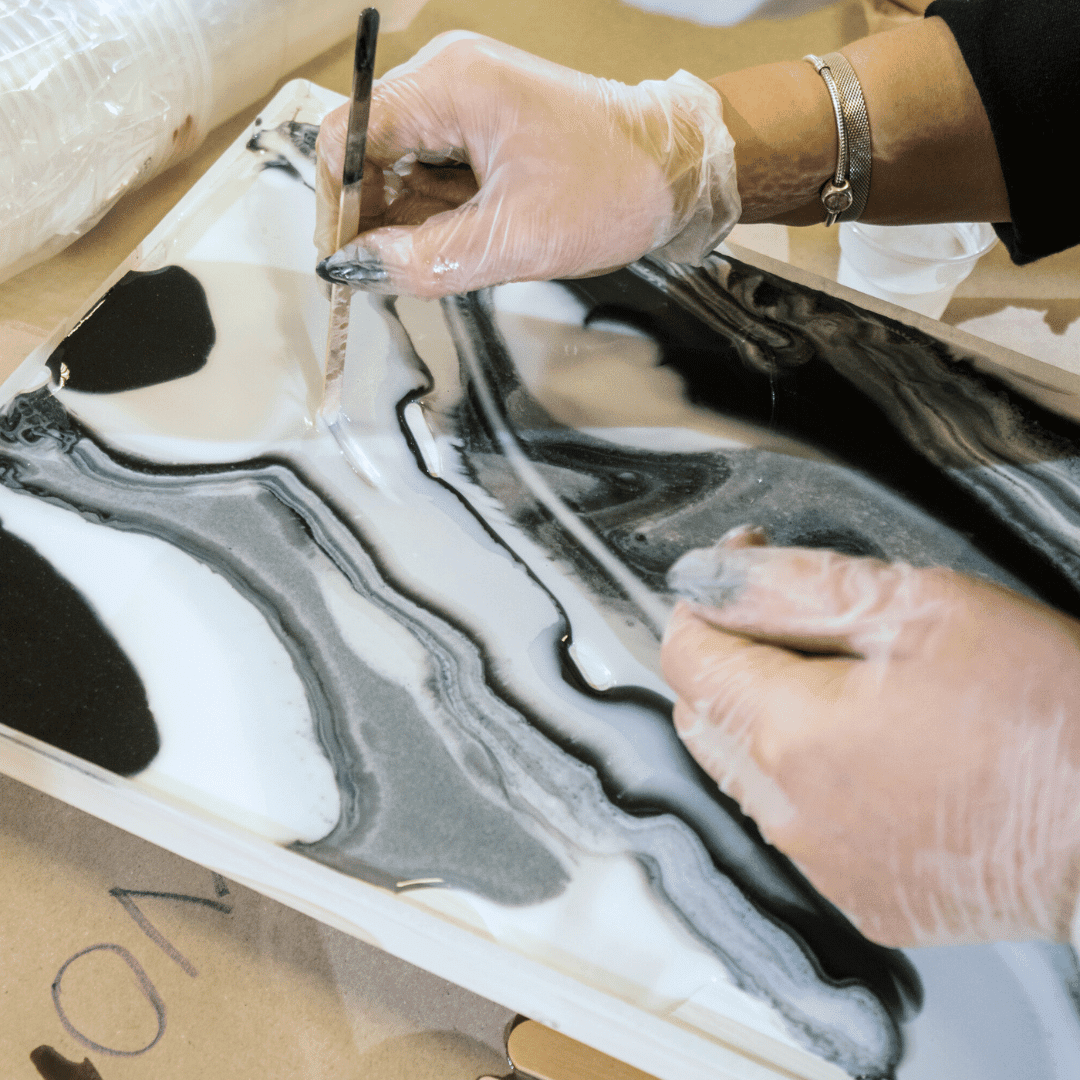
Step 9: Use a heat gun
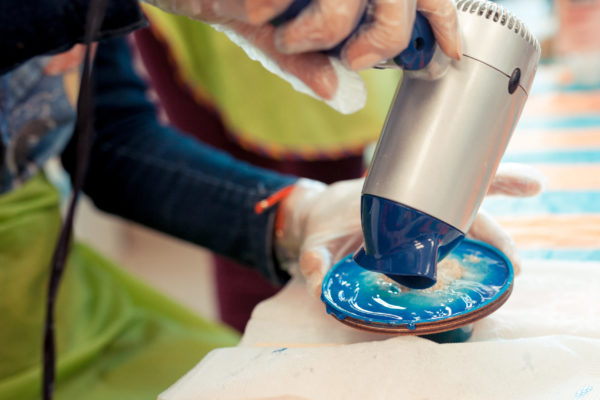
Here’s where resin art gets fun and imaginative. Use your heat gun to push the resin around your painting surface. It makes interesting designs and will create cells in resin. Plus, it removes resin bubbles, which is another mistake I see with beginners making art.
Step 10: Cover your resin painting
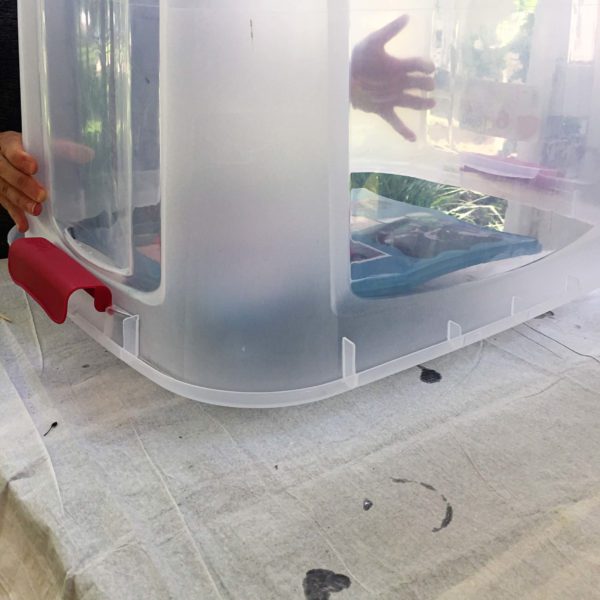
Resin has an affinity to collect dust, dirt, and especially pet hair. You don’t want to have these imperfections on your cured resin. Make sure you keep the dome on your resin art until it’s cured to the touch. This will take at least 24 hours.
Want some resin art inspiration for beginners?
Here’s a video of one of my favorite paintings that I’ve created with epoxy:
Have more beginners’ questions about making resin art?
Then you want a copy of the beginner ebook, Resin Fundamentals. You’ll learn from my 17 years of resin artist experience for less than the price of a resin kit.
Stop wasting time watching days of free videos. Instead, you’ll get the vital details you need to know to make something amazing with resin in only a couple of hours. Buy now, and you’ll get a PDF download link in minutes.
Unpublished Blog Posts of Resin Obsession, LLC © 2023 Resin Obsession, LLC
How do I resin a small human bone(hip bone socket)? Would like it suspended in resin. Do I have to dry the bone(it’s in formaldehyde) in a special way?
Thank you
How can I ensure a smooth surface on a painting that is merely covered with resin? I have had trouble with dimples.
Hi Donna, I’m sorry this is happening to you. This article explains why you get dimples in a resin surface and what you can do to fix it: https://www.resinobsession.com/resin-art/why-are-there-dents-and-holes-in-my-resin-painting/
I am a Resin artist with a few years experience. So I read your post, and was excited to save the Resin calculator….however, when I entered in the measurements for a SMALL PROJECT, like an 8” in diameter (hexagon) tile, and entered 1” depth, your resin calculator calculated 21 OUNCES OF RESIN!!!! I thought maybe the 1” in diameter may be the problem so I recalculated the project to be a 21” long by 12” wide, by .05” depth, and it actually calculated 21 OUNCES of resin! I think you may have a problem with that calculator.
Hi Crystal, I’m sorry to hear you’re having problems with our resin calculator. Using your 21 x 12 x 0.05 dimensions for a square, I show a smidge under 7 ounces. Can you try clearing your browser cache and then entering again? It might be some weird internet issue.