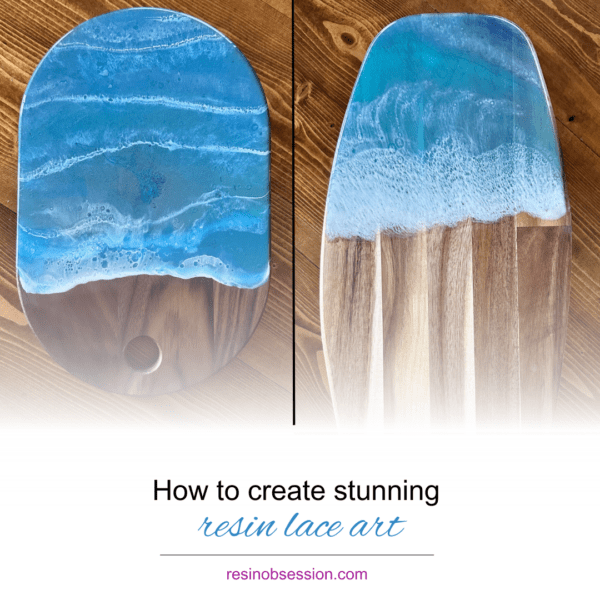
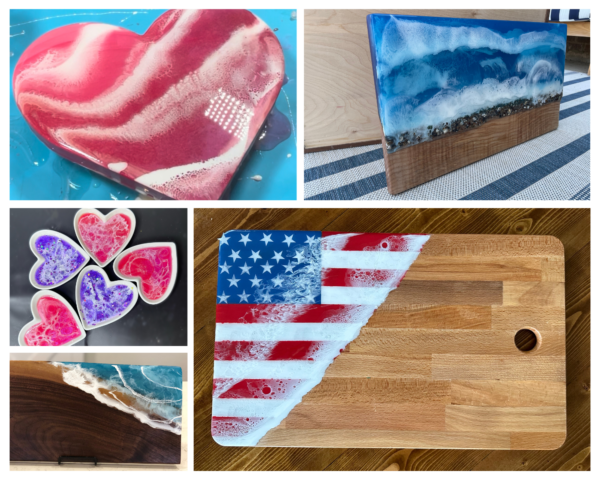
Resin art has so many different techniques and mediums; there’s an endless array of opportunities to get creative. Among the myriad of techniques available, resin lacing is particularly captivating, creating intricate, web-like patterns that mimic natural forms such as waves, clouds, or even marble. While lacing might look like a difficult technique to master, we’re going to guide you through the steps to create your own resin lacing masterpiece, along with inspirational pieces to show you ANYONE can create resin lace art!
Supplies for Resin Lacing
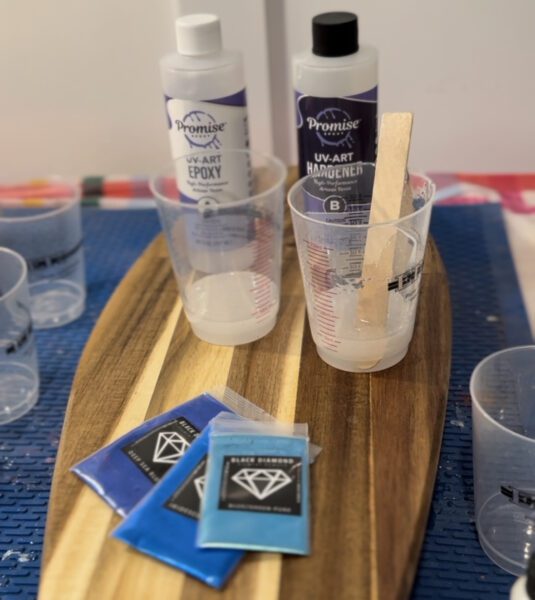
- Epoxy resin and hardener
- Mica powders or other resin colorants
- Mixing cups and sticks
- Heat gun or blowtorch
- Protective gear (gloves, mask)
- Canvas or wooden board
- Silicone oil (optional)
Resin Lace Technique Instructions
1. Prepare Your Workspace
Resin can be messy and hard to remove once cured. Cover your workspace with plastic sheets or newspaper, and wear protective clothing. Ensure the room is well-ventilated to avoid inhaling fumes (or use a mask).
2. Mix Your Resin:
Follow the manufacturer’s instructions to mix your epoxy resin and hardener in a cup. The typical ratio is 1:1, but this can vary. Stir slowly to avoid creating bubbles.
3. Color Your Resin:
Separate your mixed resin into different cups if you plan to use multiple colors. Add mica powder, ink or resin dye to each cup and mix thoroughly. For lacing, white is often used for the lace effect, with various colors as the background.
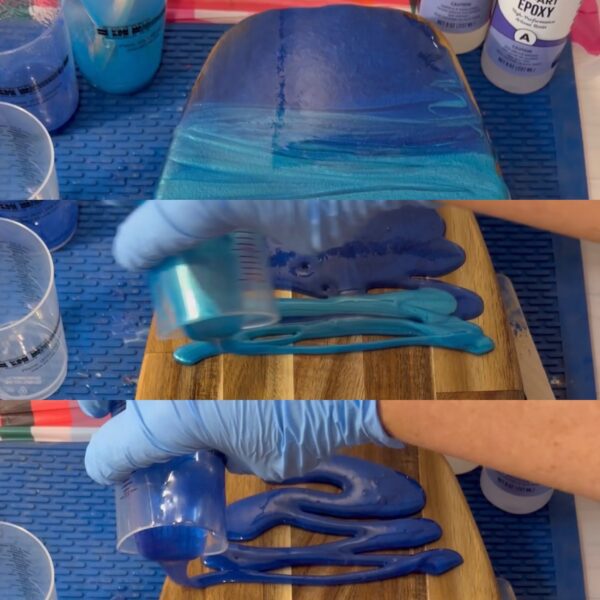
4. Pour the Base Layer:
Choose your primary color(s) and pour them onto your canvas or board, using a stick to spread the resin evenly. This will serve as the background for your lacing.
5. Create the Resin Lacing Effect:
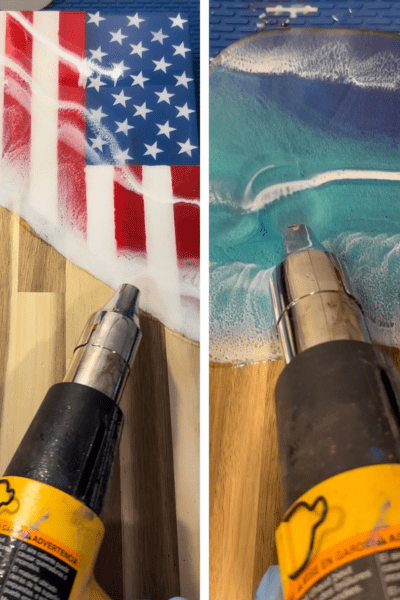
After laying down your base, it’s time to add the lacing. Pour lines of your contrasting color (usually white) over the base layer. Then, using a heat gun or blowtorch, gently blow over the lines. The heat not only pops any bubbles but also encourages the resin to spread and form lacy patterns.
6. Add Depth with Silicone:
For more intricate lacing, mix a few drops of silicone oil into your resin colors before pouring. When heat is applied, the silicone repels the resin, creating more defined cells and lacing effects.
7. Let It Cure:
Once you’re satisfied with your lacing masterpiece, allow the piece to cure. Curing times can vary, but it generally takes at least 24 hours for the resin to become touch-dry and up to 72 hours to fully cure.
Tips for Success
- Temperature Matters: Work in an environment where the temperature is between 75-85°F (24-30°C) to ensure the resin cures properly.
- Experiment with Tools: Beyond heat guns and torches, tools like straws or blow dryers can create unique effects.
- Safety First: Always work in a well-ventilated area and wear protective gear. Resin and hardeners can be toxic if inhaled or if they come into contact with the skin.
- Patience is Key: Resin art requires patience, both in technique and curing. Take your time to achieve the best results!
Resin lacing is a technique that allows for endless creativity and personalization. Whether you’re making a piece for your home or as a gift, the unique patterns and depth achieved with resin lacing are sure to impress. Remember, practice makes perfect. Don’t be afraid to experiment with colors, tools, and techniques to discover what works best for you. Happy crafting!
Get your copy of the instantly downloadable book, Ten Epoxy Craft Projects. You’ll get inspiration for the days you need resin ideas. Buy the PDF book now and you’ll get an email download link in minutes.
Resin Obsession, LLC © 2024 Resin Obsession, LLC


That is so cool! Thanks for sharing!