
 Sometimes the resin doesn’t have to be the star of the show. Two-part epoxy resin can serve a supporting role as a glue for your crafts.
That’s right.
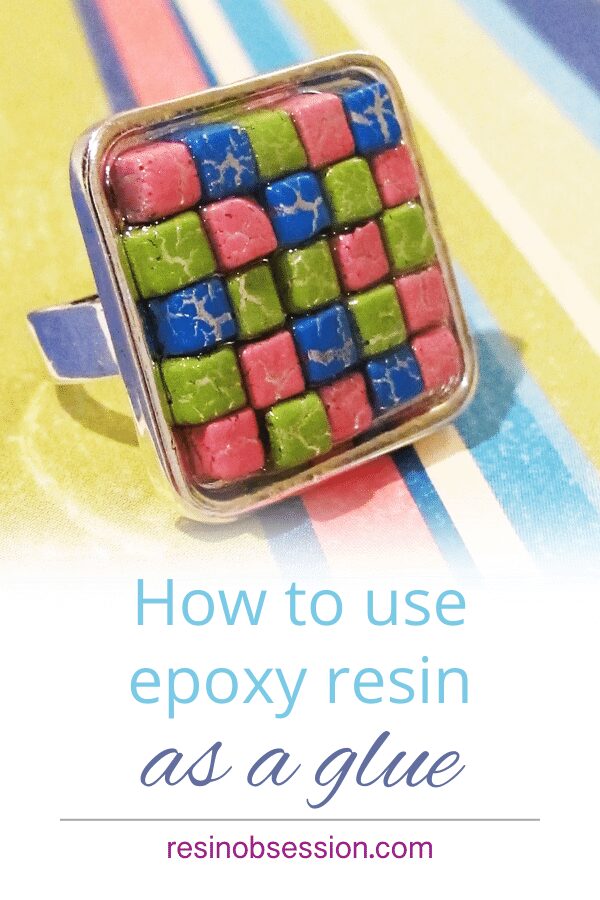
Epoxy resin is a pretty fantastic adhesive. You can use it with jewelry findings and your varied assortment of beads to make a ring.
Step 1: Balance the ring finding
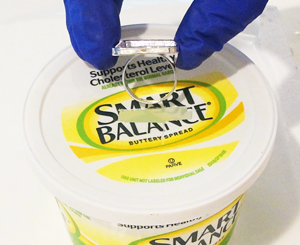
Your ring finding needs to sit flat. An easy way to do this is by cutting a hole in the lid of a plastic container. Let the lid hold the top of the ring, without letting the ring slip through.
Step 2: Add a thin layer of resin
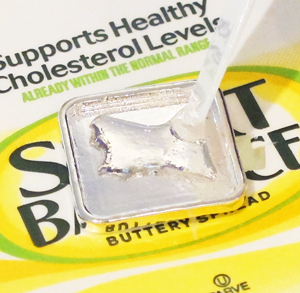
You won’t need much resin to act as glue. Five to six drops are all you need to coat the bezel of this ring.
💡 Pro tip: This is about the amount you can scrape off the bottom and sides of your mixing cup.
Step 3: Add beads to the resin
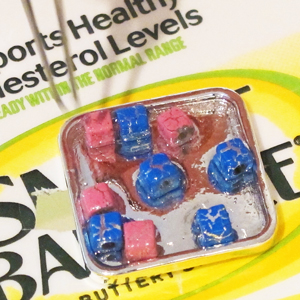
Carefully place your beads, or whatever you are using, into the ring.
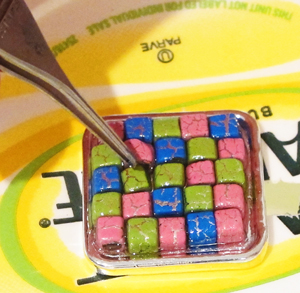
Adjust the placement of your beads if necessary. Then, let the resin cure.
Step 4: Enjoy your finished ring

I love how this ring turned out. It’s a fun way to use up beads and charms you have in your stash of resin supplies.
💡 Pro tip: Any clear resin will work as a glue.
How else can you use resin as a glue?
Epoxy resin works great to bond metal, glass, and wood. It doesn’t get brittle like super glues can.
Ready to dive into making jewelry with resin?
Then you’ll want to get the ebook Resin Jewelry Making. It shares the specifics you need to know to make resin jewelry that will have everyone saying, ‘Wow, you made that?!’ Buy the PDF book now and get a download link in minutes.
Unpublished Blog Posts of Resin Obsession, LLC © 2023 Resin Obsession, LLC
I used epoxy to make a tigereye ring with a copper ring finding and an extra cabochon I had left from a jewelry project.