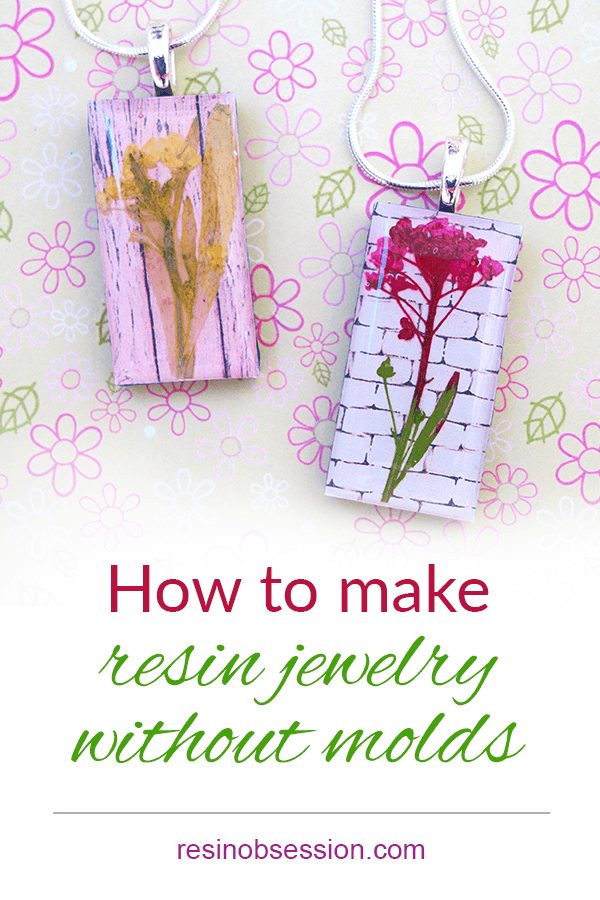
I LOVE making jewelry with epoxy resin. It’s so versatile that you can form it with resin molds to take on any shape. Plus, you can leave it clear or add resin colors. Its ability to take on colors and shapes makes it appealing for crafting. But you might be asking yourself how to make resin jewelry without molds.
You’re going to love this. 🎉
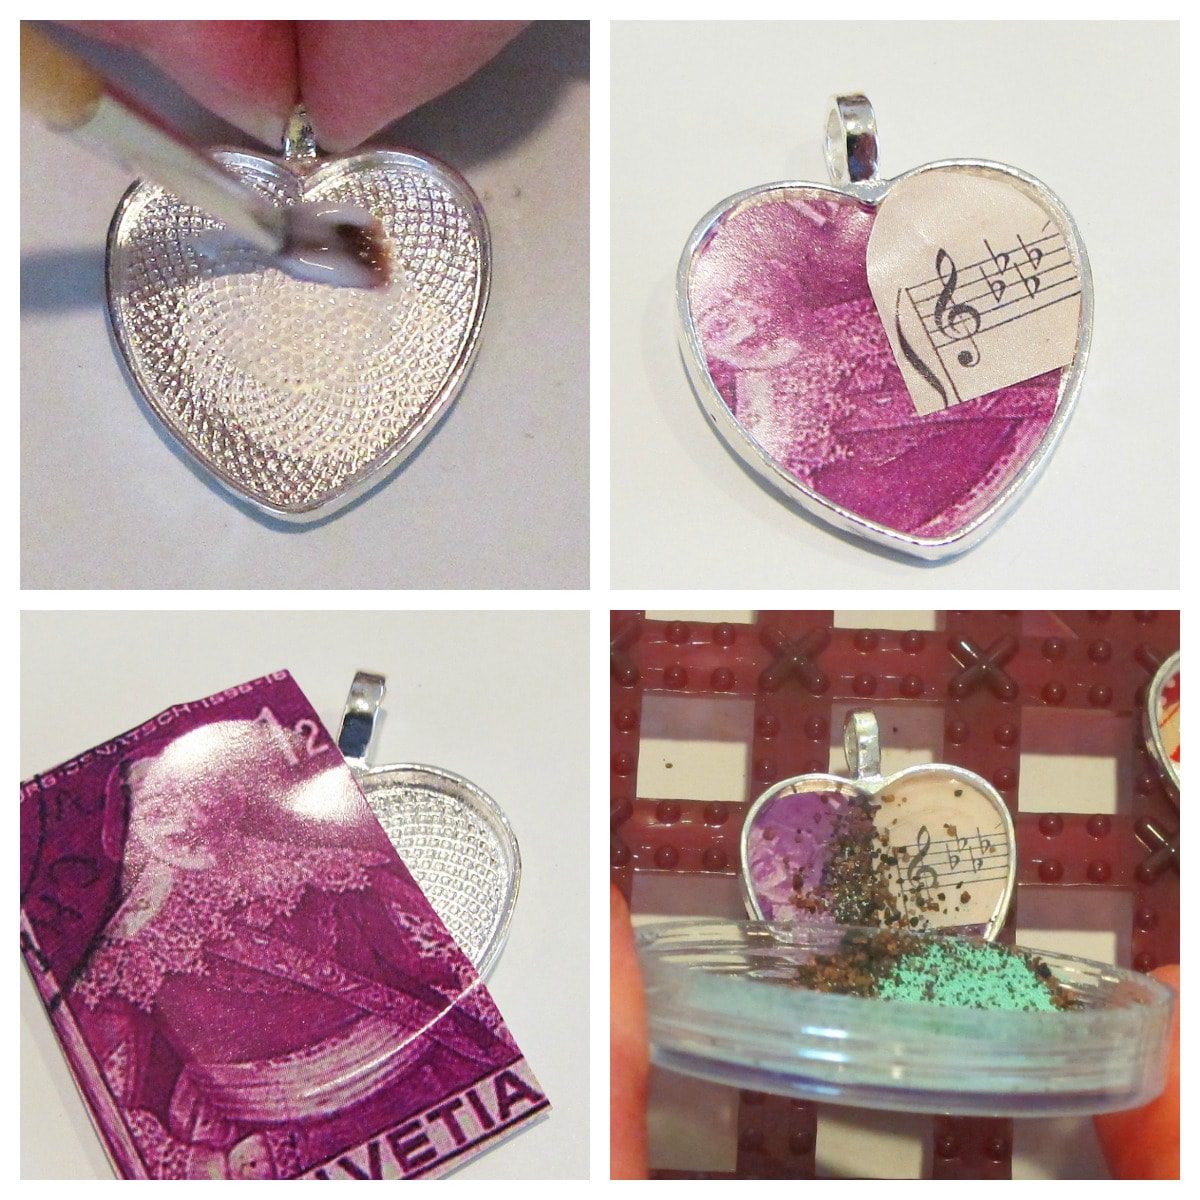
You can make resin jewelry using bezel blanks.
Uh. What are those?
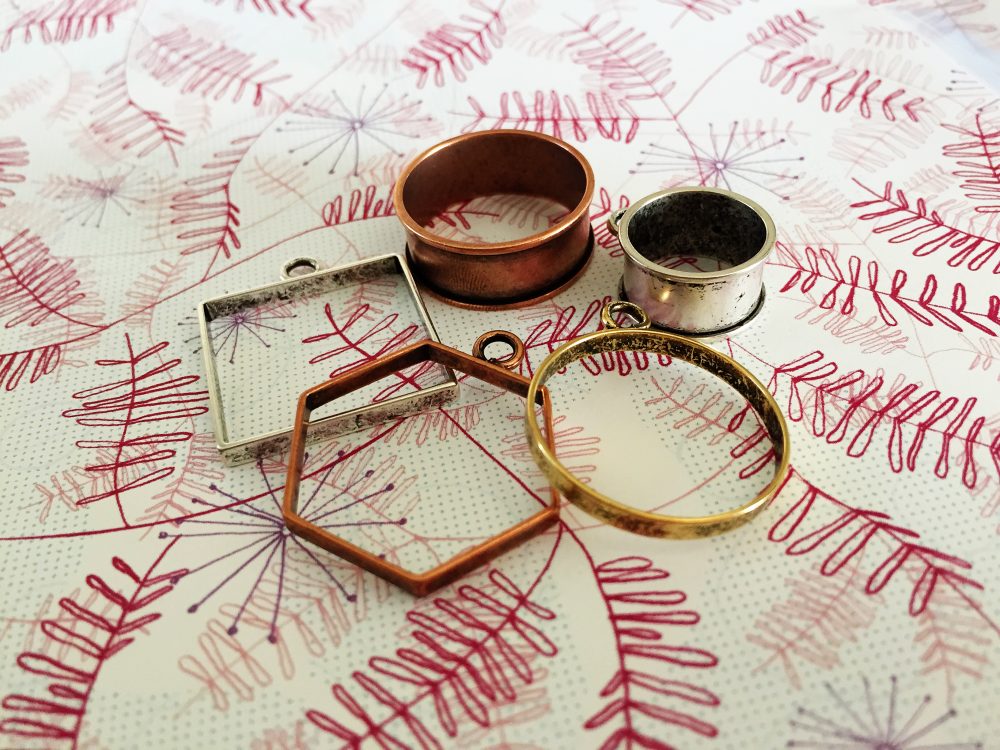
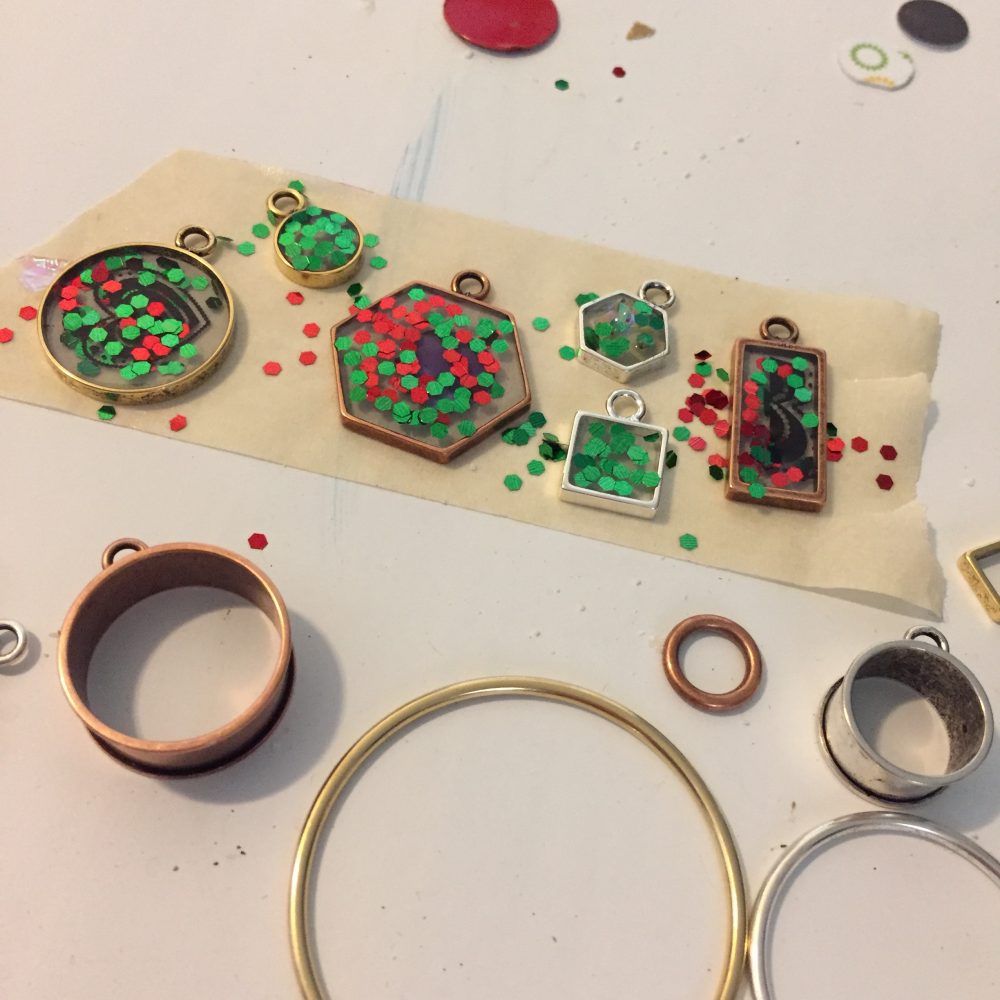
Jewelry bezels or jewelry blanks are metal cups you use to make resin jewelry without molds. You can fill them with resin, then add gemstones, rocks, clay, or other cute things.
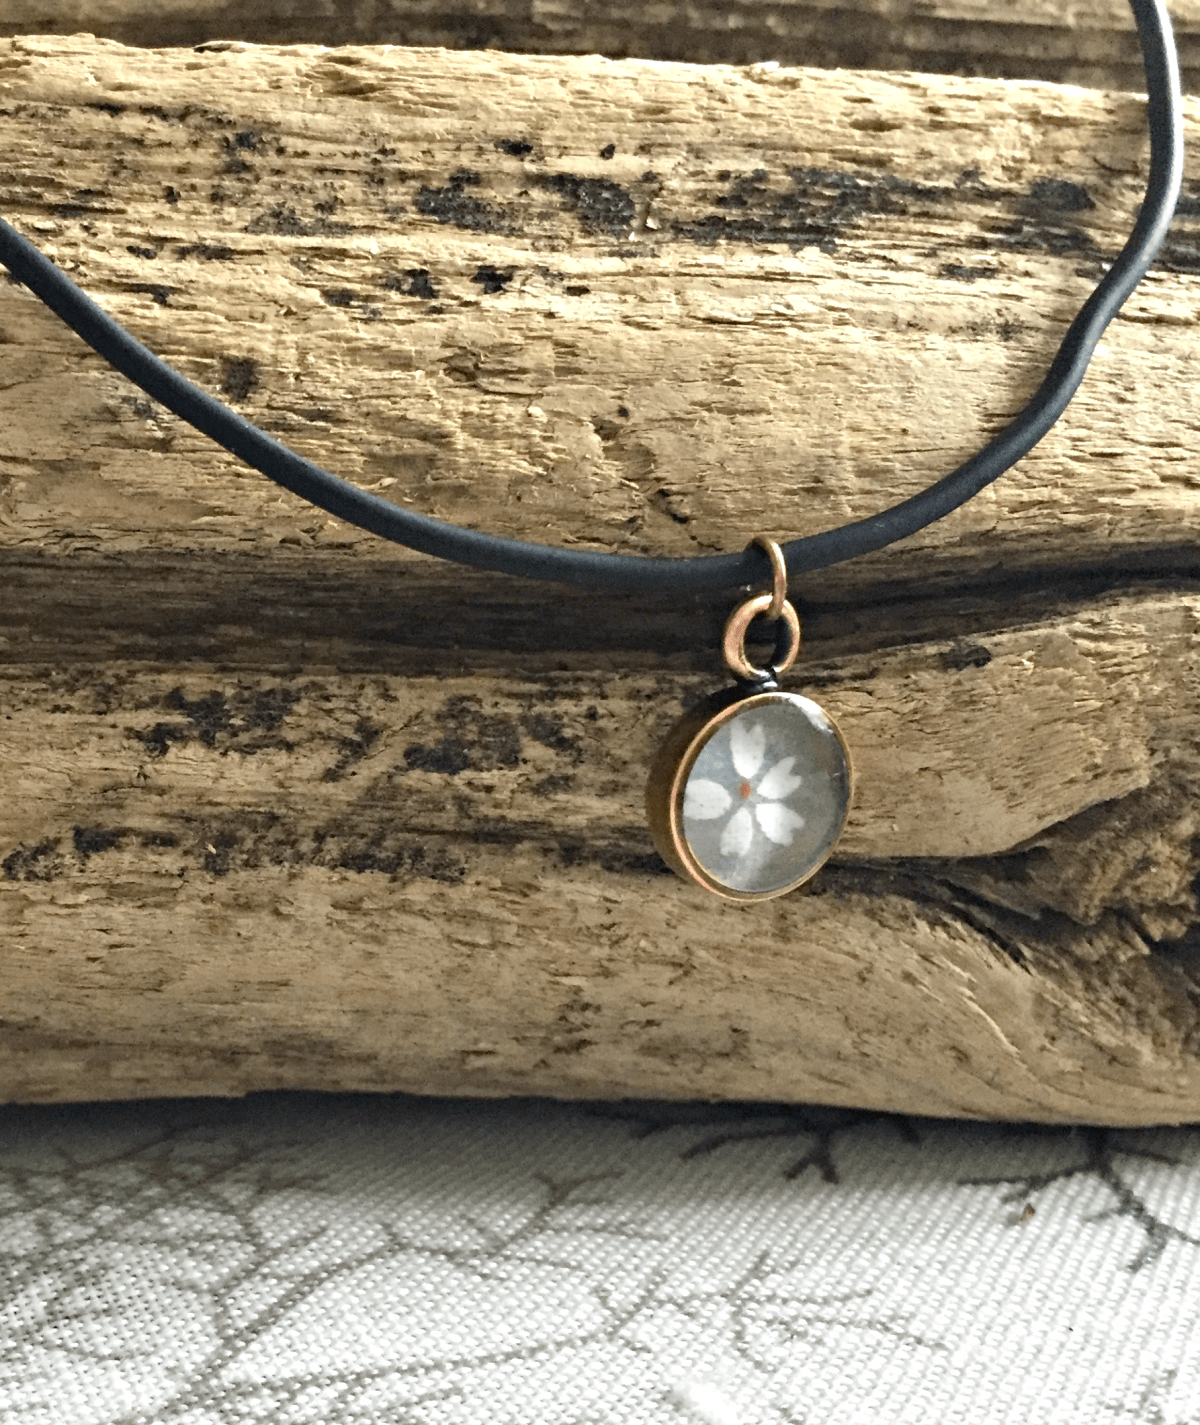
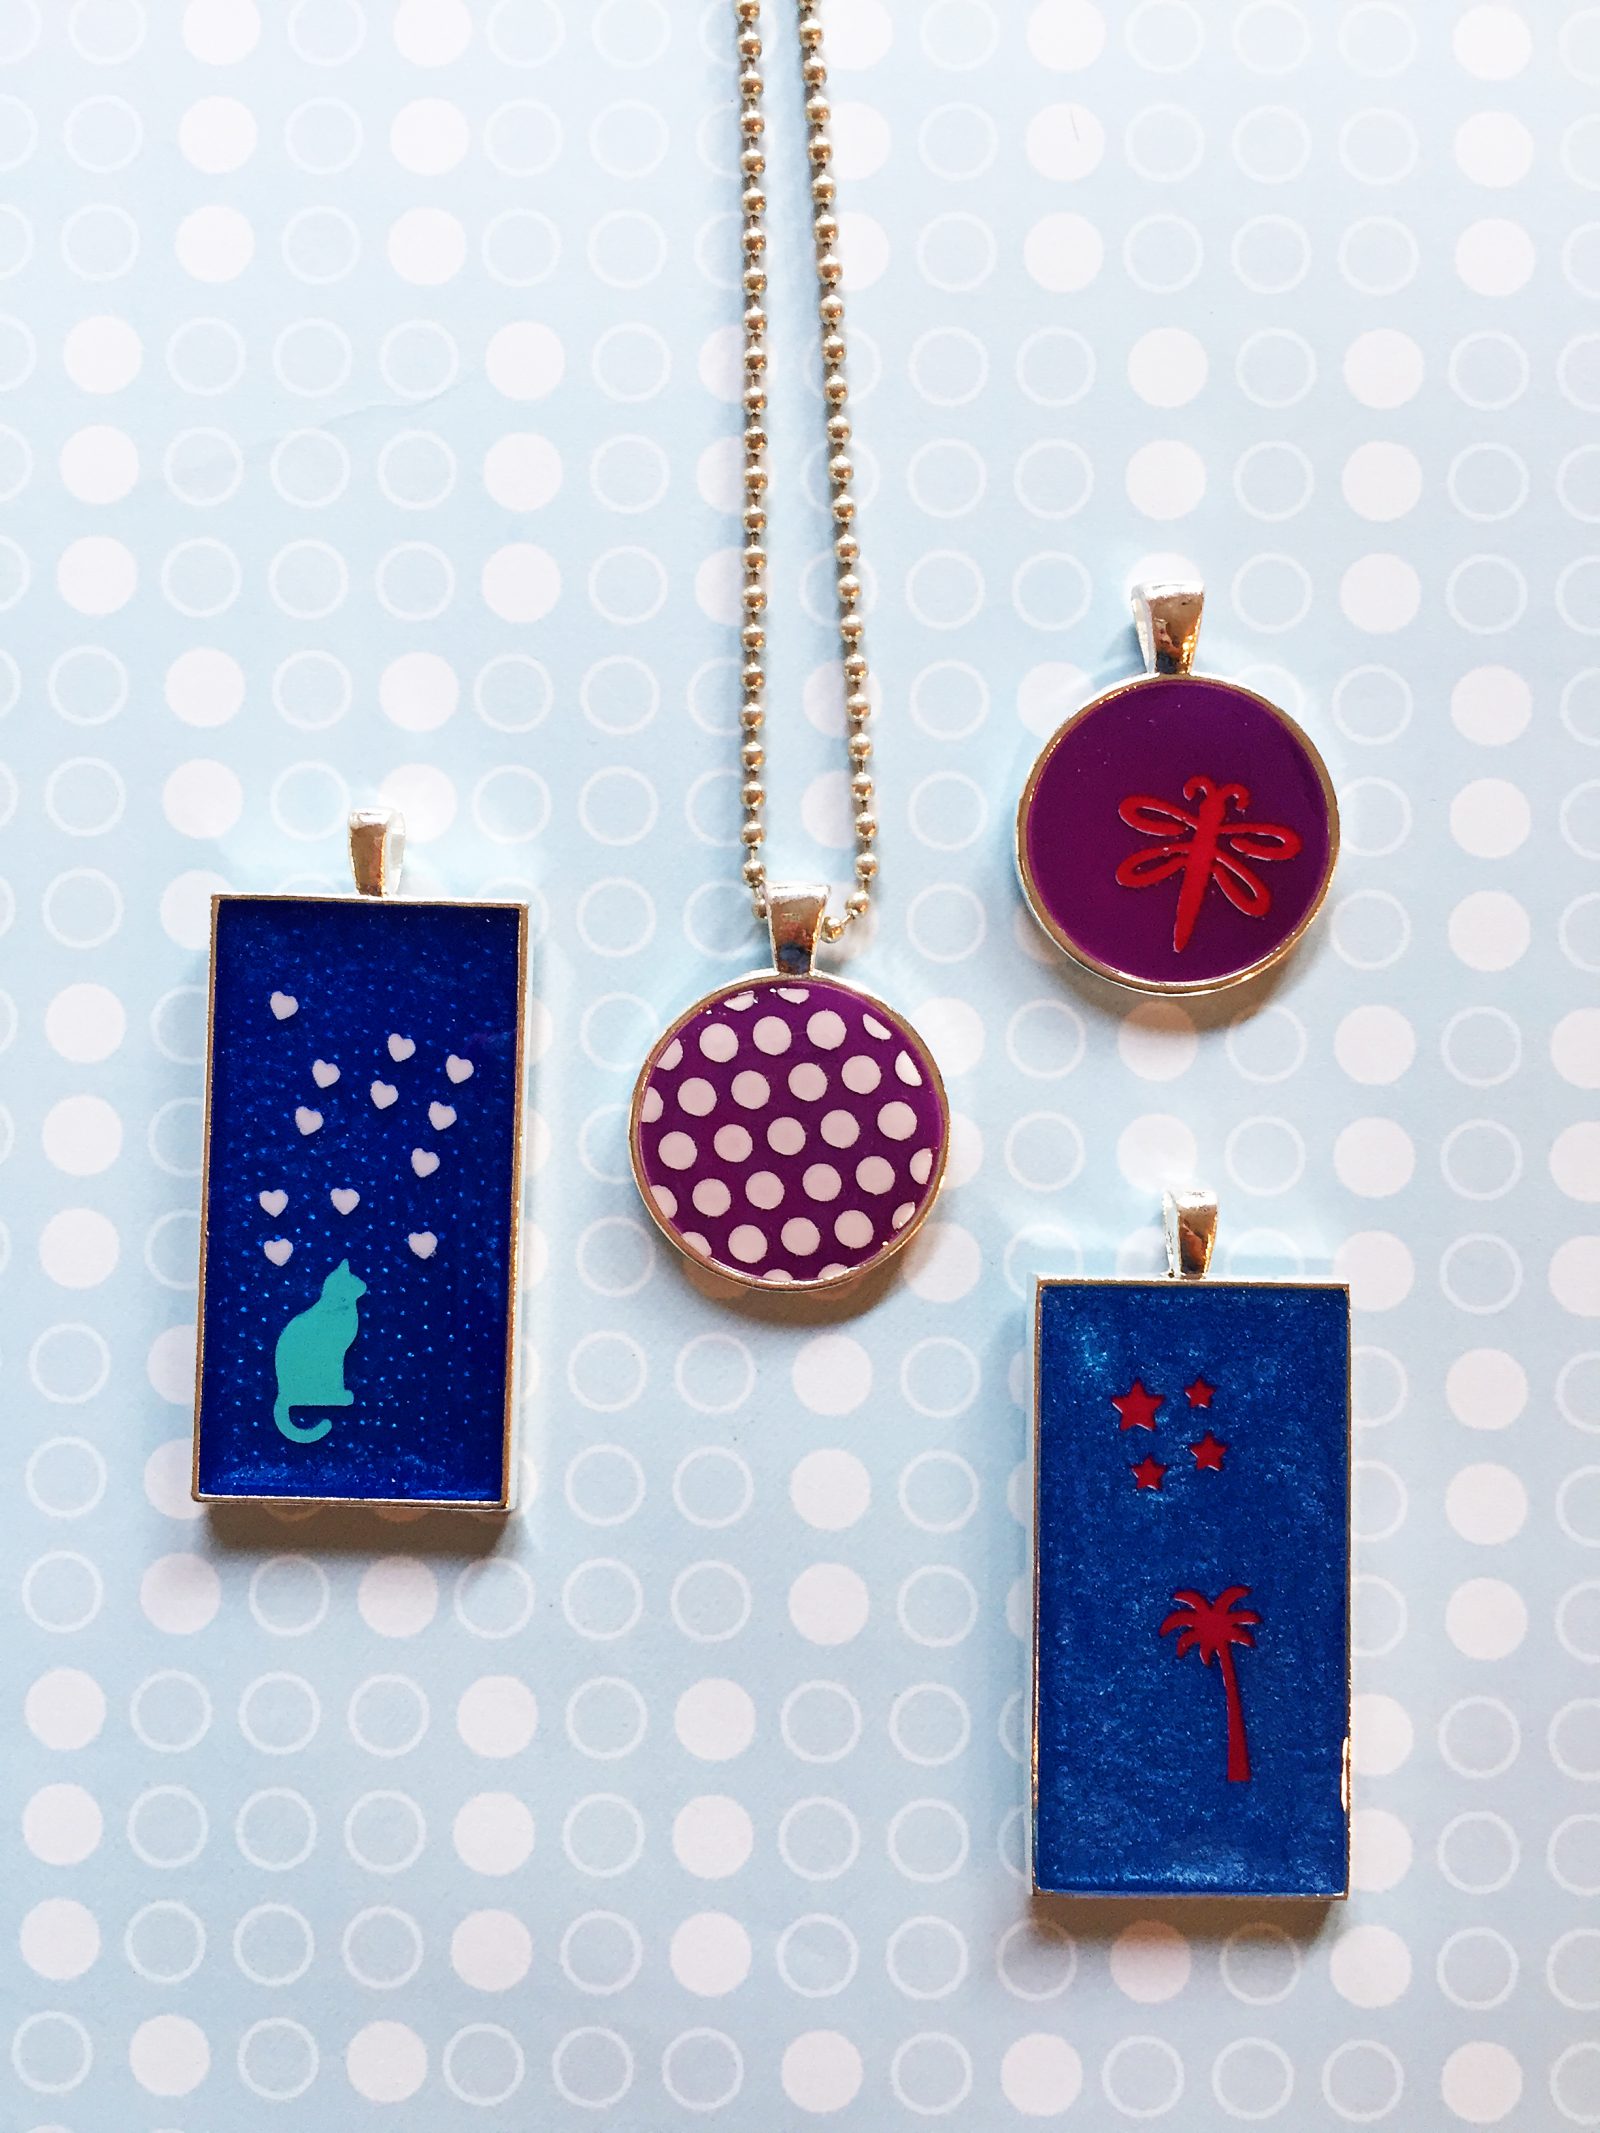
They’re usually made of a base metal, then plated with silver, gold, copper, or something else to look like precious metal. You can buy pure metal blanks, but these are more expensive than the plated kind. You can also buy jewelry bezels in many shapes and styles to make earrings, pendants, rings, and bracelets.
What resin should you use in jewelry bezels?
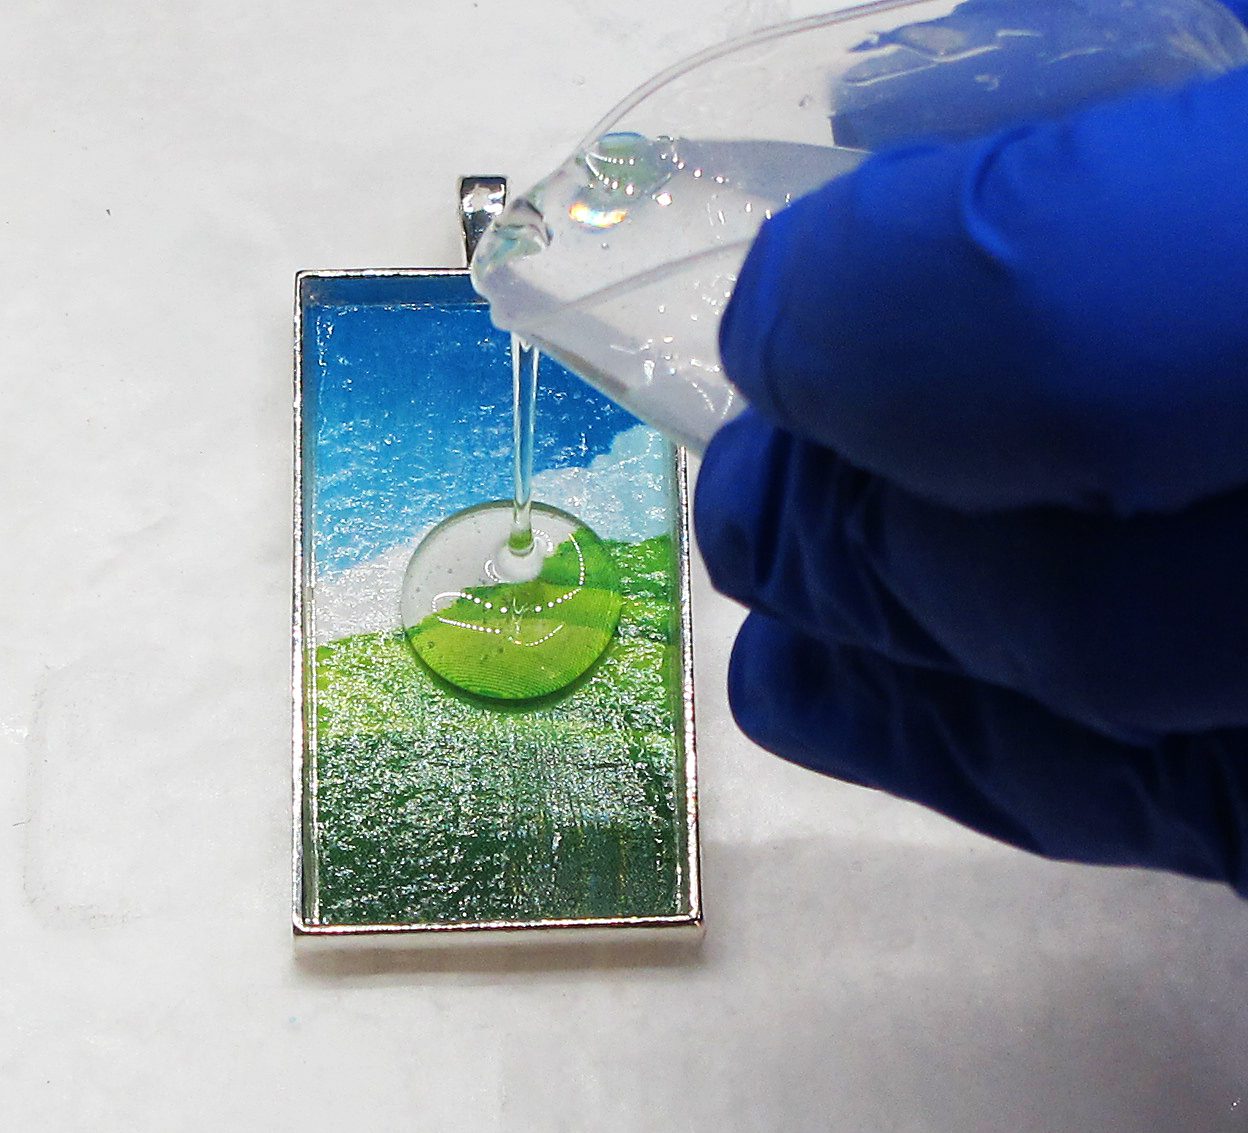
Resin jewelry made in bezels looks best when it has a glossy finish that rises above the side of the bezel. This dome magnifies what’s inside the bezel and gives an extra depth to the jewelry. That’s why you want to use a doming jewelry resin. This resin mixes thick and self-levels to produce a glass-like coating on jewelry blanks.
Best resin for jewelry blanks
Resin Obsession crystal doming resin
*mixes 1 part A to 1 part B by volume
*30 to 50-minute open time
*creates a crystal clear, shiny dome
How do you use epoxy resin in bezels?
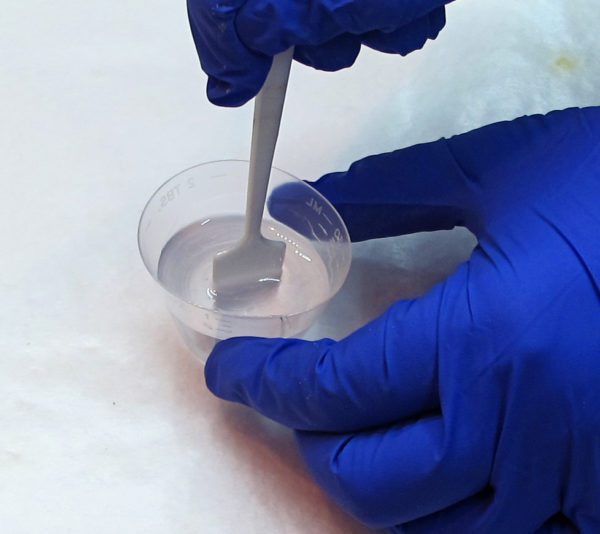
Using a doming resin is like using resin for other projects, like making resin paperweights or creating epoxy art. You want to measure your parts, mix them thoroughly, and then use the resin before it gels.
⭐️ BONUS: If mixing resin is new to you, you’ll want to read this article on mixing two-part resin.
What other supplies are essential for making resin jewelry without molds?
When buying jewelry bezel supplies for your project, you’ll see different shapes and finishes. Plus, some blanks have an open back while others have a closed back.
Open-backed bezels allow light to shine through the resin once it’s cured. Closed-back bezels don’t let the light shine through.
Now I’m guessing what you’re thinking here.
If the back of the jewelry bezel is open, how am I supposed to keep the liquid resin inside?
That’s where sticky tape comes in. Before adding resin, press your bezel onto the sticky side of masking or packing tape. Then, you can add your resin. Once the resin is dry, you’ll peel the tape away.
If you’re using closed-back bezels, you won’t need the tape step. The back of the cup contains the resin while it cures.
Here are a couple of projects on how to make resin jewelry with bezels:
The easiest way to make resin pendants
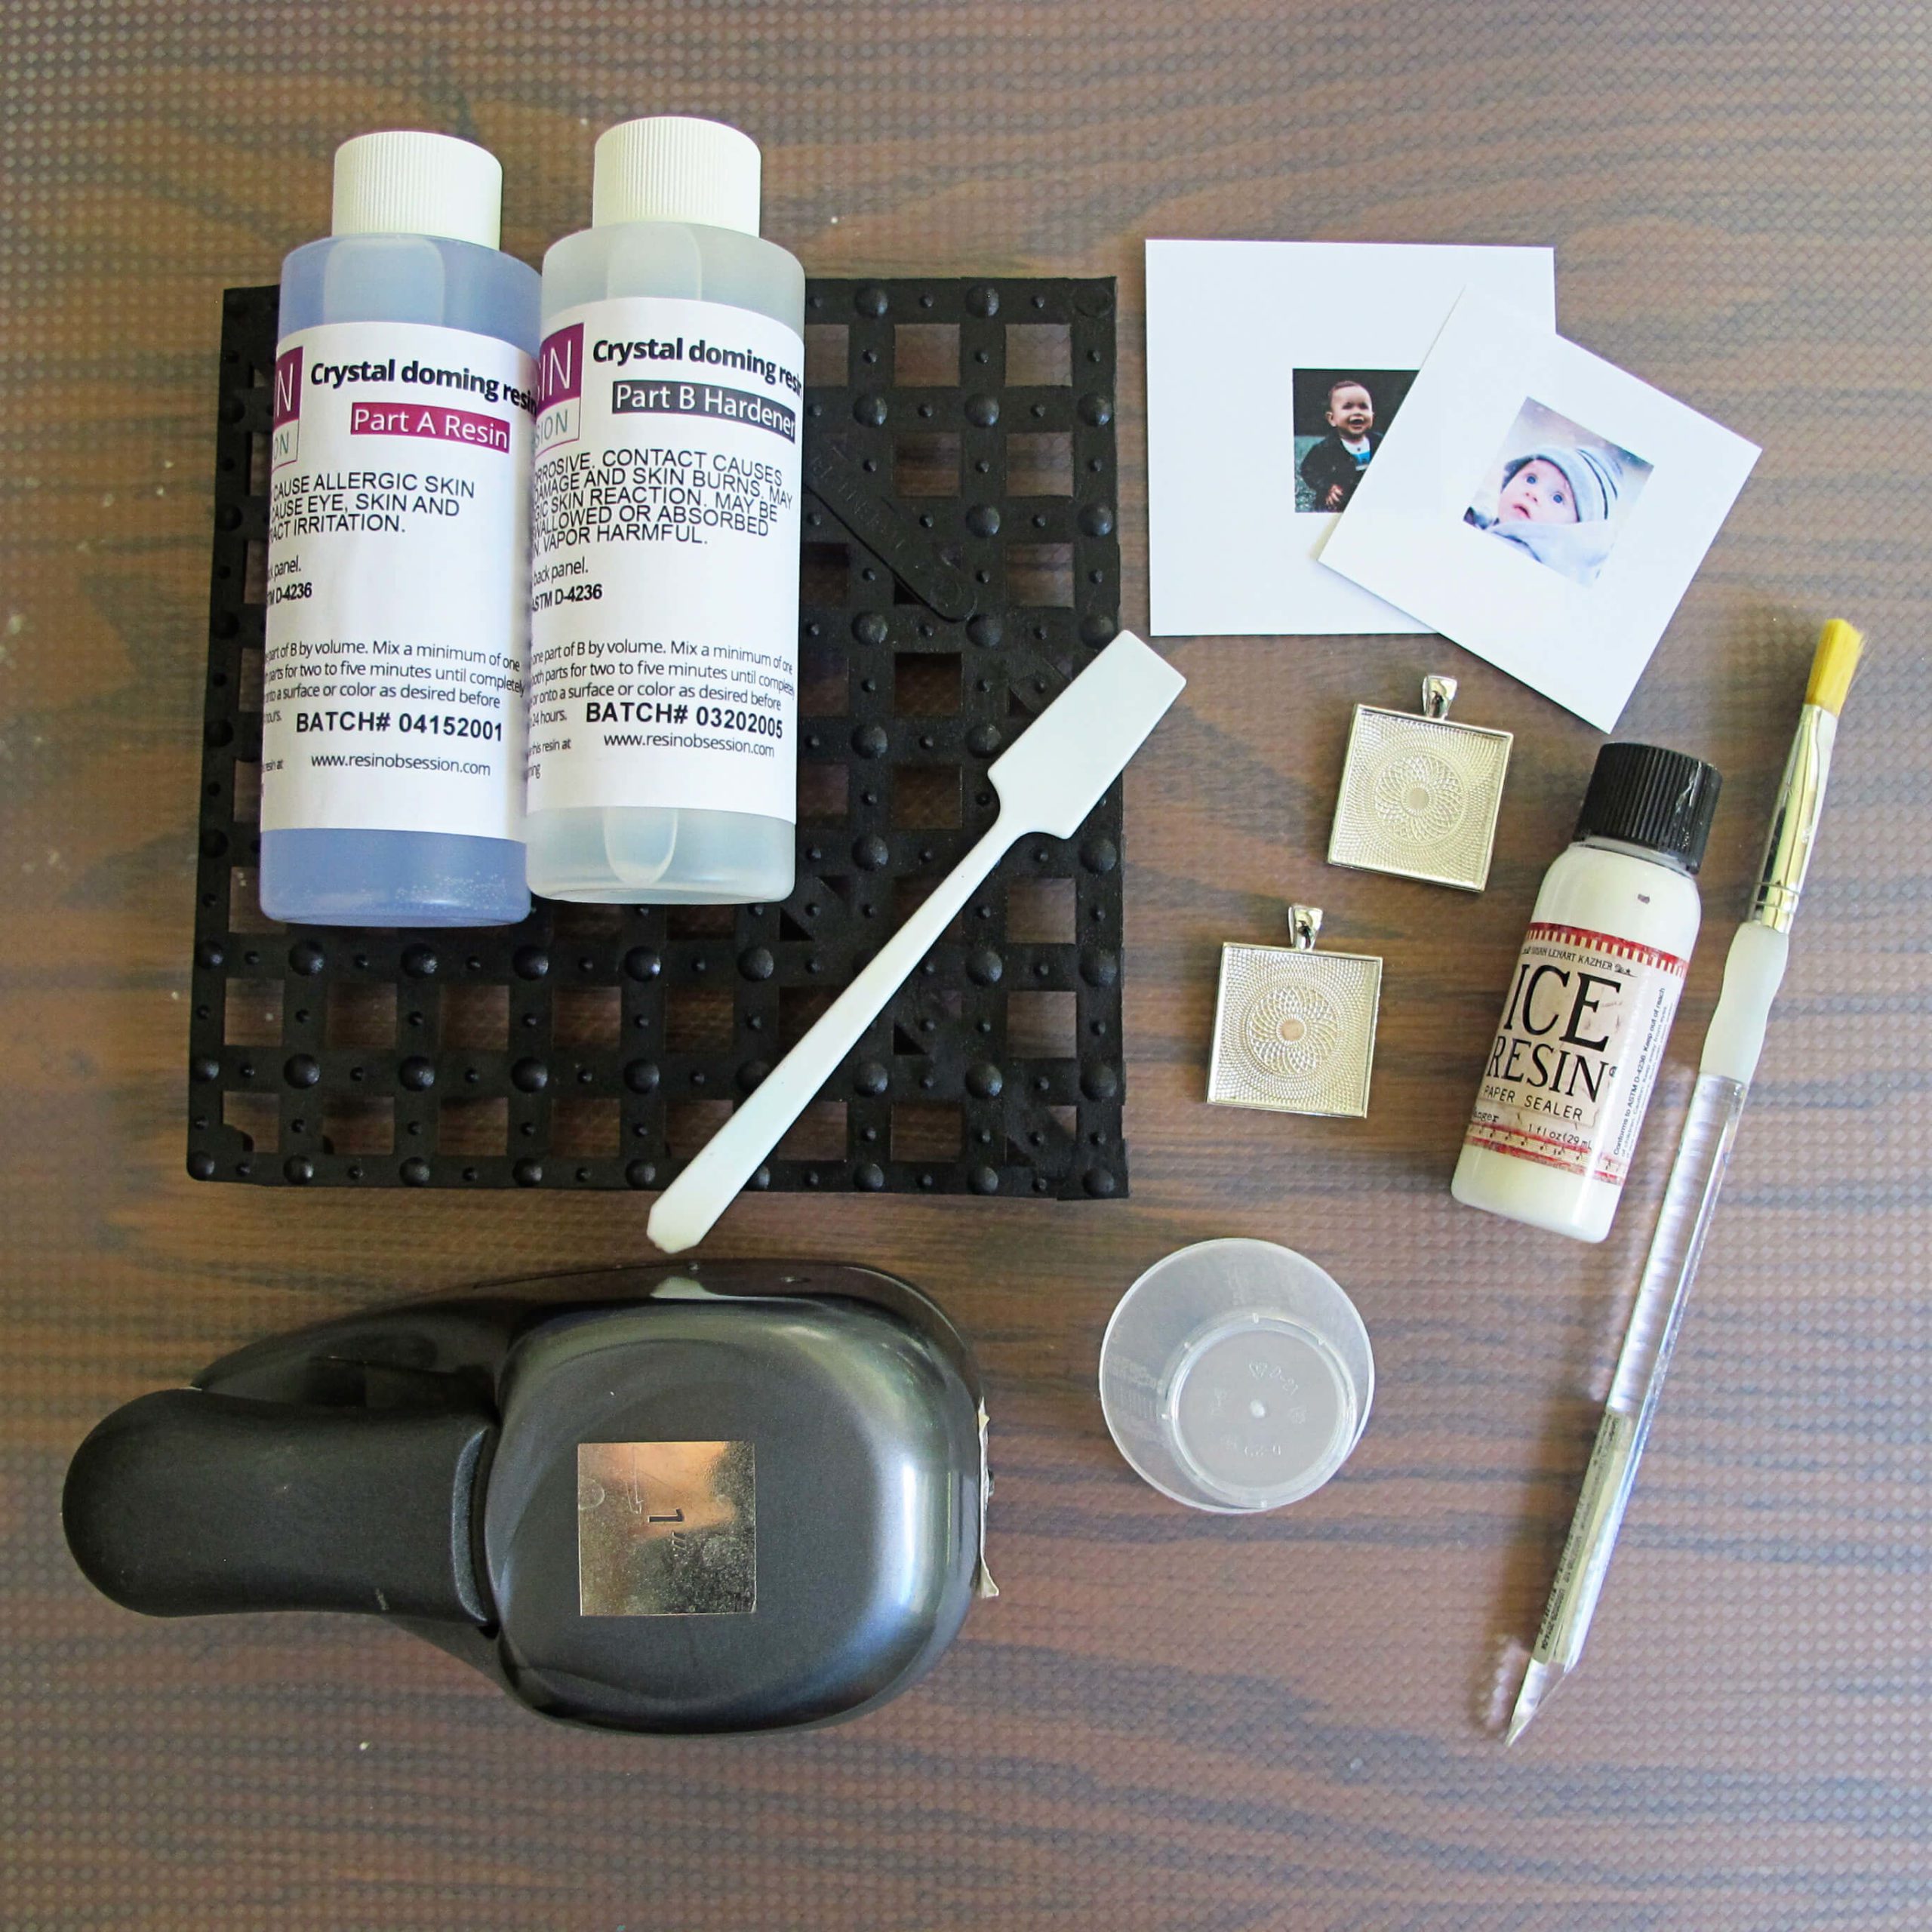
Besides your resin and bezels, you’ll need cups, stirring sticks, gloves, and a few other things. This resin supply list goes into more detail about some of the other things you’ll need.
What can you include in your resin jewelry bezels?
Anything you include in a resin mold project can go in a jewelry bezel. That’s another fun aspect of how to make resin jewelry without molds. You can use a lot of the supplies and embellishments for both kinds of resin crafts.
Here’s a basic list to get you started:
*flowers
*beads
*glitter
*candy
*paper
*feathers
*charms
*stickers
*doll parts
*shells
And be sure you don’t put these things in resin.
💡 Pro tip: Seal anything that changes appearance when it gets wet so that it stays pretty.
⭐️ BONUS: Here are ideas of other things to include in resin.
Now you’re ready to make resin jewelry!
What else should you know about how to make resin jewelry without molds?
1. Have everything ready before you mix your resin. You don’t waste your time and have the resin cure before you get a chance to use it.
2. Make sure everything is fully dry before including it in resin. Moisture can keep the resin from curing, plus something that isn’t dry can change colors or rot.
3. Cover your surface with something that the resin can peel away from. For example, you can use a silicone mat, garbage bag, wax paper, or something similar.
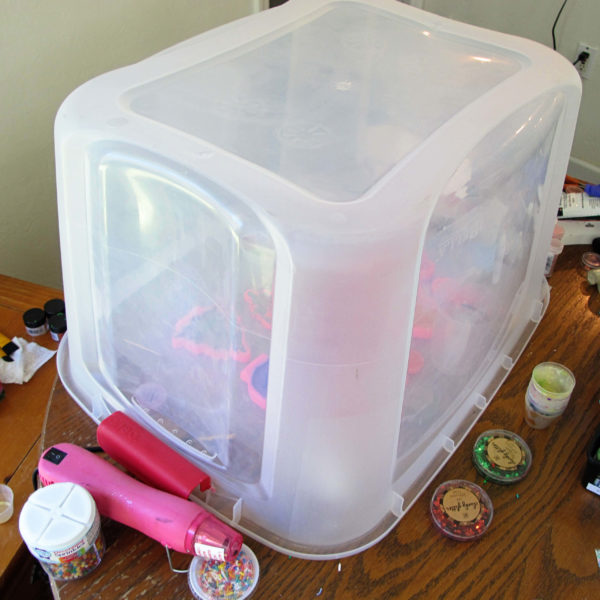
4. It will take your resin about 24 hours to cure. Ensure you make your jewelry in a place that you can cover and leave undisturbed the entire time.
5. While the thick consistency of doming resin is excellent at producing a beautiful finish in jewelry blanks, it can hang onto bubbles. Have a heat gun handy to remove the surface bubbles and to make sure your resin cures beautifully clear.
Ready to learn how to make resin jewelry without molds but want more help?
It’s why I wrote the book, How to Make Resin Jewelry in Bezels. Get 15 jewelry projects that guide you with clear, step-by-step instructions. You’ll see the techniques and resin supplies used to make each design so you can recreate the jewelry without guessing. Buy the ebook for less than the cost of a resin kit and speed up your learning curve, all while discovering the joy of resin crafting.
Unpublished Blog Posts of Resin Obsession, LLC © 2023 Resin Obsession, LLC


Hi I’m looking to make large letters and was curious if I can make my own mold or do it freehand? I had a Cricut maker machine and was planning to cut a 3-D letter and line in with wax paper or something could I make a mold around it or possibly just put resin in it and make my own resin letters that way.. I know it will stick with to paper but if I line it with something like wax paper and support ir with legged or magnetic tiles do you think it’s doable? Thanks
Hi Jennifer, I love your idea of making big letters! Unfortunately, the wax paper may not hold your resin in completely. Have you looked at our molding putty? It’s super easy to use and will mold your letters. You can find it in our store here: https://shop.resinobsession.com/products/alumilite-amazing-silicone-molding-putty-kit
before i found this i used to put glue in bottle caps with glitter or sand and do that but I just found this and I am in LOVE already…