
 So you’re making resin crafts. And now you’re addicted.
I didn’t stay at a Holiday Inn Express last night, but it sounds like you have a resin obsession.
Here are some awesome resin crafts hacks to make your life even better with resin.
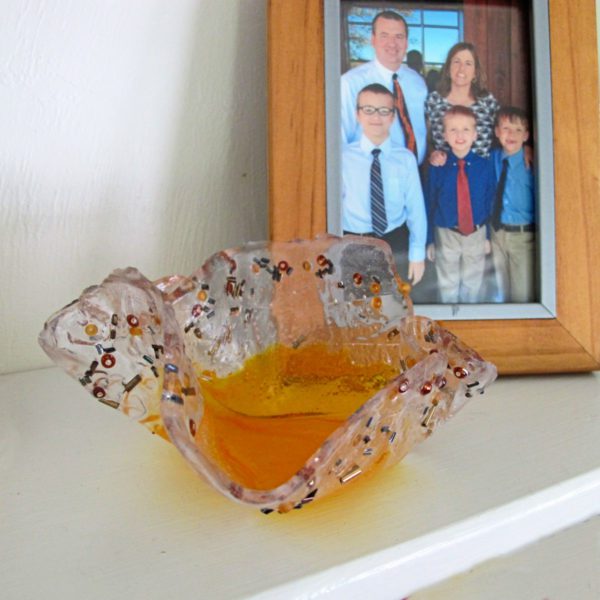
Hack 1: Bend resin when it’s soft
If you wait until resin is partially cured — enough that it isn’t liquid, but it isn’t solid — you can form it into shapes.
It’s how you can make a dish with resin.
Hack 2: Make the resin cure harder
If you’ve poured your resin in a thin layer, it might not cure as hard as it can. Add extra heat after you’ve poured the resin.
How?
Create a resin hot box by covering your resin with a dome and adding a heat source.
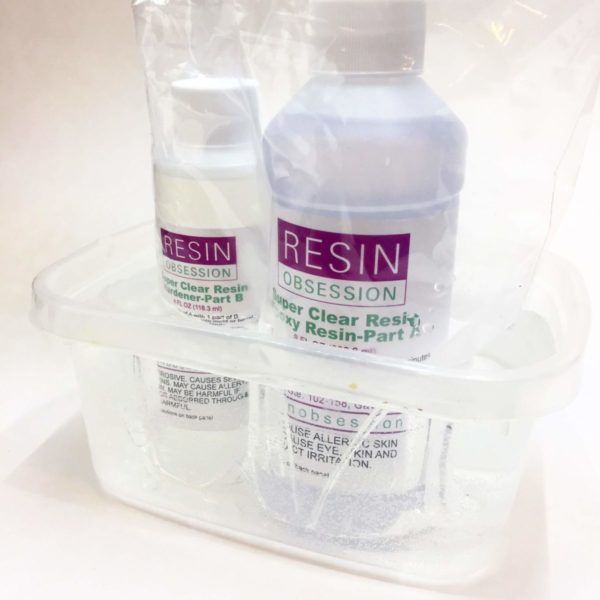
Hack #3: Give your resin a spa day.
Treat your resin kit to a warm bath before mixing. Not only will it mix easier, but it releases bubbles quicker when you use it for your resin crafts.
View this post on Instagram
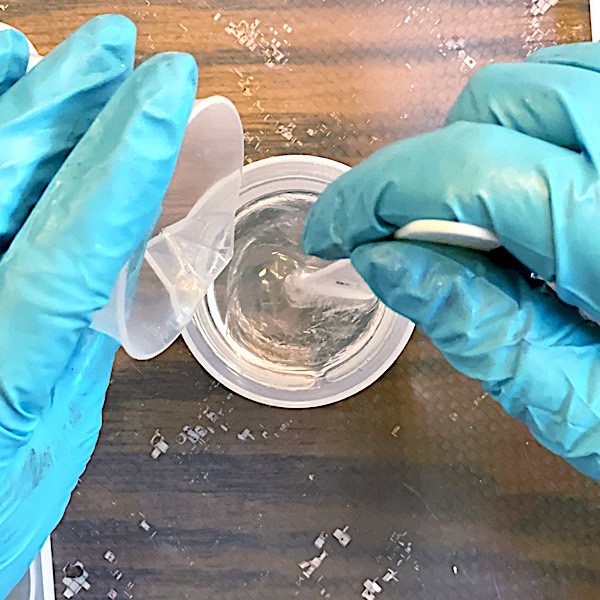
Hack #4: Reuse supplies
If your mixing cups are flexible, let your resin cure in the cup after use. Then, flex the cup and peel out the skin. Your cup will be ready for another use. #oddlysatisfying
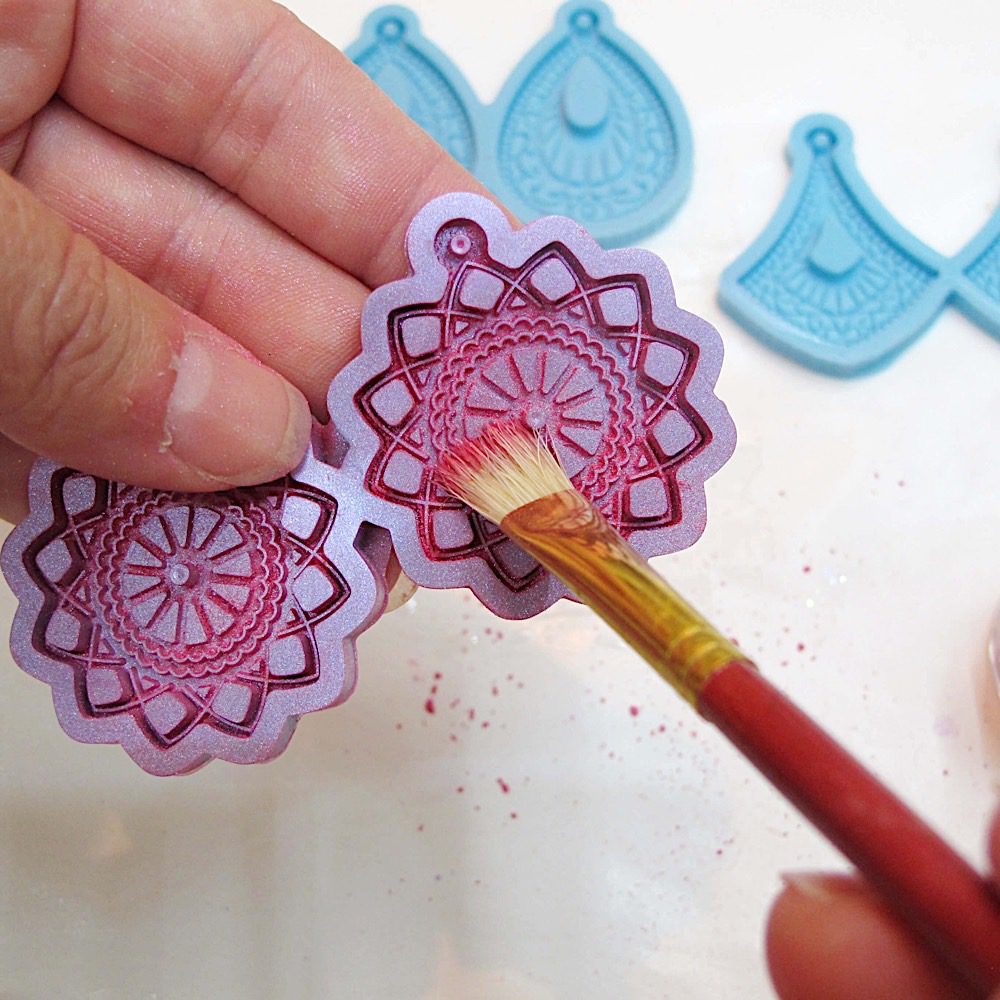
Hack #5: Banish bubbles from the corners of your molds
Dust powder in your resin molds before pouring resin. While this doesn’t work for your clear epoxy projects, it does for your colored resin projects.
Like these boho earrings.
View this post on Instagram
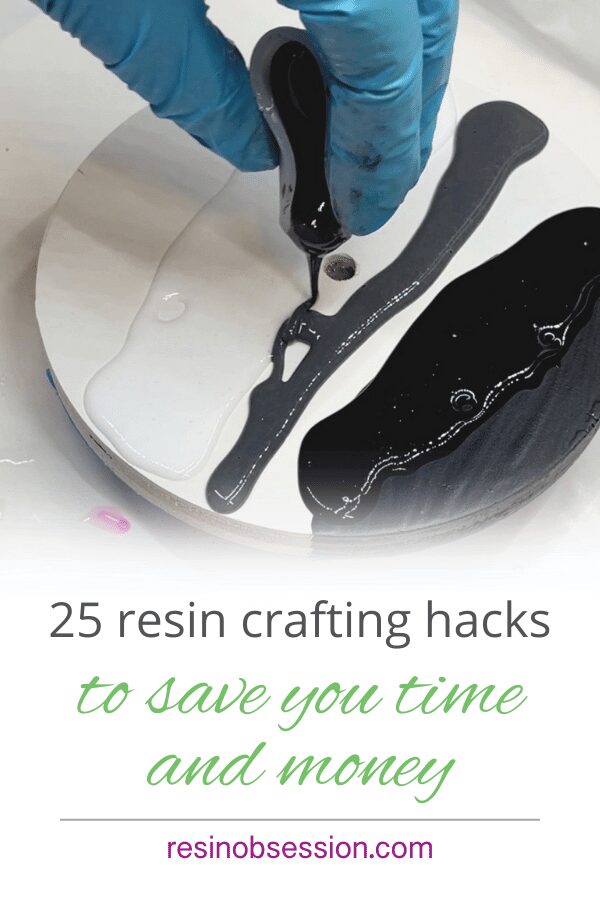
Hack #6: Control your pour into tight spaces
Getting resin into mold crevices can be messy. Instead of trying to control a cup of resin, control with a stir stick instead. Hold the stick over the space, then pour the resin onto the stick. It’s easier to control the flow and amount.
Resin crafts don’t have to be messy. 🤣
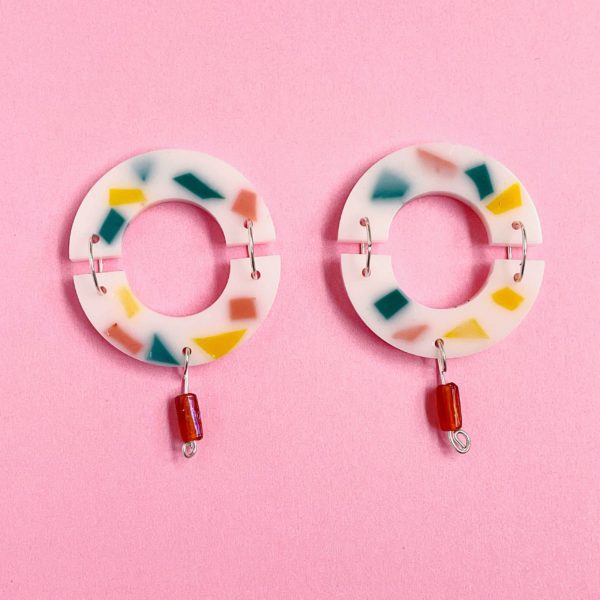
Hack #7: Don’t throw away your resin scraps
You can cut them up and give them new life in another project. Like these terrazzo earrings.
Hack #8: Yellowing resin
Forgot about your resin, and now it looks like a urine specimen? Add a tiny bit of transparent blue resin color. It will balance the yellow and bring your resin back to clear.
Hack #9: Don’t pour all your resin at once
When coating canvases, tabletops, or other large flat surfaces with resin, pour enough resin to fill the center of your space. Then, use a gloved hand to spread the resin over the surface. When you add the rest of your mixed epoxy, it will evenly lift and dome while minimizing the mess.
View this post on Instagram
Hack #10: Use soap when demolding.
If demolding is working overtime on your fingers (and your sanity), add soapy water to the cured resin. It lubricates and makes the process go quicker.
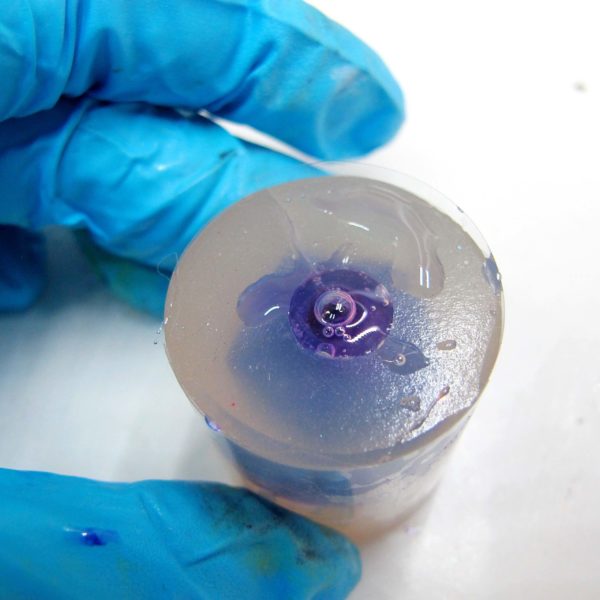
Hack #11: Do the twist
With intricate silicone molds, it’s easy for bubbles to get trapped. Pour a bit of resin, then pick up the mold. Twist it as if you’re demolding. This will allow trapped bubbles in your resin crafts to release.
Hack #12: It’s okay to double-dip
When adding something to your resin, dip it in your cup of mixed resin first, then add it to your project. This will break the surface tension and make it less likely you’ll introduce bubbles.
Hack #13: When the rubber hits the bezel
You can cut resin with a knife or peel it off surfaces when it’s rubbery. That means you don’t have to wait for resin drips and spills to cure and sand off.
Hack #14: Find yourself in hot water
To remove cured resin from a surface:
1. Cover it with a towel.
2. Soak the towel with boiling water and wait a few minutes.
3. Use a putty knife to dig underneath the resin.
View this post on Instagram
Hack #15: Calculate volume
The quickest way to know how much resin it takes to fill your mold is to fill it with water. Then, measure the water.
Hack #16: Get cold as ice
If you can’t get resin from a mold, put it in your freezer for 30 minutes. Then slap on a hard surface.
Hack #17: Show the resin that it’s at the end of the line
To lessen the lines between resin layers, pour your next layer when the previous layer is in the gel phase.
Hack #18: Get rid of sticky resin in a mold
Pour fresh mixed resin over the sticky resin and let it cure. The new resin will bond to the old resin. When you demold, both will come out.
Hack #19: Stop the (sanding) insanity
If you’re sanding a resin layer, you can stop once you hit a 1000-grit or finer sandpaper. You won’t see sanding marks underneath a new resin layer or when you use resin polish on your crafts.
Hack #20: Don’t stress over dust and hair
Lots of times, you see imperfections because the light reflects differently. There’s a good chance you can recoat the surface without sanding and the mark will disappear.
Hack #21: Want your resin to cure faster?
Put it in a 150F toaster oven. It can reduce the drying time by 75% or more.
Plus, it allows you to repurpose that toaster oven that’s trying to die.
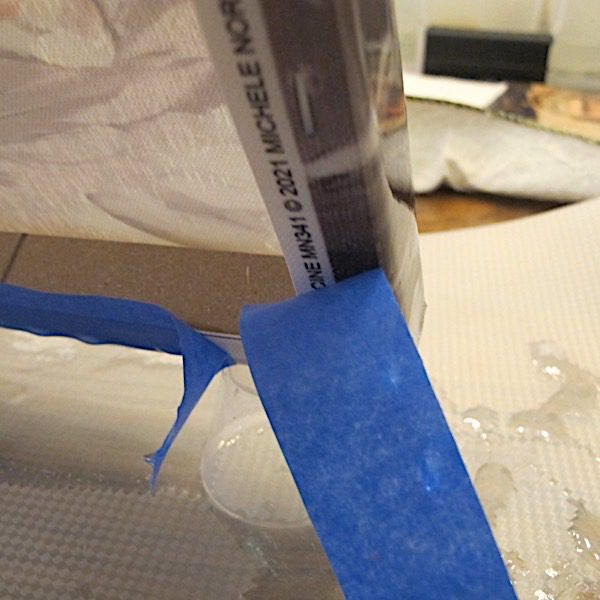
Hack #22: Get a crisp edge on your resin art
Peel your tape away from the side of your board or canvas when it’s wet but no longer fluid. You’ll get a well-defined edge that won’t need sanding later.
Hack #23: Control the reaction
If you’re mixing a resin’s maximum mixing amount, keep it from flash curing by dividing it into several cups after stirring. That will slow heat production.
Hack #24: Mix deliberately
The best way to control bubbles in your resin is to mix carefully but purposely. Don’t whisk. Instead, fold the resin and hardener liquids together for your crafts and other projects.
Hack #25: Banish powder lumps in your resin
If you have a hard time getting your powder to dissolve in resin, mix the powder with resin on a piece of wax paper. You can use your stir stick to smush the lumps. Then, add this colored resin to your larger cup of mixed resin.
If you want even MORE resin crafts hacks…
Then you want my ebook, Resin Fundamentals. Get the same details you learn in my resin classes from the comfort of your home. Buy the PDF book now, and a download link will arrive in your email in minutes.
Unpublished Blog Posts of Resin Obsession, LLC © 2023 Resin Obsession, LLC
I love all the helpful hints and tricks. Thanks for taking the time to put it all together for us.
You’re welcome, Tammy.
Always great to learn new tips and review the basics too. Thank you so much!!
You’re welcome, Fern. 🙂
Hi, I must say you saved my life on my first small pyramid (wanted to make sure I could do it) and I did! I also left some resin in my mix cup to see if it worked out (you also said) and, YAY! Thank you so much.
You’re welcome, Laurie.
How do I stop the raised edge on the back of my resin makes?
try putting a layer of tape or latex on the other side. This way you can peal it away after it hardens.
Hack#8. Are saying to add the transparent blue to the bottle of resin or just when making?