
What’s the easiest way to shape resin? By using resin molds.
But if you’re looking for the coolest way to shape resin, then you’ll want to keep reading.
Instead of pouring the resin into a mold, you’ll pour it onto a surface, then shape it once it partially cures. For this project, you’ll shape that rubbery resin to make a bowl.
Resin Supply list:
Plastic drop cloth
Scissors
Glass jar or plastic container
Resin Obsession artwork resin
Resin Obsession pigments
Mixing cups
Stirring sticks
Glitters, glass beads, or metal charms
Heat gun
Step 1: Get a plastic drop cloth
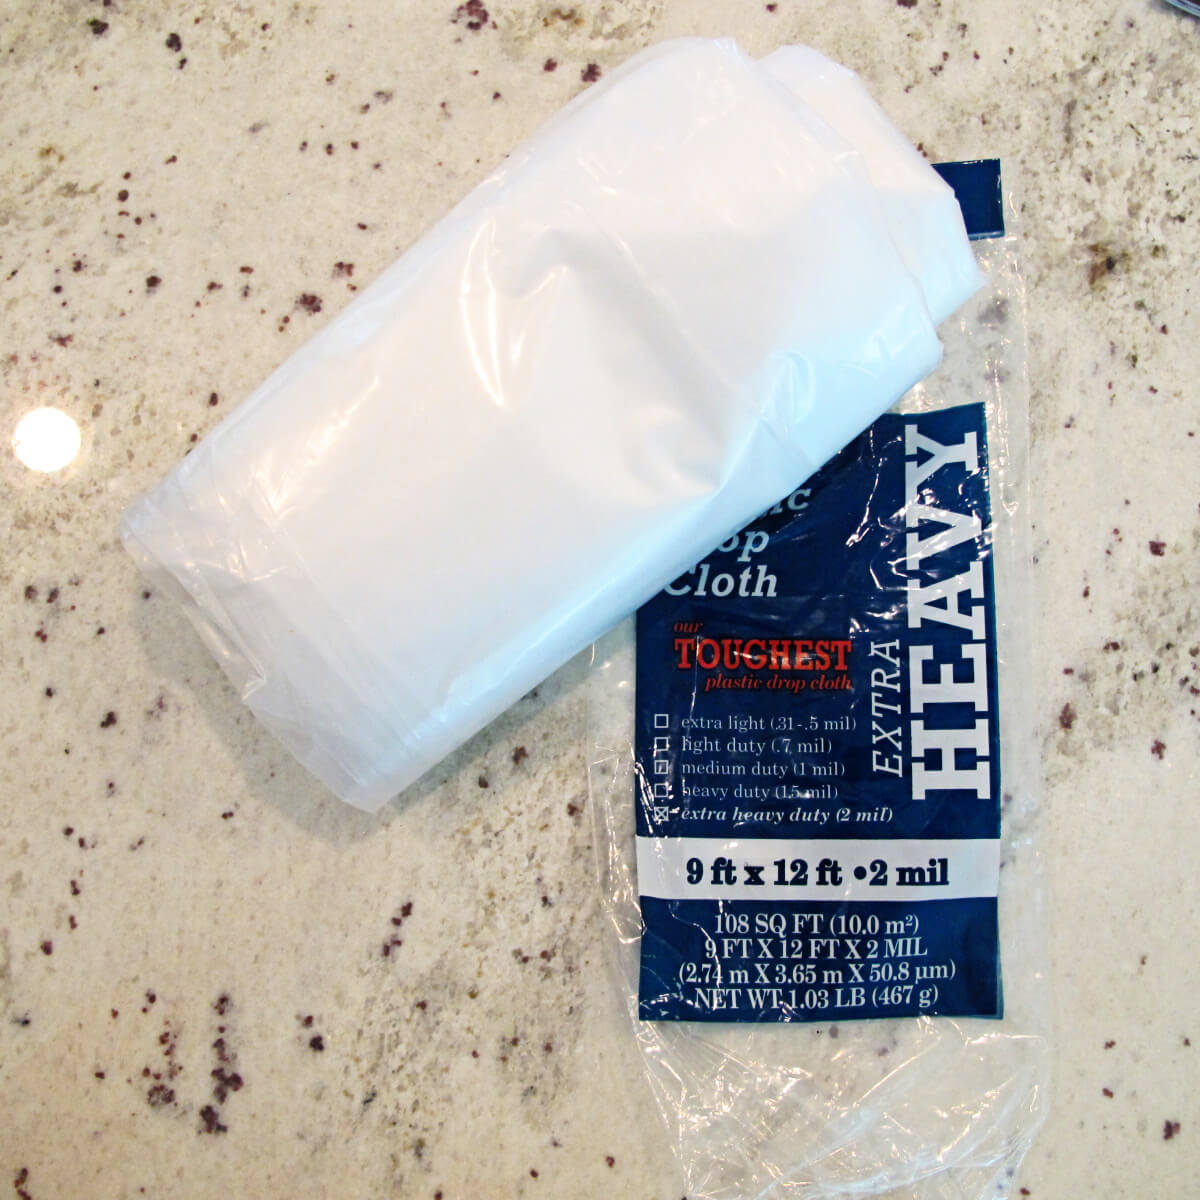
You can find these in the painting section of a home improvement store. The thicker the plastic, the better. Peeling the resin off thick plastic is more manageable than thin plastic.
Step 2: Cut the plastic
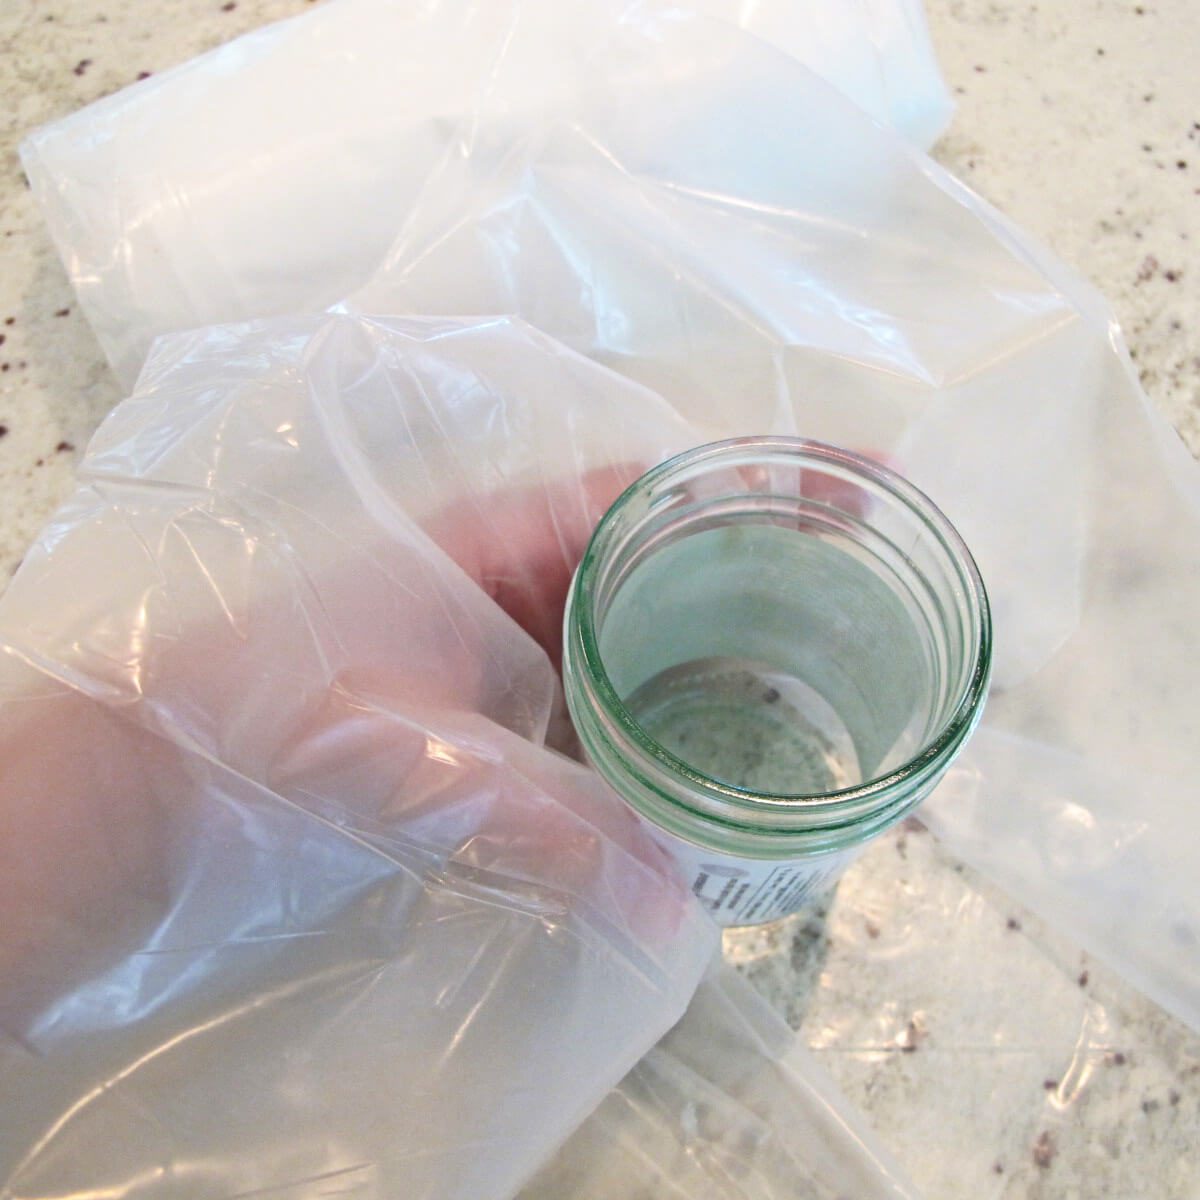
Cut off a plastic square about three times larger than the area you’re pouring resin on.
To help create the bowl form, choose something to serve as the bowl template.
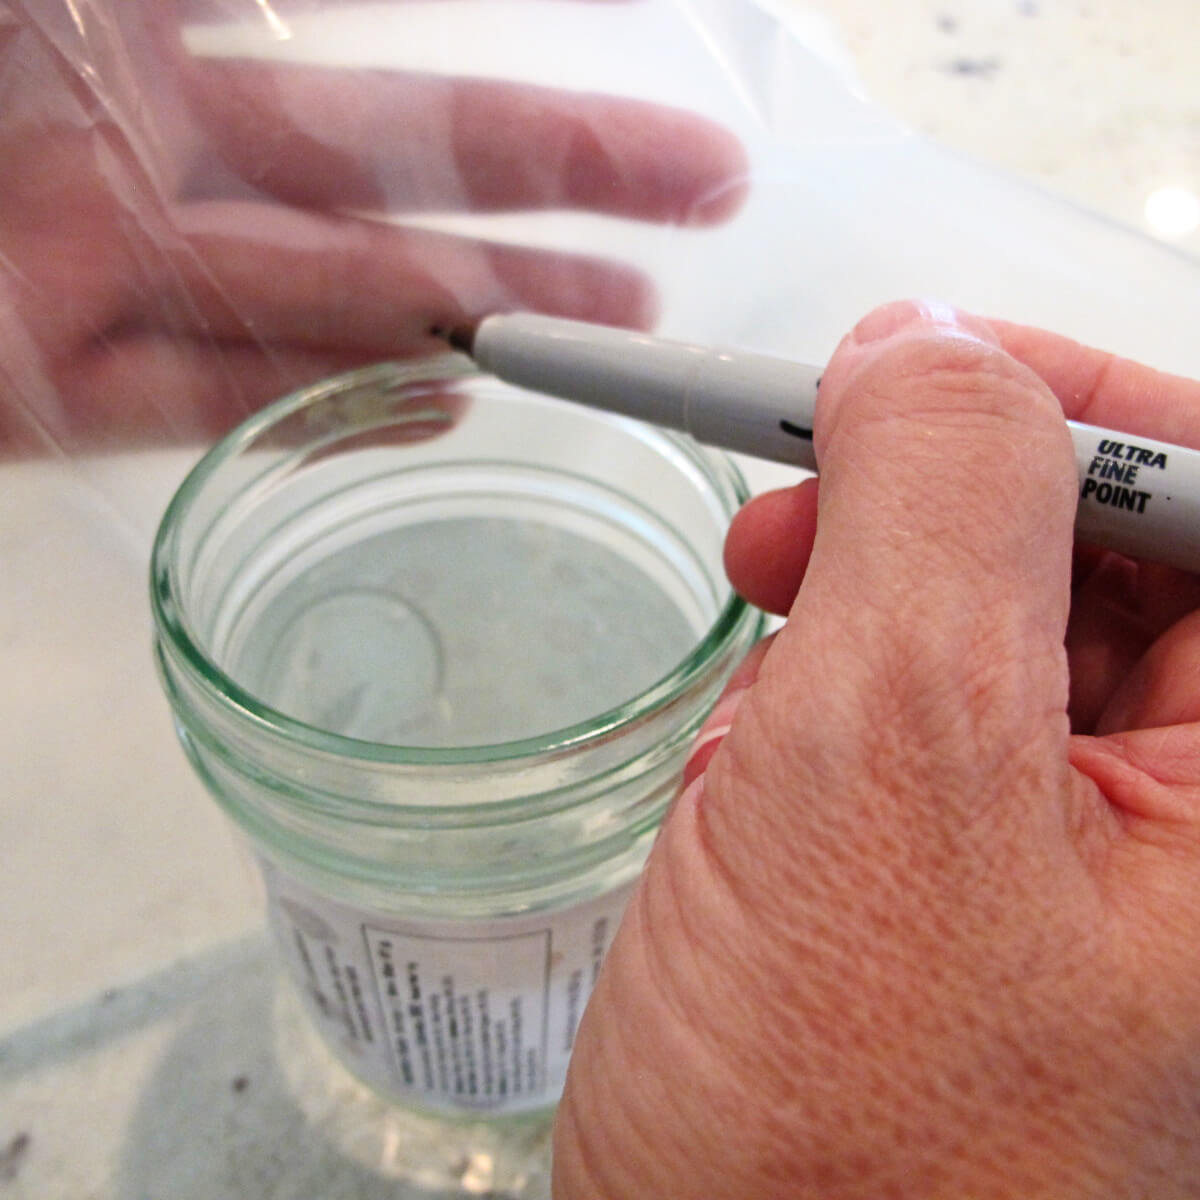
Next, pull up the plastic along the sides of the jar. Use a sharpie to make several marks on the plastic where the edge of the jar meets the plastic.
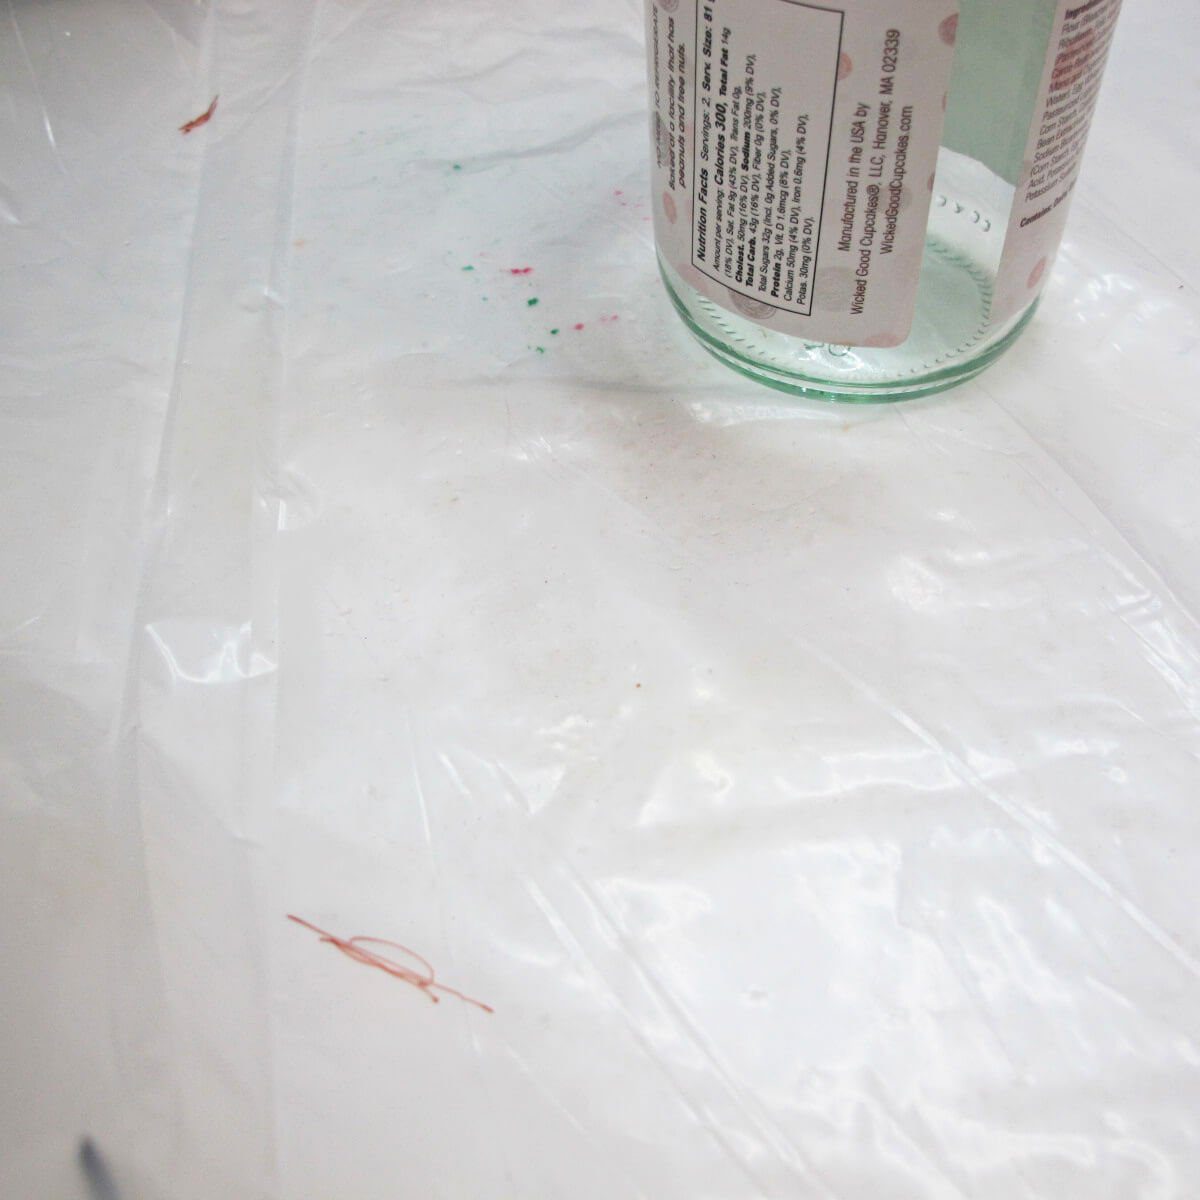
These marks establish the boundary of where you’ll pour your epoxy.
Step 3: Mix and color resin
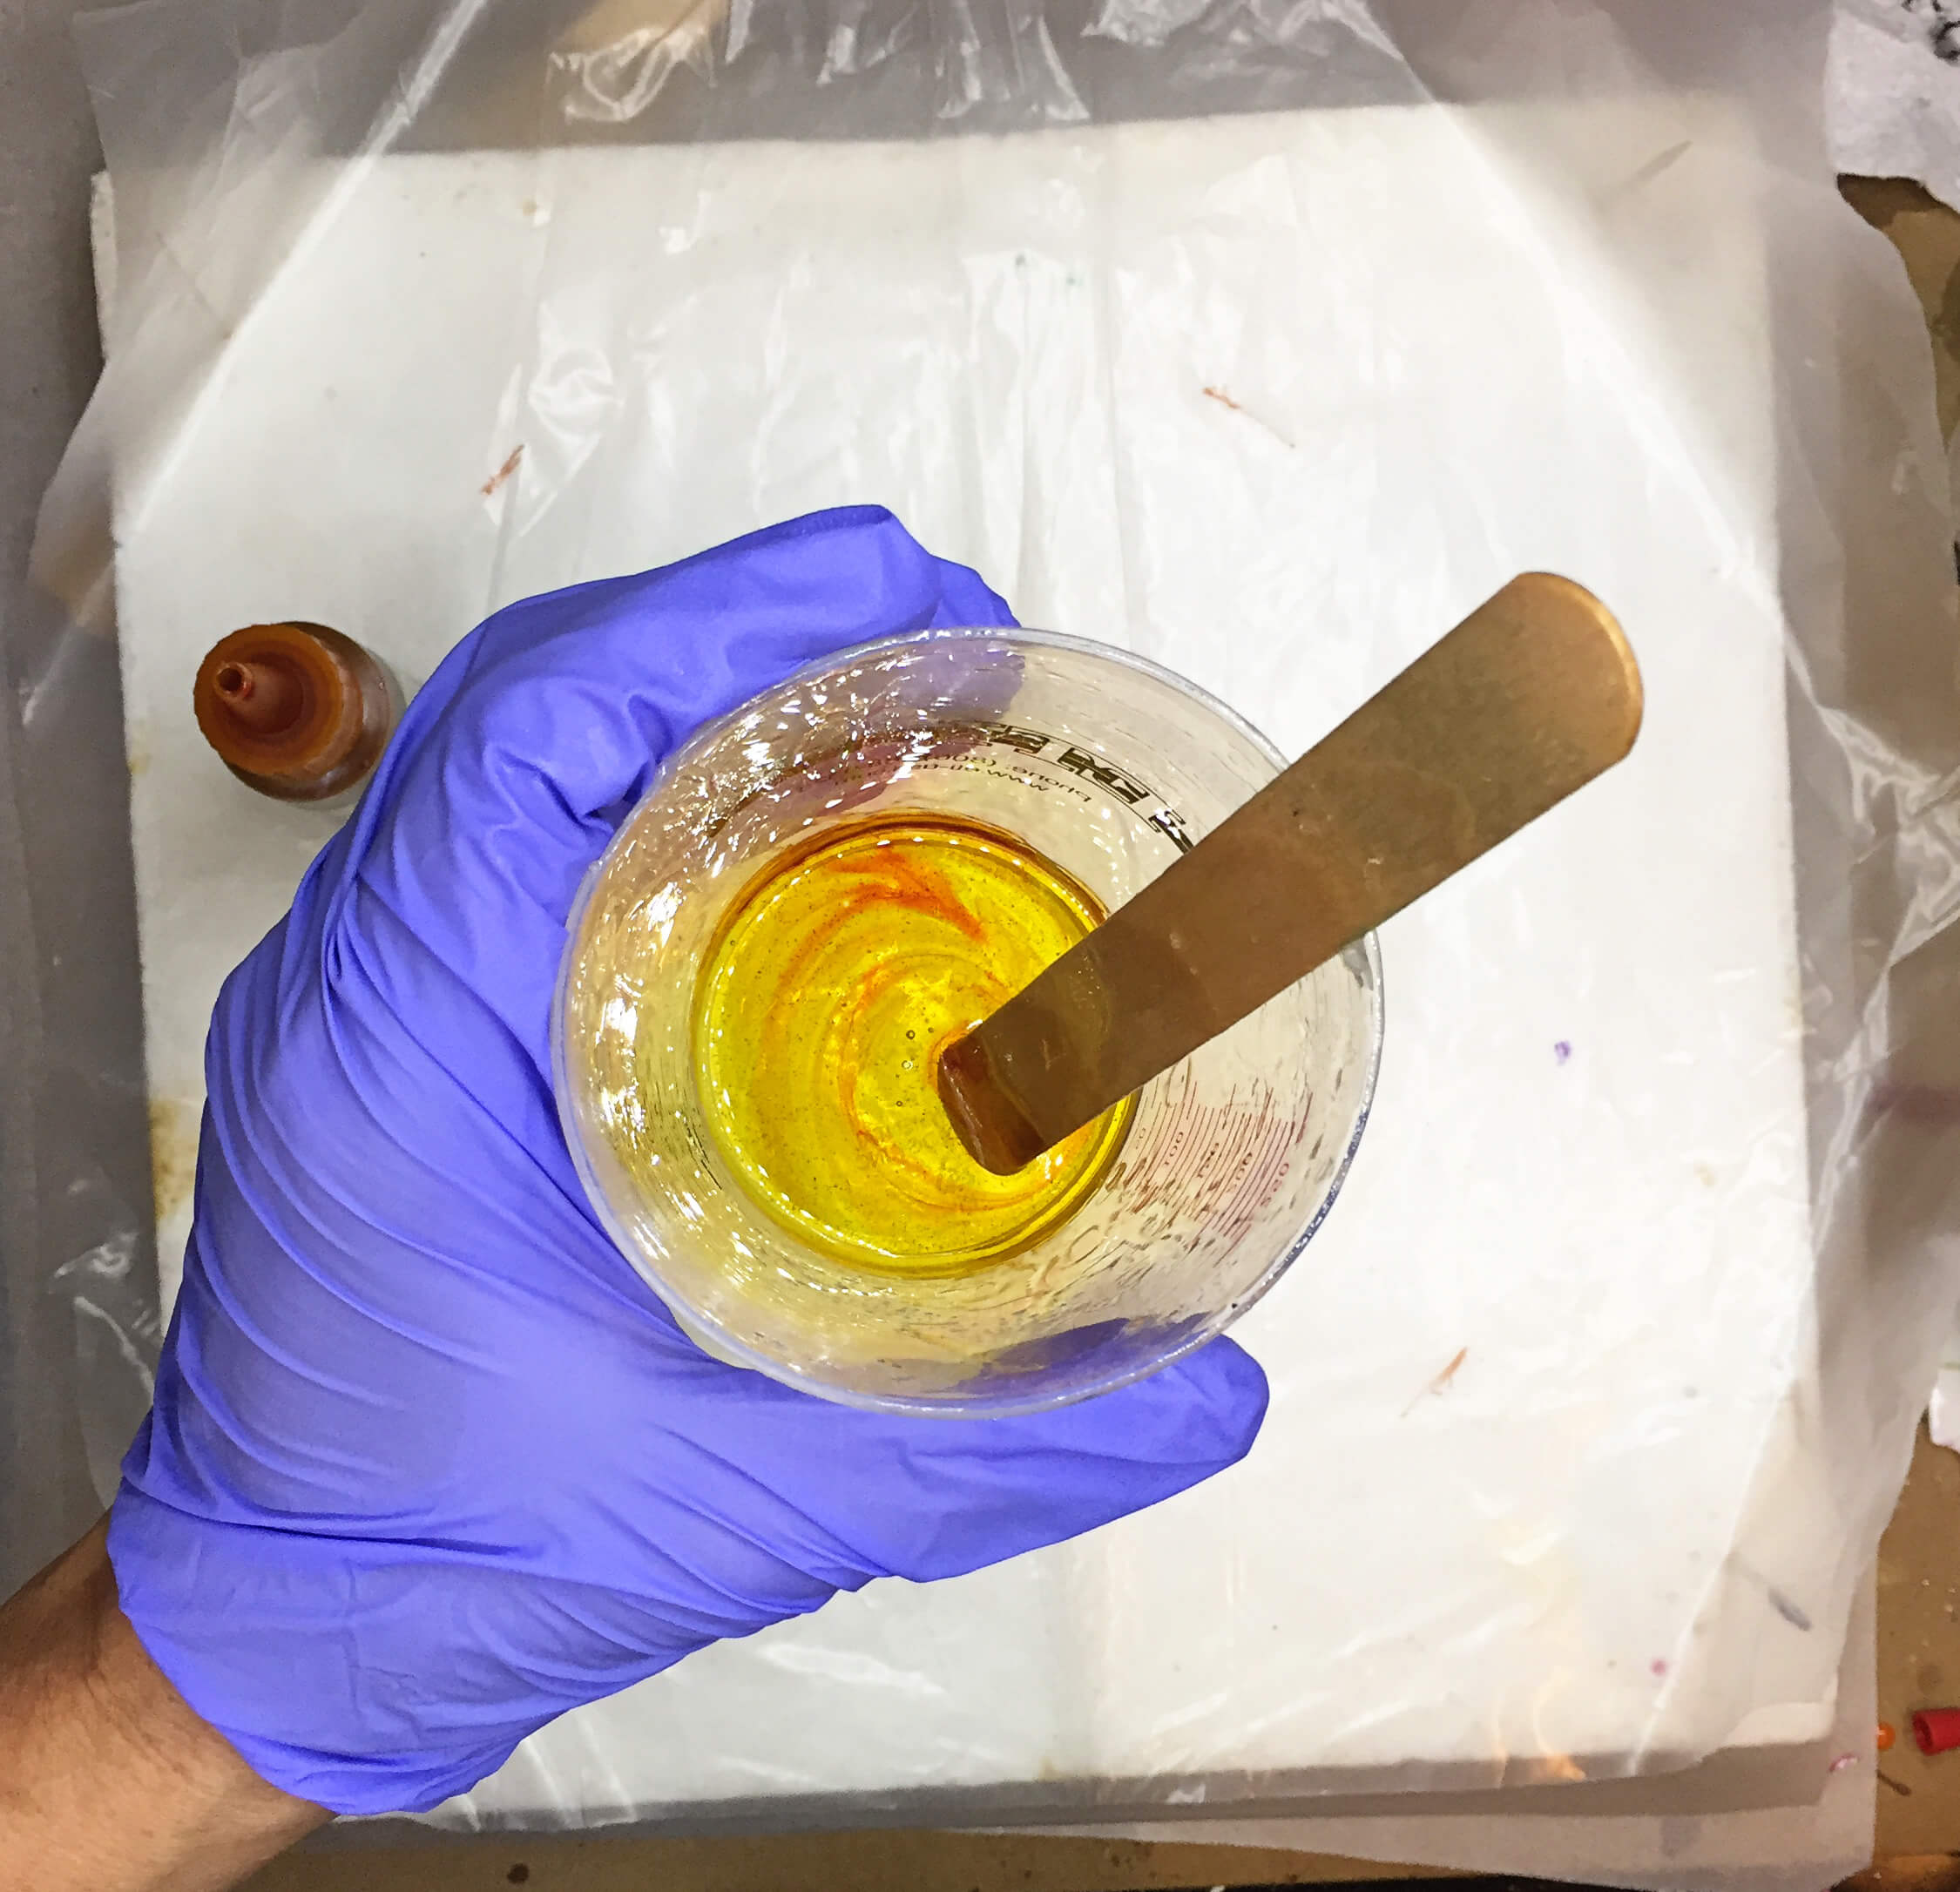
Mix 3 ounces of artwork resin to make this bowl. The artwork resin is perfect for this project because it has a short pot time. That means you won’t have to wait as long for the resin to partially cure to form it.
Leave some of your resin clear, but add color to some too.
Step 4: Pour the resin onto the plastic
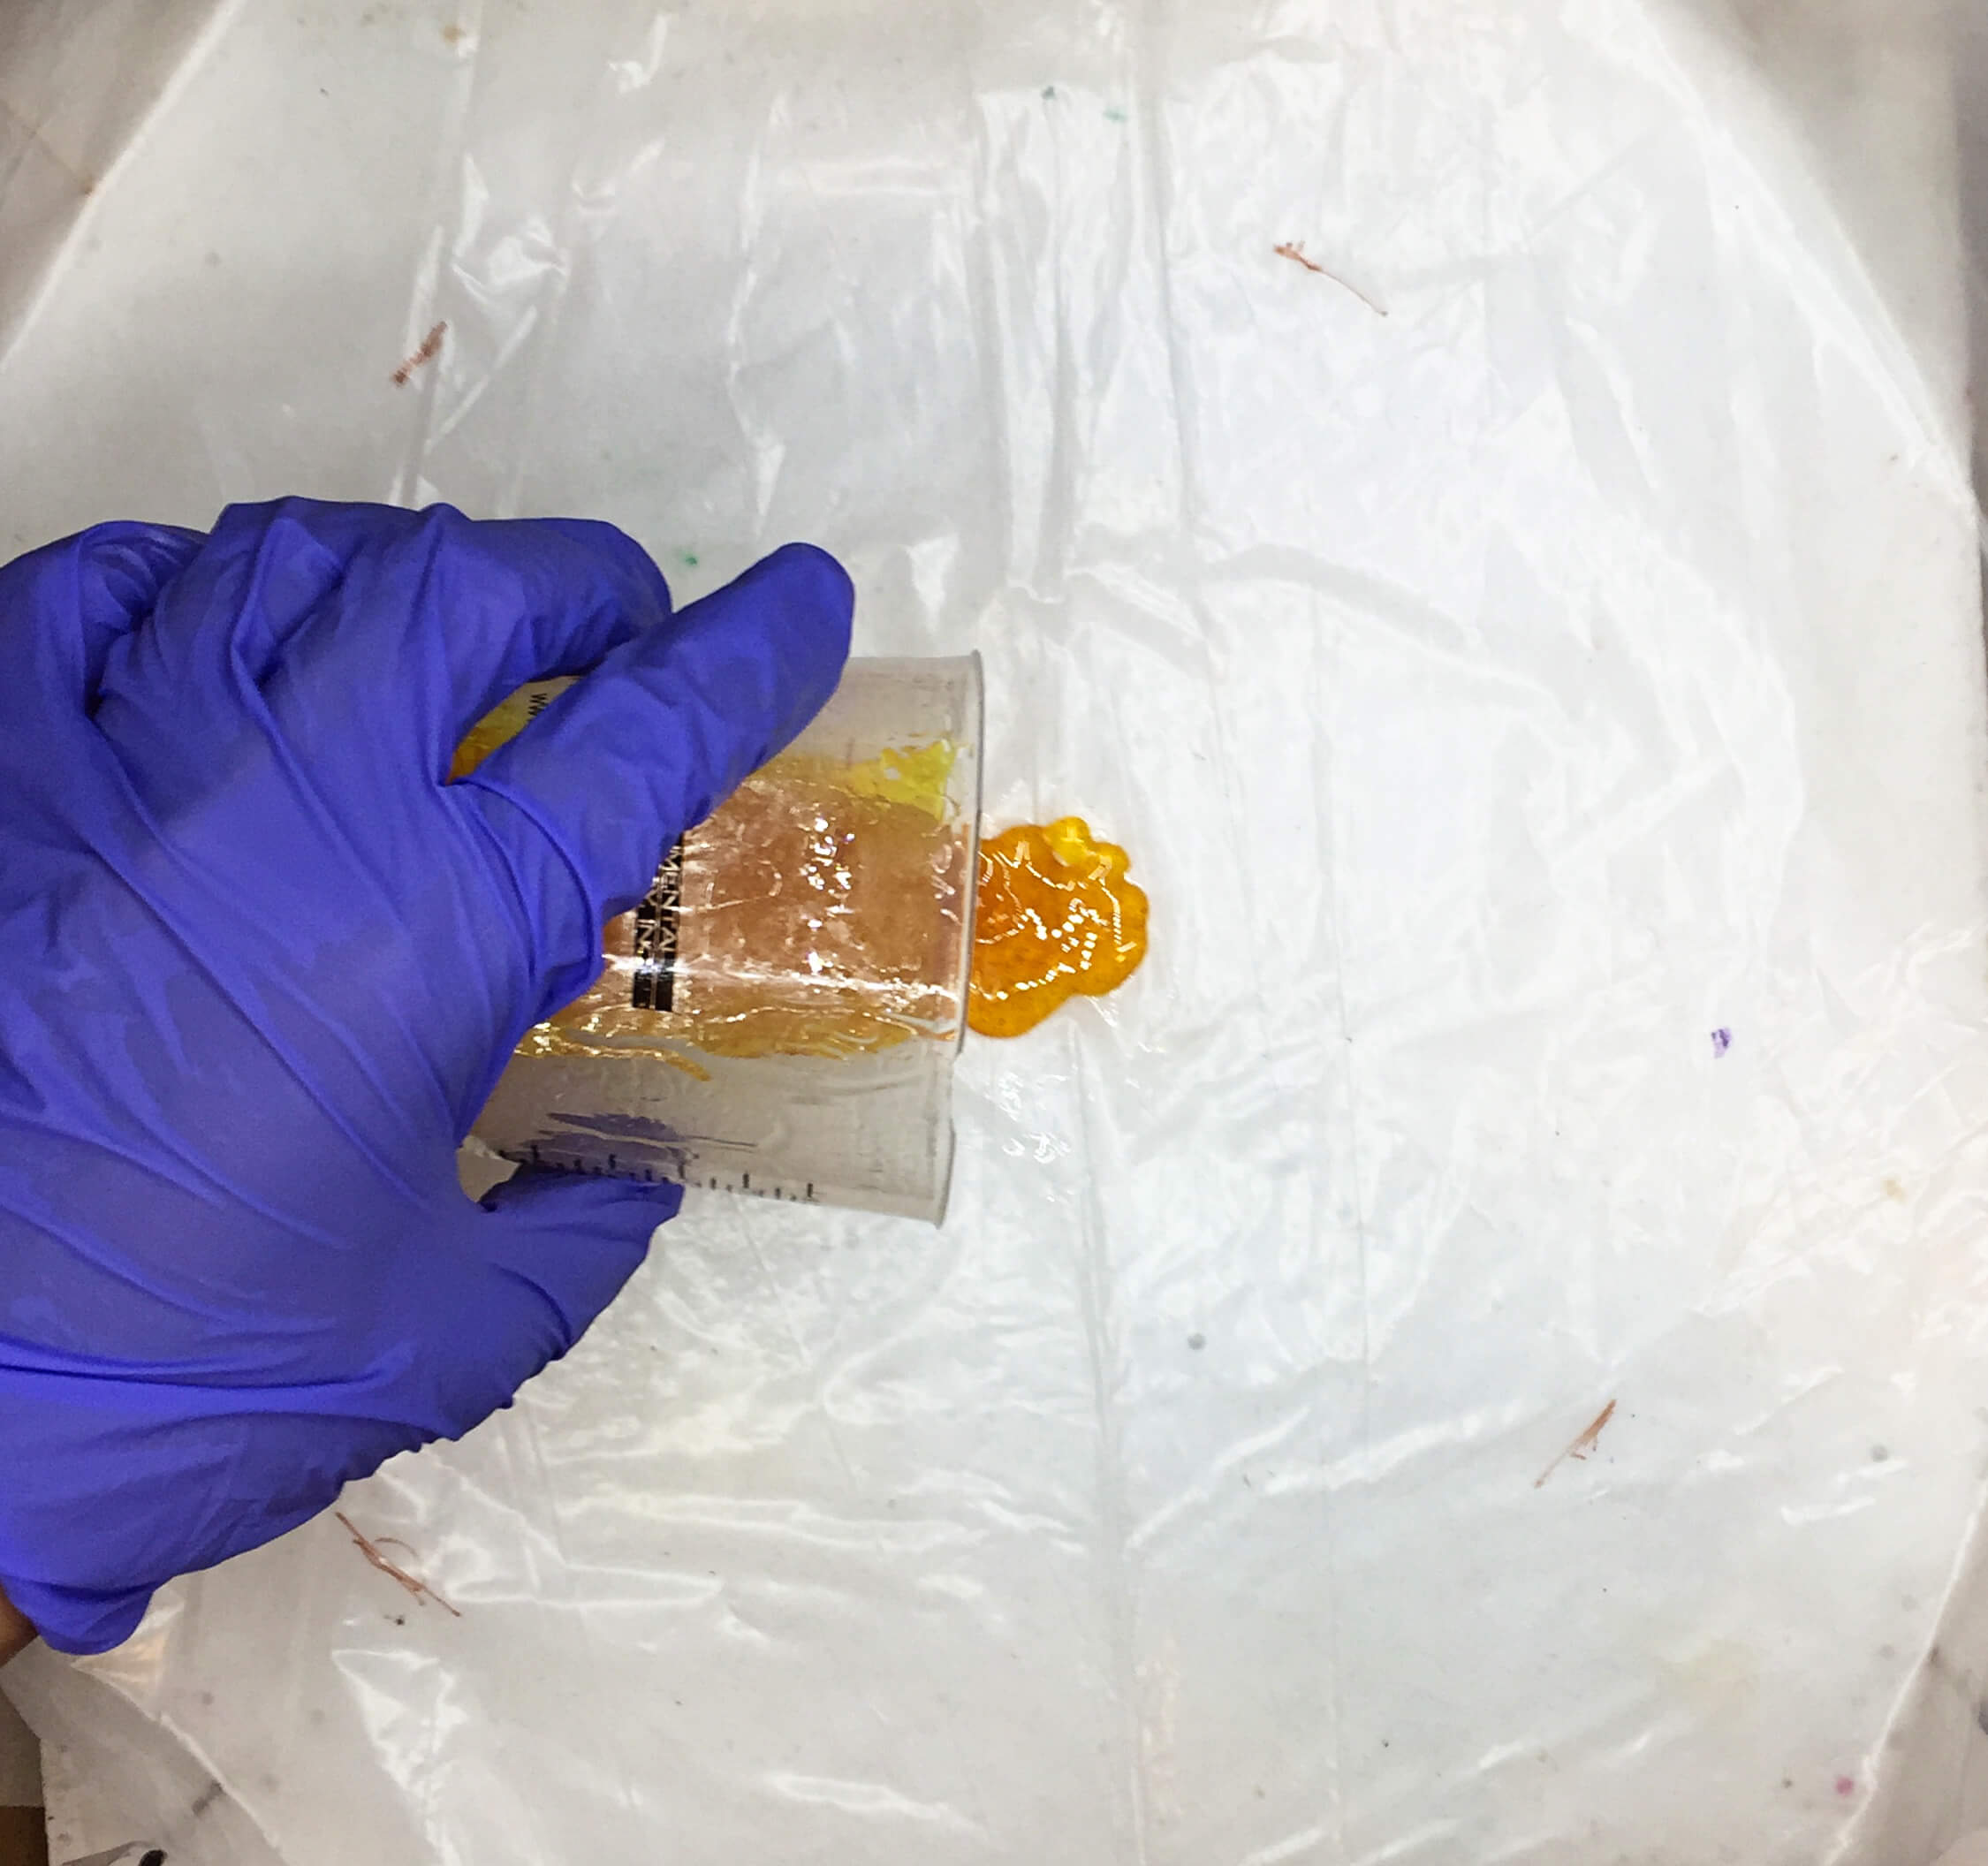
Fill the center of the plastic with colored resin. Let your marks on the plastic guide you to the boundaries of where you should contain the resin.
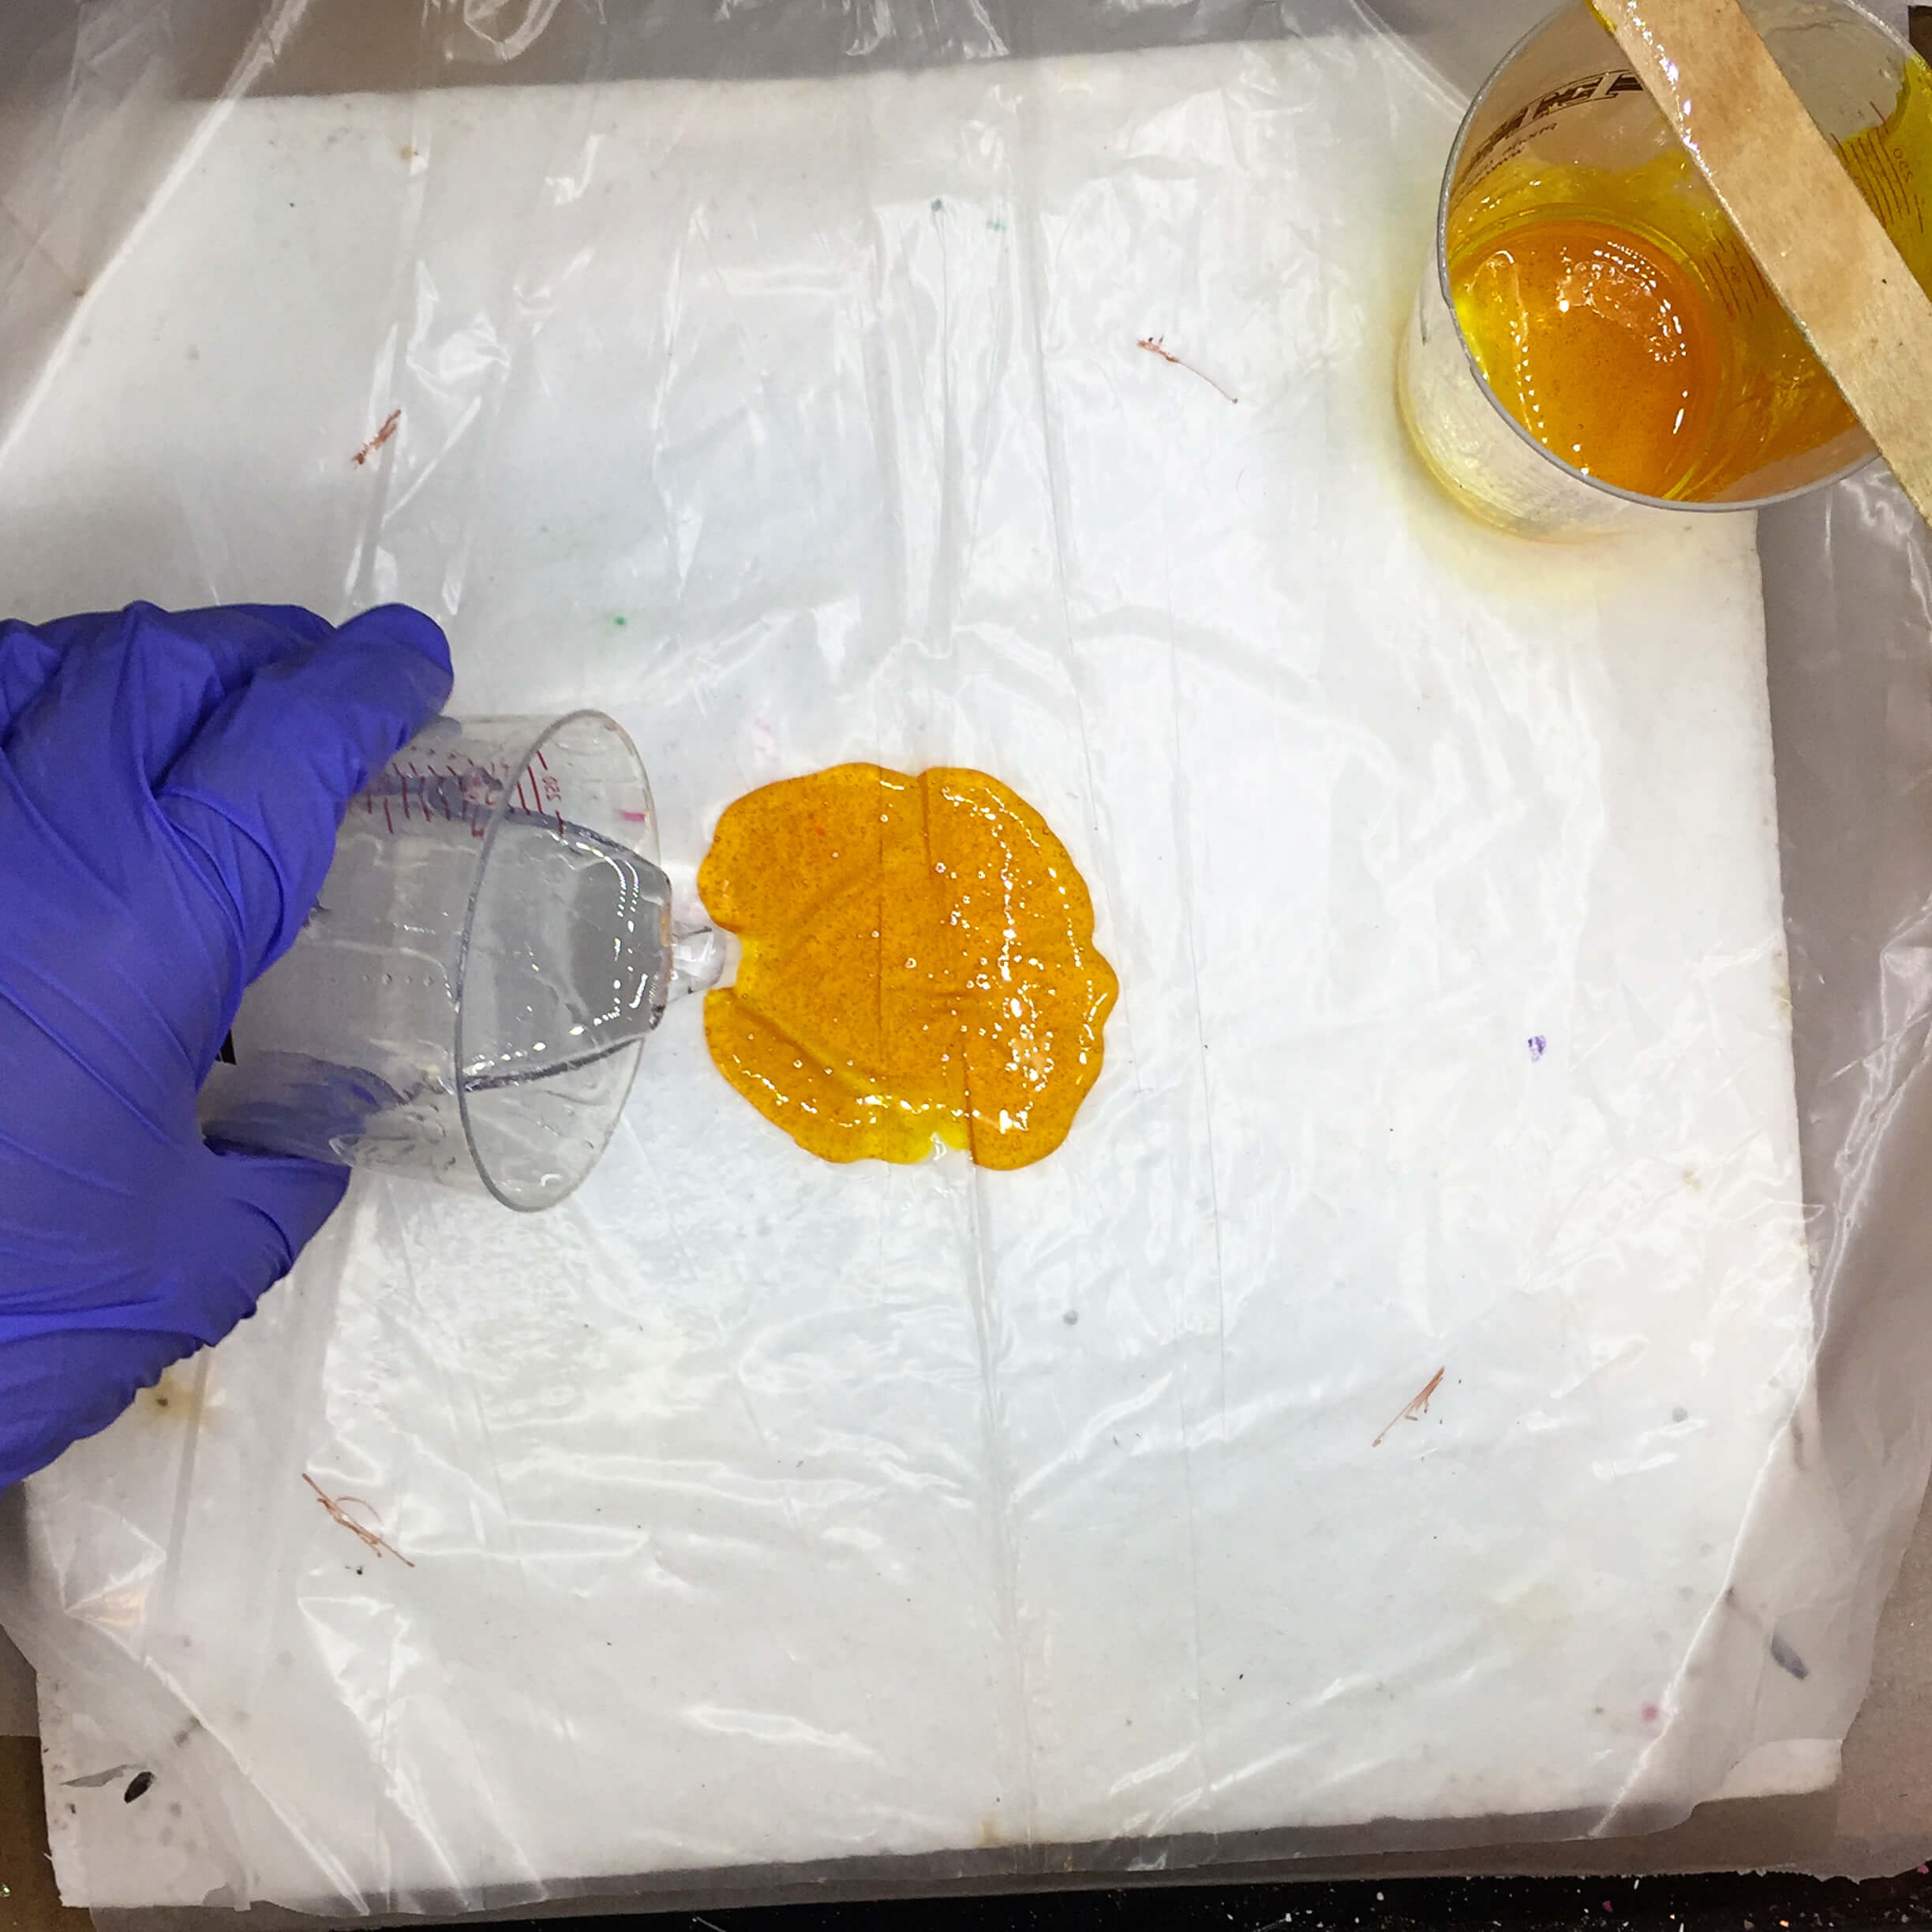
After you have colored resin in the center, add a ring of clear resin around it. Don’t get worried about the uneven nature of the pour. That’s what will give your resin bowl an abstract edge.
Step 5: Remove bubbles
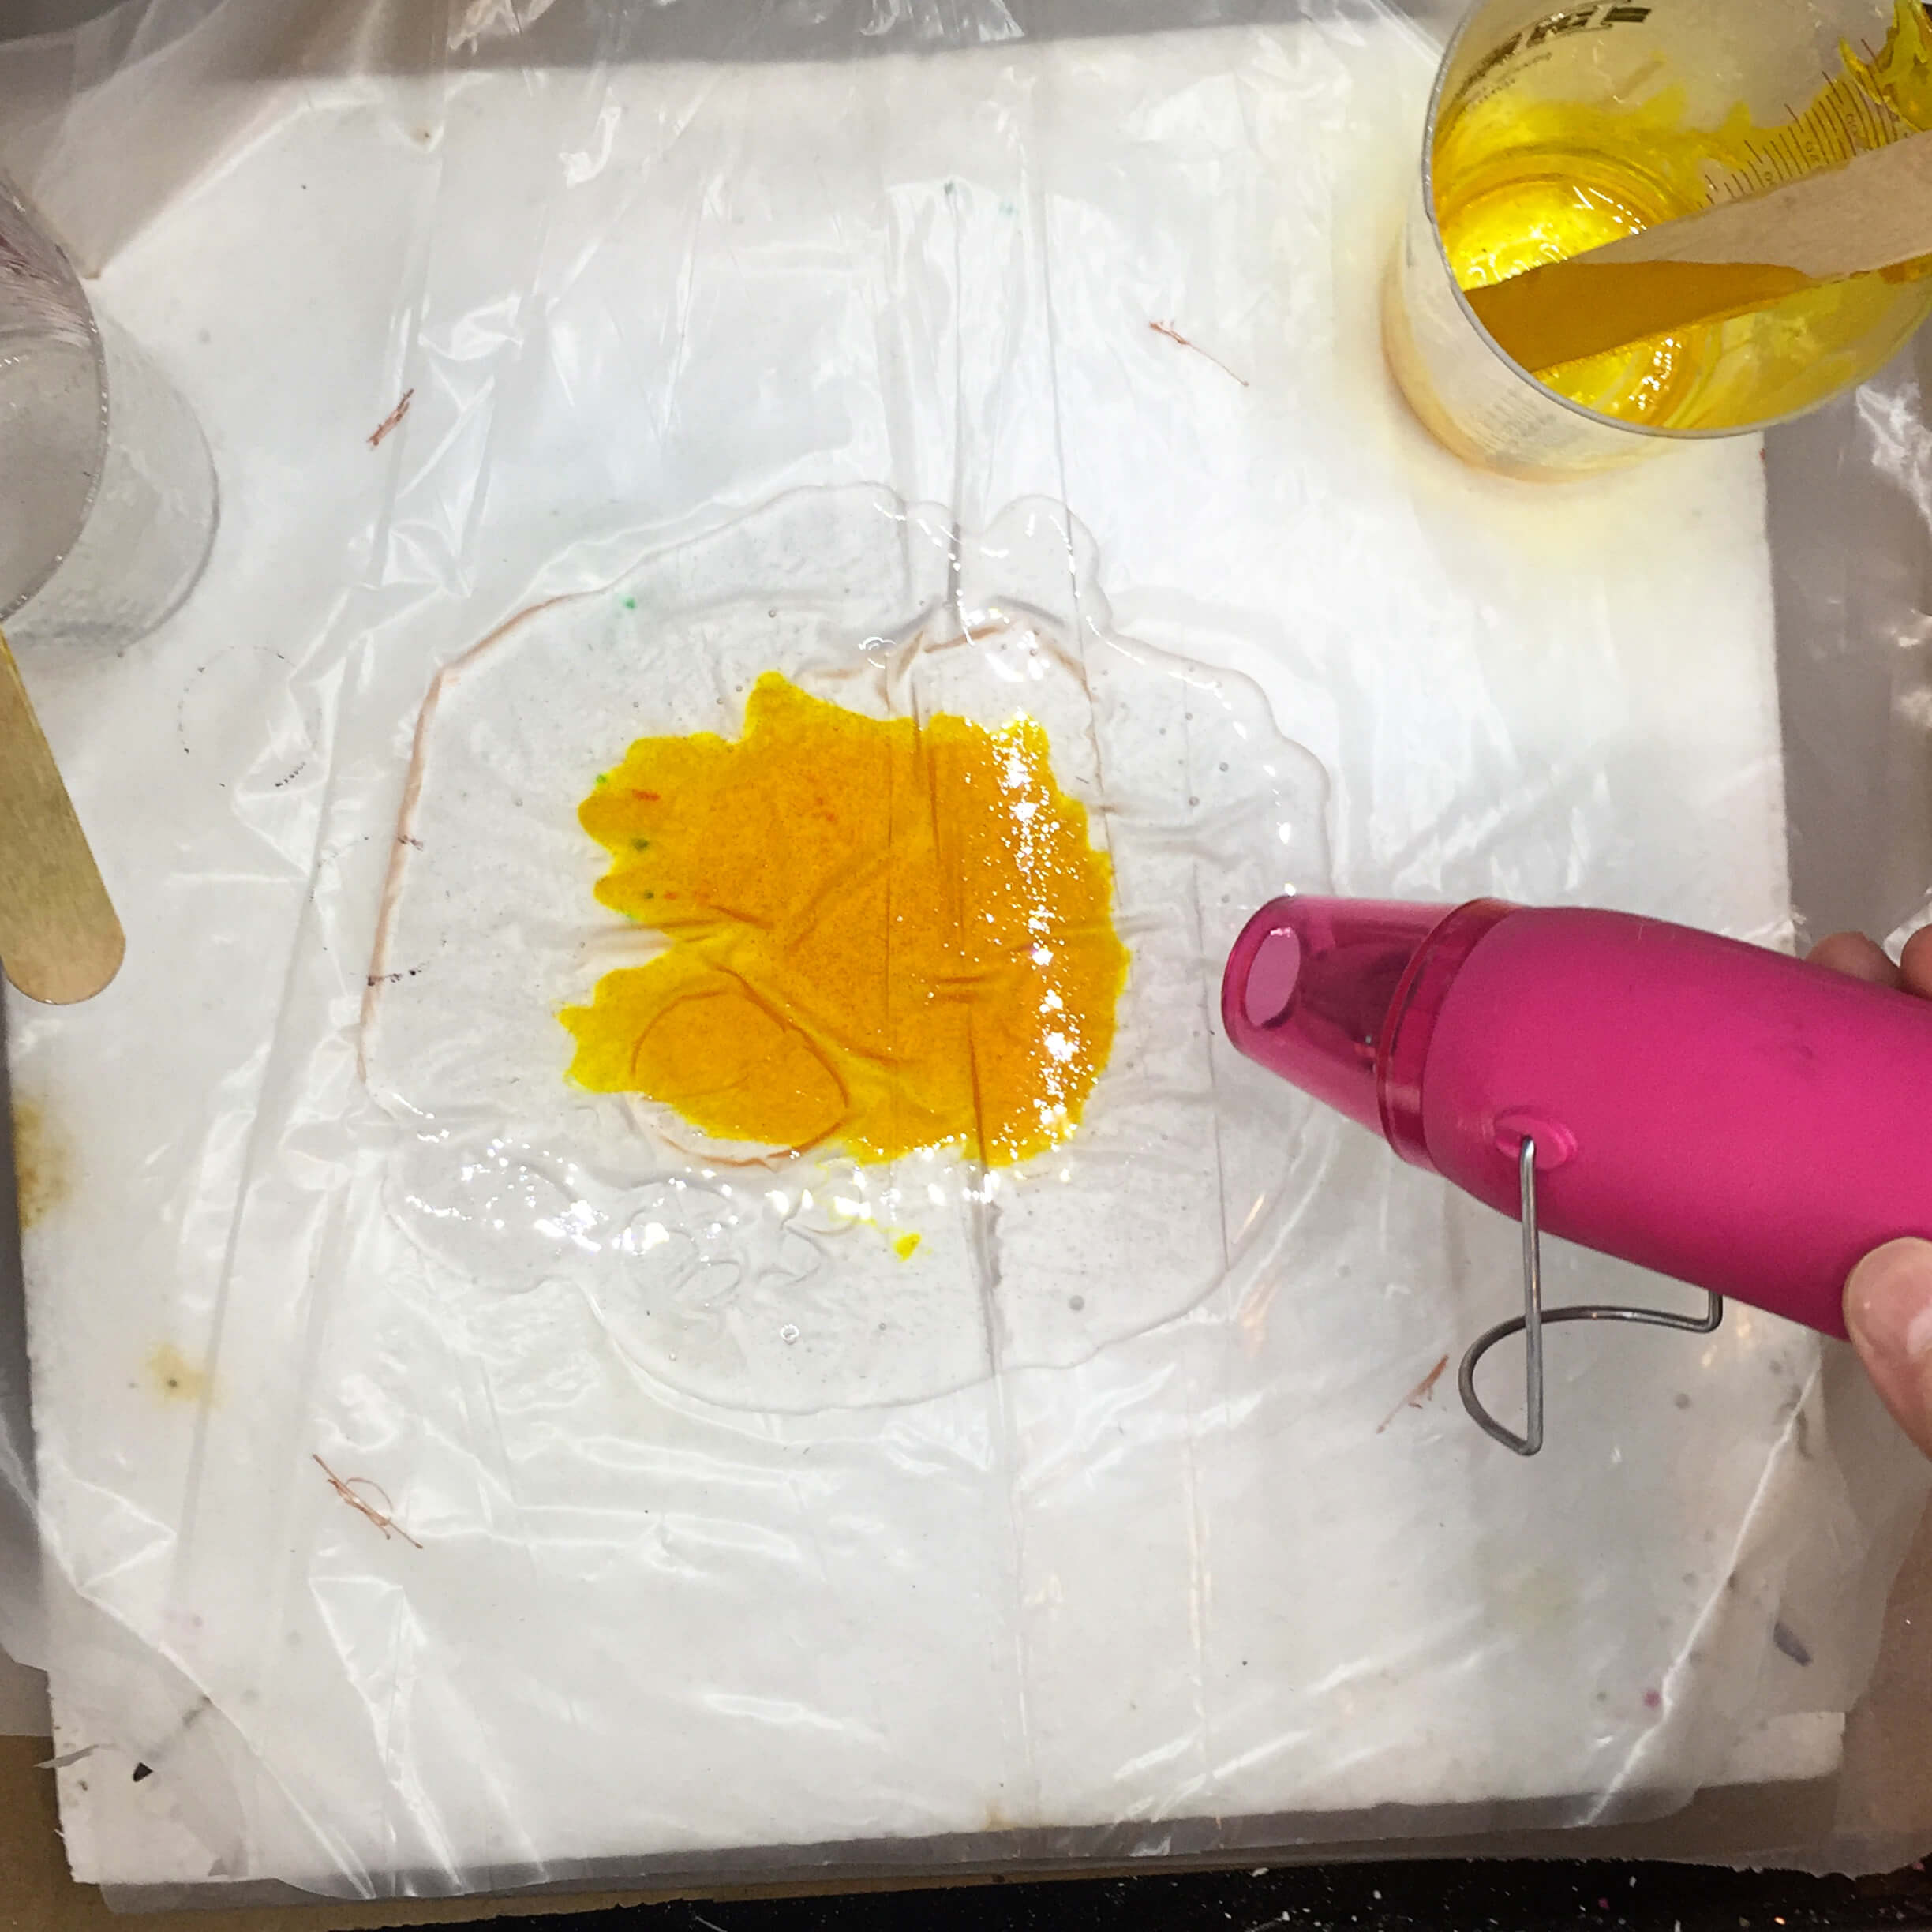
Go over the surface of your resin with a heat gun to remove bubbles.
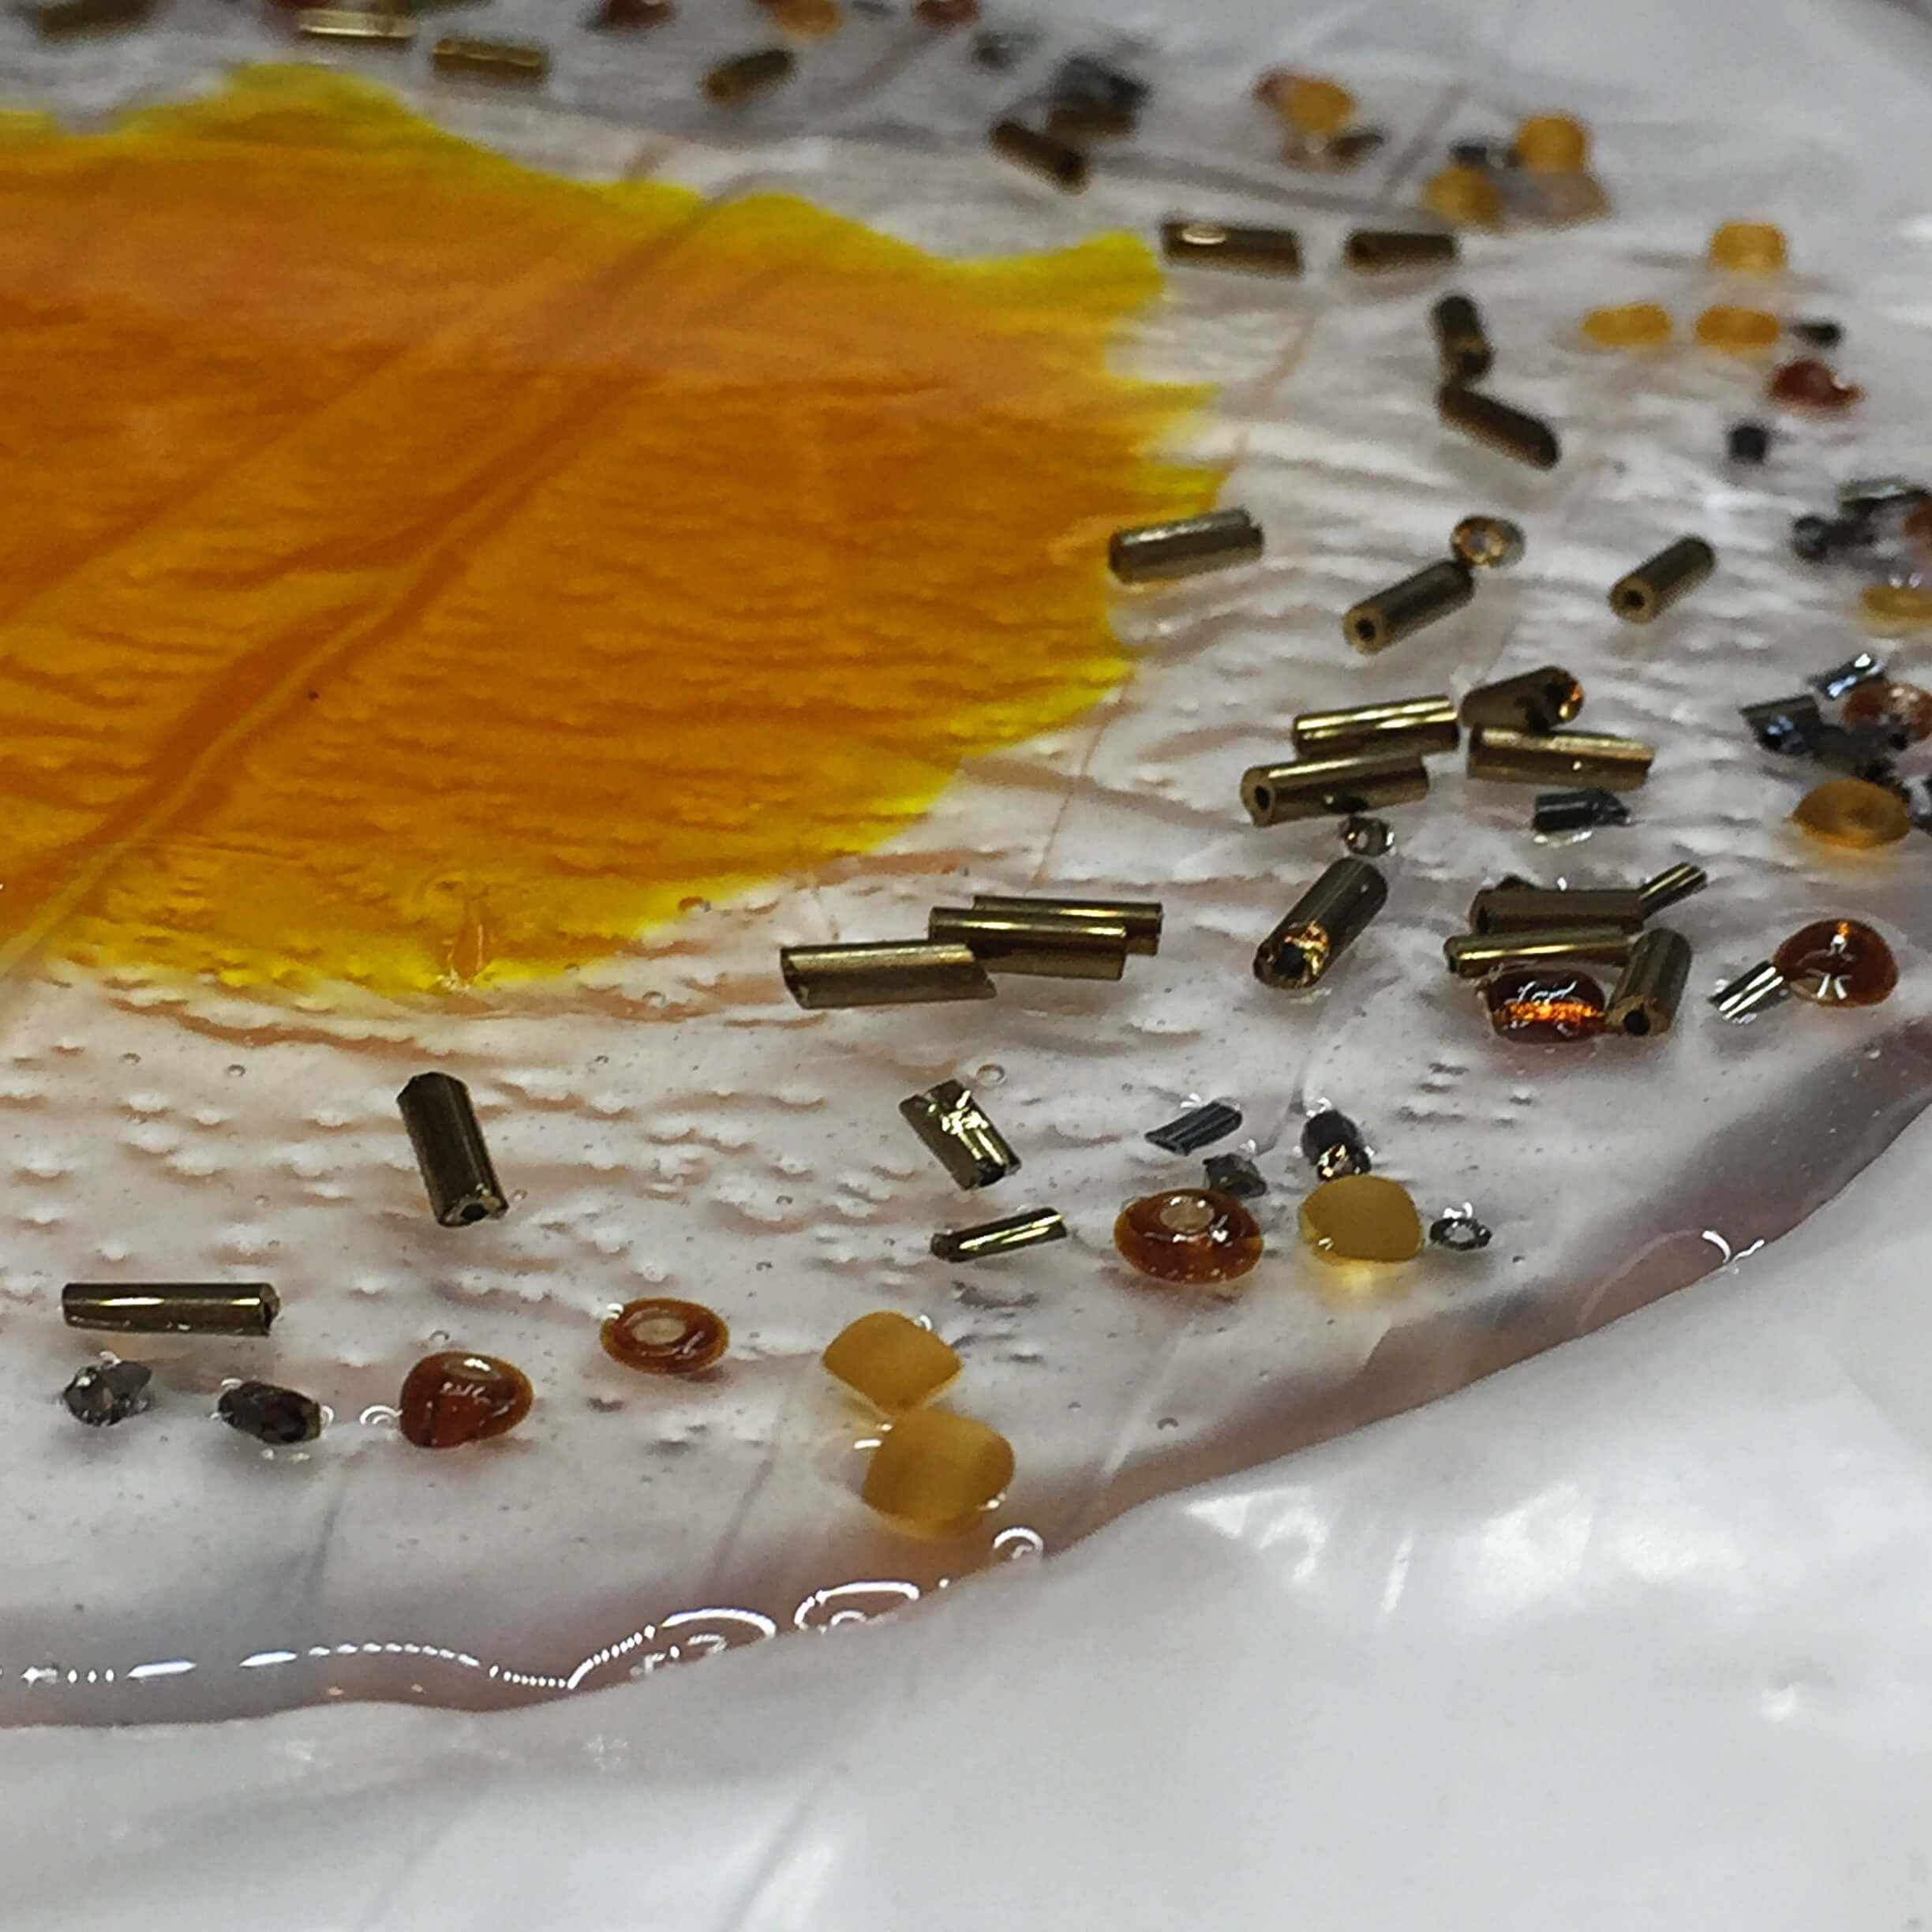
Step 6: Add embellishments

Add complimentary colored beads in various shapes to the clear resin section.
Once you have the resin the way you like it, set it aside to soft cure.
Here’s the important part of how to shape resin
Your epoxy resin must be rubbery and bendable but not fully cured. Check it every couple of hours until it gets to this stage.
Step 7: Form the resin
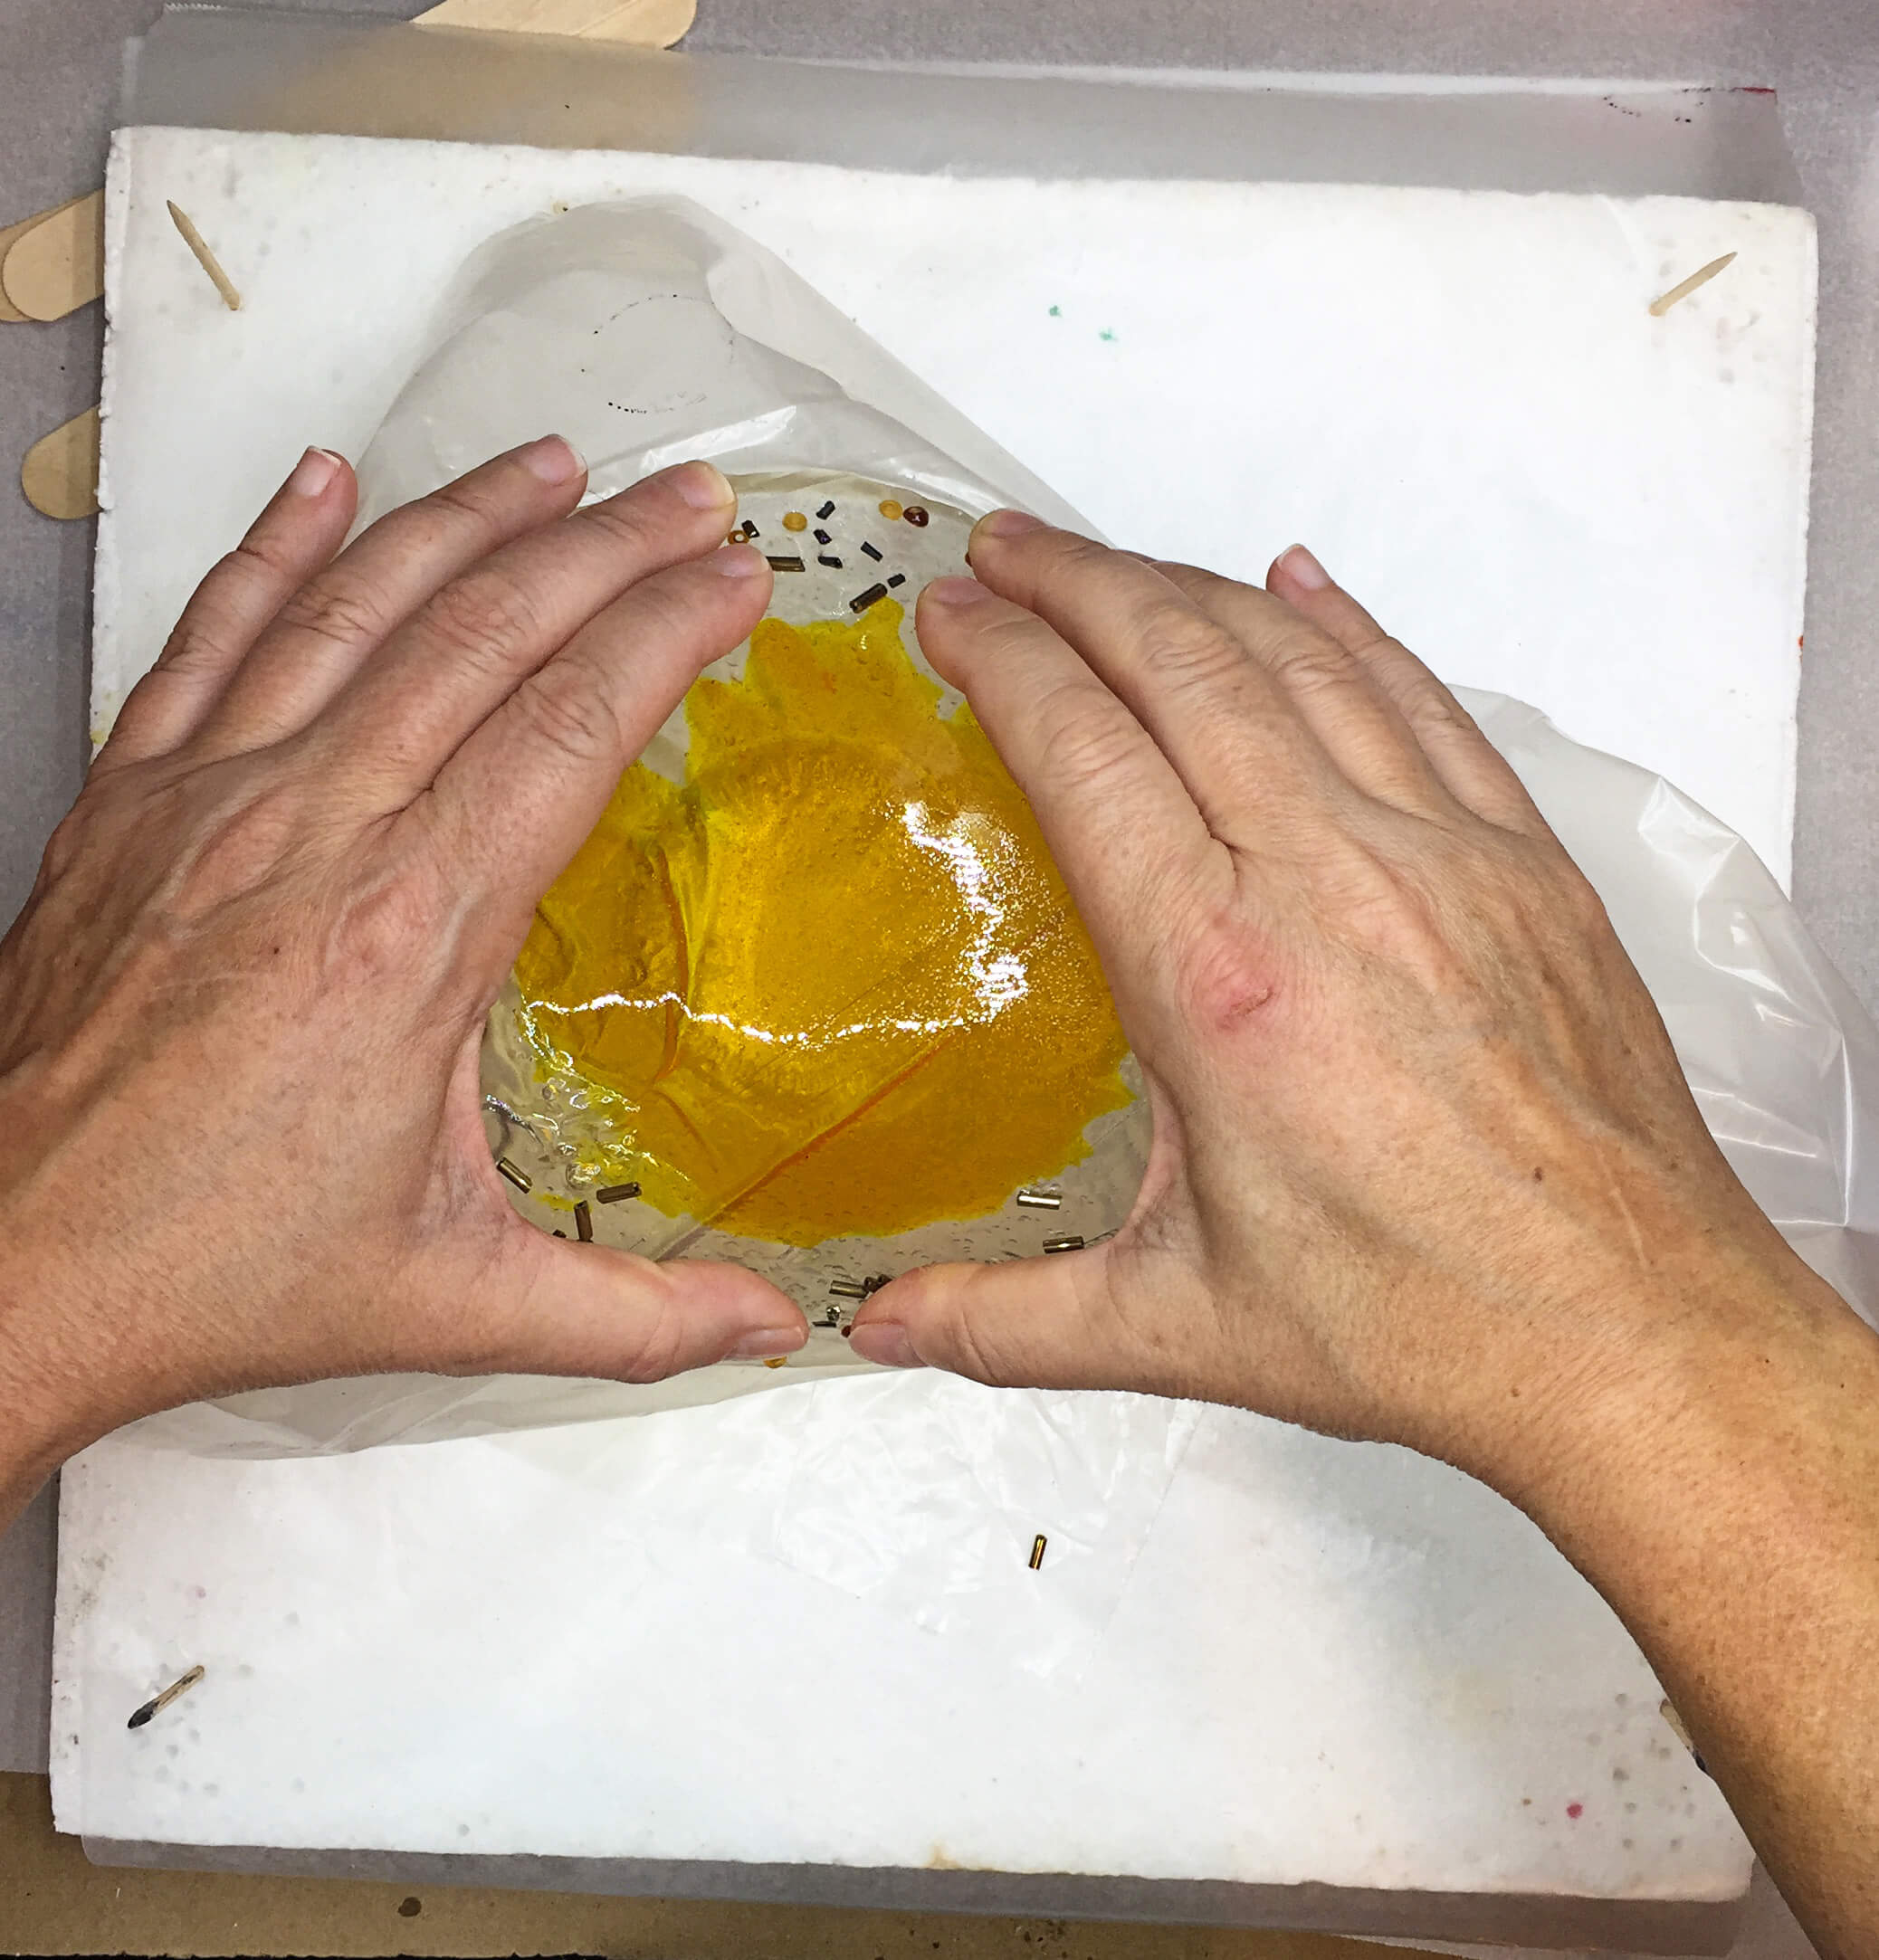
Once the resin is soft, peel it away from the dropcloth. Squeeze your resin to form it in an abstract shape.
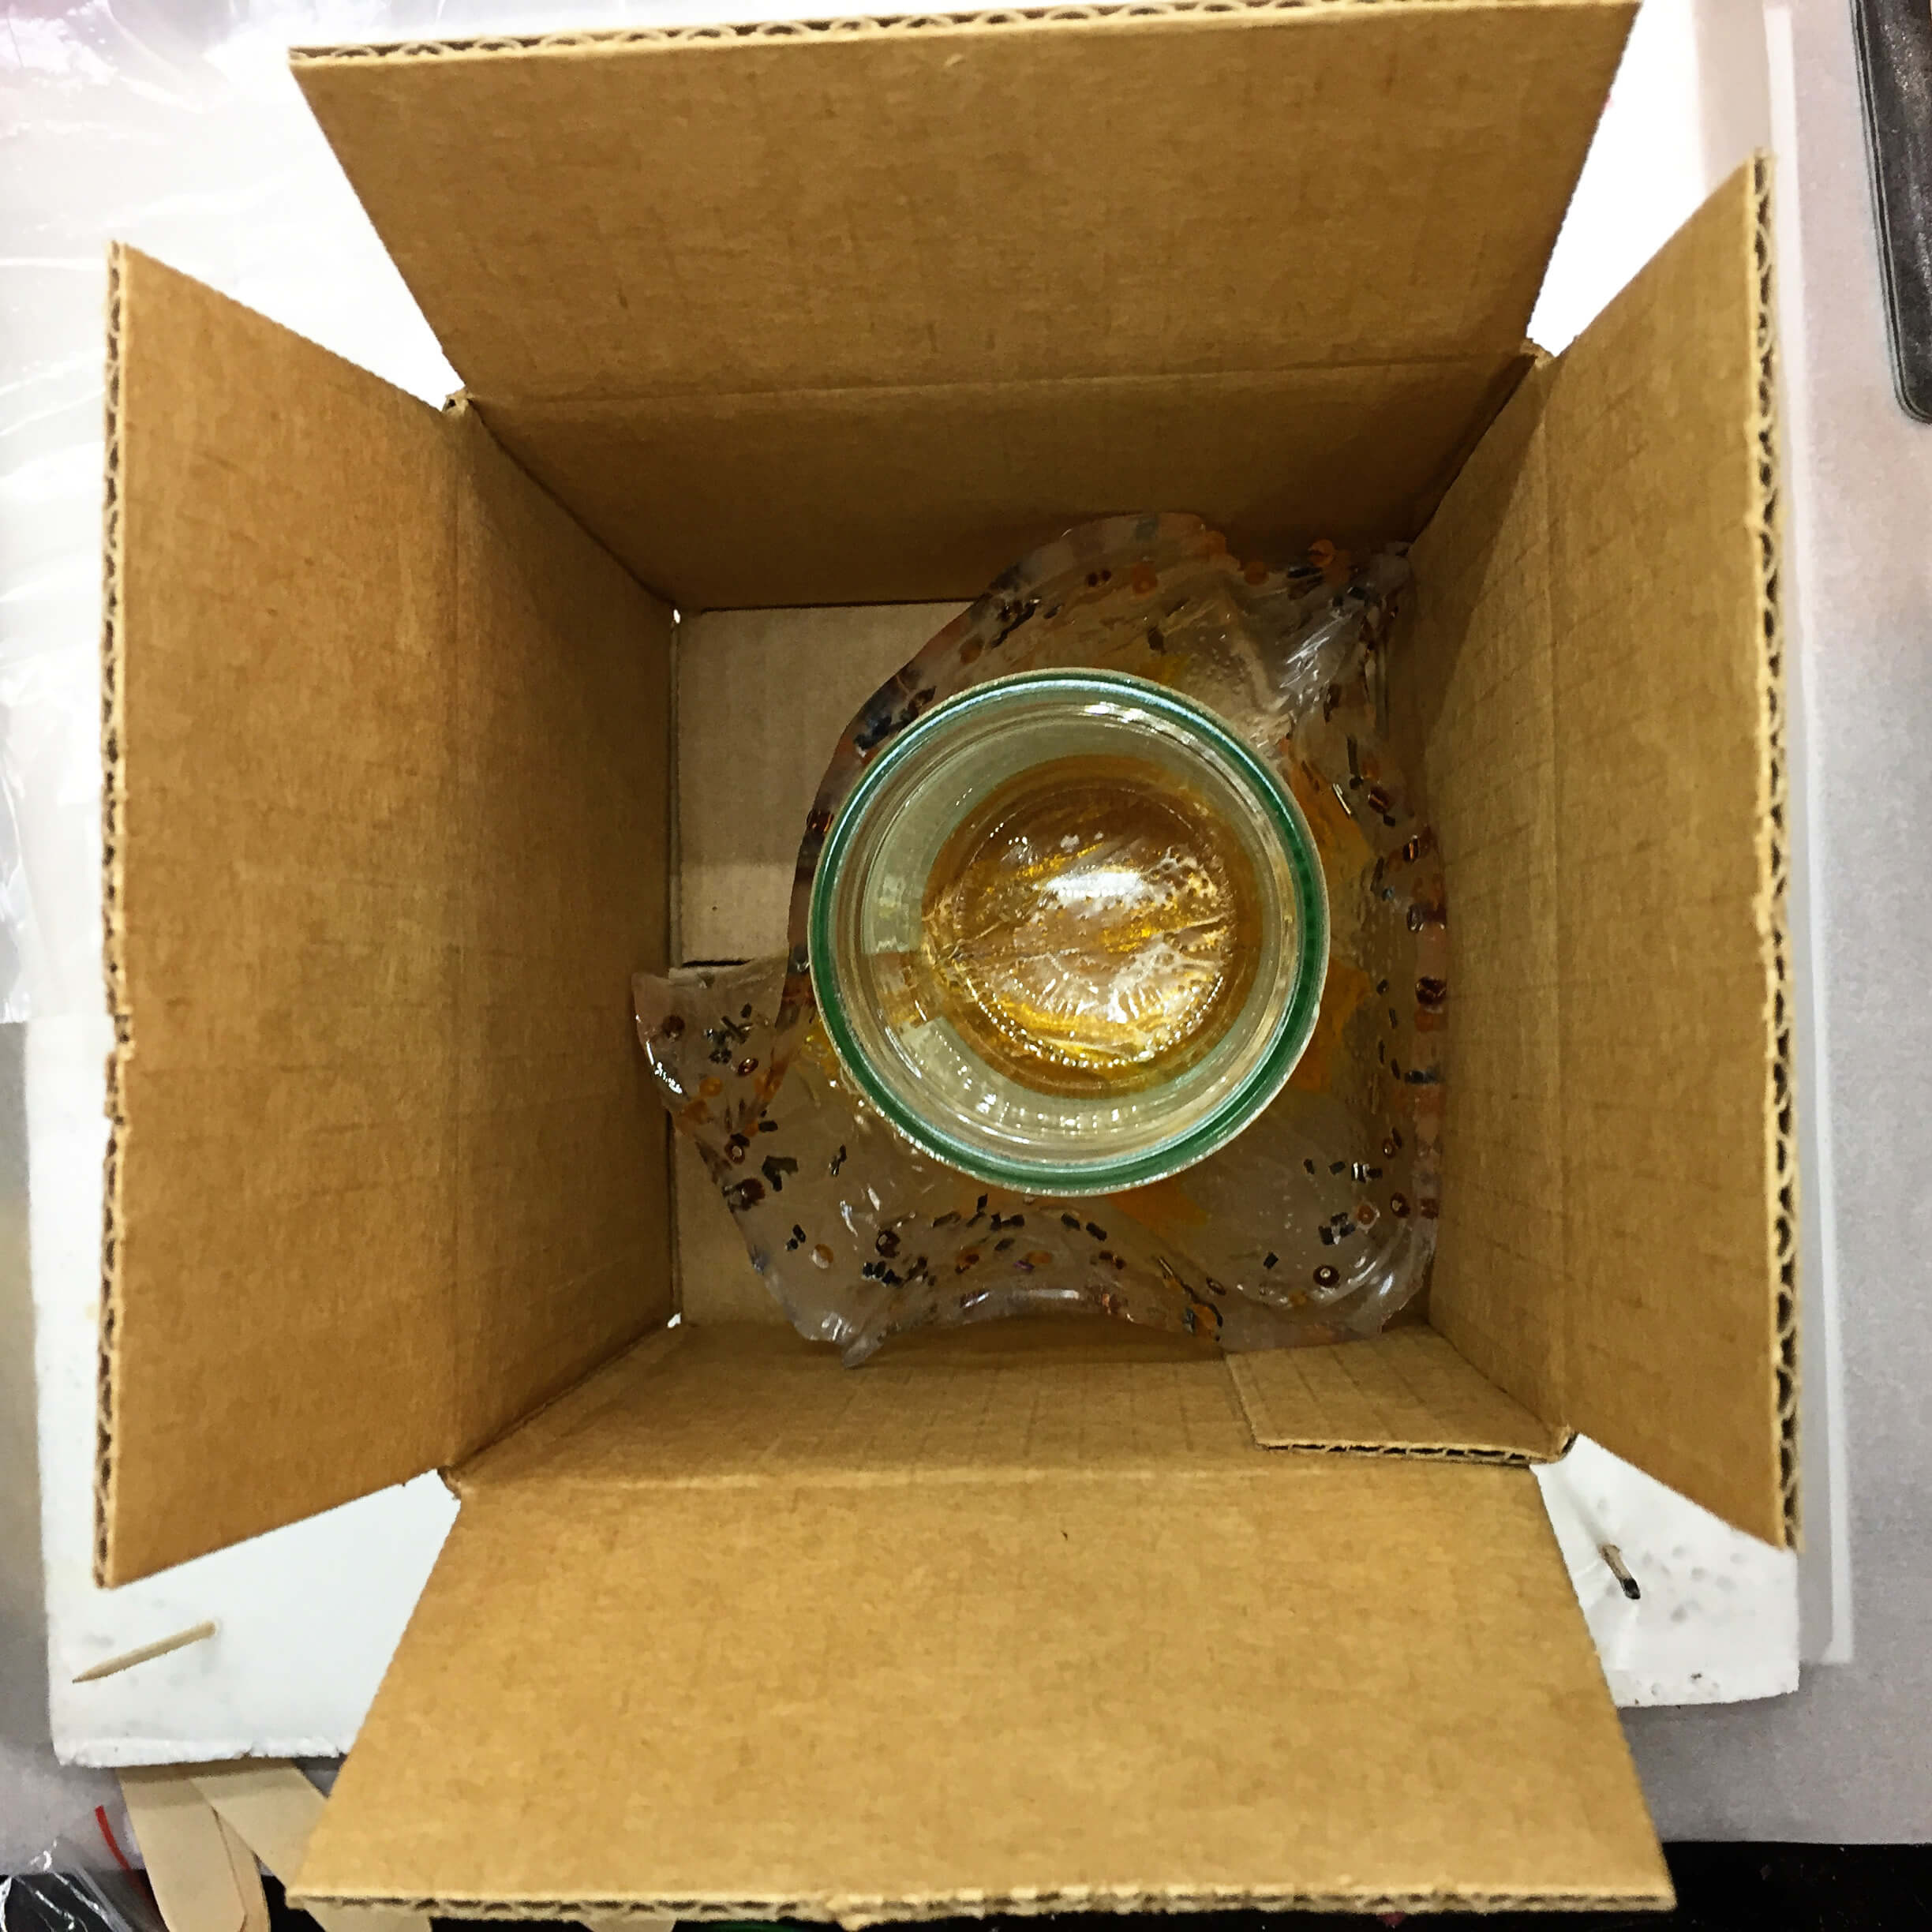
Then, set it aside to cure. To help it maintain its shape, let the resin finish curing in a box to hold up the sides. The jar weighs down the center if necessary.
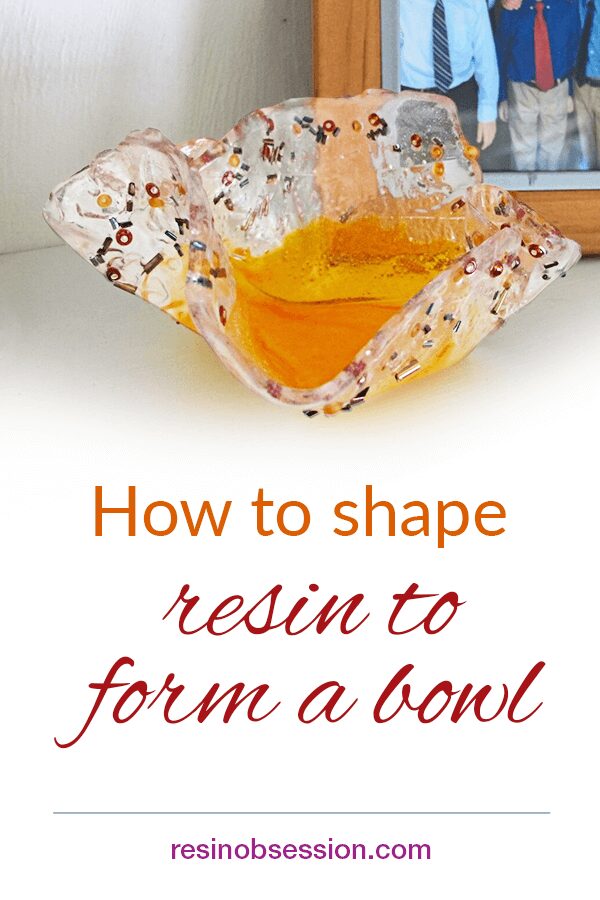
Ta-da! You just learned how to shape resin.
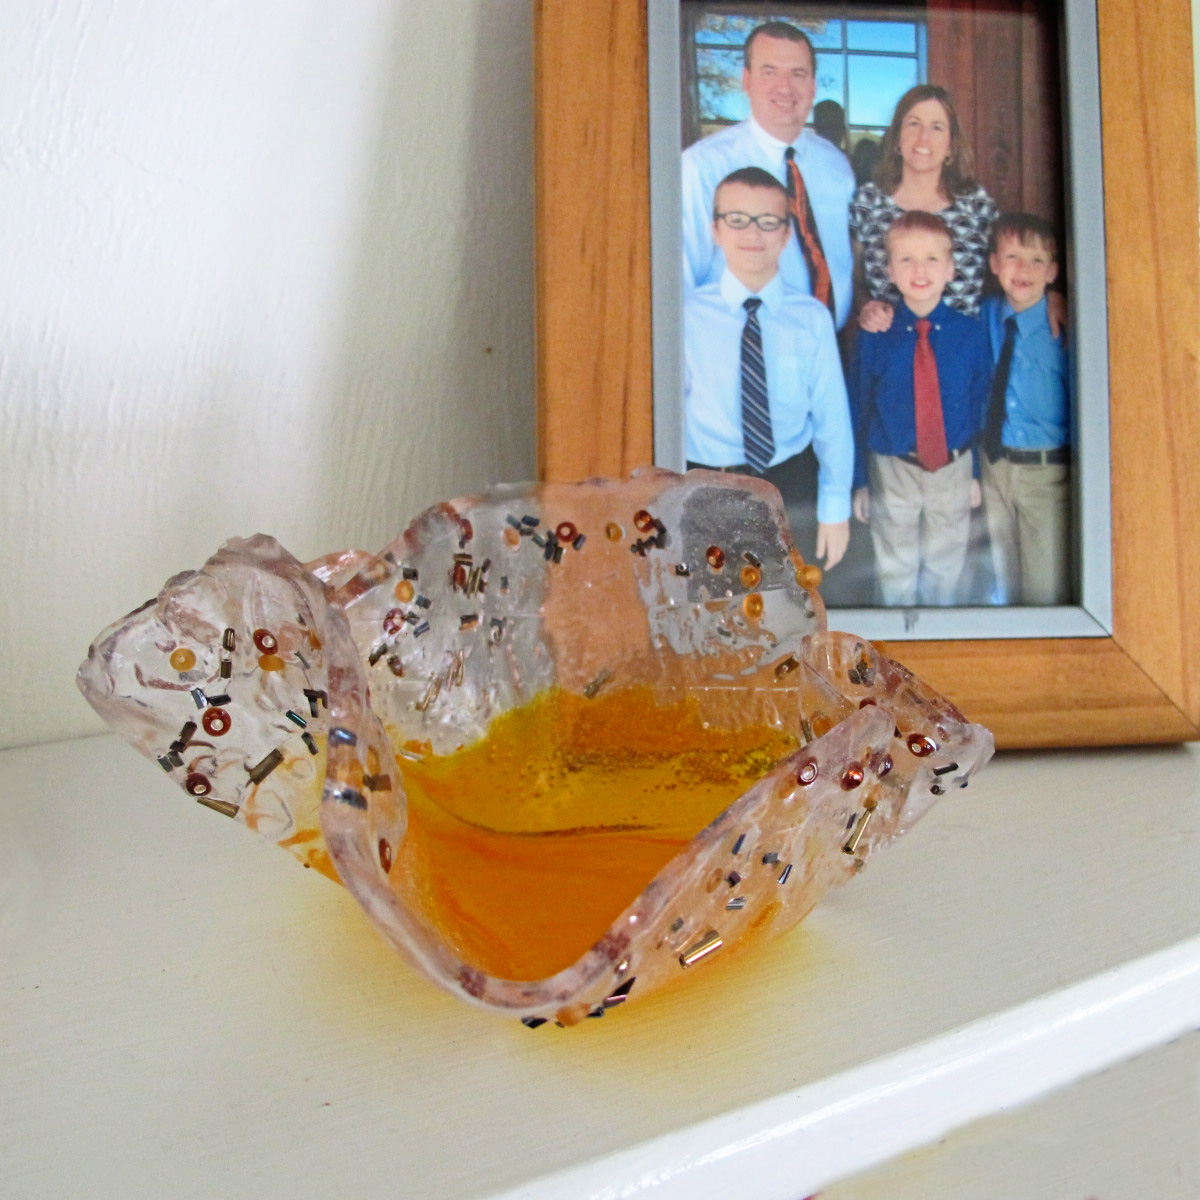
I really like how the bowl turned out. It looks like something abstract made from glass. I’ve set it on a shelf in my kitchen, but I could easily see using this bowl on my desk to hold pencils or rubber bands.
Want to learn more about using epoxy resin?
Grab your copy of the PDF book specially written for resin beginners, Resin Fundamentals. The ebook will take you from confused to confident with resin in no time. Buy now and get a download link to your email in minutes.
Unpublished Blog Posts of Resin Obsession, LLC © 2023 Resin Obsession, LLC
This is pretty cool! I like the free form look and the choice of inclusions … as a jewelry designer, I have TONS of beads! Question, tho … could you have inverted the jelly jar and draped the soft cure resin over it rather than trying to keep the edges of the bowl up?
Hi Kim, probably, but tricky part would be doing it once the resin had cured enough that it was still flexible but wouldn’t stick to the jar. You would have to pull it off sooner than I did (about 4 hours after mixing and pouring).
Simply cut another piece of plastic to cover the upended jar and then drape away. This also would allow you to adjust the folds of the draping more to your liking and if you poured more than the depth of the jar you could fold out the resin like petals.
You’re right Gabriele. This would work great!
Oooo, thank you! What a great idea!
If you want to invert the free-form bowl on the glass jar, just use another another piece of plastic and put it over the jar prior to the resin. That way it will not stick. What I do is put the pliable resin over my glass jar plastic side down and use my gloved hands to shape it over the jar. That’s the easiest and quickest way I’ve found that works without sticking. Hope this helps 😊
What an amazing suggestion Tammy. Thanks for sharing!
oh most excellent—
thank you for your insight!
I cover column candles with amazon bubble mailers (cut into strips and tape together) and raise them with a jar or bowl so the sides drape and fold. This makes a great candle holder.
Do you have any pics or a link to describe what youre talking about? Sounds very interesting!
I have tried to make freeform bowls on the past without much success. Thanks for sharing your expertise.
Thanks Larry, I hope to hear this works for you!
The bowl is really pretty. A unique gift idea for friends that have everything.
Thanks Lorraine, I love it too.
Love this, what a great idea! Thank you!
Beautiul. I am a newbie to resin and have just started using it with some jewelry. What I do is small and I use resin that is cured in a UV lamp. What kind of resin is this?
Hi Jo, it sounds like you used UV resin.
Yes, I know. I was asking what kind of resin is the bowl made from.
This is most likely epoxy resin that cures on its own over time rather than with a UV light. Both have similar effects just a matter of how quickly you want your pieces and art to be ready! 🙂
This is a two part resin. You need to mix in the catalyst to allow the chemical reaction that causes hardening. The commonly used mix is 1:1. These resins usually cure in about 24 hours, going thru different stages of hardness as they cure.
The resin she used is a 2-part epoxy resin.
Hi Jo, yes, others are correct in that I used leftover two-part epoxy resin for artwork. You can find it in our store here: https://shop.resinobsession.com/collections/resin/resin-obsession-artwork-resin
Beautiful. Can’t wait to try it!!!
I want to protect acrylic paintings on old glass in old frames – how can I pour resin on the glass and not have it become larger because it fits in the frame now and has to fit the frame. We will be using these for making a Green house.
Hi Irene, I’m afraid the resin is going to add volume. There’s no way to use it without it making the area larger.
are resin bowls safe for food
No, they are not.
Is there a resin that is good safe?
Hi Pat, do you mean food safe? If so, we have some in our store here: https://shop.resinobsession.com/collections/resin/foodsafe
After tips from you about plastic and challenges I had trying this before, I tried again and had a wonderful outcome making an ocean themed bowl with tiny seashells, sand dollars and starfish along the outer edges. The only issue I had was waiting too long to drape it and had some cracking along fold lines. I learned the timing of the resin I used and the 2nd time it turned out perfectly! Thanks for the inspiration, guidance and encouragement! You take the fear of wasting material away and inspire ways to use leftover resin at the same time. LOVE your site!
Thanks Kimberly, I’m so glad to hear it worked out for you!
How do I share a picture to you. How I use my unused resin. A natural Acorn cap from the oak tree, a few baby leaves from the oak tree they have been pressed and anything else natural that I find on the sidewalk or woods. I glued these small items into an acorn cap and there they set until I have a few drops of resin left over. Most of them go to friends or Family so I also add a Freshwater Pearl to each .
Hi Sherry, I saw your email. What a cute idea for leftover resin!
would this method work if done larger and thicker? say, small bathroom sink size?
Hmm. I don’t see why not.
Do you touch resin to shape with barehands? If so what about fingerprints
Hi Marion, you should wear gloves anytime you are working with resin that isn’t fully cured.
Hi. This is great. Thanks for sending! I didn’t know you can use leftover resin. How?
Do you combine it with others leftover?
Can you take projects that didn’t work and somehow melt it down?
Last is I see candle molds. How can you use a candle in it without melting? Do you just use the plastic ones?
Hi Wendy, unfortunately, once resin is cured, you can’t melt it down to use again. Resin vases are only safe for flameless candles. They can melt with the heat of a hot flame.
can I use these resin vases as candle holders ? Won`t the heat of candles ruin the vase ? Thank you.
Hi Dorina, these are suitable for flameless candles only.
This looks like another great way to make a bowl. I’ve seen several different ways to do it. One way is once the resin is partially cured put the resin on the plastic over a bowl to form the shape you want then let it cure the rest of the way. You then take it off the bowl and peel the plastic off. It seems to work really well. I can’t wait to try this one of these days!
Can I embed fake flowers in resin without treating them? I have a can of spray resin so can I spray the flower and then embed into resin? Also, how do I embed real flowers?
Hi Corky, yes, you can embed fake flowers in resin. We’ve got some articles here to help you get them ready, along with advice for using real flowers: https://www.resinobsession.com/tag/drying-flowers/