
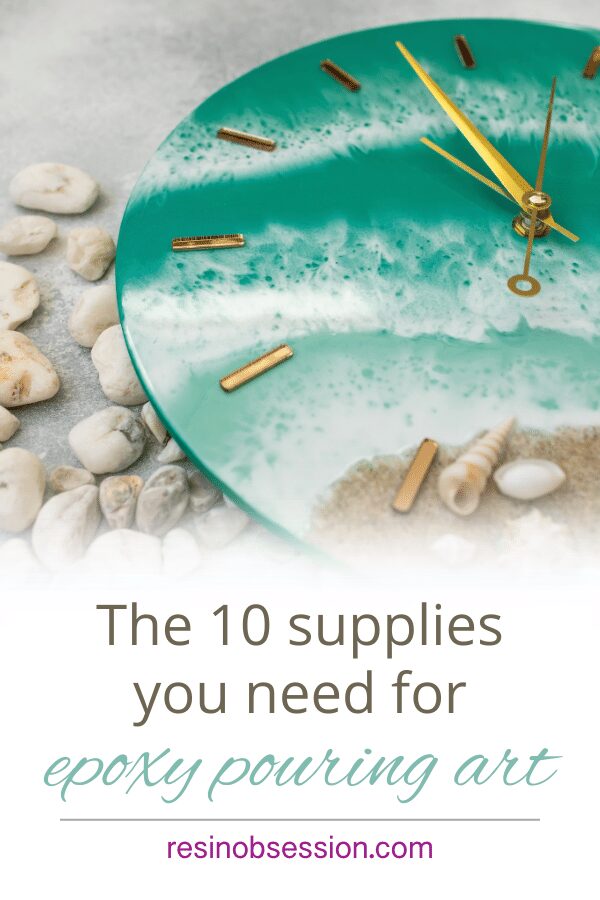
 Ready to try epoxy pouring? Woo hoo! Get ready to let the epoxy have the final say on how the resin colors come together to create something amazing.
Here’s the list of supplies you need to begin your epoxy pouring project.
⭐️ BONUS: Look for a link to a downloadable list at the end of this article so you can have it handy as you shop for supplies.
1. Resin
Of course, you’re going to need resin, but which one?
For pouring, you will need an epoxy doming resin. This resin formula mixes thick and evenly levels after pouring it on a surface.
Best resin for painting
Resin Obsession epoxy resin for art
*Mixes 1:1 by volume
*Mix 3 Ounces to 1 gallon at once
*Twenty to thirty-five minute working time
*Contains UV additives to protect against yellowing
And this epoxy takes colors amazingly. You don’t have to worry about the colors sinking or separating.
2. Colors
Let’s face it. The real excitement with epoxy pouring is getting epoxy colors as a part of your art supplies. You’ll get the best results using colors specially formulated to color resin. They won’t impact curing and maintain their colors once the resin dries.
You can use any colors you want to give your resin a vibrant hue. Here are my favorites:
Opaque resin colors
Resin Obsession opaque epoxy pigments
Ten beautiful shades you can mix together to create new colors
Transparent resin colors
Resin Obsession transparent epoxy pigments
Mimic jewel tones and ocean colors
Metallic resin colors
Add a subtle shimmer and shine to your resin
What about using acrylic paints, eye shadows, and food coloring dye to color resin?
In a nutshell, the answer is maybe. Acrylic paints are water-based, which isn’t the best for resin curing because resin hates water. Also, eye shadows don’t always dissolve easily, especially if they are old. I don’t want to discourage you from trying them, but simply expect that things might not turn out exactly the way you hoped.
3. Painting surface
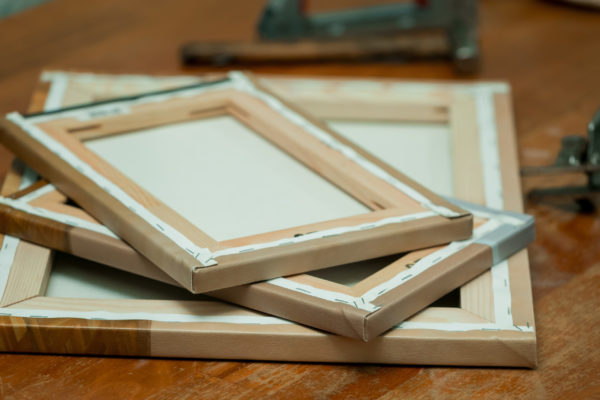
It wouldn’t be much of a resin painting if you didn’t have a surface to pour your epoxy onto. Anything that has a flat surface can work for your epoxy pouring. That means you can use wooden boards, canvases, and MDF boards. You can even use tiles and vinyl records.
⭐️ BONUS: Learn about items you can use for resin painting surfaces.
4. Mixing supplies
To make your resin art, you will need mixing cups and stirring sticks to accurately measure and thoroughly mix your resin.
Use mixing cups with graduated lines to precisely measure the volume of resin and hardener you need for your project. You want to avoid sticky resin.
These plastic stirring sticks are great because they are reusable. Simply wipe them clean after using them so you can save them for another time. Plus, because they’re plastic and not wood, you don’t have to worry about them introducing bubbles into your resin.
5. Other additives
If you want to create cells in your epoxy pouring, you’ll need supplies to help the resin separate from other colors. This can be acetone, alcohol, or silicone oil. You don’t want to add more than a few drops per ounce of mixed resin; otherwise, you’re resin may not cure.
⚠️ IMPORTANT: Because acetone and alcohol are flammable, be careful if you are using a torch, as it can start a fire. This is why I use a heat gun instead. Plus, a heat gun is better at helping you make ocean waves.
6. Plastic sheeting

Because epoxy will make a mess as it drips off the side of your paintings, you want to cover your painting surface with something to protect it from the resin while you’re pouring. A painter’s tarp or a plastic shower curtain works great for this purpose. And if you make a big mess, you can throw them away.
7. Painting cover
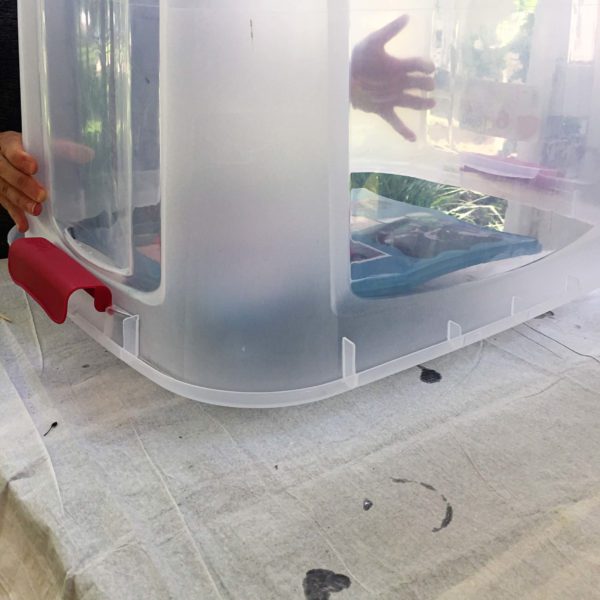
While your resin dries, you need to keep dust and hair off the surface. Even if you don’t see any, it will be floating in the air and can land on your piece. You can use a large plastic storage bin, but a large box or plastic swimming pool works too.
8. Cups
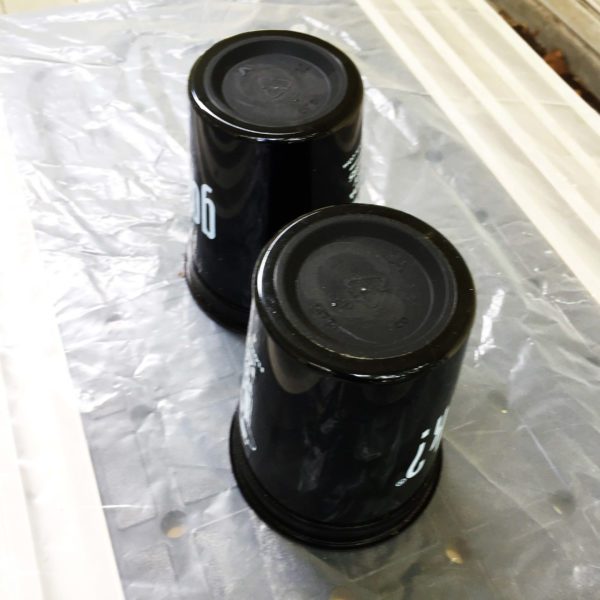
You will need plastic cups (or something similar) to elevate your surface while pouring epoxy.
9. Level
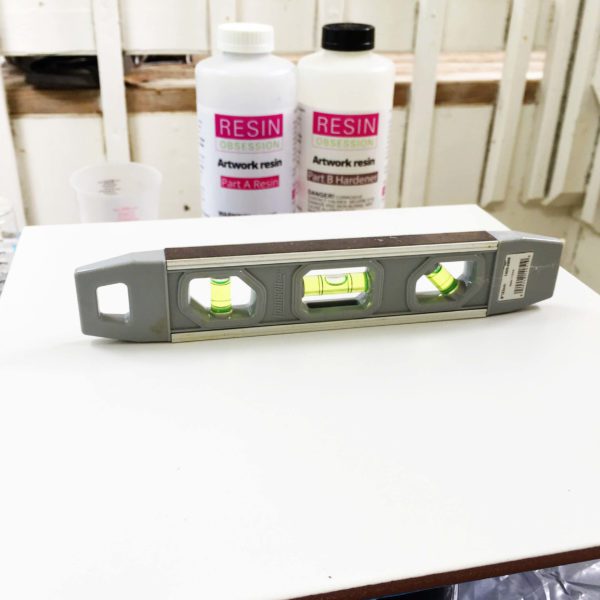
Once your surface is lifted on the cups, you will need a level to make sure the surface is … well … level. If you don’t, your resin could pool on one side and not cover evenly.
10. Heat source
Use a heat gun for your heat source. Not only does it push epoxy over the surface and pop bubbles, but you don’t have to worry about it starting a fire as you do with a torch.
Here’s the best part.
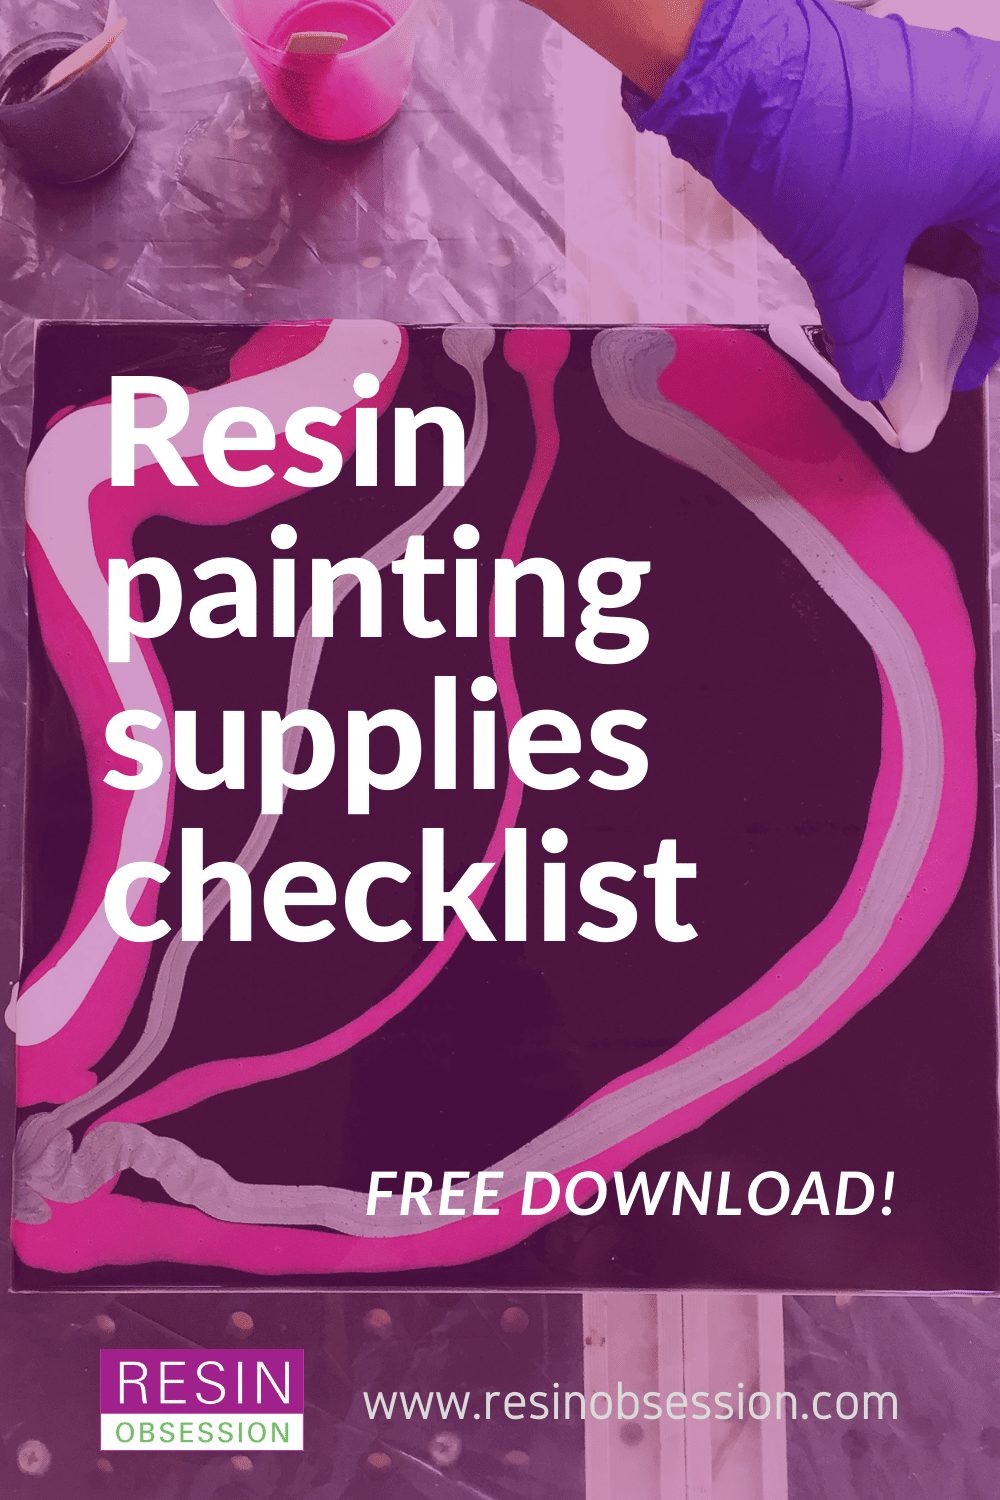
Here’s your {FREE} downloadable epoxy pouring supplies shopping list. Click below to get your copy.

Looking for more help to get you started with resin?
That’s why I wrote the PDF book Resin Fundamentals. For less than the cost of a resin kit, you can learn the essential details to get beautiful results with resin from day one! Buy the ebook now, and it’s yours to read in minutes.
Unpublished Blog Posts of Resin Obsession, LLC © 2023 Resin Obsession, LLC
Thanks for your post. Very interested. Need to save for supply’s, hopefully take a month. I will keep your post till then. Have a great day.
I am especially interested in resin and how to use it in jewelry making. I have so much fun using tea to dye paper, stamping and decoupaging with metal accents and inexpensive gemstone pieces, jasper, etc. I would like to resin the dyed stamped papers and muslin fabric pieces to enhance the “old but classy” look I’m going for ??!!
I want to use epoxy in a Altoids tin and layer the objects in it. Do I pour layers and let dry between layers with objects or add and pour, add and pour and let dry when complete?
You can do either, Janean. We show how to do a project like that here: https://shop.resinobsession.com/products/ten-epoxy-craft-projects-resin-crafting-book
Hi I want to fo a 4000 piece puzzle on my dining room table and have no clue where to start. I live in South Africa and have had so many different replies saying can’t be done. I also want to do place mats with photos of our children and grand children. Any advice to do this will be appreciated. Many thanks Annie