
 Resin crafting is one of the most accessible and reasonably priced art projects to try. (You can start with an all in one resin kit for less than $50.) You’ll love the countless cool and crafty creations you can make by joining the epoxy resin scene. It’s the ultimate cool kids club.
So let’s look at resin crafting and some of the delightful crafts you can make with this amazing liquid.
Resin Crafting – What Is It and How Does It Work?
Resin crafting starts with just that —resin. It’s a liquid that, when triggered to heat up, will turn to a solid. That triggering comes from adding hardener (two-part formulas) or showering with UV light (UV resin).
Why are there different resin types?
Because there is NO ONE SIZE FITS ALL RESIN.
(If you think I’m yelling here, it’s because this point is pretty important.)
If you don’t remember anything else about resin, you need to know that one resin WON’T work for everything you want to make. You won’t make anything worth sharing or selling unless you use the right resin type.
What type of resin should you use for crafting projects?
If you’re reading this because you want the answer to that question…
(and I can’t blame you. LOTS of people come to Resin Obsession looking for that answer)
Here’s what’s ESSENTIAL in this process:
For resin crafting projects, when you’re pouring the resin in a mold, you need a casting resin. You want a doming resin for projects where you’re coating a surface, so it finishes shiny.
And if this is the first time you’ve heard about something like this, learn more about the epoxy types and why they’re essential to your success.
How long does it take to dry?
Some resins can turn solid in a few minutes, but others can take days.
How does it work If you use resin molds for crafting projects?
You pour the liquid resin into the mold space. After it dries and hardens, it stays in the shape of the mold.
Can you make your own resin molds?
You bet your sweet bippy.
Use two-part silicone mold putty to make molds from your favorite items and knickknacks. You can make molds of toy parts, electronic components, automotive parts, jewelry, food molds, and even shoes. (for personal use only)
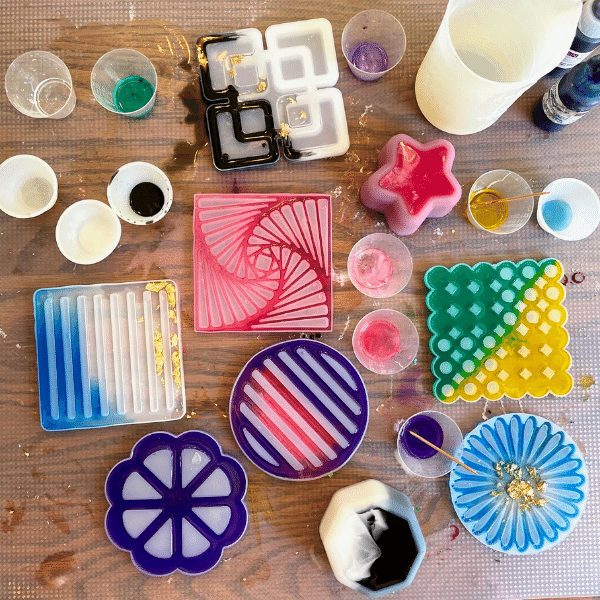
Resin can be colored in a variety of ways. What are some options?
Part of what’s cool about making resin crafting projects is making them in YOUR style. That means adding things like:
- Glitter
- Found items
- Photographs
- Flowers
- Resin colors
- Beads and sequins
- Cookie sprinkles
And that’s just the start. Here are more ideas of things to embed in resin.
What surfaces can you apply resin to?
Resin makes great glue because it sticks to so much stuff. In fact, you should assume that resin sticks to anything.
Resin sticks to:
- Metal
- Wood
- Many plastics
- Canvas
- Paper
- Ceramic
- Glass
Resin won’t stick to:
- Wax
- Oil
- Silicone (unless you’re talking more silicone)
- Polyethylene plastic
- Polypropylene plastic
- Painters Tape
- Parchment
Some surfaces may need preparation, so it’s always good to read up on applying resin and testing it before undertaking a big project.
What kinds of molds can you use with resin crafting projects?
You can use polyethylene or polypropylene plastic molds. And silicone molds work great with resin too.
How do you prepare your workspace?
Resin WILL BE messy. It’s crucial to prepare your workspace before you start. Once the resin has dried and cured, removing it from surfaces can be pretty tricky. Put down a non-stick resin surface to avoid getting it on your table when you’re creating with resin.
You’ll also need safety gloves to keep the resin off your hands while it’s wet.
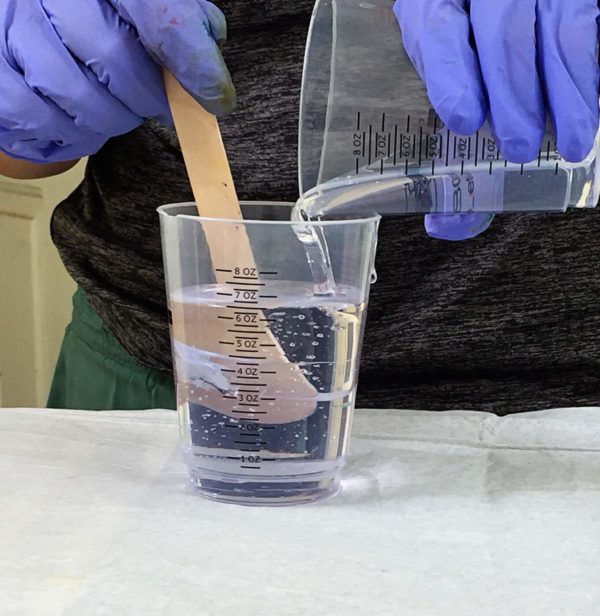
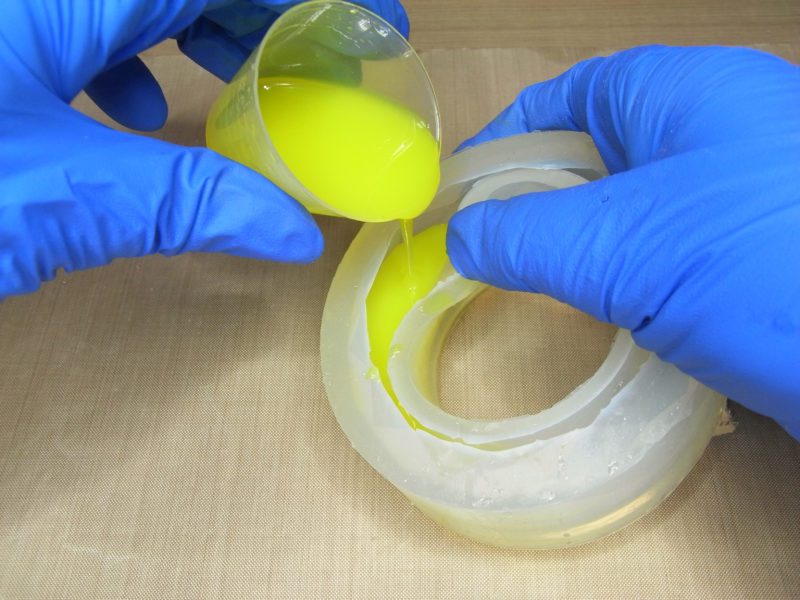
How do you mix the resin and the hardener?
You know how I started this article with the biggest thing you need to know? (There is no one-size-fits-all resin, in case you forgot.)
The second biggest thing is that mixing is incredibly important. Incomplete mixing is the number one cause of sticky resin.
You must follow the instructions precisely.
And those instructions vary between resin kits.
Instead of sharing them here, I’ve got an article (with pictures and videos) that show the five steps for mixing resin.
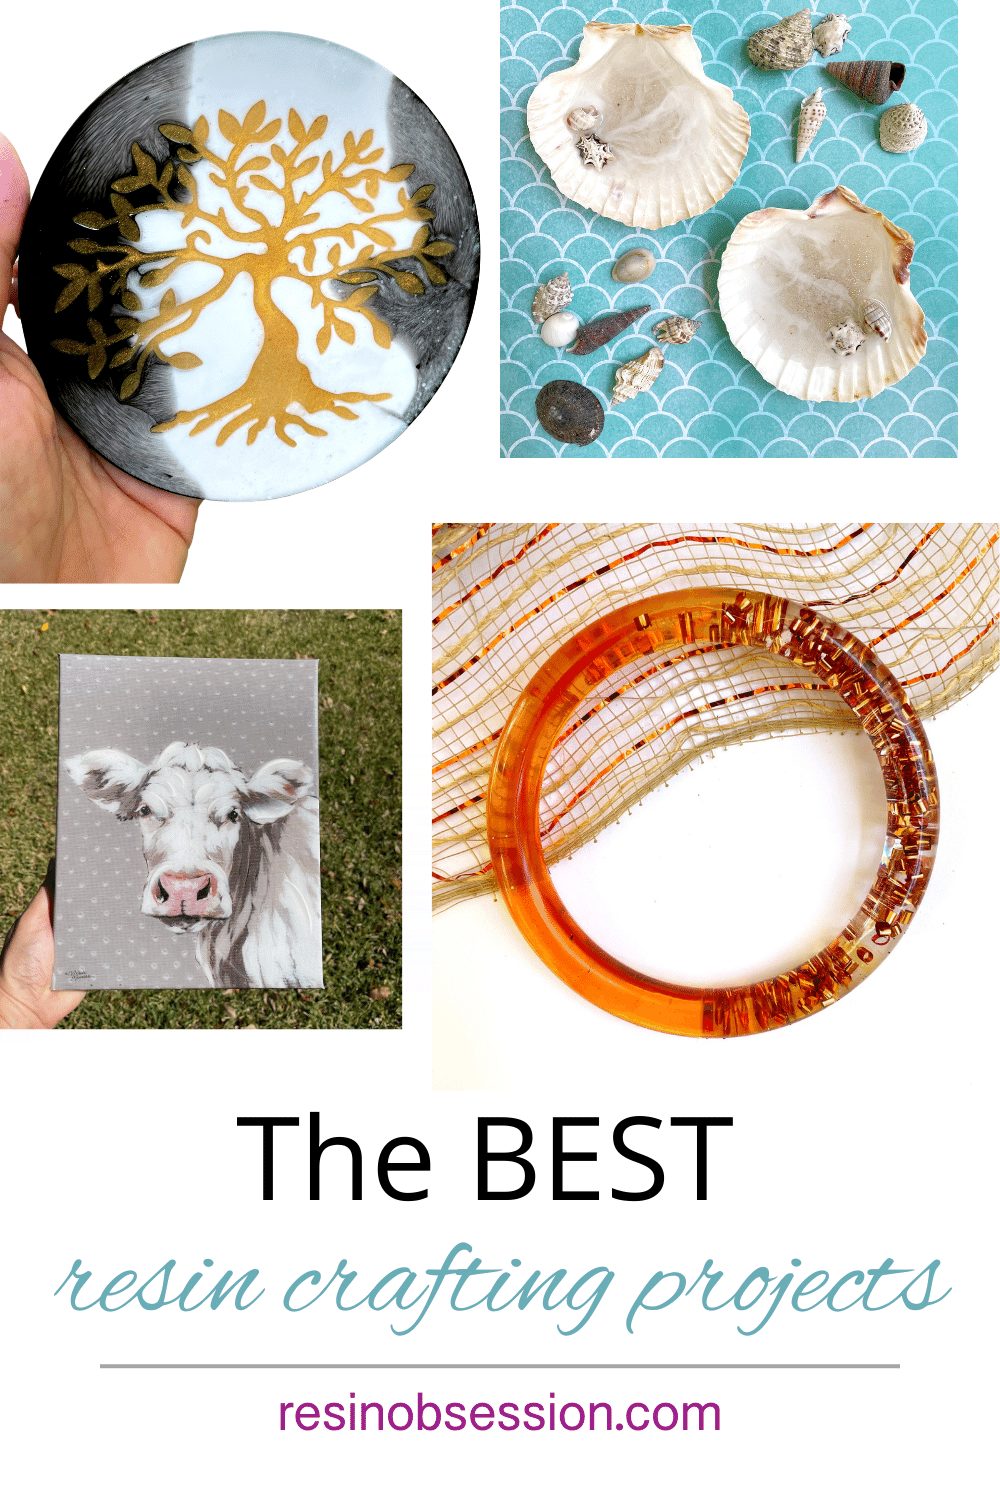
Now that you’re ready to dive into resin, here are a few crafting projects to try.
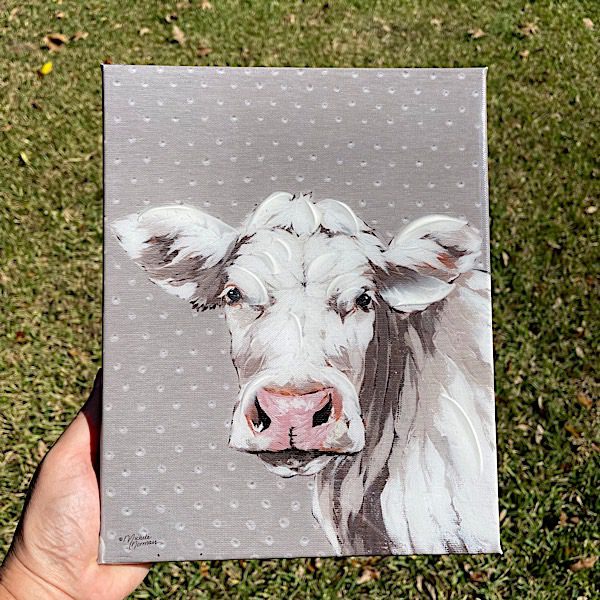
Project 1: Art canvas with a glossy resin finish.
This is a fun project, especially if you are into DIY home redecorating projects. Adding resin to a canvas print (did I mention you can buy the image?) is a fun way to give a pop to a favorite artwork.
For this project, you’ll need to prep the canvas, then add a layer of clear doming resin. Next, use a heat gun to remove bubbles, then let the resin dry.
Get all the steps here: Add a glossy resin coat to a canvas print.
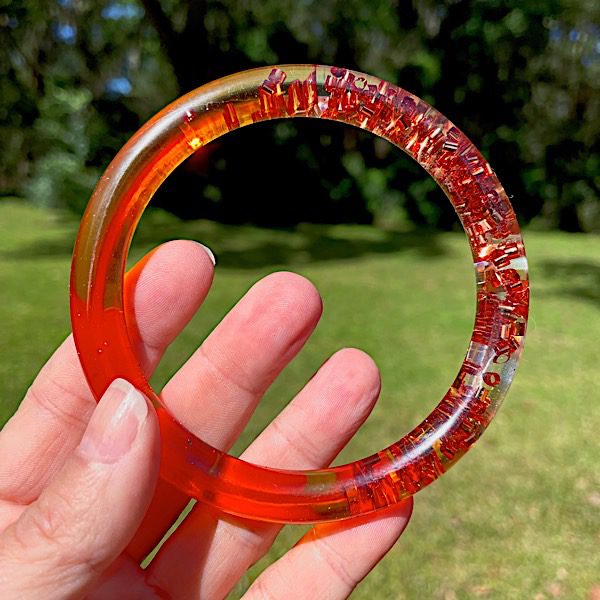
Project 2: Bangle bracelet with two colors.
This is one of the best places to start your resin casting journey if you are a beginner. There are so many creative directions you can take when it comes to resin jewelry making. This is art you can wear!
Making this resin bracelet is easier than it might look. It’s not complicated, but you’ll have to be organized to simultaneously pour two colors of resin into your bracelet mold.
Get all the steps to making a resin bangle bracelet.
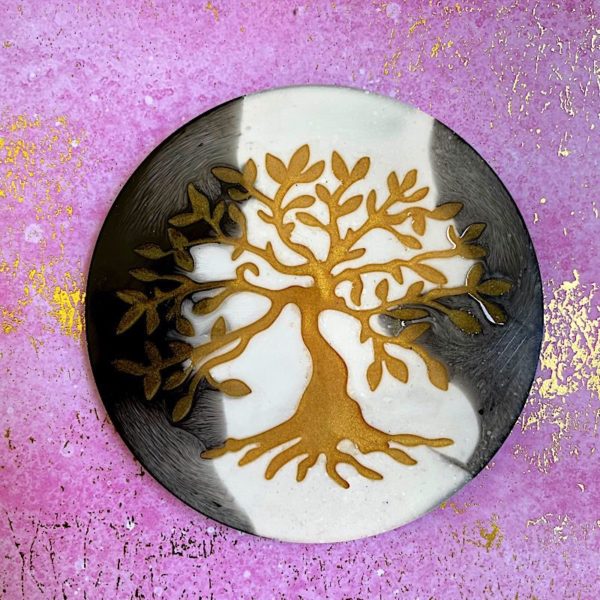
Project 3: Resin coasters for a housewarming gift
Is there anything better than a hobby with practical applications? Making things you can use is one of the unique characteristics resin crafting offers. Making resin coasters is a fun and easy resin beginner project. Let your imagination take over with these coasters.
What looks like the hardest part of making this coaster is actually the easiest part. The tree of life imprints into the resin as it’s curing if you use the right mold. Then, after demolding, all you need to do is add colored resin to the recess to highlight the detail.
Learn how to make an epoxy coaster.
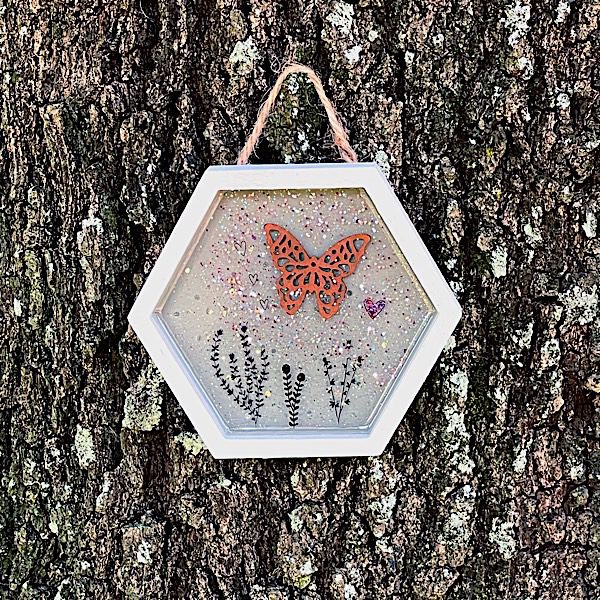
Project 4: Redecorate a small space with a shadowbox
This project proves that you don’t have to start with resin to DIY décor. You just need to end with resin, giving the space a beautiful shine.
You’ll start with a wooden box, then add the resin in layers. With each layer, you’ll add fun stuff like stickers, rub-ons, glitters, and wood cutouts. It isn’t hard to do this project, but you will need some patience.
Learn how to use resin to make wall art and crafts.
Project 5: Alcohol ink petri earrings
If the word petri brings flashbacks of high school biology, you don’t need to worry about that here. We’re using resin and alcohol inks to recreate the look of bacterial cultures growing on a petri dish. But, of course, if you’re adding resin, it must be better than biology class. Amirite?
This explains how to make resin petri earrings.
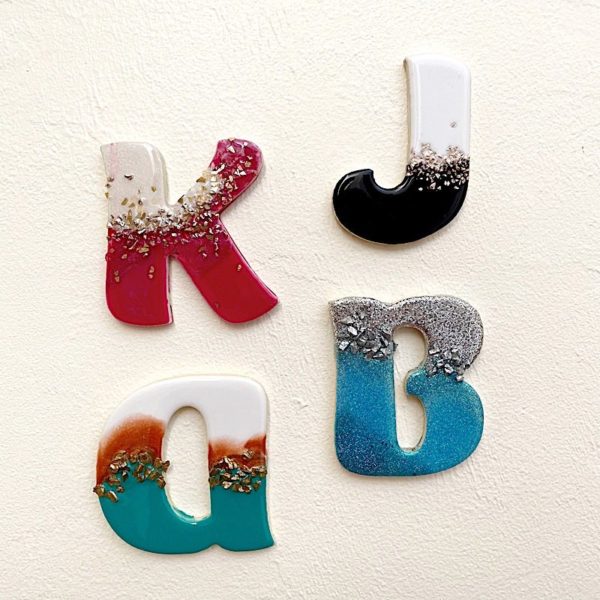
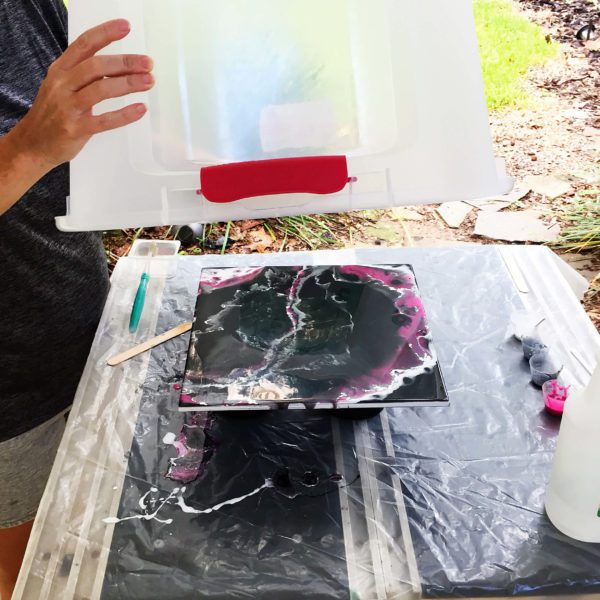
Project 6: Make a piece of epoxy art
I should start by saying that this isn’t a beginner resin project. Painting takes a lot of skill (as any fine art does). And painting with resin can be tough for the resin newbie. Mixing, coloring, and resin application timing can be tricky, even for advanced resin artists.
I’m not doing an excellent job of convincing you to try this, am I? 🤣
Don’t let that stop you. Resin painting can be a lot of fun and a great form of self-expression. You might need one or two tries to get the feel of things. So just go ahead and get a kit and resin colors and spend a relaxing afternoon lost in your thoughts is its reward.
Here’s a perfect project for newbies to try painting with resin. It’s making resin letters without a mold.
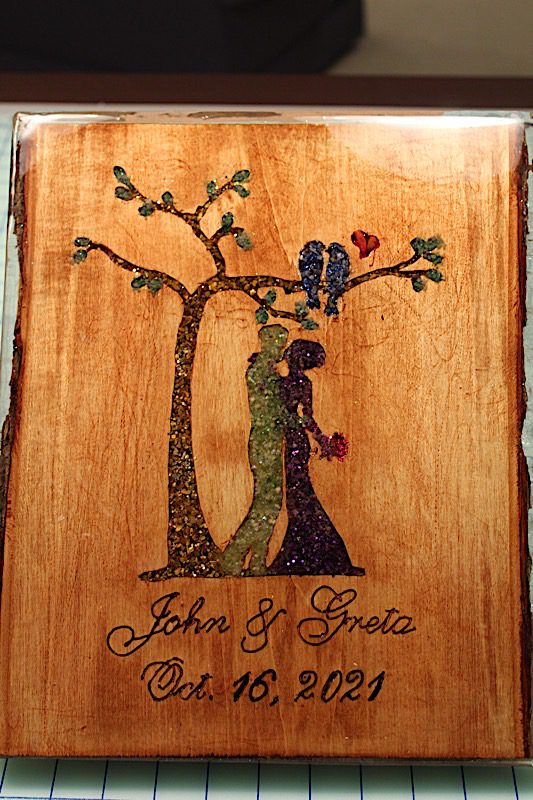
Project 7: Inlay stone into wood
Where are my tool fanatics? You can combine wood, resin, and gemstone chips to make a gorgeous wedding gift. All you need are the tools to go with it.
Here’s how to make this beautiful wedding gift by inlaying stones into wood with resin.
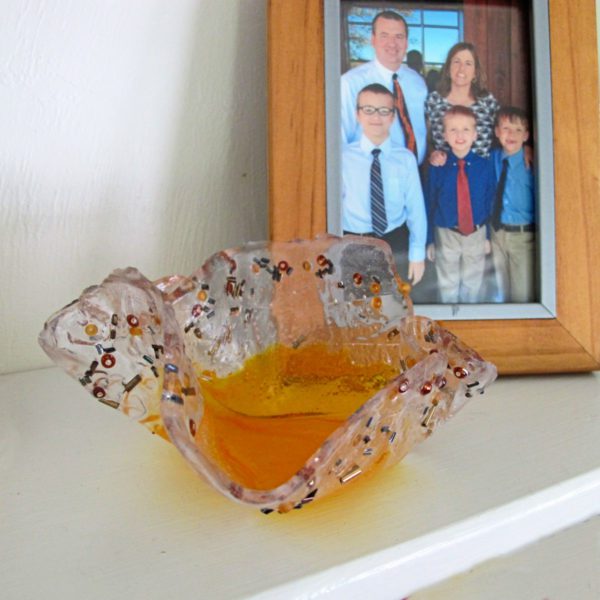
Project 8: Freeform resin bowl
Are you a perfectionist? Then you can skip this project. Xx The resin takes over when you pour it onto a plastic surface and let it semi-cure. Next, you’ll form it over a template to make a bespoke resin bowl.
Here’s how to form a resin bowl.
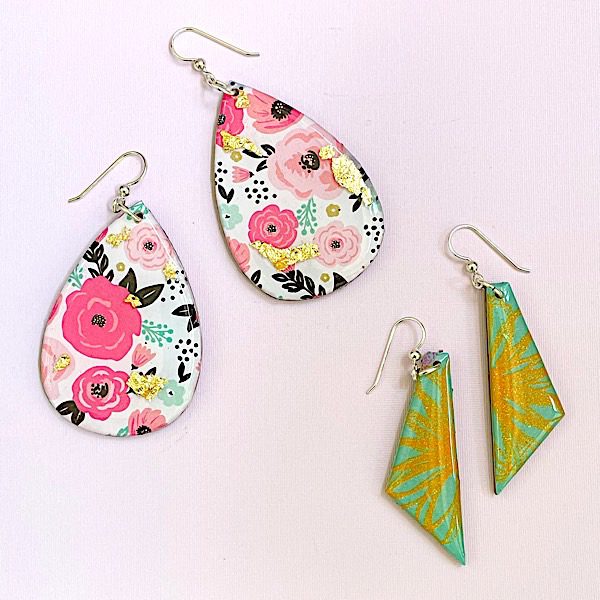
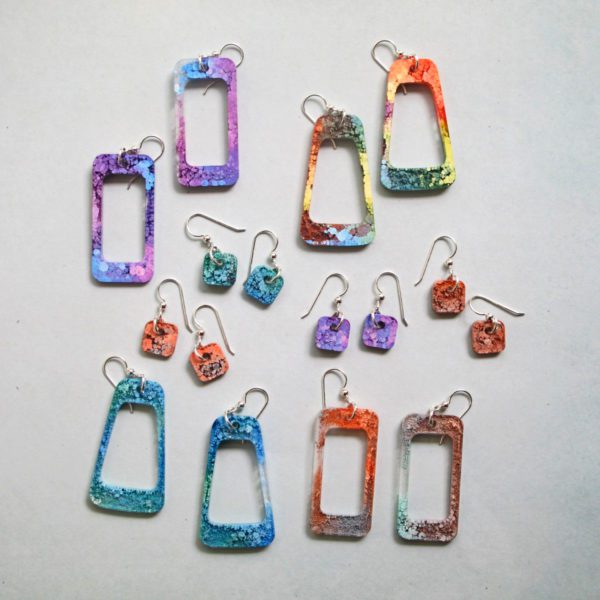
Project 9: Scrapbook paper resin earrings
Does anyone else have a habit of buying colorful scrapbook papers? Even when you don’t scrapbook?! Well, here’s your chance to use them in a resin jewelry project. Glue the papers to wood cutout templates and add a layer of glossy epoxy resin.
Yes, it really is that simple.
Here’s how to make your scrapbook paper earrings.
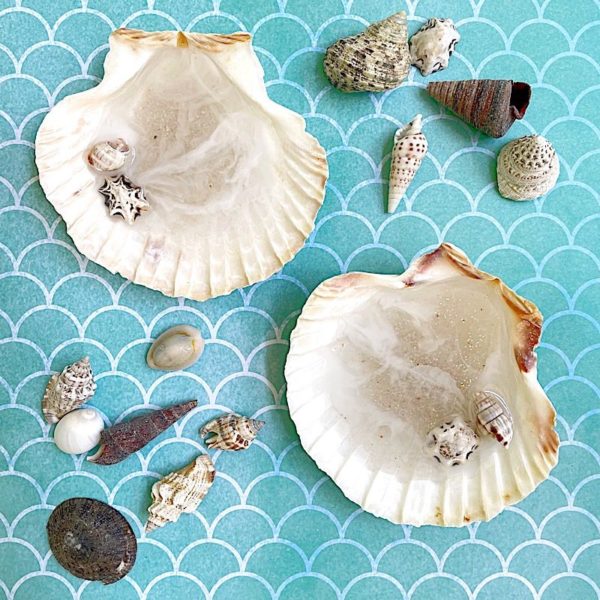
Project 10: Shell trinket dish
This project starts in one of the strangest places – the grocery store. (I wouldn’t kid you about something like that.) Once you’ve got the one (major) piece, the rest is easy.
And this makes the perfect landing place for rings, paper clips, and other small items.
Learn how to make a shell trinket dish.
Ready to try other resin crafting projects?
Then you’ll want a copy of Ten Epoxy Crafts. It’s the perfect book to inspire you on your resin journey. Buy the ebook now and have a copy to download in minutes.
Unpublished Blog Posts of Resin Obsession, LLC © 2023 Resin Obsession, LLC