

This is the second article Bob T. of Colorado has graciously written. Today, he’s showing us how to inlay stone into wood to make a beautiful plaque for a wedding gift. And if you missed the first part of this wedding gift, here’s how Bob used resin and wood to make animal coasters.
Step 1: Get a plank of wood
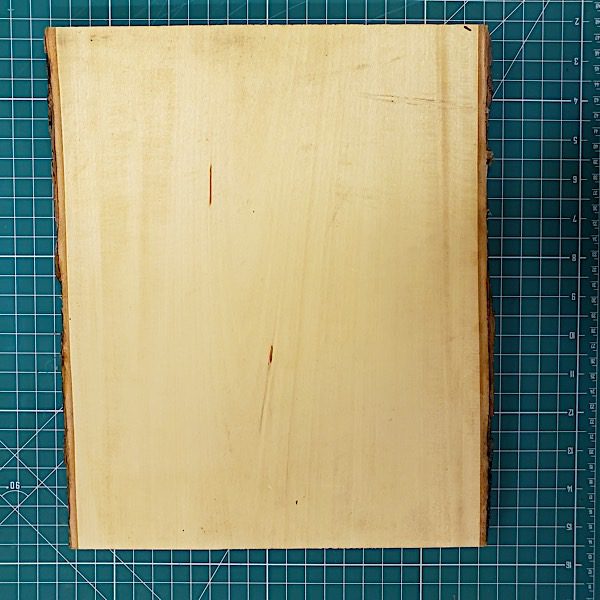
I started with a plank of Basswood roughly 11 inches wide x 13 inches high x ¾” thick.
These come in various sizes. I bought them in-store so I could inspect the planks for defects, cracks, sizing, etc. Getting them from an online source meant I would get whatever the supplier happened to grab from their stockpile.
Step 2: Design creation
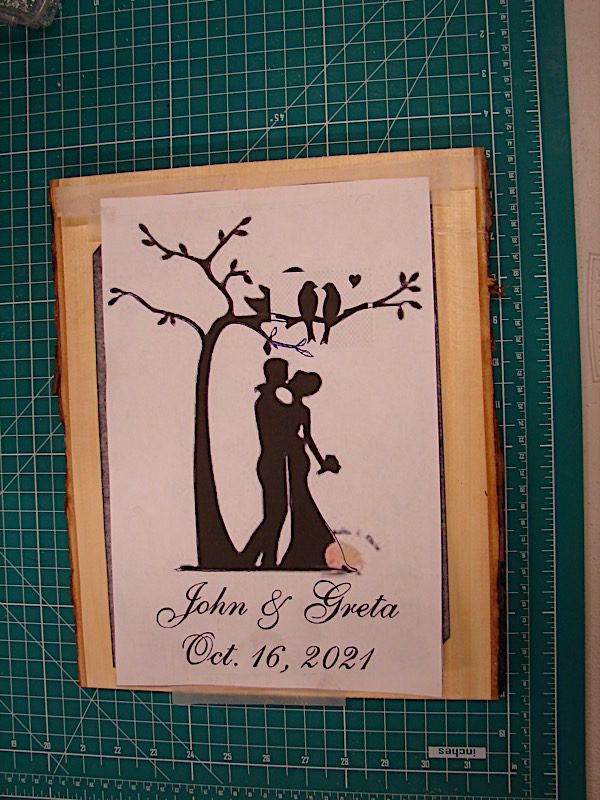
I created the design on my computer and sized it to fit the wood. Then I printed it.
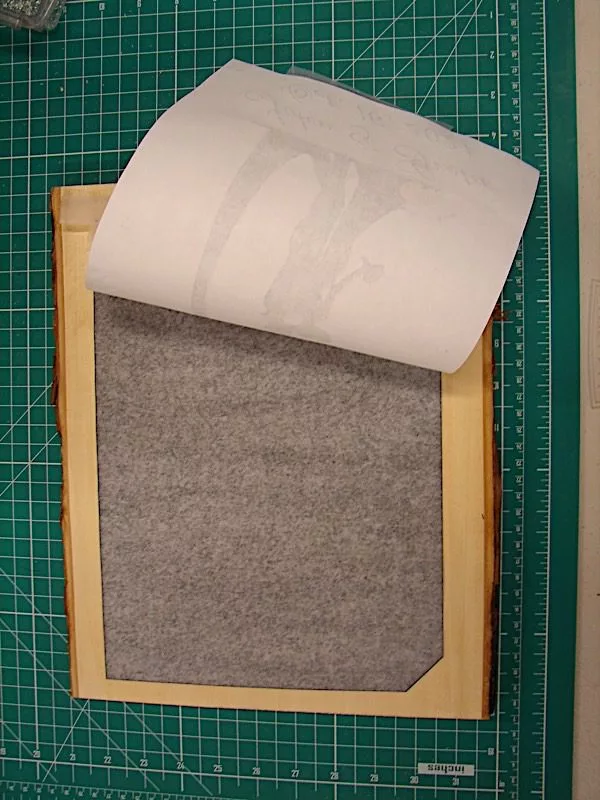
Next, I used a piece of carbon paper (yes, they still make and sell that) to trace the outline onto the wood.
When you’re done, your design for the stone inlay will be on the wood surface.
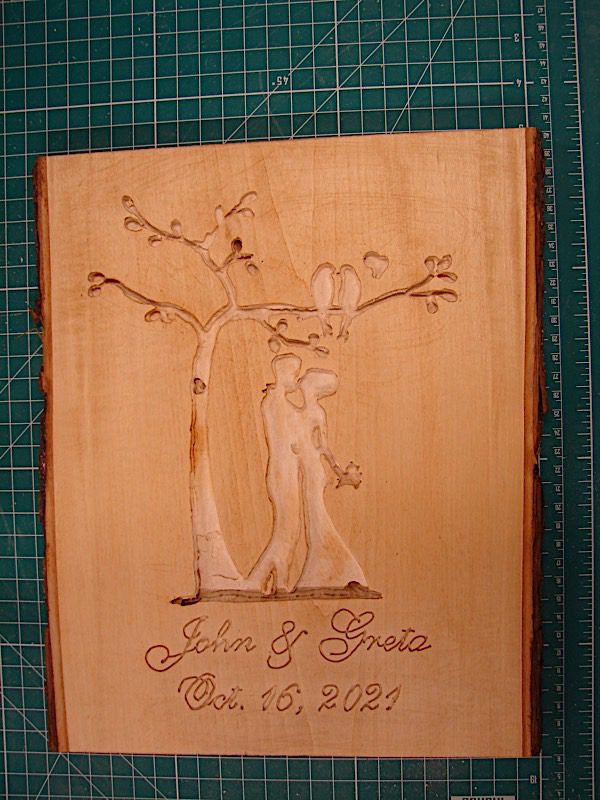
Step 3: Cut out the design
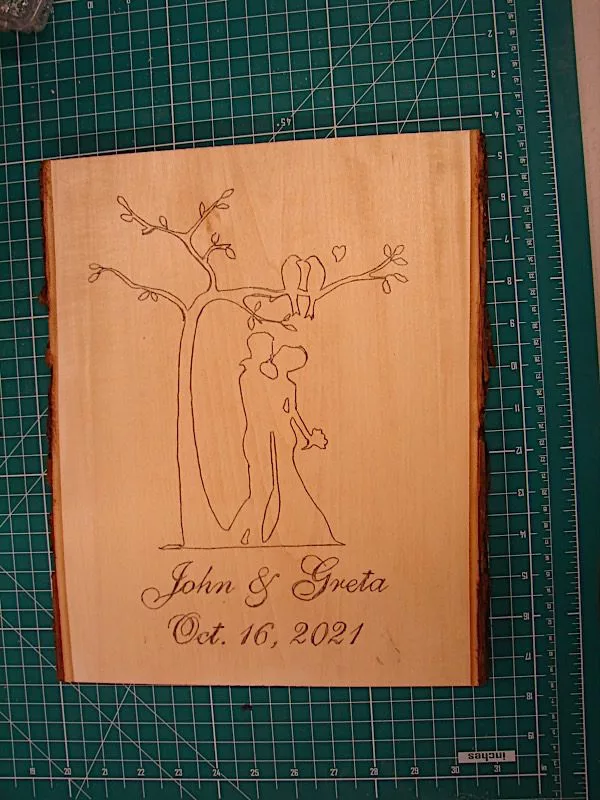
I used a Dremel with a router attachment to carve out the main areas and the general shapes of the tree, leaves, birds, and figures to about ¼ inch deep. Then, I used a variety of Dremel bits to finish the designs. Finally, I stained the wood and sealed it with Mod Podge.
For those who want the full details of how I used the Dremel:
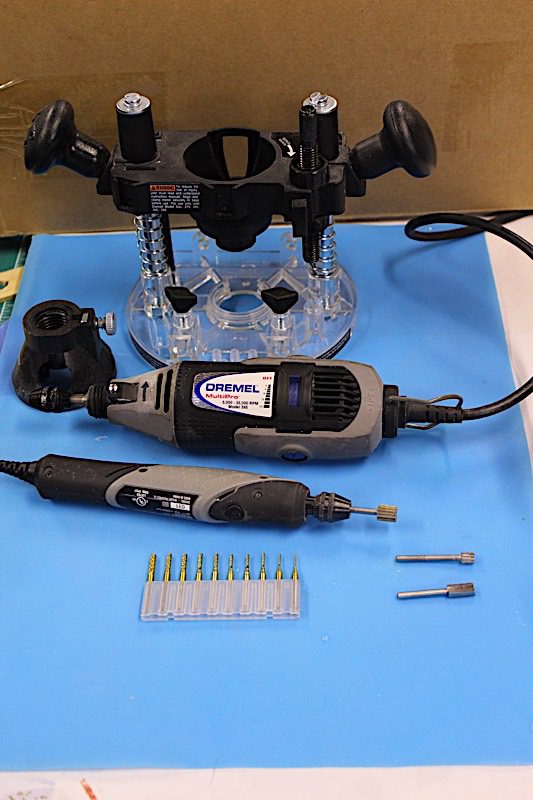
I used the larger Dremel tool and the hand-held router attachment (top center of the picture) as well as the smaller router attachment (left center of picture).
First, I traced the outline with a very fine-tipped, 2-fluted end mill router bit. Next, I carved out the larger areas using a larger 2-fluted, flat-end mill router and various sizes of cutting router bits. Then, I went over the lettering again using a fine-tipped, flat-end mill bit.
I used the smaller Dremel tool with various bits to clean out the smaller areas (leaves, thin branches, birds, etc.) with the smaller router attachment when necessary.
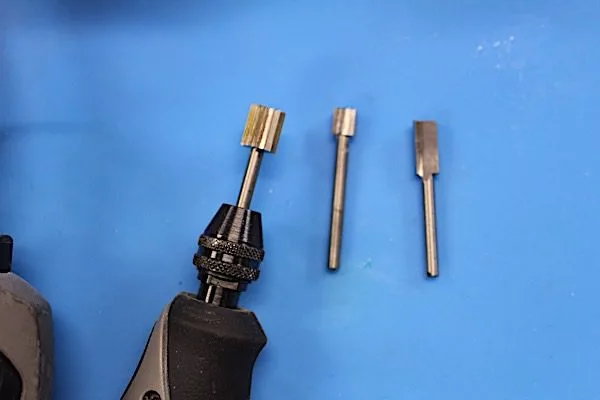
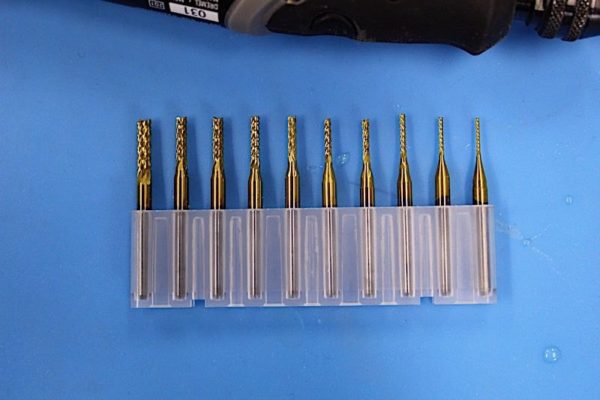
Fine-tipped router bits (previous picture) are used for tracing, fine details, and lettering. Larger cutting bits (above) were used to clean more extensive open areas.
Don’t forget to wear safety glasses when using a Dremel tool.
Step 4: Add stones
I filled the lettering with a very-fine tip black Sharpie permanent marker.
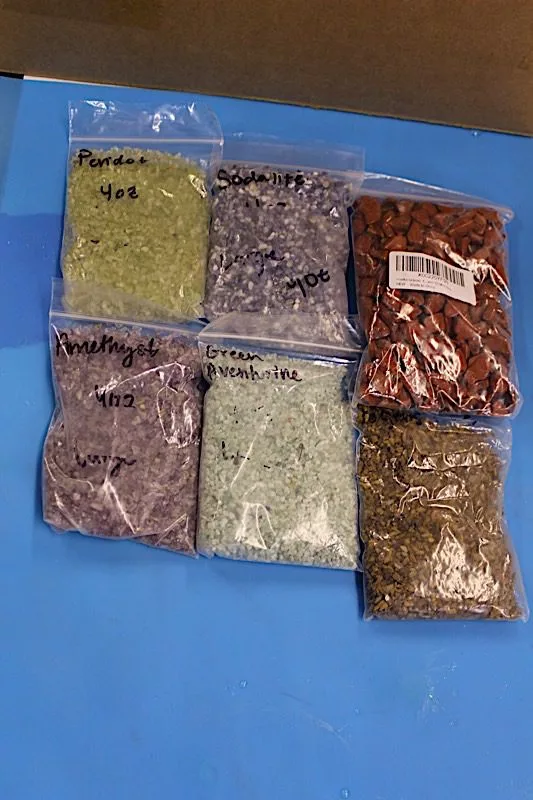
Next, I added different crushed stones for the various features:
Tree – Tigers Eye
Leaves – Green Aventurine
Birds – Sodalite
Heart – Jasper
Bouquet – Rose Quartz
Bride – Amethyst
Groom – Peridot
(Amethyst and Peridot are their respective birthstones)
I worked with one stone type in one area at a time. I overfilled the tree trunk, the bride and groom, and some of the leaves to give the piece a quasi-3-dimensional look.
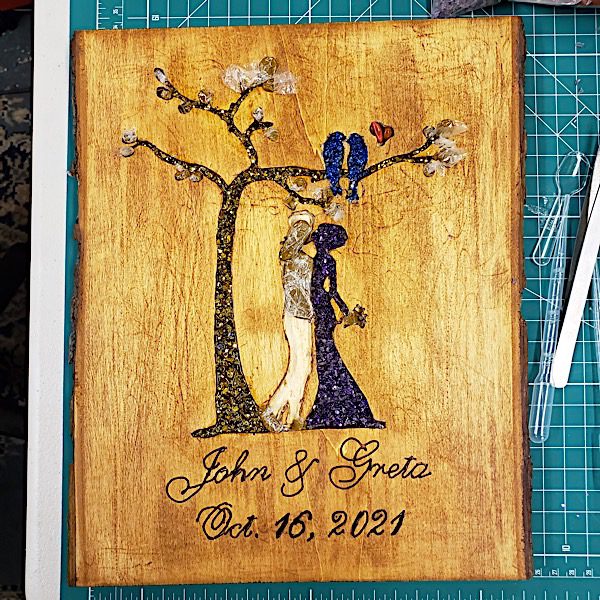
Because I wanted sharp boundaries for each shape, I used modeling clay wrapped with plastic wrap to block areas where I did not want the resin to go. Once I had the stones in place, I poured epoxy over the rocks to seal the stones in place. I used the Resin Obsession super clear resin and added colored glitter to match the stones to add sparkle to the design.
I let the resin cure in each area before moving on to the next area and stone color.
What should you know about using stone chips to inlay into wood?
There are numerous sources for crushed gems. Simply google search for ‘crushed gemstones.’ Most suppliers will often have different sizes of crushed stones, from very fine to very coarse. In addition, some will list the range of sizes in millimeters (mm).
For reference, the bride (Amethyst) and groom (Peridot) each took about 1.5 to 2 oz. of crushed stones. The size of the particles of all the stones I used is between 1 and 2 mm, except for the Red Jasper, which is 3 to 4 mm.
When all the resin cured, I touched up a few places that needed more stone or resin.
 Step 5: Put in a mold
 Step 5: Put in a mold
I created a mold to put the finished plaque in and seal the plaque in epoxy resin as well.
The plaque was not quite square, so I made the mold about 3/8” bigger on all sides.
I used corner clamps to hold the corners as square as possible and to hold the plaque down so it wouldn’t float when I poured more clear epoxy resin. I made three 3/8” pours to cover the plaque and to have about a 1/8” thick layer of resin over the highest point on the face of the plaque.
Once I got a thin layer of resin on the face of the plaque, I removed the clamps.
Step 6: Finish
Once the resin cured, I demolded the plaque, then flipped it over. Next, I made a dam around the edges of the plaque and added hooks eye-hooks for attaching picture hanger wire. Then, I put a small label on the back describing the stones used for each figure before pouring the resin. Finally, I poured just under a ¼” thick resin layer on the back of the plaque.
When I flipped it over, a lot of resin had seeped under the backside, so I had to chip, peel, and sand quite a bit away so I would have a clean, smooth surface to work with.
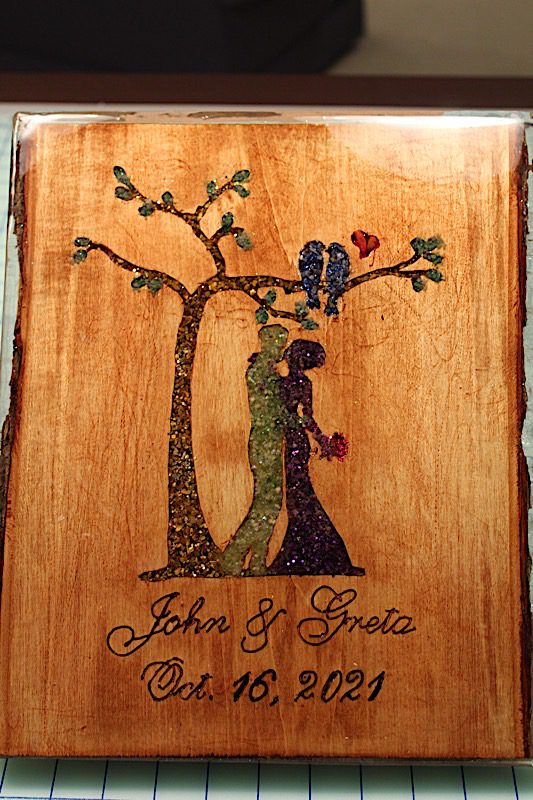
This is the finished plaque, sealed in a crystal clear, UV-resistant epoxy resin.
The plaque was ready when the couple returned from their honeymoon.
And what else does Bob do when he isn’t teaching creatives how to inlay stone into wood with resin?
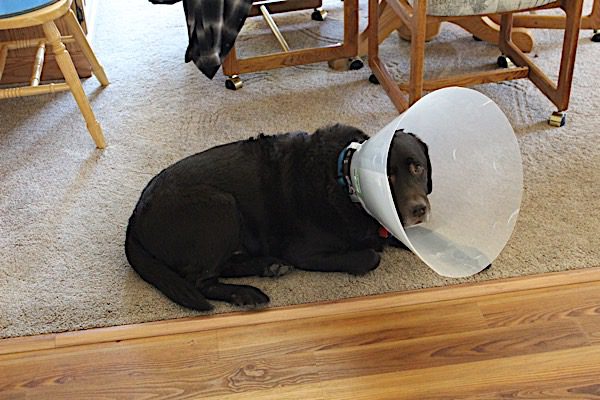
Bob is an educator who has a sidekick named Buddy. Buddy is also the quality control manager and paper grading assistant. Buddy was having a bad week when this picture was taken. He got into a little trouble when Bob and his wife were out of town for this wedding. I’m happy to report everything is A-OK with Buddy again.
Ready to try inlay stone into wood but unsure where to start?
I get it. Your time is precious, and you don’t want to waste it making something you wouldn’t show anyone. It’s why I condensed my 17 years of resin experience into the ebook, Resin Fundamentals. It’s all the things I wish I had known when I started.
Buy the resin PDF book now and get a download link by email in minutes.
Unpublished Blog Posts of Resin Obsession, LLC © 2023 Resin Obsession, LLC
This isn’t an inlay, it’s casting.
Good to know.