
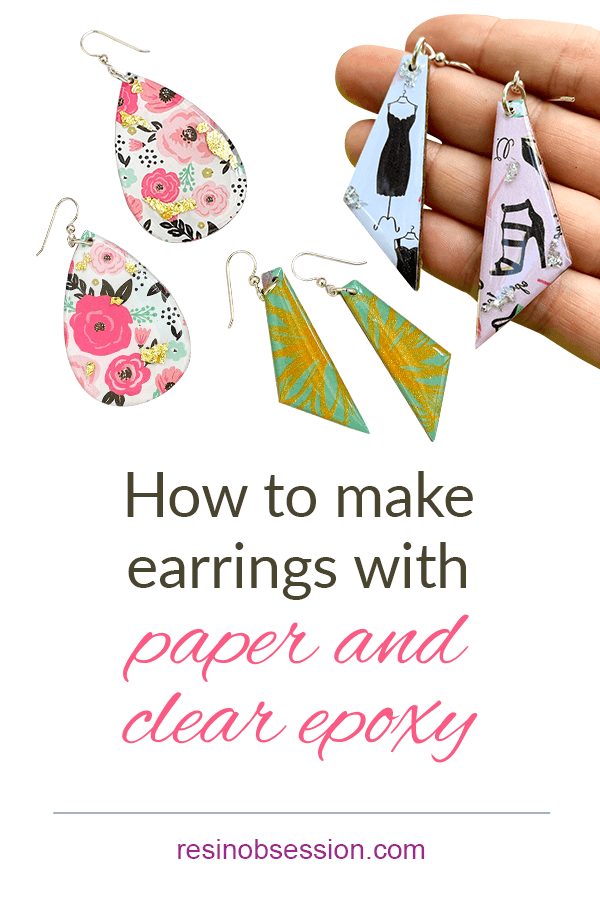
 There are a few things that are okay to be obsessed with. Like number #10 on this list. But what’s missing from that list is EARRINGS. They’re an instant mood-booster, especially when you don’t feel like doing your hair. And if you’re crafty (okay, even if you’re not), you can learn how to make earrings.
And you’ll have them for that next concert you’re going to (and have to sit down). 😂
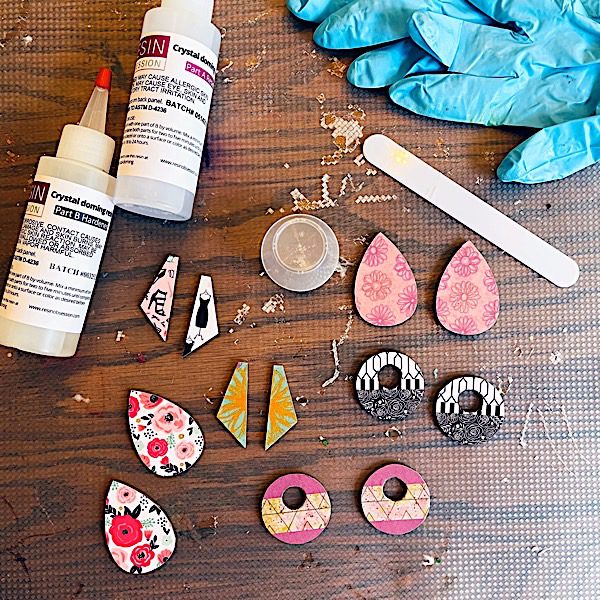
Resin supplies:
Wood cutouts
Paint
Colorful papers
Glue
Straight-edge blade knife
Colored pencils
Epoxy resin
Heat gun
Fine tip marker pen
Drill
Drill bits sizes 48, 53 and 60
18 gauge, 5.5 mm wide silver jump rings
French hook ear wires
Optional:
Washi tape
Glitter
Metal leaf
[OPTIONAL] Step 1: Paint the wood
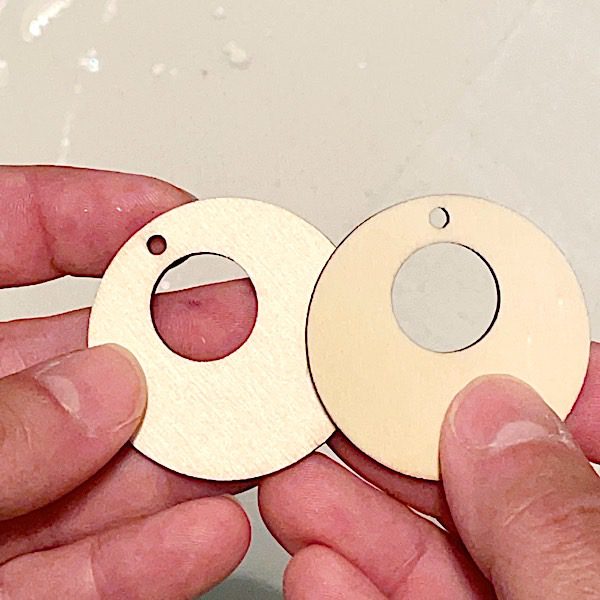
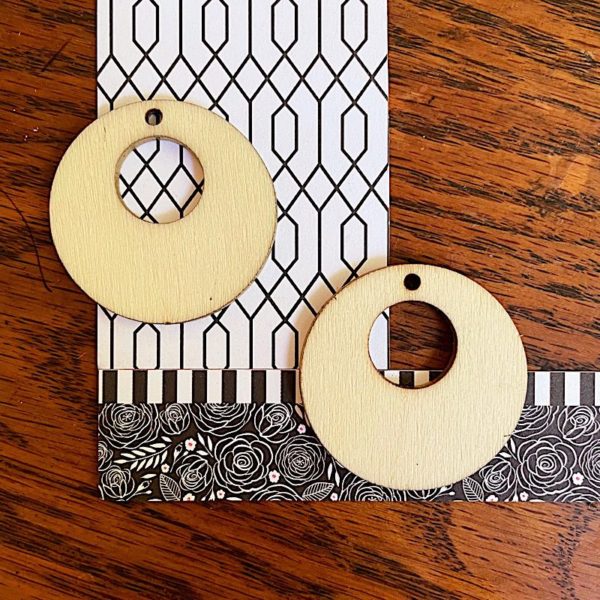
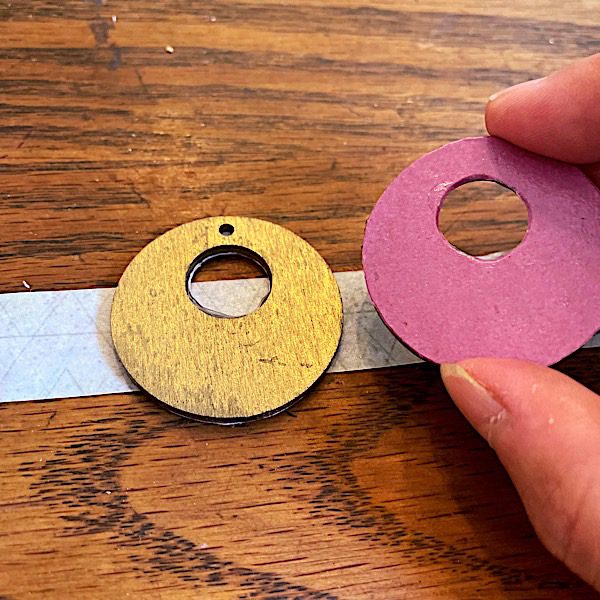
You can get wood cutouts for jewelry in a variety of shapes. The wood cutouts come in their natural color.
If you like that, then go with it. Otherwise, paint them in a color you like. Metallic spray paint color works great as it will make your earrings look like they have a metal base.
You’ll only need to paint one side. Let the paint dry for 24 hours.
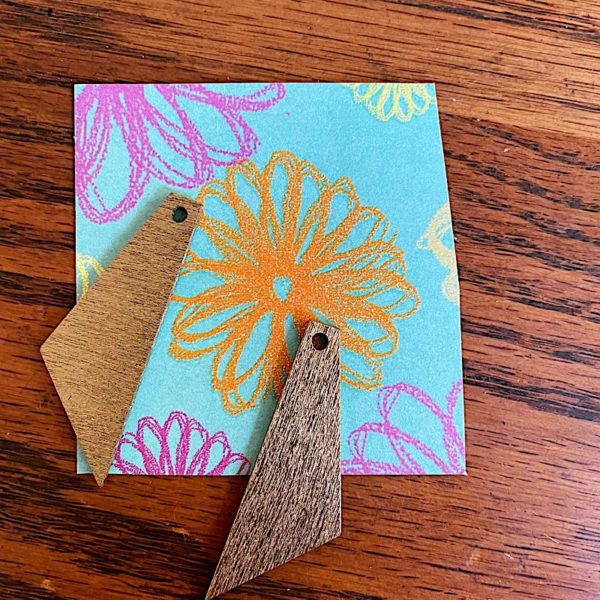
Step 2: Add paper

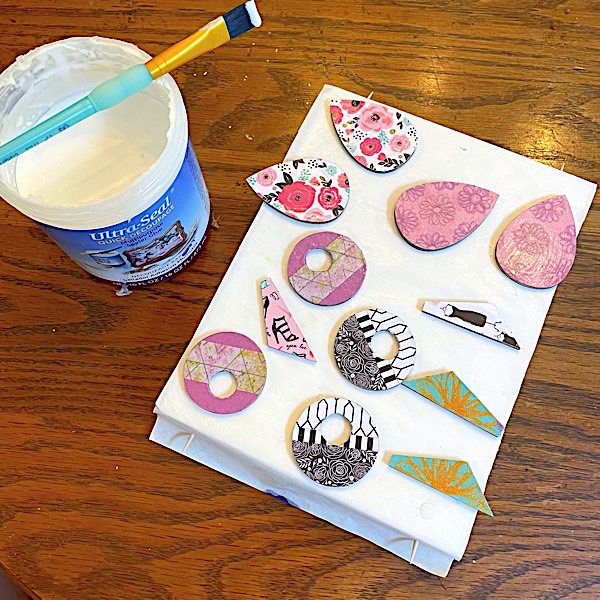
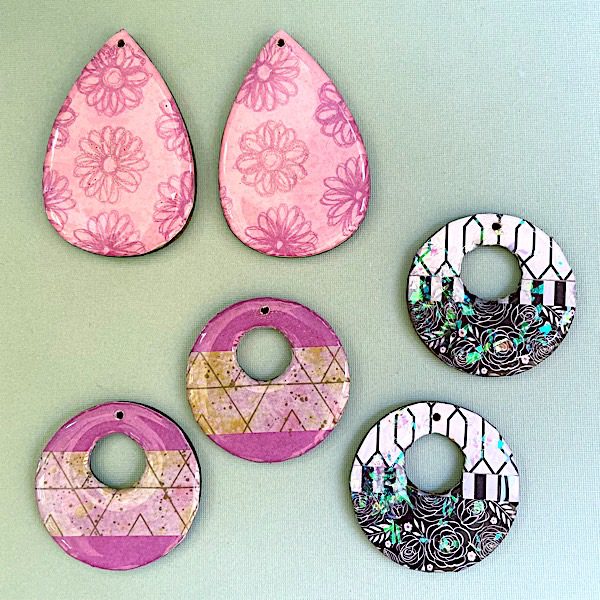
Plan designs for your earrings.
 You can use complimentary paper patterns.
Or mix and match papers.
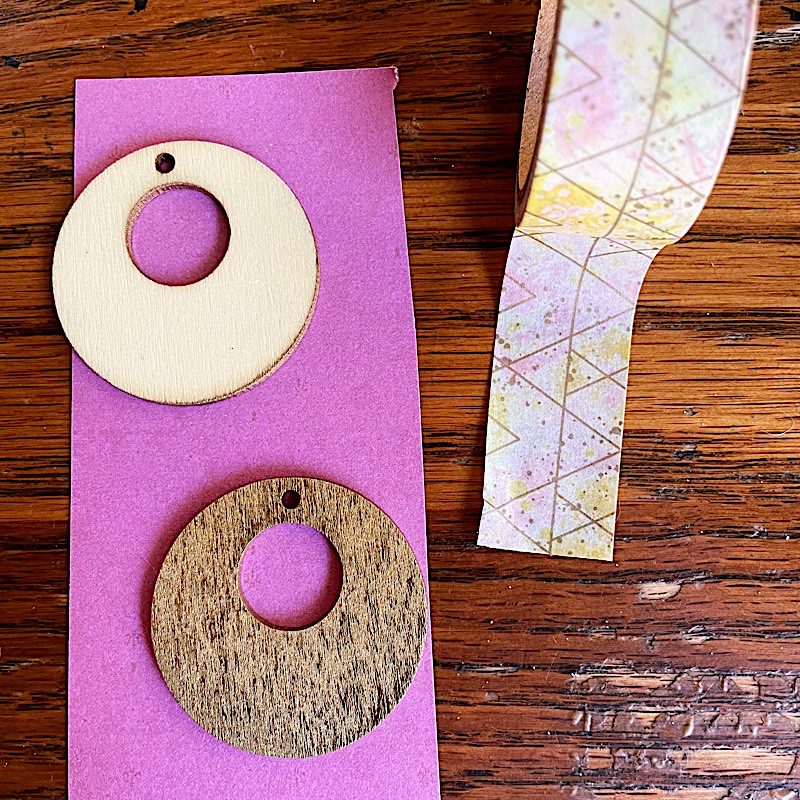
You might also want to try some designs with washi tape.
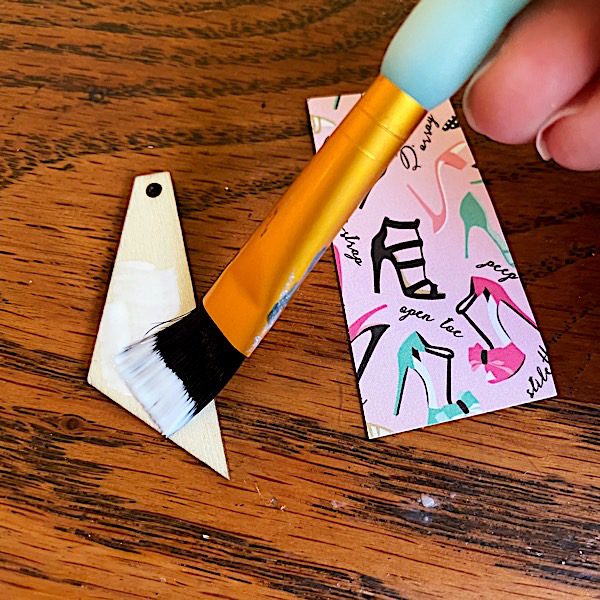
Cut a piece of paper larger than the wood. Then, add a layer of glue to your paper and the wooden cutout. Press them together and let them completely dry. This will take several hours and maybe even a day or two if it’s humid.
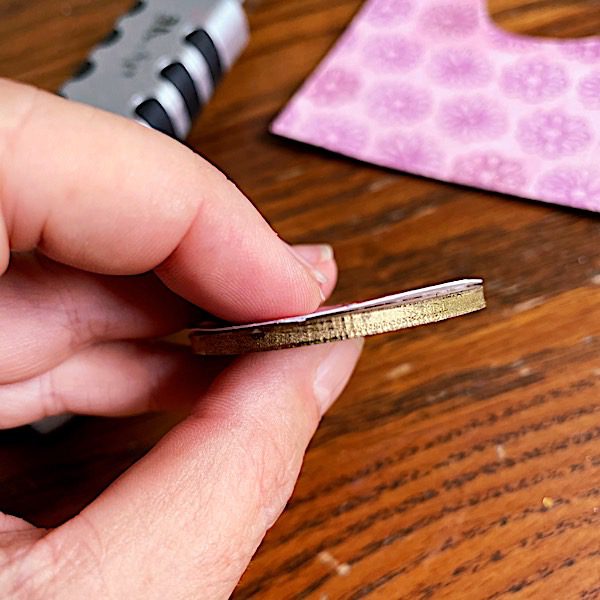
Step 3: Trim and finish edges

Use your blade knife to trim the paper close to the paper edge.
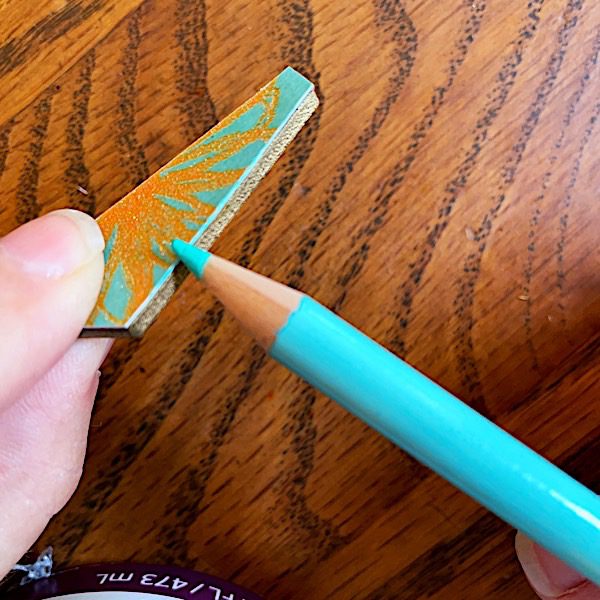
💡 Pro tip: If you don’t like the earring edge, color it with a pencil to match the paper.
If you want to make earrings with washi tape, now is the time to add it.
Step 4: Reseal with glue
Add another layer of glue onto the top of the paper. Let the glue dry before moving on.
💡 Pro tip: Resin can seep in from the sides too. Be sure to get the paper edges too.
⭐️ BONUS: Learn how to seal papers for resin projects
Step 5: Mix resin
Here’s the best part of how to make these earrings. It’s time to give the papers a glossy finish. Mix your epoxy resin according to package instructions.
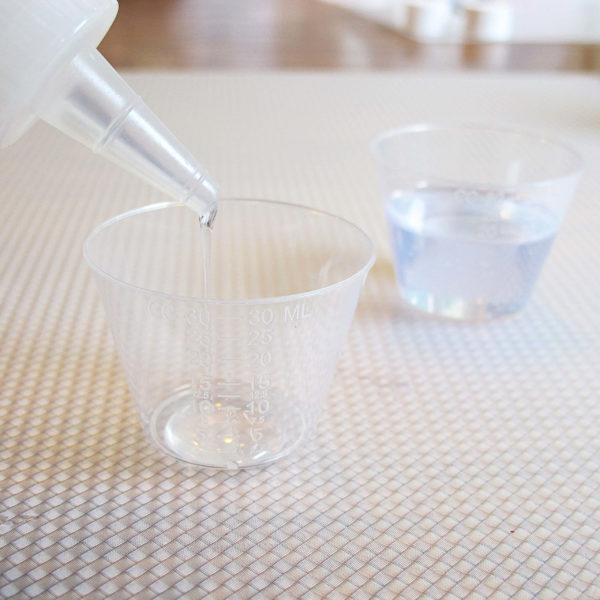
Stir the resin and hardener together until it’s clear and streak-free.
💡 Pro tip: Be sure to scrape the sides of your cup and stir stick several times while mixing. If you don’t, your resin will cure sticky.
Step 6: Add the clear epoxy to the earrings
Drizzle resin onto the center of the flat surface. Only add enough resin to cover about half of the earring, then stop. Let the resin spread. Use your stir stick to draw the resin to the edge.
💡 Pro tip: If you’ve never domed resin onto a surface before, use your stir stick to drip your mixed epoxy onto the paper. You can make a mess if you pour too quickly from a cup.
Add a few more drops of resin to give your finish a higher dome.
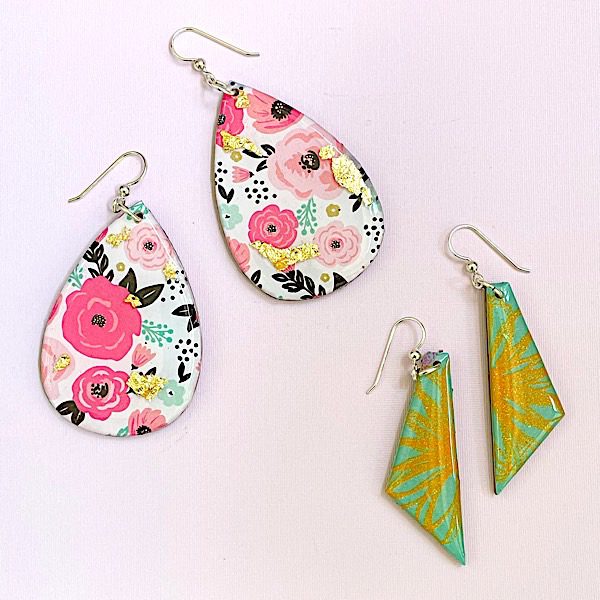
If you want to add extra glitters and metal leaf, now’s the time to do it. Gently place them onto the resin.
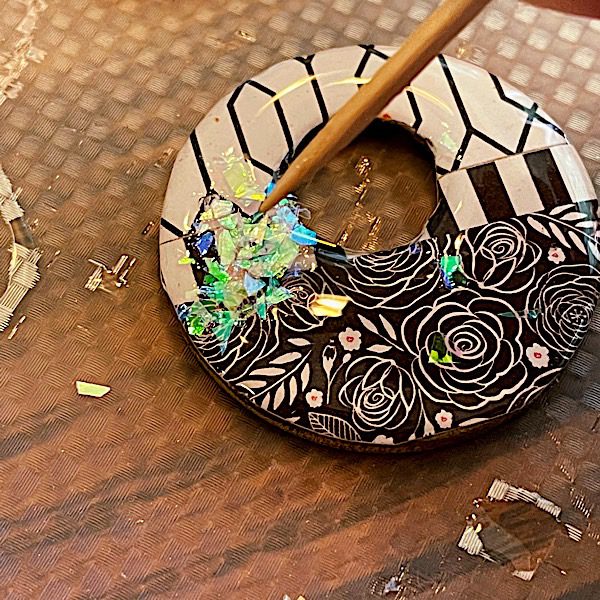
They might sink, like if you’re using shaved ice.
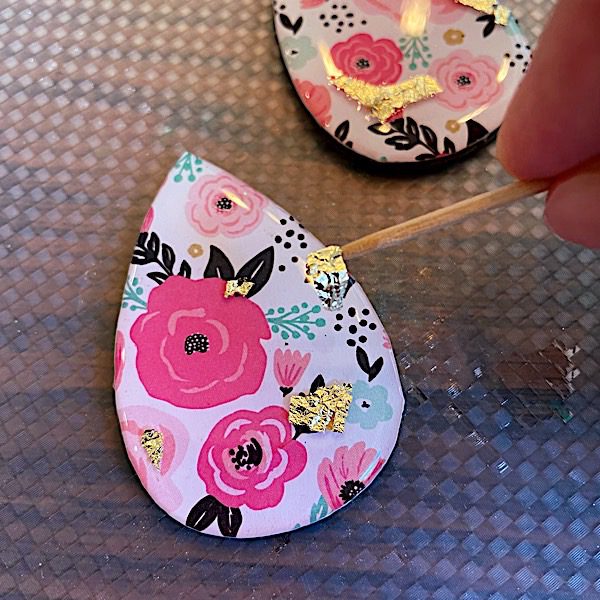
But they might float in the case of metal leaf.
Go over the surface with a heat gun to pop any stubborn bubbles. Then, let cure.
Step 7: Drill
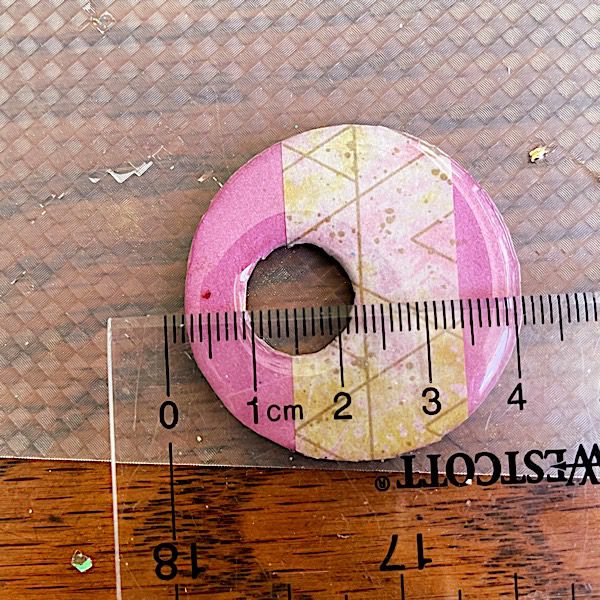
Mark a spot on each earring where you want to attach the jump ring. Make sure your dot is 3 mm from the wooden edge.
Start with the smallest drill bit and create a hole. When drilling with resin, go slowly. Resin is relatively soft, and you don’t need a fast drill speed to make a hole.
⚠️ IMPORTANT: Always wear safety glasses and keep your hair tied back when working with power tools.
Once you’ve created a small hole, redrill with the size 53 drill bit. Then repeat with the size 48 drill bit.
Why do you need to use different sizes? Like why not start with the large one?
It’s hard to control a large drill bit on resin earrings if you aren’t using a drill press. Creating a small hole acts as a guide for the larger drill bit.
Step 8: Add jewelry findings
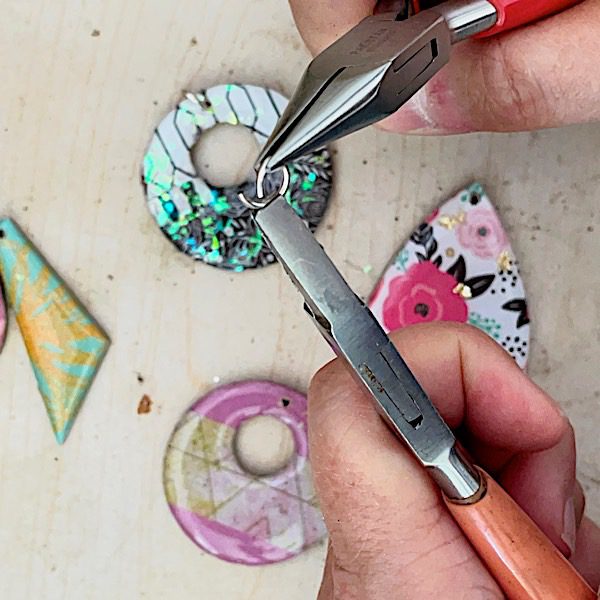
Attach jump rings by pulling one side toward you and pushing the other one away. Then add your rings to French ear wire hooks.
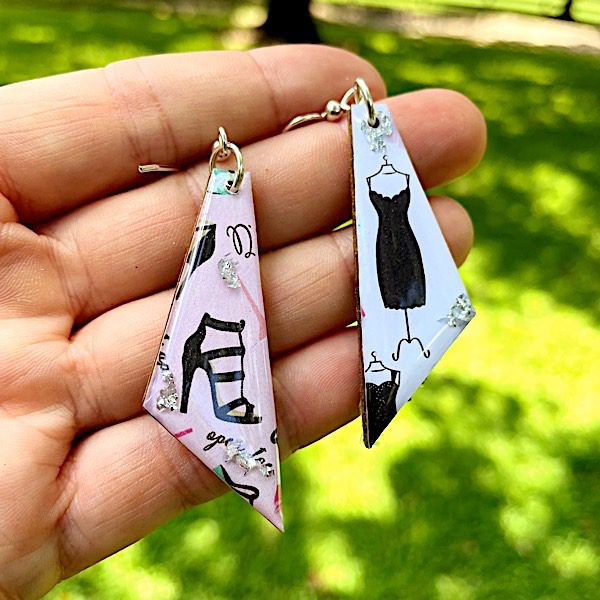
Ta-da! You just learned how to make earrings with paper and clear epoxy resin.
You could use these for resin pendants too.

I love how the floating metal flake gives more depth to the earrings. It adds extra sparkle to the glossy resin layer.
And who out there doesn’t do ‘matchy-matchy’?
YOU ARE MY PEOPLE.
I can’t wait to wear these earrings. (and drive my husband crazy 😂 )
Excited about creating with resin but nervous to get started?
It’s okay. I’ve been there too. Join thousands of artists worldwide who’ve bought a copy of Resin Jewelry Making in Bezels. The ebook has 15 projects with step-by-step instructions, full-color pictures and supply lists. You’ll have every step you need to recreate the projects (which you can even sell). Buy the PDF book now and get an email download link in minutes.
Unpublished Blog Posts of Resin Obsession, LLC © 2023 Resin Obsession, LLC
ThAnk you. Thank you. Thank you.
I do save pictures and now have ways to use the items.
Where do you purchase your wood blanks. I used to get those shapes at Hobby Lobby but they no longer carry all of them? …. In fact all they carry now are the teardrop.
I would use hypoallergenic ear posts, though.
Would these sell very well on Facebook Marketplace?
What type of paper works the best for earrings