
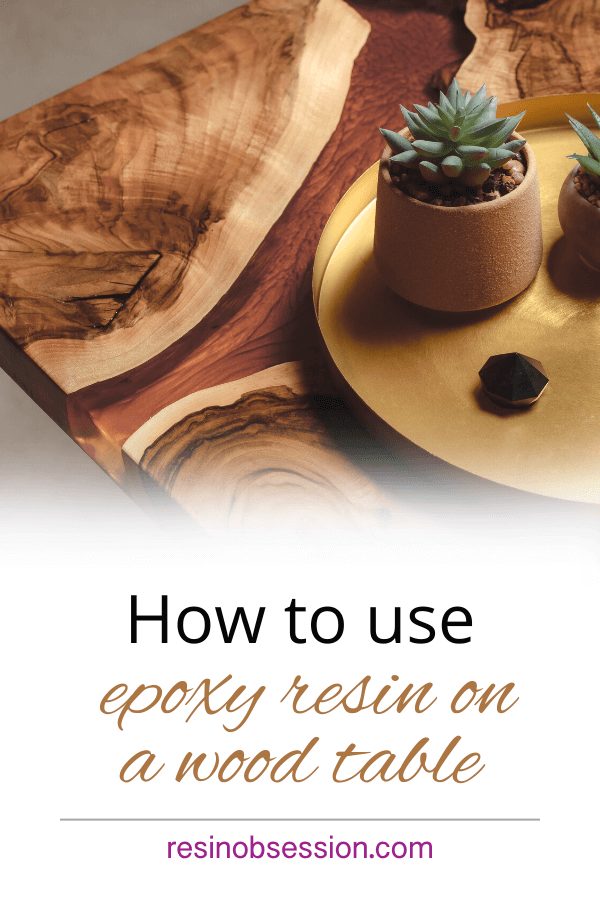
 How do you dress up a table? (Besides throwing your dresses from the dryer on it.) By giving it a glossy epoxy coating. If you’ve never done this before, don’t sweat it. Here’s how you add epoxy resin to a wood table to make it shine.
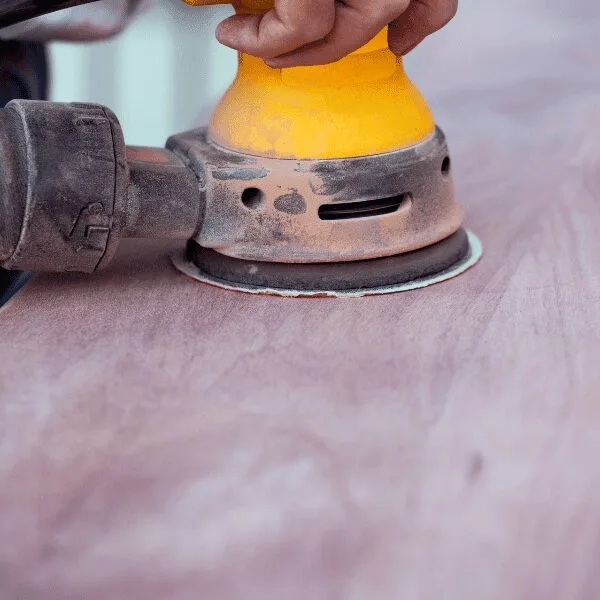
Step 1: Clean and level the surface
Epoxy resin needs a clean surface to stick to. The resin won’t stick to those spots if there’s dirt, wax, or grease. You’ll have resin dimples and voids to clean up later.
The best way to do this is to sand the surface. Start with coarse sandpaper (120 to 220 grit), then move to finer grits to make it smooth. You can use an orbital sander for this step too.
Give your table a final wipe with a damp cloth to remove the dust.
💡 Pro tip: Ensure your table is smooth before you apply the resin. Resin magnifies what’s underneath it. That means any imperfections you notice, you’ll really see after adding clear epoxy.
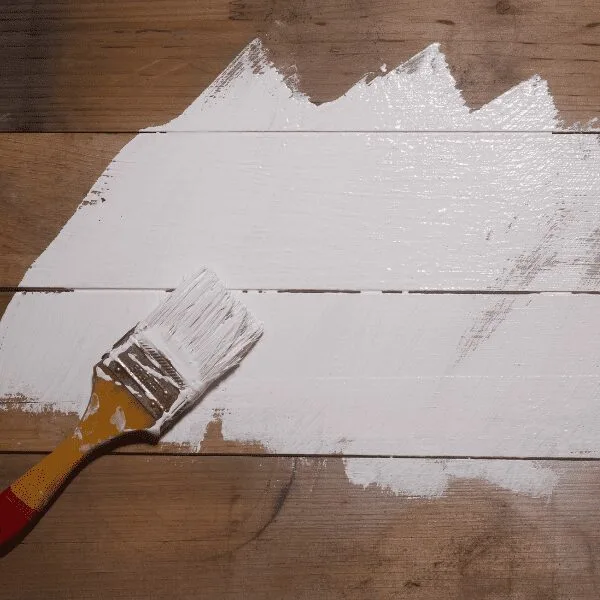
If you want to paint the table surface, do that now. If you’re painting or priming the surface, or if the surface is already sealed, you’ll only need one coat of epoxy. But, if the wood surface is exposed, you’ll need two coats of epoxy.
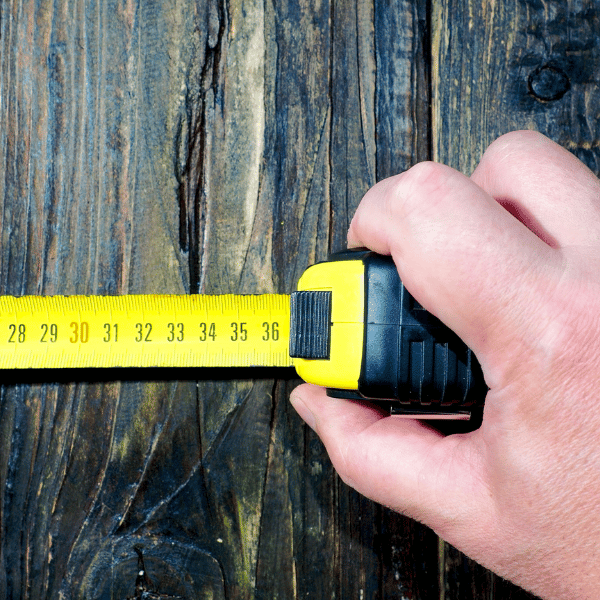
Step 2: Measure the table
You want enough resin to cover the table but not so much that you have a lot of leftover resin. The easiest way to know how much resin you need is to measure the table. Then, input those dimensions into the Resin Obsession resin calculator. It does the math for you and tells you how much resin you need.
If you’re applying resin directly to the wood, you’ll need 1 1/3 times this amount. The first layer will be a quarter of the total amount of resin you’ll need for the table.
Here’s a quick example for an exposed wood table of how much resin you need. (Because math can be hard sometimes. 🤪)
You’re coating a rectangular wood table that’s 3 feet wide by 5 feet long with epoxy resin. According to the calculator, you need 83.78 ounces of resin. Let’s just round that up to 84 ounces.
Multiply 84 ounces by 1.33 to get 112 ounces.
Your first pour on the raw wood will be about 28 ounces (a quarter of the 112 ounces). It’s just enough to soak into the wood and keep bubbles from sitting on the surface. Your second epoxy layer will be 84 ounces.
Step 3: Buy your resin
Getting this step right is 50% of the battle of applying epoxy to a table. You must use one for coating surfaces. These resins self-level and create the smooth, glossy finish you’re looking for.
You can mix as little as 3 ounces and as much as one gallon. But you’ve only got 20 to 35 minutes to thoroughly mix and apply it before it thickens. This can come quickly for resin beginners, so I recommend this for experienced creatives or if you’re working on a small table.
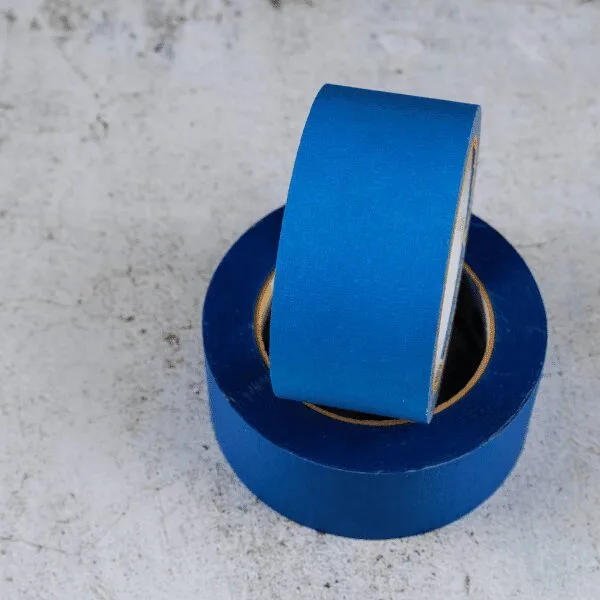
Step 4: Add tape and a tarp to the table edge or bottom
Because resin will likely run off the side, you’ll need to protect them. Tape a tarp to the table edge. Then, when the resin runs over the side, it runs onto the tarp.
So do you add the tape to the table side or underneath?
That’s your personal preference. If you want gloss on the side of the table, you’ll need to add the tarp to the edge underneath. As the epoxy resin drips off the side of the wood table, you’ll need to use your gloved fingers to rub it onto the edge. Otherwise, if you tape the tarp to the table sides, your resin will only be on top.
Step 5: Get the surrounding area ready
And because resin can make a mess on your floor, be sure to cover it too.
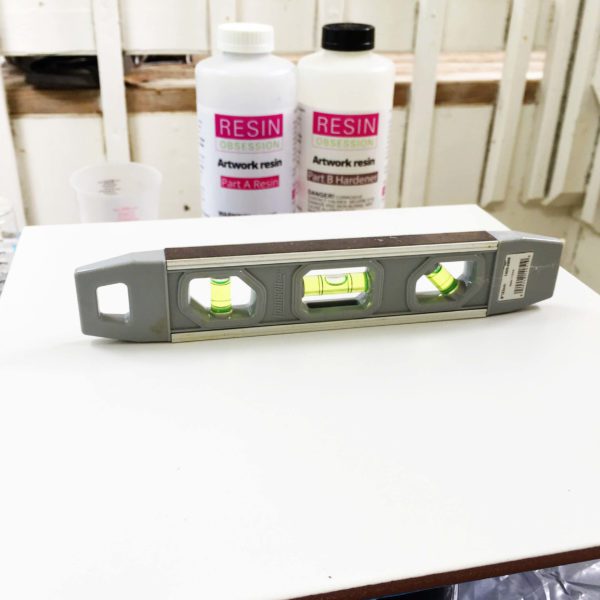
Step 6: Ensure your table is level
Use a level to make sure your table rests level in all directions. If you don’t, the resin will pool on one side, leaving your other side bare.
[PAINTED TABLE] Step 7: Mix resin
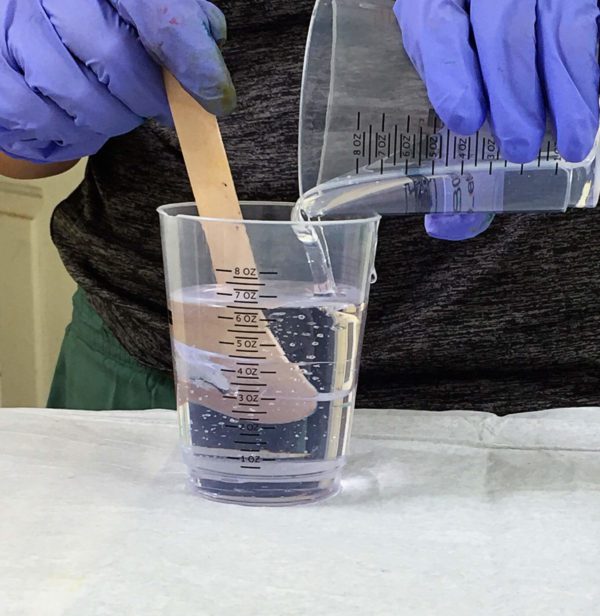
Measure equal parts of A and B of the resin kit you’re using. If you’re pouring resin onto a painted surface, this should equal the amount of resin you calculated in step 2.
Then, pour them together and stir for three to five minutes until clear and streak-free.
Getting this step right is the other 50% of winning at how to use epoxy resin on wood. Incomplete mixing is the number one reason for sticky, cloudy, uncured resin. So if you’ve never mixed resin before, be sure to spend time on this article:
The Five Steps to Mixing Resin like a Pro
[EXPOSED WOOD TABLE] Step 7: Mix resin
You’ll mix resin just like for the painted table, but you’ll only blend a quarter of the amount you calculated in step 2. This layer goes down to soak into the wood. It should barely be enough to cover the wood. Bubbles that don’t escape into this layer will stay trapped in the wood.
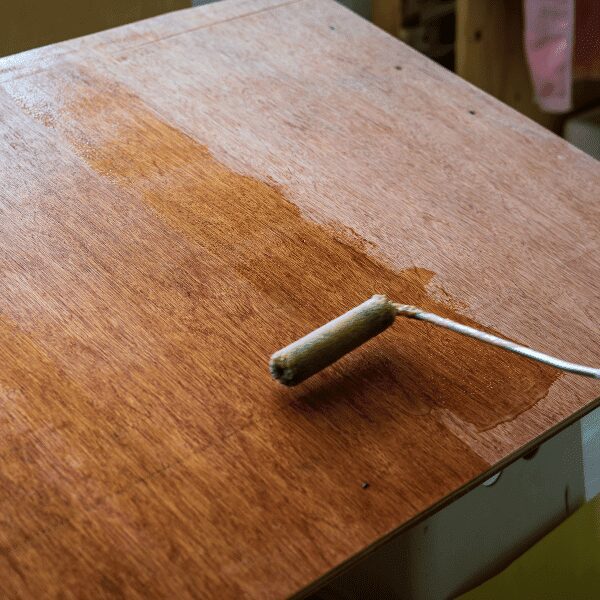
Step 8: Add to the table
Pour the resin into the center of the table. Use a silicone scraper tool, roller, foam brush, or your gloved hands to spread the resin over the surface.
💡 Pro tip: Don’t try cleaning a roller brush you use with resin. Unless you’ve got amazing skills like getting gum off a shoe. You’ll save your sanity by throwing it away after curing.
Step 9: Remove bubbles
Even with careful mixing, you will have bubbles in your resin. Go over the wood surface with a heat gun to pop these bubbles while the epoxy resin is fluid.
Step 10: Keep it dust-free while curing
Dust and hair that settle on your resin while it’s wet will stay there. Cover your table with a tent if possible. And if you can’t (like most tables I do), add resin in an area where you can close off the room to anyone and anything furry. Or hairy. Or just plain messy.
[EXPOSED WOOD TABLE] Step 11: Add second resin layer
Mix and add another resin layer of the amount you calculated in Step 2 (three-quarters of the total). You can add this to the table as soon as 4 hours after adding the previous layer. But you can come back and do this the next day if that fits your schedule better.
Don’t forget to check for bubbles again before letting the resin cure.
This step is optional if you’re working with a painted table surface.
Step 12: Remove tape
Once the epoxy resin isn’t fluid but is rubbery, remove the tape and tarp from the wood table. For either of these two resins, this happens about 4 to 6 hours after mixing.
You’ll get a crisper edge by pulling the tape off at this point. Plus, if the resin fully cures before you get the tape off, it may need cutting with a sharp blade.
After twenty-four hours, your epoxy is cured enough to touch. But give it a full seven days to cure as hard as possible before you use it.

What safety precautions should you take when using epoxy resin on wood?
You need to wear protective eyewear, gloves and work in a well-ventilated area.
What if I need to mix more than 1 gallon to cover my table?
Then you’ll need an extra set of hands to mix a second bucket of resin for you. And be ready to pour both at the same time.
Where should I use epoxy resin on wood?
You’ll have the best results if you pour epoxy onto your table where the temperature is in the low 70s F. In temperatures outside that range, your resin may not cure as expected.
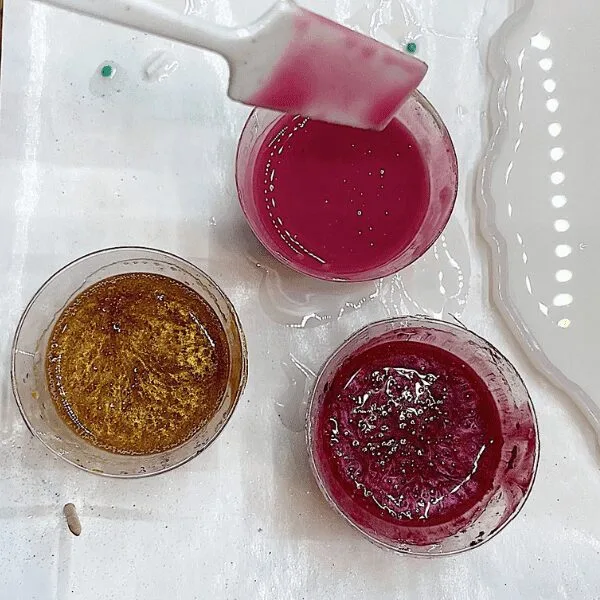
Can I color the resin?
Yes! Colored resin looks gorgeous on a wood table.
What happens if my resin cures sticky?
If it’s only sticky in a spot or two, you can recoat your table with a new batch of well-mixed resin for wood. But if the entire surface is sticky, you’ll need to scrape it off and start over.
Plus, figure out why your resin cured sticky so it doesn’t happen the next time.
What can I use the table for?
Once the resin is cured, you can use it like any other table. Except…
You shouldn’t use it outside as that will hasten resin yellowing.
And you shouldn’t set anything hotter than a warm coffee mug on the table. That means a casserole dish straight from the oven needs a hotplate between it and the table.
How do you take care of epoxy resin on a wood table?
You can clean it with mild soap and water. For light scratches, this resin polishing kit works great to bring it back to a high shine.
Ready to use epoxy resin on wood but want more help?
It’s why I wrote the ebook, Resin Fundamentals. Instead of spending all day online trying to learn about resin, you can get everything you need in only a couple of hours. It’s the book I wish I had when I was a beginning resin artist. Buy the PDF book now and get a download link in minutes.
Unpublished Blog Posts of Resin Obsession, LLC © 2023 Resin Obsession, LLC
I make jewelry boxes out of wood first I draw on them with ink pen if I use the epoxy stuff will the ink run
It could Mike. If it were me, I’d seal the ink first.
I have created a cedar board by sanding down and created edging with a router. I created a watercolor on the board. The board will be an outside sign. Is there a product I can use, such as a “paint on” resin to protect the wood. I don’t want to ruin the outer routed edging by placing it in a tray and pouring the mixture over the piece. I know I can apply a gloss varnish over the top first to make sure it doesn’t run. What can I use to protect the piece from UV since it will be outside in the elements.
Elaine Rogers
Hi Elaine, I’m afraid resin isn’t a good choice for a project like this. This article explains more: https://www.resinobsession.com/resin-frequently-asked-questions/resin-outdoors/
Would it be possible to paint with epoxy yo seal live edge (bark) to be used as a mantel over a wood stove
Hi Sammy, I’m not sure I understand the question. Can you tell me more?
I have a 2_1/2 ” black walnut plank with a live edge bark on one side .I never have used epoxy resin I want to know if I can apply resin to plank and bark to preserve bark any help would appreciated I could send image if it would help. Thanks
Yes Sammy, you can do that.
can i pore resin over acrylic paint
Yes, Dale, you can.