
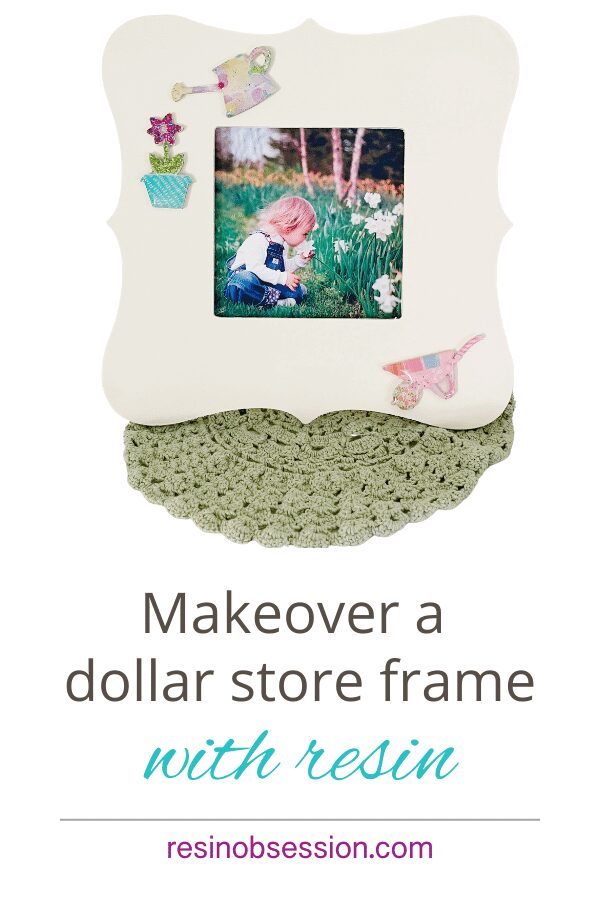
Can you even be a resin artist if you aren’t a little (or a lot) thrifty? Now I’m not judging. Being thrifty forces you to think creatively, which is a valuable artistic skill. And on a recent dollar store trip, I found this frame that I challenged myself to give a resin makeover.
Supply list:
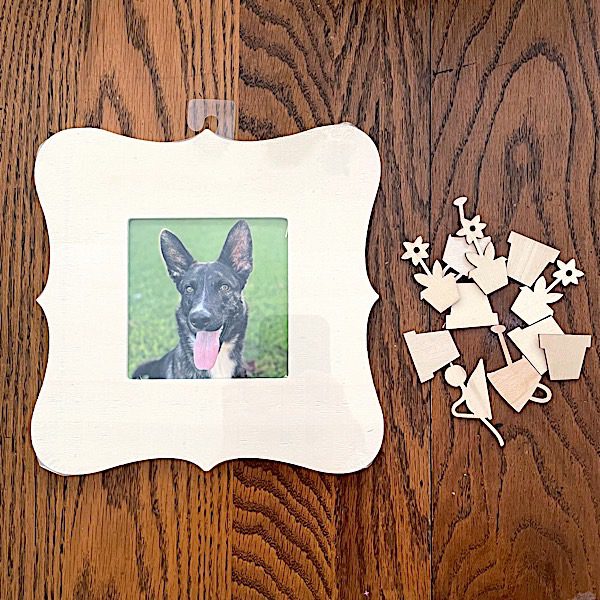
Dollar store frame
Wood cutouts to fit the frame
White paint
Washi tape
Clear-drying glue
Resin Obsession crystal doming resin
Mixing cups
Stirring sticks
Safety gloves
E6000
Optional:
Glitter glue or assorted glitters
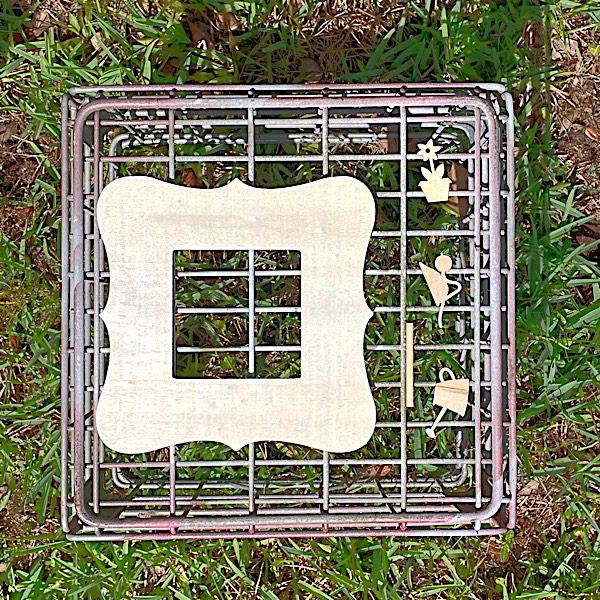
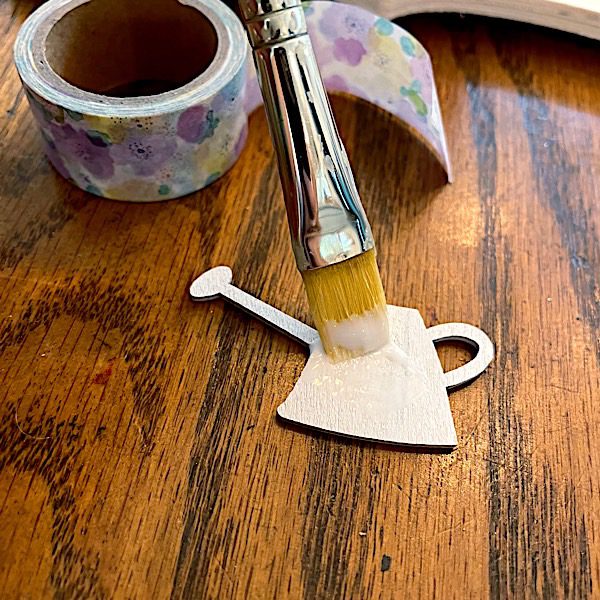
Step 1: Paint the frame and cutouts
Paint the frame a color you like. This color will be visible once your dollar store frame project is complete.
Paint your accessories too. Depending on where you apply washi tape, you may or may not see the paint color when you’re done.
Spray painting makes this step quicker. But, you can also paint the dollar store frame and accessories by hand.
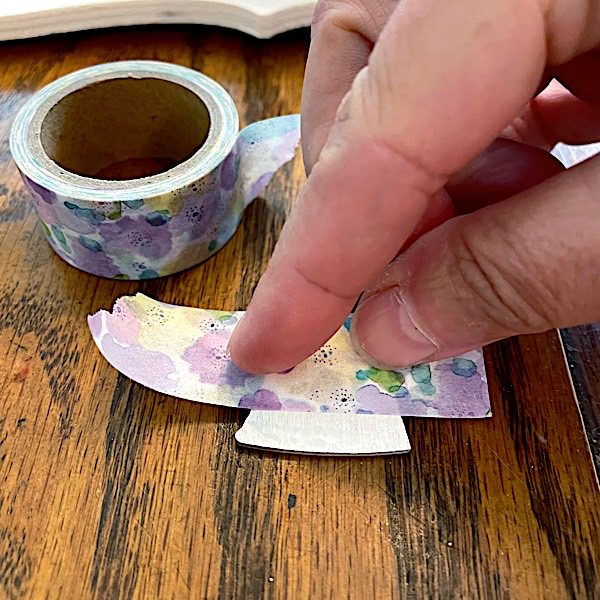
Step 2: Add tape
Add washi tape to your accessories. You’ll create visual interest by using tapes of varying widths and patterns.
💡 Pro tip: Washi tape isn’t very sticky. I always add a layer of glue before adding the tape.
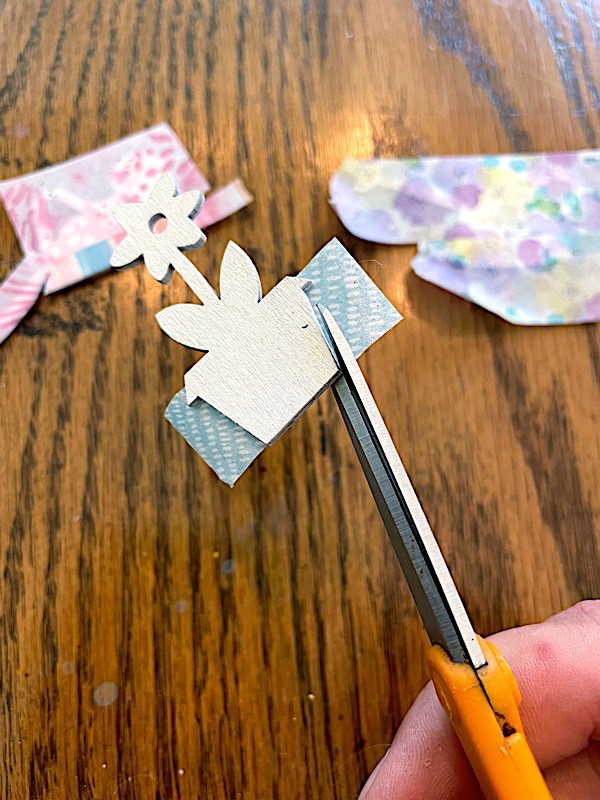
Trim the tape to the edge of your cutout.
Because washi tape can have a waxy coating that can repel resin, you want to coat it with your glue.
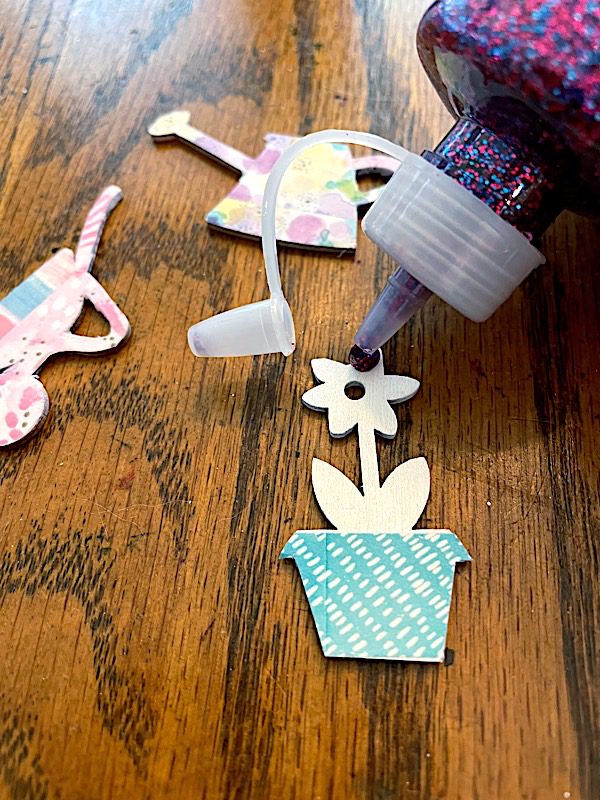
[OPTIONAL] Step 3: Add glitter
Highlight the details with glitter glue to give extra sparkle to your cutouts.
💡 Pro tip: While you can brush on glue and sprinkle glitter, the glitter glue is easier to control.
Give the glue several hours to dry before going to the next step.
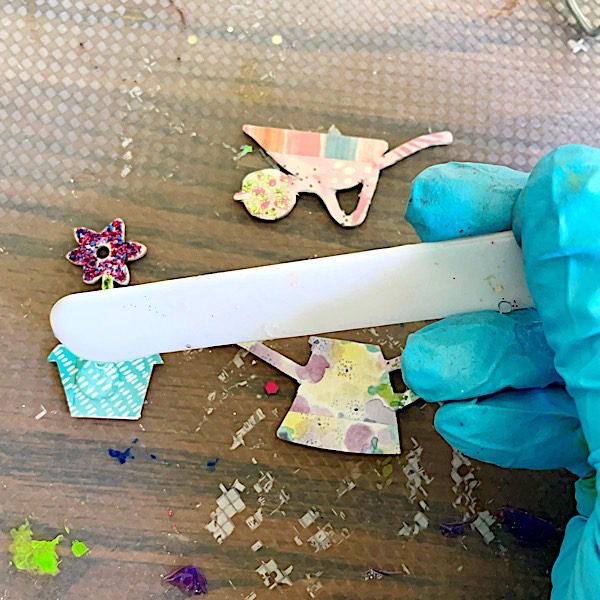
Step 4: Add clear epoxy
Mix the crystal doming resin and add to the cutouts. This part is tricky, so go slow.
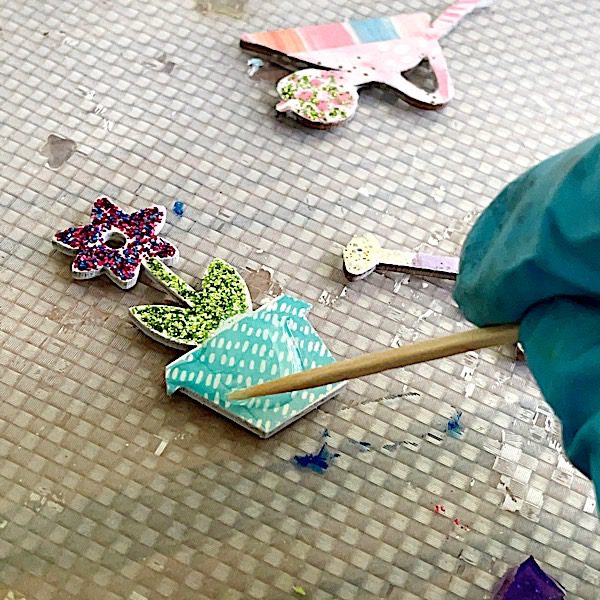
Add a few drops of resin at a time, then use a toothpick to draw the resin to the edge.
💡 Pro tip: If you’re a resin beginner, check out this article on mixing resin.
Once you’re done, let the resin cure.
Step 5: Finish
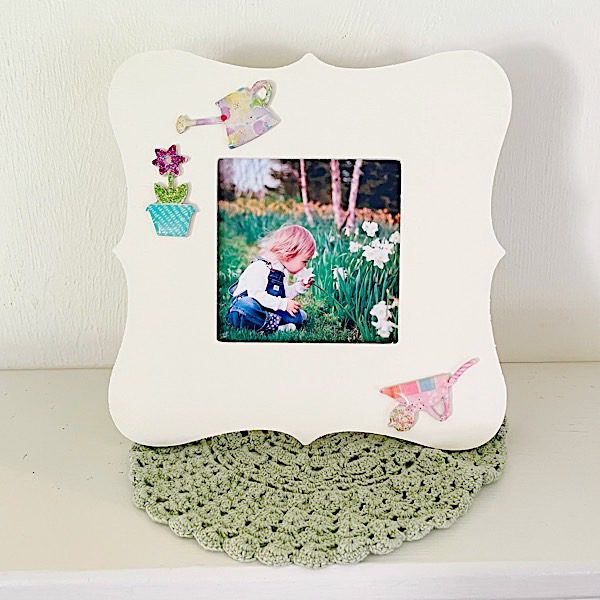
Glue the wood cutouts to the frame with E6000. Then, put a favorite picture in the center.
I love how this dollar store frame looks more than a dollar store frame now. The wood cutouts add to the theme of the picture.
Looking for more resin inspo?
Then you’ll want a copy of the PDF book Ten Epoxy Projects. The unique ideas are perfect for your weekend creative time. Buy the ebook now and get a download link in minutes.
Unpublished Blog Posts of Resin Obsession, LLC © 2023 Resin Obsession, LLC