

Ever seen pretty designs on papers and thought they would be cool to include in another craft project? I’m so glad to know. That’s why I’m showing how to make resin papers that you can run through a die cutter. You’ll love the possibilities of using them in for embellishing scrapbook pages, frames, vases and more.
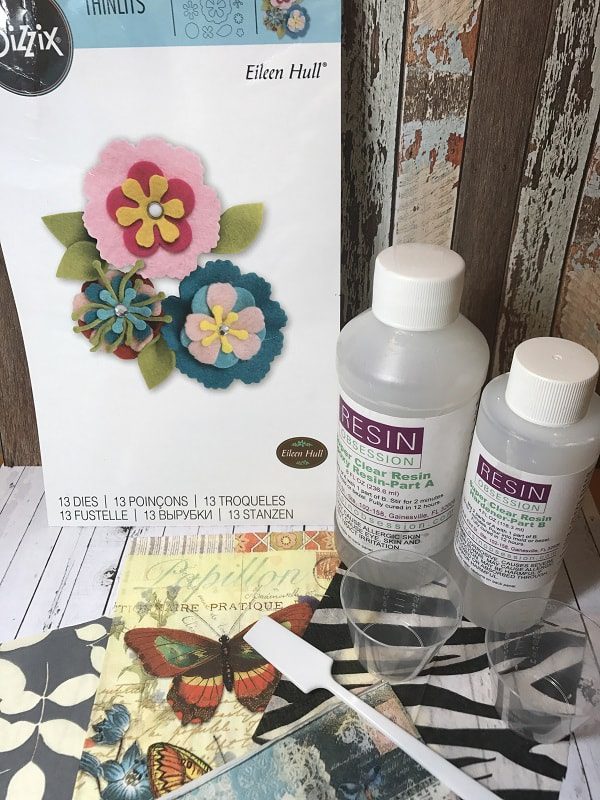
Supplies for the resin paper project:
• Resin Obsession Super Clear Resin
• Measuring cups, stir sticks or foam brush, gloves
• Decorative Paper Napkins or tissue paper
• Craft sheet or Parchment Paper
• Timer
• Eileen Hull Stitchy Flower & Leaf dies by Sizzix
• Die Pick (pokey hole tool)
• Cropodile
Step 1: Get Ready
You want to have everything ready so that you don’t have to take your gloves off when you start pouring the resin.
Lay a parchment sheet on a table that you can leave undisturbed for 24 hours. Make sure you have enough room for the papers to lay side by side with space in between. I used the super clear resin for this tutorial, but you can also make resin papers anytime you have leftover resin.
 Step 2: Choose your paper
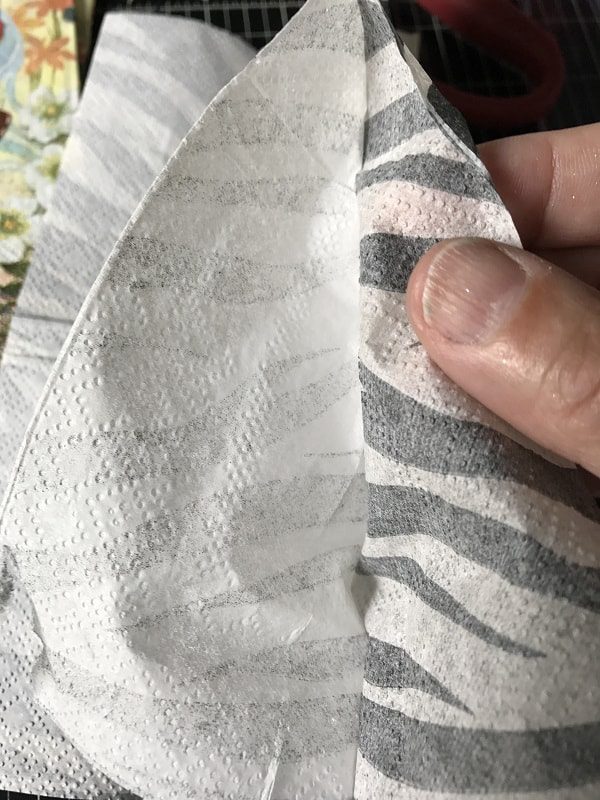
Paper napkins are beautiful, plentiful, and not expensive. I love to make resin papers with them.
You can make two different designs:
*If you peel the napkin pieces apart, you will get one or two — usually white tissue pieces plus the printed piece. This method will result in a very translucent, fine paper resin piece.
*If you leave the napkin intact, your resin paper will be thicker and less transparent.
I used the fine piece method for my flowers.
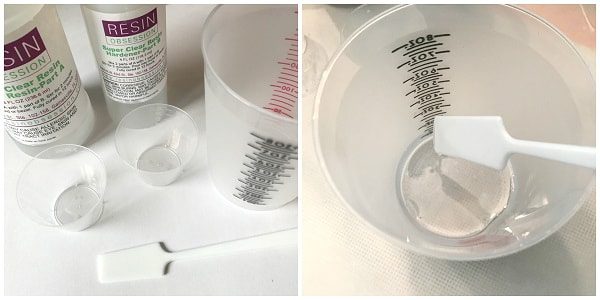
Step 3: Mix the resin
Put gloves on and mix two parts A to one part B. Stir for 2 minutes.
Step 4: Apply resin to the paper
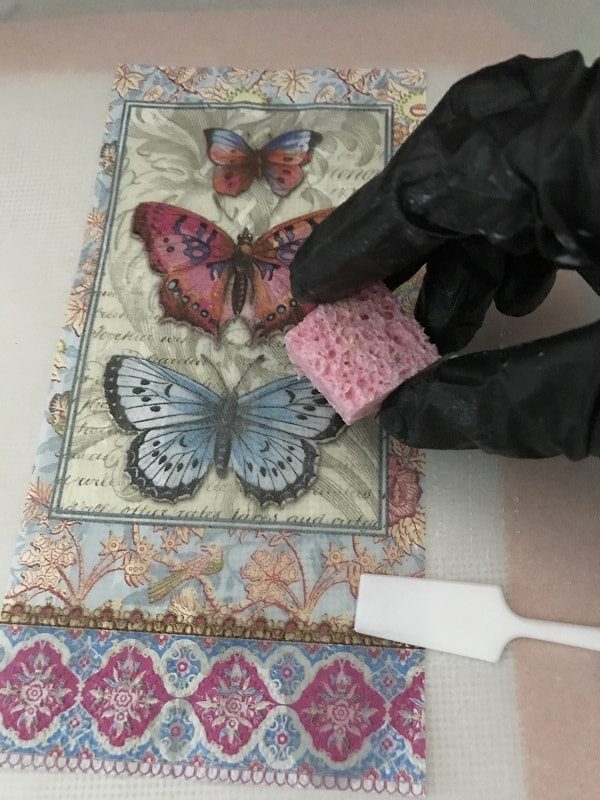
Pour resin on your craft sheet. Then, using the stir stick, spread a thin layer approximately the same size as your tissue pieces. Lay the tissue, pretty side down, on top of the resin layer. Then, pour more resin on top and carefully spread using the spatula, covering the edges.
This is an excellent way to have a bit of firmness for die cuts. If you want thin resin paper, use a sponge or foam brush to spread the resin. This makes the paper more pliable.
 Step 5: Flip the paper
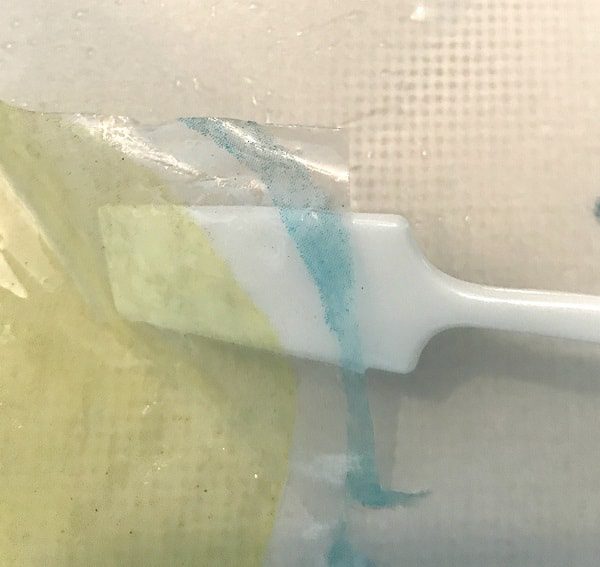
Use the stir stick to peel up part of the paper and turn it over so the printed side is up. Add a little more resin so the front is nicely covered in a thin, even layer.
You can already see how translucent it is.
Let dry for twenty-four hours.
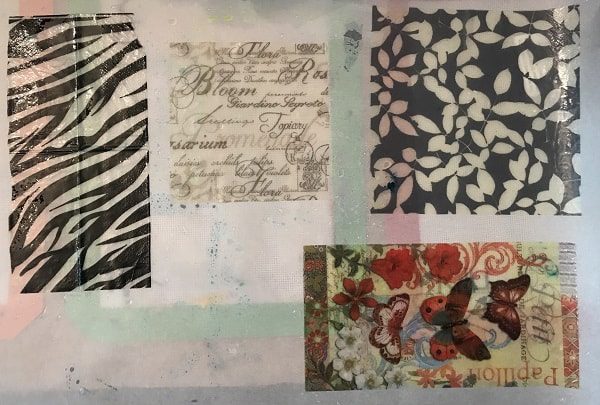
Step 6: Remove the cured resin paper
Peel your paper off the surface.
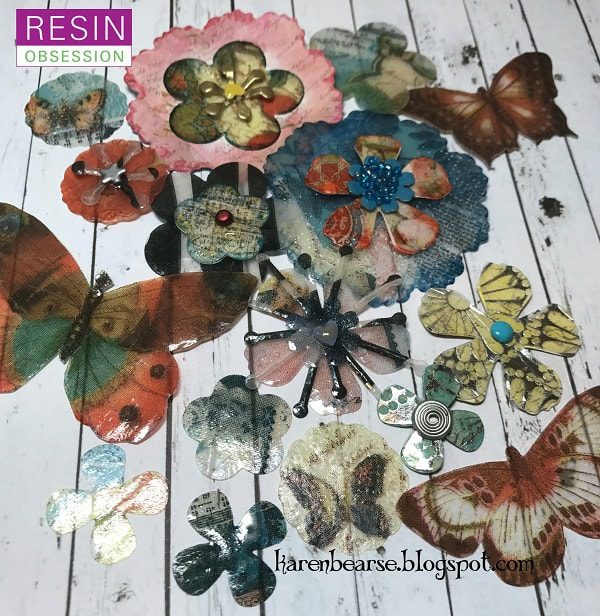
Step 7: Cut the flower designs
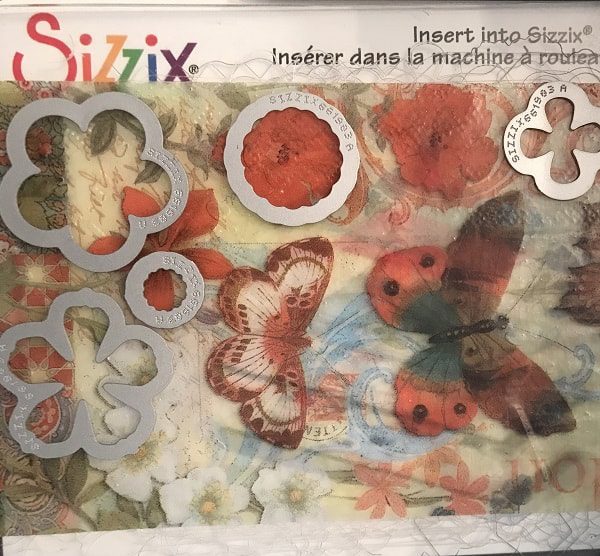
This is my favorite part of how to make resin papers. I get to turn these love prints into flowers.
Follow the directions on your cutting machine and cut flowers out of the paper resin. A thin layer of resin (i.e., not much thicker than a piece of paper) should cut pretty easily. I ran my dies through two times to be sure they cut well.
While I didn’t have a butterfly die, I hand-cut the butterflies from the resin paper. They trim easily with sharp scissors.
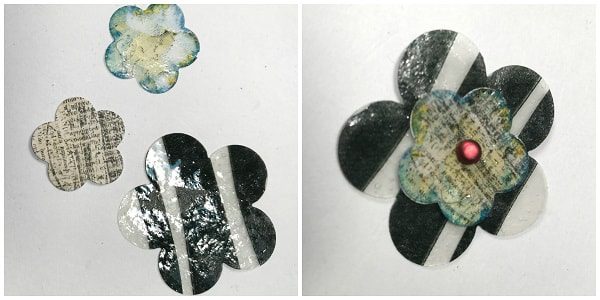
One of the challenges with using translucent layers is sometimes the pattern gets lost. Here I added a piece of lightly patterned cardstock to my smaller flower. Next, I inked the edges of the resin flower with archival ink so it would stand out more.
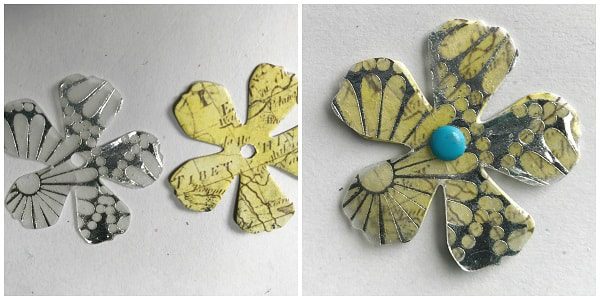
In this case, I inked the cardstock flower yellow to work with the silver tissue pattern. I was excited that the metallic showed through the resin loud and clear. Just cut out many resin flowers and cardstock flowers, then play with them to get a good result.
Step 8: Finish the flowers
Using a pokey hole tool or Cropodile, put a hole in the center of each flower. Add a brad to hold multiple pieces together. You can also glue beads in the center. Just have fun decorating your flowers.
Here are some other things to know about how to make resin papers:
Experiment with different thicknesses of epoxy resin and other papers to see impressive results. A light coat of resin will give you a very cool translucent plastic like a piece of resin paper. The thicker the coat, the more stiff the work, almost like a laminate. This makes for a great bookmark, planner divider, or mini album cover.
If using the Resin Obsession super clear resin, you can break the thicker pieces like mica. Experiment to see which you like. I keep notes so I can look back and remember the different results. It’s resin science!
Ready to try more projects beyond how to make resin papers?
Then you will want a copy of the instantly downloadable ebook, Ten Epoxy Projects. You’ll get creative ideas for resin projects that you can make and sell. Buy the PDF book now and have it to read in minutes.
Originally written by Karen Bearse
Unpublished Blog Posts of Resin Obsession, LLC © 2023 Resin Obsession, LLC
Beautiful! One of these days I may try this!
Thanks so much Rhonda!! You should definitely try this it is too fun!!
very very cool!
Thank you for commenting!!
Love the use of the napkins Karen!! I have some beachy ones that would make great resin paper seashells!
Great idea Cathy!! Go for it.
Thank you for this tutorial. I really like the resin flowers, and will have a go at making some to embed into my resin paintings. They open up a lot of opportunities for making different and unique artwork.
Glad I could inspire you Gayle!!
I haven’t tried this yet, but I think that at some stage, one can put it in a cabochon-making mold, so that it cures in a concave rather than flat position. That would make it 3-D.
That’s a very cool idea Jessica! I will have to try that at some point.
I really like how the ones with flowers in them turned out to be… Especially the one with flowers & butterfly
Hi. I love this . But what if you wanted to make resin flower for a lamp ? Would it be same method ? Would you add the wire on second coat on the back ?