
Hold up — this is NOT an open bezel resin tutorial on using dried flowers. Being one that doesn’t like to fuss with drying flowers, combined with being a bit lazy, I wanted to try to get the look of a small delicate flower in a resin pendant using a different method. I found this beautiful handmade, silk-screened Japanese paper with little flowers and thought I would try it. I was surprised at how well it worked and was happy with the results.

Note: When looking for Japanese art paper, it’s called ”Chiyogami” or ”Yuzen.” You can find it online or may be lucky enough to discover it close to where you live. The patterns are endless and unique and beautiful.
STEP 1: Seal the paper.
Prepare your paper by laying it on wax paper and coating it with clear-drying white glue. Next, cover the entire paper on both sides, three times each side (for a total of 6 coats), waiting at least 30 min to 1 hour in between coats. By the way, you can use any paper for this project, but I still recommend coating paper this way in preparation for the resin to ensure no staining.
STEP 2: Glue the open bezel to the paper.
Instead of cutting the image out and placing it in the bezel, I positioned the open-backed bezel over the image and tried to capture a flower within the frame of the bezel. I’ve not had much luck getting pictures cut perfectly to fit bezels, especially when they are small. So that’s why I tried it this way.

Glue again by using a brush and ensuring it covers the inside of the bezels. You want a good seal so it doesn’t leak out when you pour the resin. Do this two times. I used Nunn Design’s small open-backed bezel.
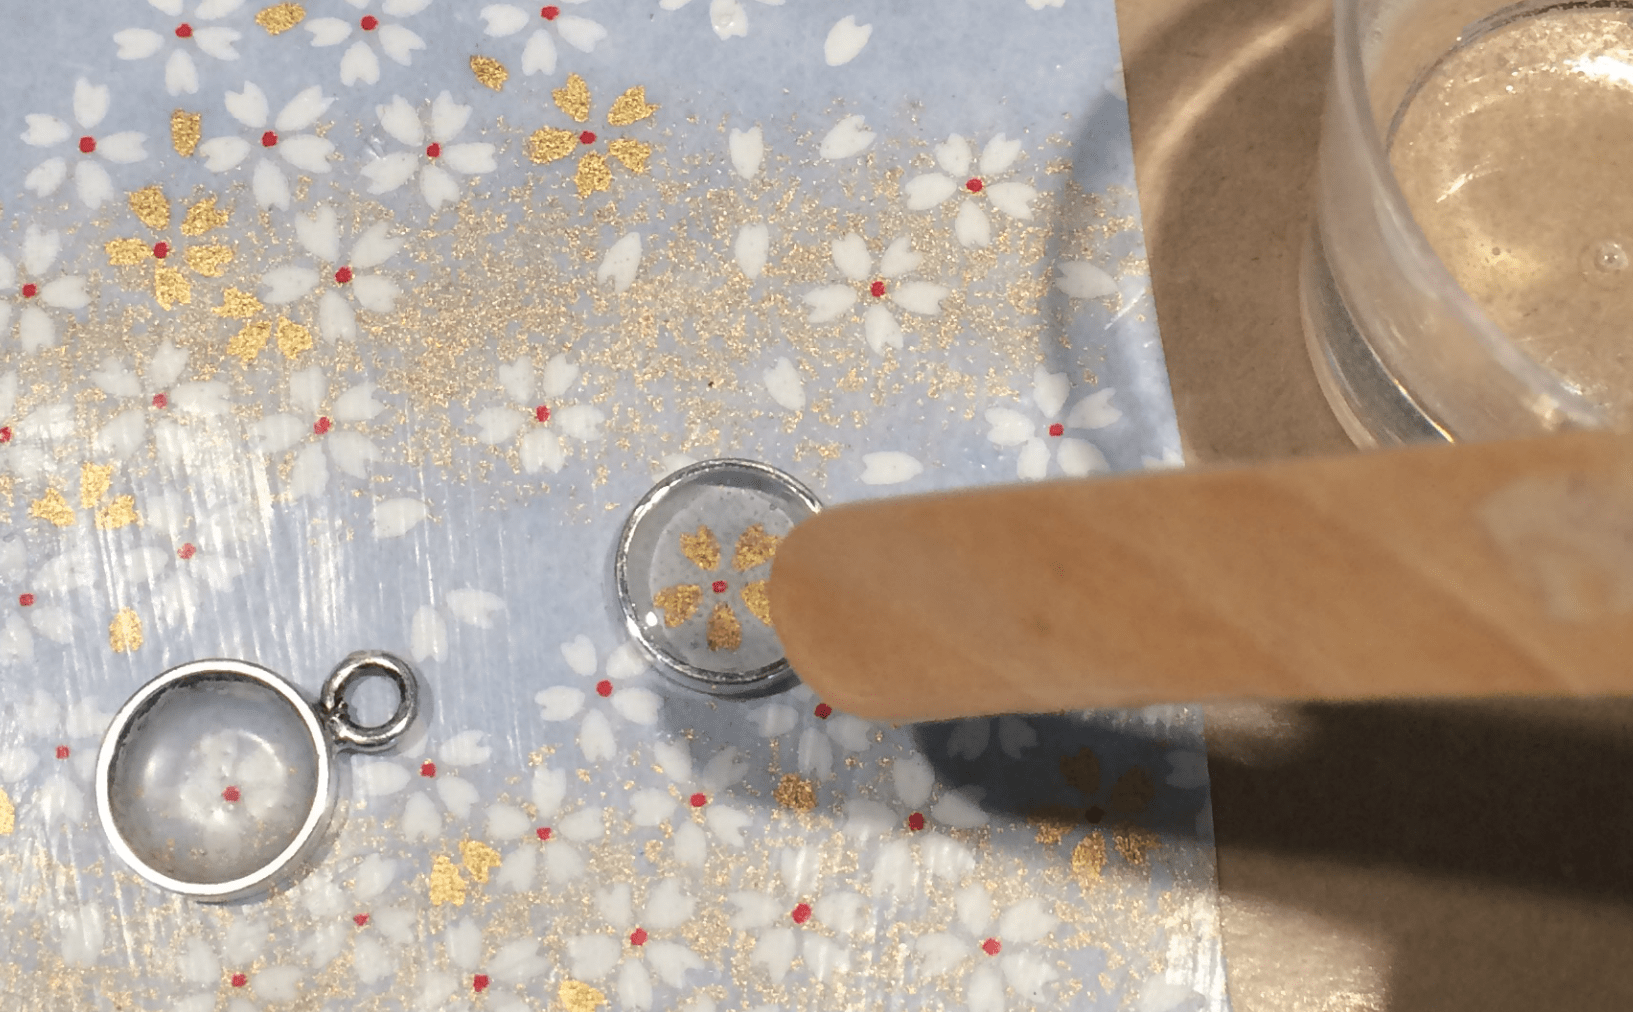
STEP 3: Add clear epoxy resin.
Pour the resin into the bezels. The Resin Obsession crystal doming resin is perfect for this project because it produces a high dome. This resin is what magnifies the flower in this open bezel tutorial.
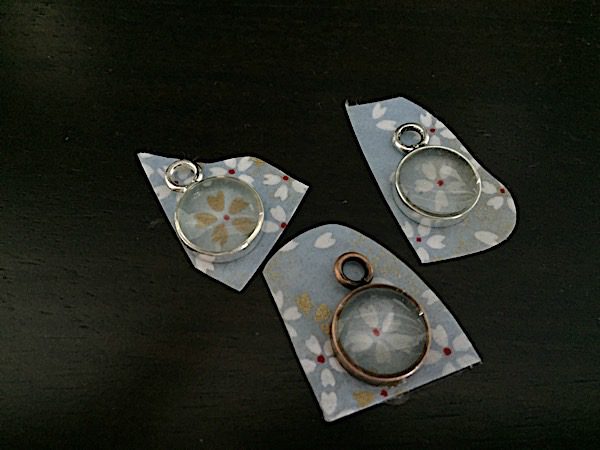
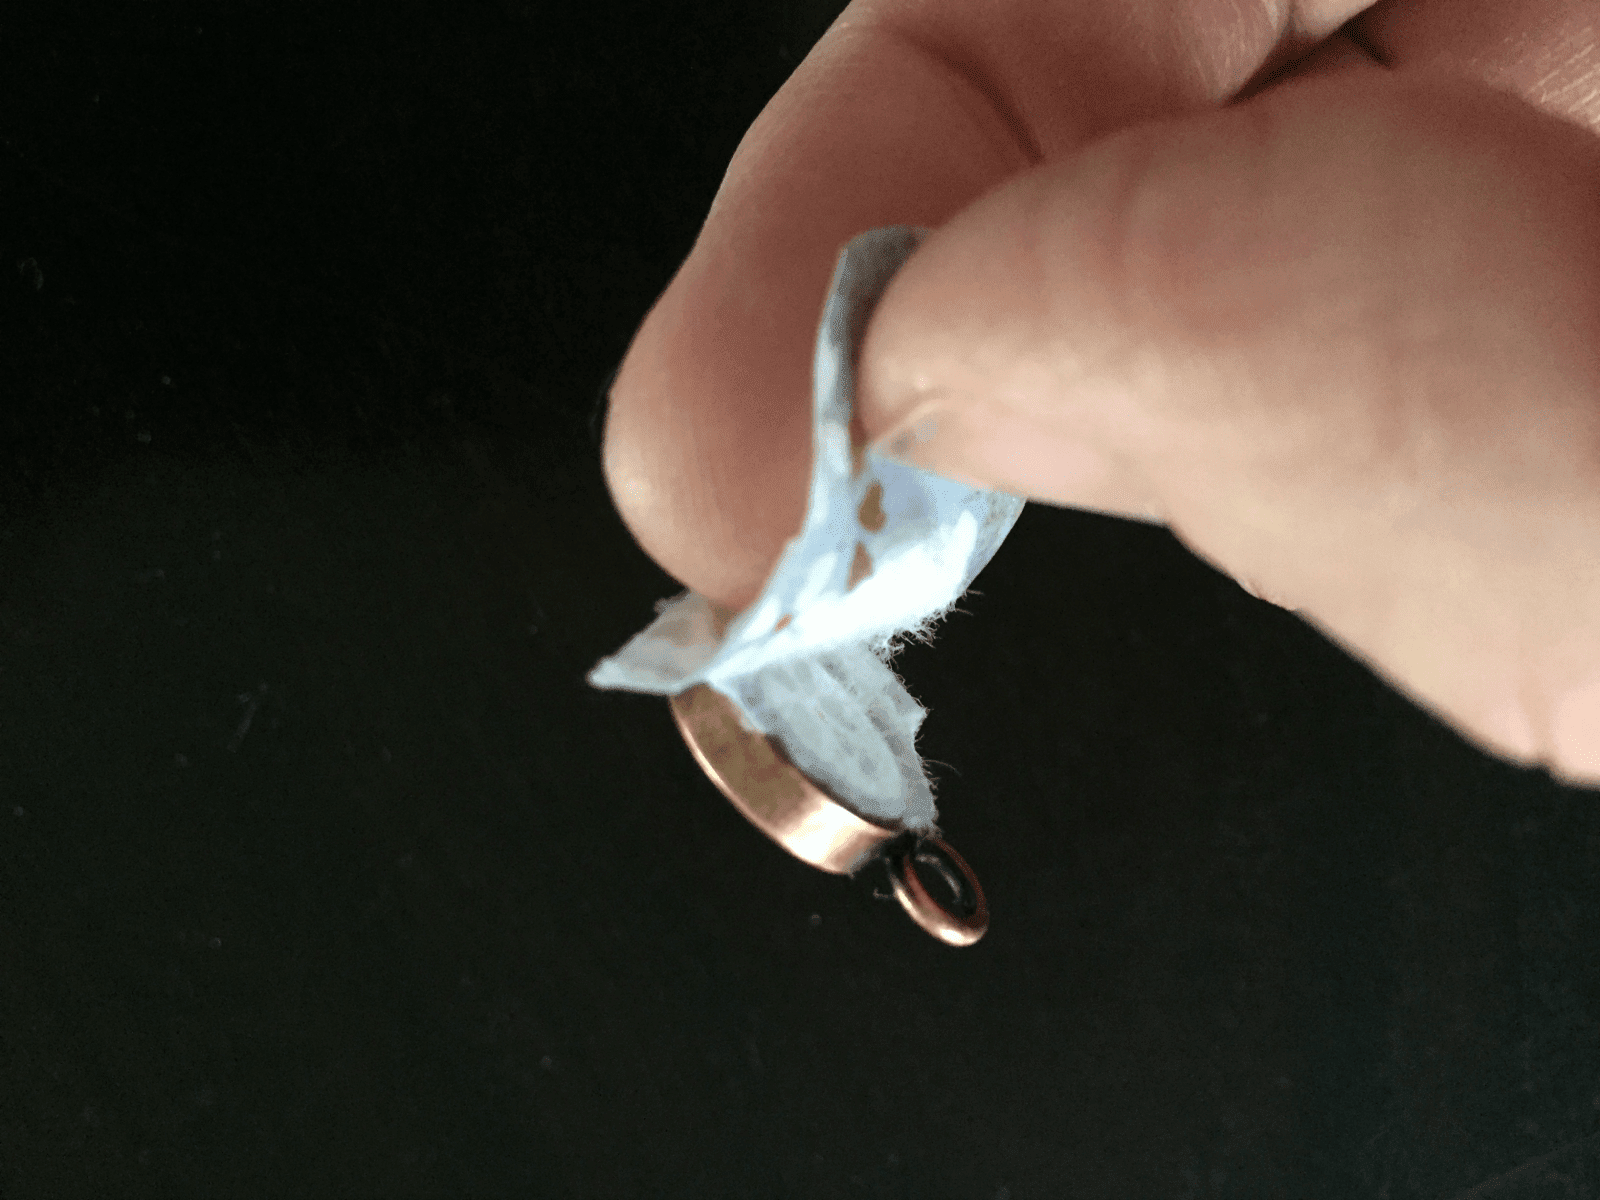
STEP 4: Remove the extra paper.
Once cured, I cut around the bezels, leaving plenty of paper surrounding the bezel.
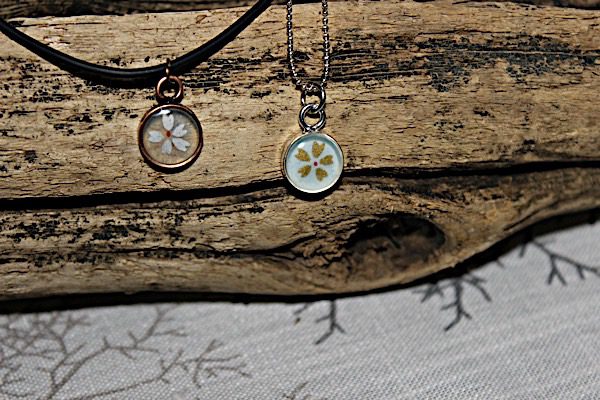
I tried two techniques in this open bezel resin tutorial to see which worked best. I think they both worked in the end, but each turned out a little differently.
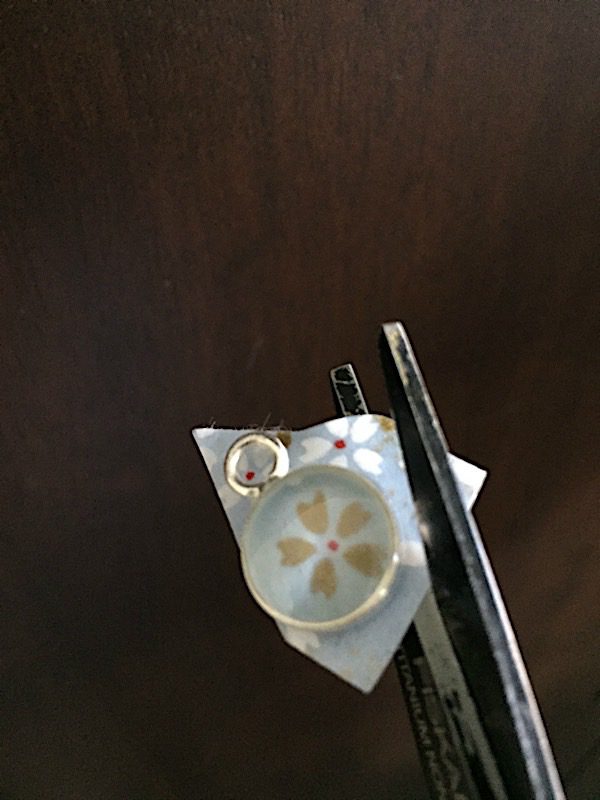
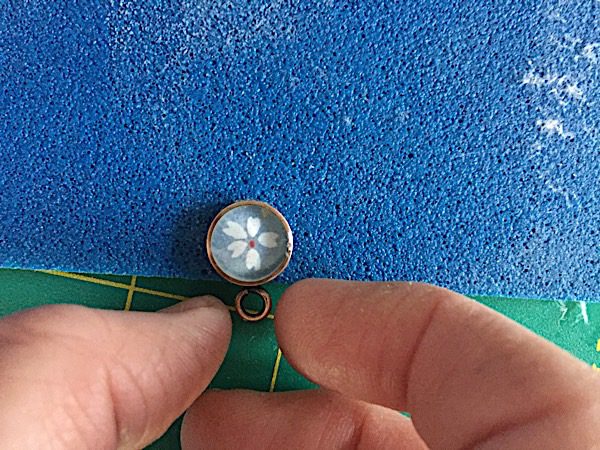
First technique
I cut around the bezel, leaving the back paper intact. Use small scissors or scissors designed to give you a close cut in small spaces.
Seal the back with glue. You could add clear epoxy resin to the back again if you want. I chose not to because the seal was smooth and good enough for me.

Because the bezel and flower are small, it is very delicate looking!
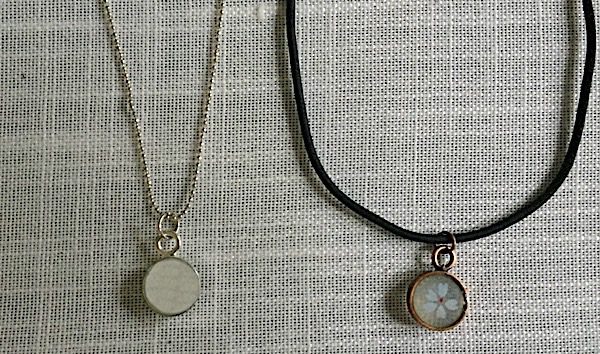
Second technique
For this one, I peeled the paper off and lightly sanded the remaining paper with fine grit (600) sanding paper, being careful not to sand too much and remove the image.
Regular scrapbook paper would work for the first technique, where you leave the paper intact, but not sure if it would work for this method.

Finally, I sealed the back with a high gloss mod podge two times. What I like about this resin pendant is that it’s a little more transparent when you remove all the paper. It could almost be mistaken as a pressed flower.
These are the back of the pendants. I think the edges of the paper blend in nicely with the open bezel. You can’t tell I glued them on the outside.
Ta-da! You just learned how to use an open bezel with resin in this tutorial.
Do you want to create resin jewelry but worry about making mistakes?
I hear you — no one wants to spend time and supplies making something you wouldn’t show anyone. It’s why I wrote the ebook Resin Fundamentals sharing the simple but vital details you need to know to make something beautiful with resin. Instead of spending hours reading articles and watching videos, you can buy the PDF book and read it this afternoon.
Originally written by Penny Reid
Unpublished Blog Posts of Resin Obsession, LLC © 2023 Resin Obsession, LLC
Thanks so much for this! I actually love both effects, and am going to try this out! Thanks again!
Mary
I think the one with the white paper still intact is great, because it gives the flower a good back drop and contrast. But then, I love the open backed one, too, because it looks so natural and free.
Do they make a bezel that has a loop in the top and the
bottom? I’d make both, and have one on top of the other!
I’m one of those ridiculous people who go out and colllect all the flowers and grasses and butterflies that have died.
Boxes full–this will be great for them! Thank you so much!! I love your site!
Penny, some of my dried flowers are 37years old. Started with my daughter when she was 2 years old. Now she is getting married so I need to give her something “old”
I like the clear.
Yes I prefer the clear. Gives it a natural look. Thanks for this blog. Great; as always.
I believe Modgepodge comes as standard and dishwasher safe – I would imagine that the latter would make this fairly water resistant but not waterproof – so drop pendant in bath and fish it out, no problem, but accidentally put it through washing machine = issue. Why not seal the rear with resin too?
You sure can Alex!