
If you’re asking yourself how to DIY resin molds, it’s pretty easy. Even if you’re a resin beginner.
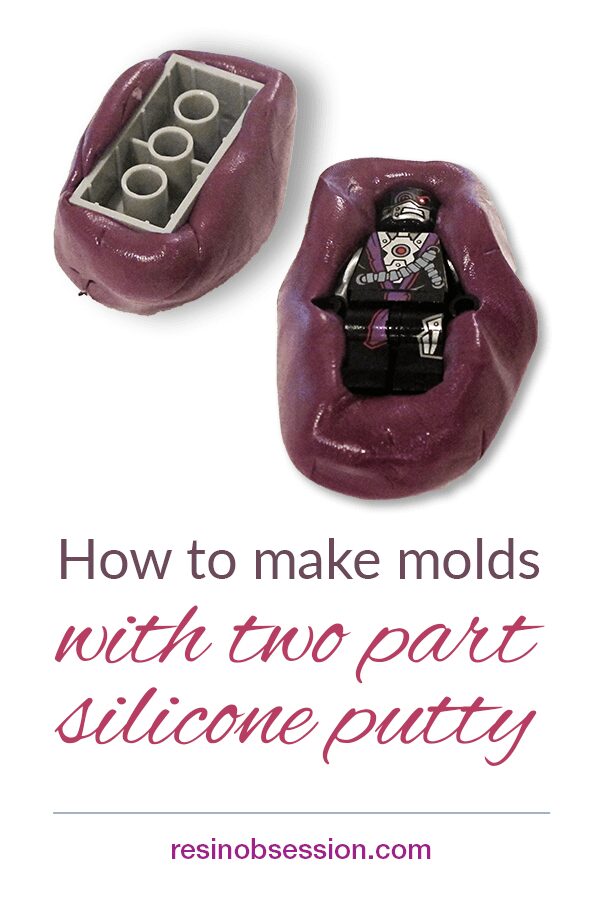
Let me introduce you to two-part silicone mold-making putty
*You don’t need a mold box
*It cures in under 30 minutes
*You can use it for more than resin
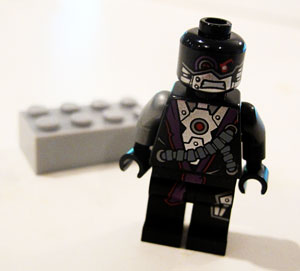
One of the good things about having children is that you can swipe a Lego minifig for DIY resin molds.
💡 Pro tip: Do it when they aren’t looking.
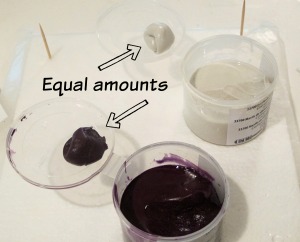
Step 1: Measure
To mix the putty, you need to start with equal parts from each container. You don’t need to weigh it — simply eyeballing it is enough.
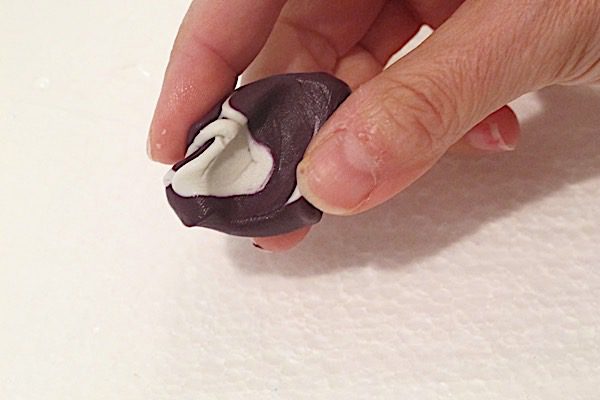
Step 2: Mix
Blend the two parts together until it is uniform. The working time with molding putty is short, so you must work fast. You will feel it warm up slightly in your hands.
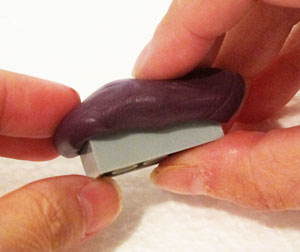
Step 3: Form
Once you mix it, push and form the putty around your model. This part of DIY resin molds is where things get a little tricky. You want to push the model in the wad of putty and make sure it comes up the sides. But, don’t push the putty onto the model. You may not get all the detail from the original model.
💡 Pro tip: Put the model into the putty, not the other way around.
Before you your DIY resin molds cure, flatten out the bottom of your molds. Otherwise, your mold may not sit level, and your resin may cure unevenly.
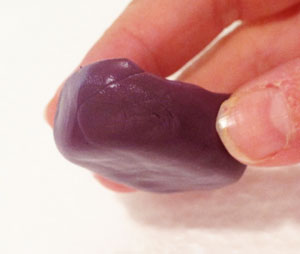
Step 4: Cure
Allow the putty to cure. This takes 30 minutes or less.
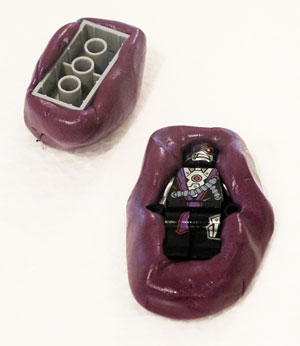
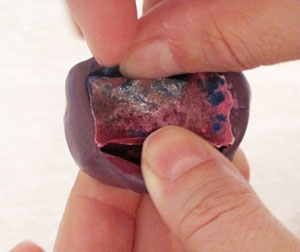
Step 5: Demold
Once done, lift out your model. My kids had busted me at this point and were quite relieved to see the Legos were unharmed. I pleaded my case as I wanted to share how to DIY resin molds. But I’ve got a call into my attorney just in case…

So here’s where it gets a little crazy — what could I do with this mold that I hadn’t done yet? Like I use resin in molds all. the. time.
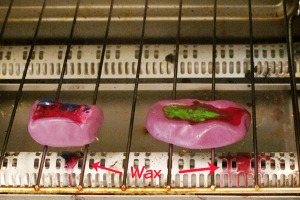
I decided that a pile of broken crayons could get put to good use. This mold putty is heat safe in a warm oven (along with being food safe), so I decided to make Lego crayons.
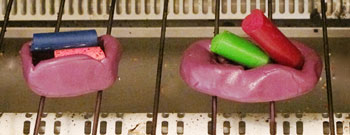
It takes 10 minutes for the crayons to melt in a warm oven.
Note to self: Place the molds and crayons on aluminum foil next time. They dripped over the side and made a mess in the bottom of my toaster oven. Although my kids were highly entertained by the wax burnout lesson and a small fire in the toaster. It made up for using their minifig.
The crayons were cool enough to demold in about 20 minutes.
Here are my finished Legos. The brick Lego came out pretty nice. You can even see the brand imprint on the raised pegs. The Minifigure didn’t do so well. The hands were in the mold rather tightly. It snapped in half as I was removing it. Resin would do better and not break during demolding.

Ready to give DIY resin molds a try?
Want to learn more about making fun resin projects like this?
Then you will want to get a copy of Resin Jewelry Making. It’s the ebook that gets you started with resin jewelry and crafting projects this afternoon. Buy now and get a download link to your email in minutes.
Unpublished Blog Posts of Resin Obsession, LLC © 2023 Resin Obsession, LLC
@Susan, I don’t think the amount of putty was the problem. I think it had more to do with the wax breaking at a thin point (between the claw hand and the arm). I would be game to try the Alumilite Amazing mold putty though to see if that makes a difference. Thanks for the suggestion!
You didn’t use enough putty. You have to use a lot if you’re going to melt crayons or soap in the molds because you need a deep enough cavity for the end product to be sturdy enough and also the corners of the molds can rip if too little putty is used. I prefer Amazing Mold Putty to this one. I did a whole Lego themed birthday party for my son and make many of these molds for melted chocolates and crayons.
Thank you for sending this. Now I understand what the other was referring to.