
 So you googled epoxy resin guide, and you ended up here.
Which is exciting. Exciting because you’re probably a beginner.
But it’s also terrifying. Terrifying because it’s easy to make a big, gooey, expensive mistake.
I know because made gigantic, bubble-filled gummy resin blunders when I was a resin beginner.
Like this one.

This was from the first resin class I ever took.
Yes, those are supposed to be pendants. No, they’re not supposed to look like bathtime bubbles.
But—here’s the good news.
I can help you avoid those sticky, bubble-filled mishaps. Because not only have I made mistakes, but I figured out WHY I made them.
Which means I can guide you on how to use epoxy resin and avoid making those mistakes too.
Ready?
Here are the DOs and DON’Ts you need to know:
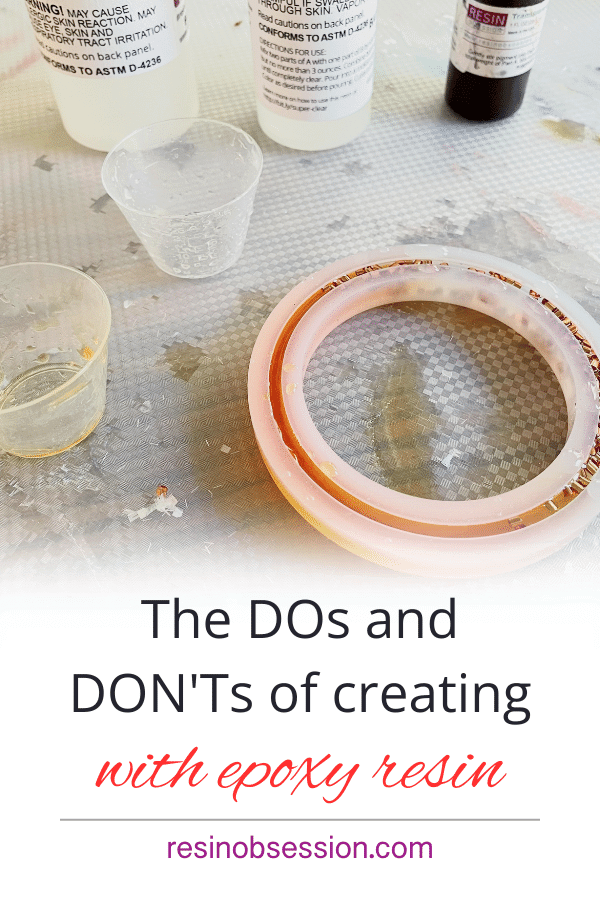
DO get ready
Working with epoxy resin can be messy. That means you need to protect your work area with a non-stick surface.
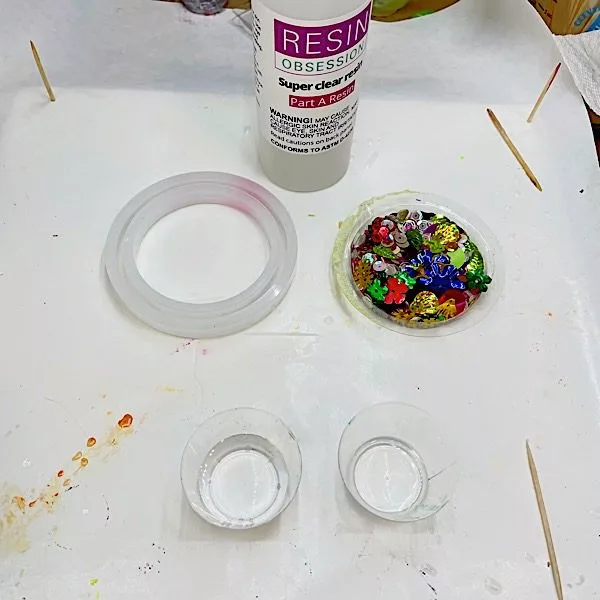
Then, gather your supplies. You’ll need mixing cups, stirring sticks, gloves, molds or jewelry blanks, and colors. Have everything there with you as you get started.
⭐️ BONUS: This complete epoxy resin beginner supply checklist will guide you on all the materials you need to get started.
DON’T ignore room temperature
Your work area temperature needs to be in the low 70s F. It’s the resin Goldilocks version of not too hot. Not too cold. But just right.
If your room is too cold, your resin liquid won’t stay warm enough to cure.
DO measure accurately
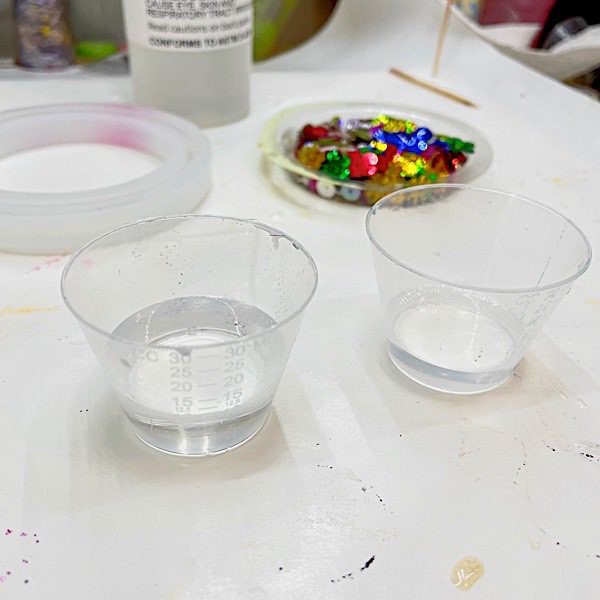
Measure part A (resin) and part B (hardener) into separate cups according to the kit directions. You should never guess at these amounts. And don’t deviate from the instructions.
By the way, some formulas mix equal parts of A and B, while others don’t. Every kit has specific instructions.
DON’T deviate from resin instructions.
It can keep your resin from curing.
⭐️ BONUS: Here are the most common reasons your resin doesn’t cure.
DO mix thoroughly
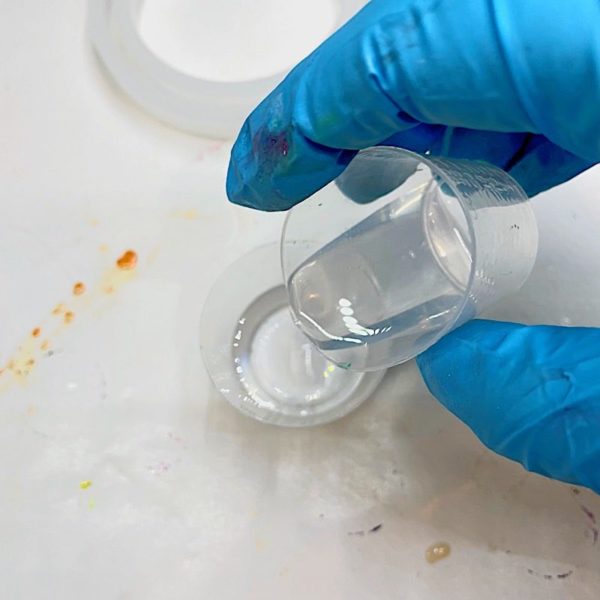
Mix both parts together.
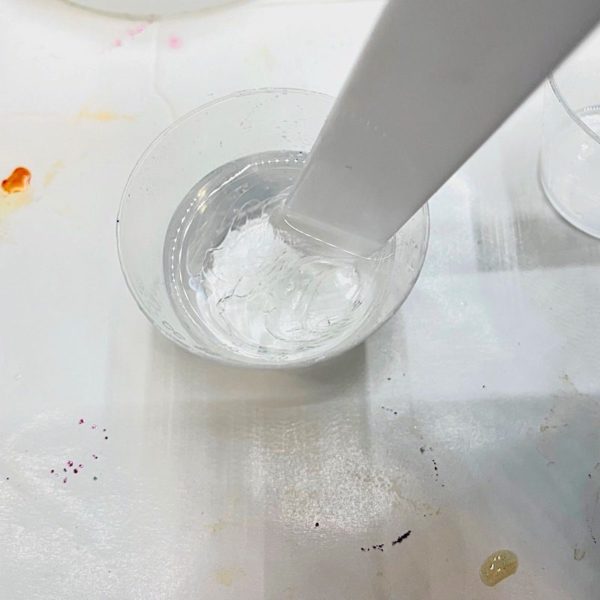 It will be streaky in the beginning.

But keep mixing until it’s clear.
DON’T stop mixing once it goes clear.
Be sure to scrape your cup and mixing stick several times, bringing the unmixed resin to the center of the cup. Undermixed resin is the most common reason why it cures sticky.
⭐️ BONUS: Get the guide of epoxy resin mixing instructions, including a helpful video.
DO use your resin immediately after mixing.
Use your mixed resin for your project. The time you have to use it varies between epoxy resin types and is called pot time.
Some pot times can be as short as a couple of minutes, but some can be as long as 90 minutes. As it comes to the end of the pot time, the resin thickens and will get stringy like taffy.
If you want to add resin colors, glitters, charms and other kinds of fun things, do it after you’ve mixed your resin.
⭐️ BONUS: Here are 15 epoxy crafts that are perfect for beginners.
Let your resin dry. The time it takes for this also differs between formulas.
DON’T disturb your resin once it starts curing.
It can take on fingerprints or hang onto bubbles if you try to work with it while trying to dry.
⭐️ BONUS: How long does it take resin to dry?
DO finish your project after the resin cures.
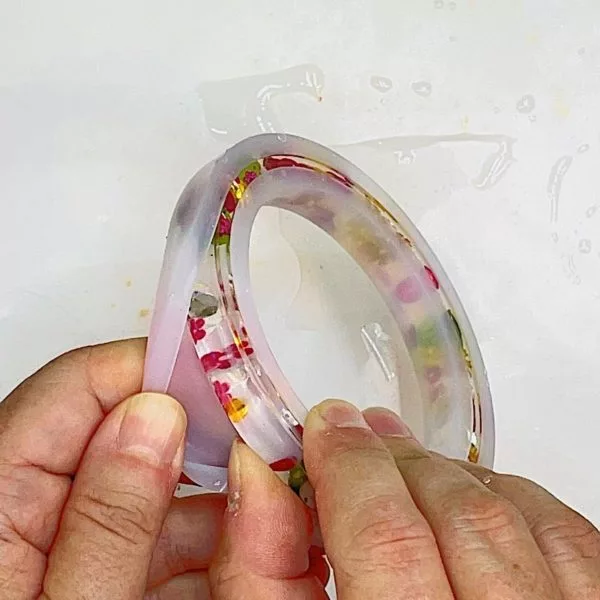
After the resin is dry, you can remove your casting from the mold.
Sand any sharp edges or points with a nail file or wet/dry sandpaper.
DON’T forget to marvel at your creativity.
So let’s recap the most important details so far in this epoxy resin guide:
DO:
*Get everything ready before you start.
*Understand the instructions.
*Measure accurately and mix thoroughly.
*Use the mixed resin before it thickens.
DON’T
*Forget to adjust the thermostat
*Fail to mix the resin on the sides of your cup
*Bother it while it cures.
DO choose the right resin.
There is no one size fits all epoxy resin.
I will say it again because it’s one of the most important things you need to know about making something beautiful.
DON’T just grab one and expect it to work for everything you want to make.
THERE IS NO ONE SIZE FITS ALL EPOXY RESIN.
So how do you know which type you use?
If you’re pouring into a space, use a casting resin.
If you’re covering a surface, use a doming resin.
Choose the right epoxy, you’ll be much further ahead to making something gorgeous.
⭐️ BONUS: We’ve got that information for you in our epoxy resin buying guide. Plus, it includes a two-question quiz you can take that makes it crystal clear what epoxy type you should buy.
Yes, pun intended.
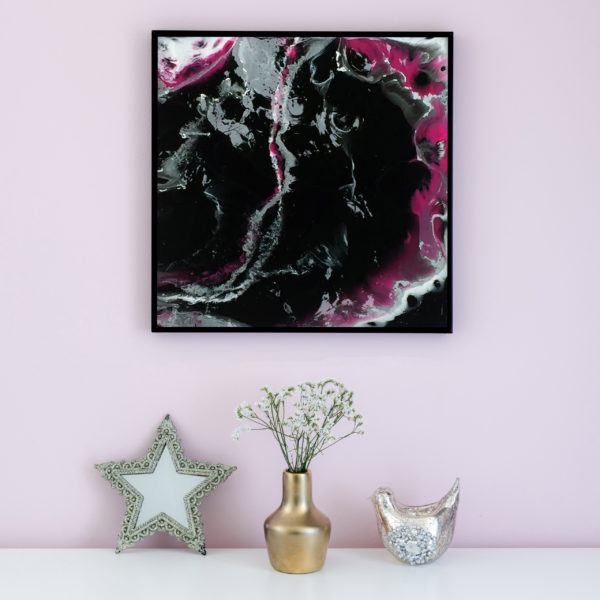
DO color resin.
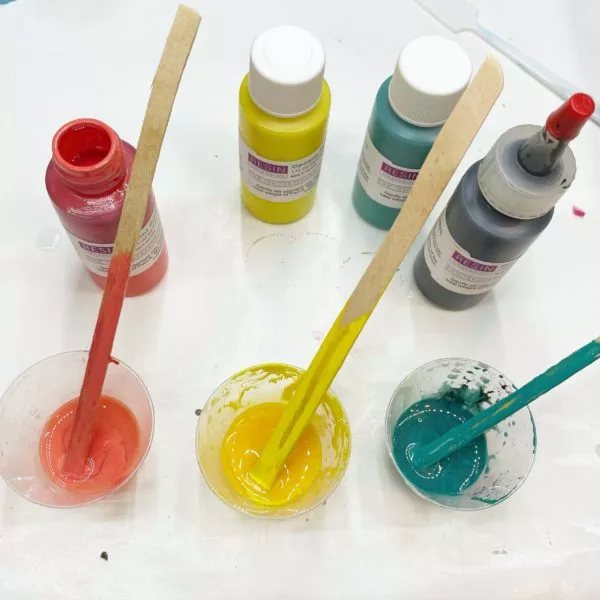
That’s one of the best things about using it. You can color it to look like stones or semi-precious gems. You can also add fun mementos, charms, and found items to make something beautiful.
You’ll color it after you’ve mixed the resin and hardener together but before you pour it.
DON’T use anything to color resin.
It may not stay the same color and your resin might not cure.
⭐️ BONUS: Learn how to color epoxy resin.
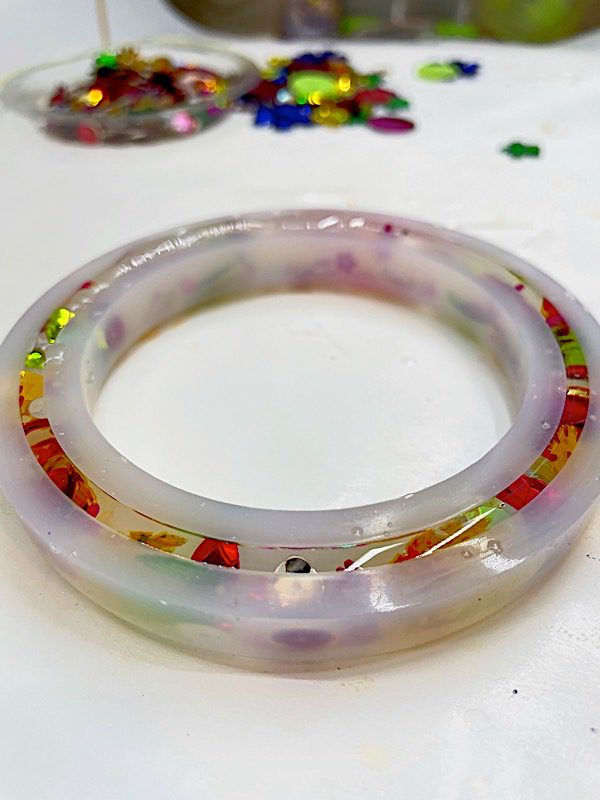
DO add other things to your resin
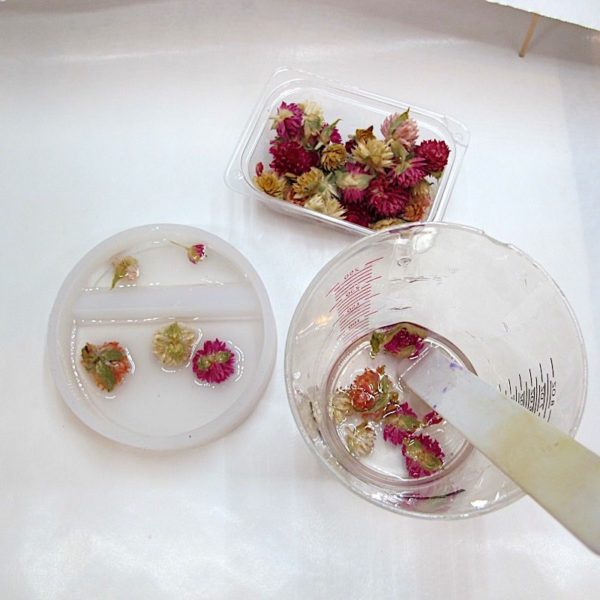
Some popular choices are:
Candy
Glitter
Flowers
Coffee beans
Metal charms
⭐️ BONUS: Here are even more things to include in resin.
DON’T add anything to resin that can keep it from curing.
Resin doesn’t like moisture. Anything with a high water content can keep it from curing.
⭐️ BONUS: Here are five things you should never set in resin.
DO carefully mix your resin.

Resin bubbles are the biggest nemesis to resin artists. The best way to handle resin bubbles is to avoid making them when mixing.
DON’T ignore how your epoxy type helps you avoid bubbles.
That means using casting resin for molds and spaces and coating resins for artwork, tumblers, bezels, and countertops.
But despite all your best efforts, you’re probably going to have a few to deal with. You can go over your epoxy resin surface with a heat gun to guide any stubborn bubbles to pop before your resin starts curing.
⭐️ BONUS: Ten tips to avoiding resin bubbles.
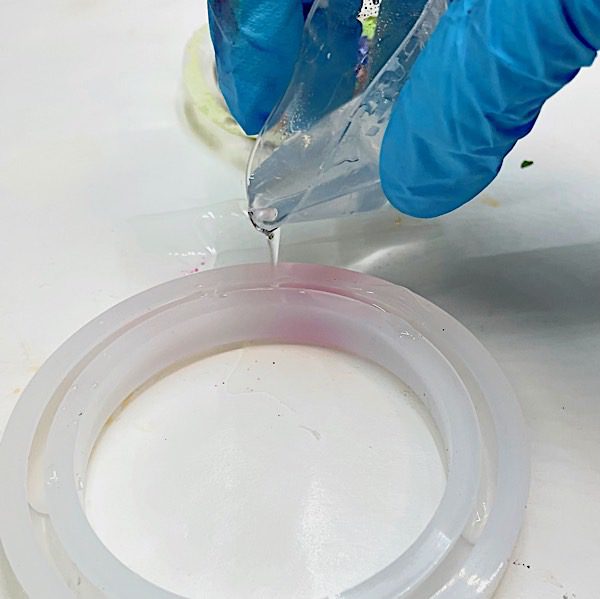
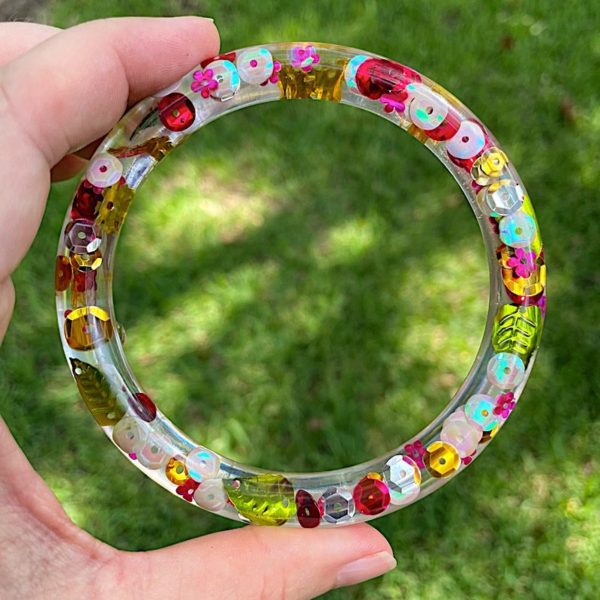
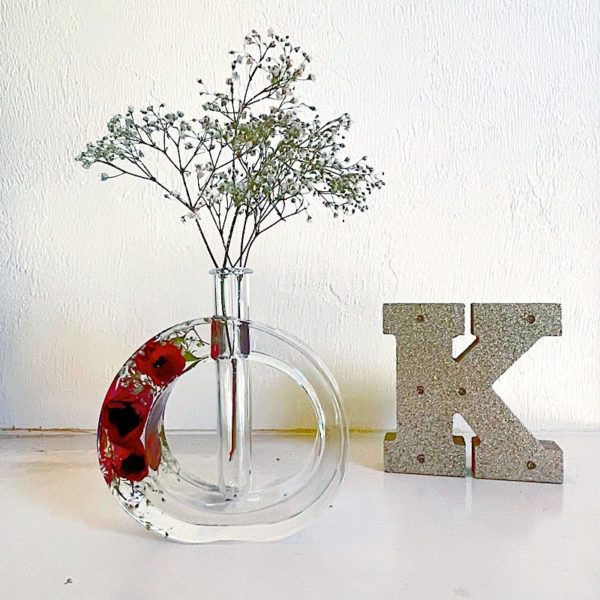
DO have fun with resin in molds.
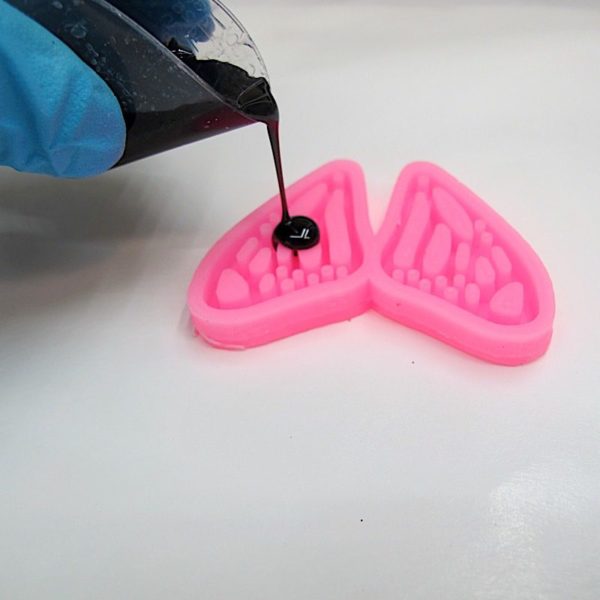
Pouring resin into molds is one of the best things about creating with it. You can use it to make
Flower vases
Bracelets
Serving trays
And one of our most popular projects – resin coasters.
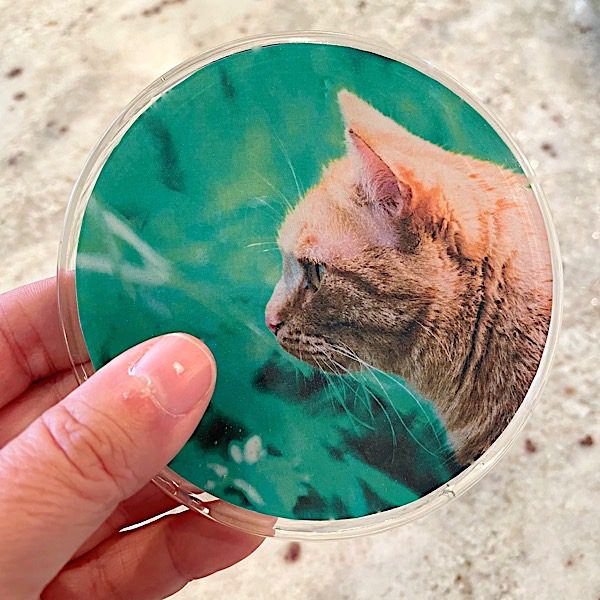
DON’T always use resin molds.
Epoxy resin makes a beautiful coating on art, photographs, and metal tumblers.
If you don’t want the layers to blend, wait until one layer cures before adding the next layer.
But, if you’re in a hurry, once a layer starts to gel (like gelatin), you can pour the next layer, and they won’t mix.
⭐️ BONUS: Here’s the guide to using epoxy resin in layers.
DO use resin safely.
Like driving a car, an automobile is safe when you follow traffic laws and wear a seatbelt.
Resin is the same.
You want to
✅ Wear protective gloves
✅ Have good room ventilation
✅ Use a resin that conforms to ASTM D-4236.
DON’T use a resin that doesn’t have the ASTM D-4236 certification.
Ever. Your health isn’t worth it.
⚠️ IMPORTANT: 90% of the resins out there don’t have that. Especially on that site that won at business but lost at humanity.
What’s the easiest way for beginners to use resin?
DO get a starter kit.
It’s got everything you need to make something the same day you get it.
Resin Obsession has two beginner kits. And you guessed it – one has casting resin, and one has doming resin.
The Resin Obsession super clear resin casting kit has
Casting epoxy
Silicone mold
Mixing cups
Stirring sticks
Protective gloves
Use the mold to make a coaster for your favorite beverage.
The Resin Obsession crystal doming resin kit has
Doming epoxy
20 jewelry blanks
Mixing cups
Stirring sticks
Protective gloves
One of my favorite ways to use this kit is to make photo pendants.
Ready to try epoxy resin but want more help getting started?
DON’T go it alone.
For less than the cost of an epoxy resin kit, you can get a copy of the guide, Resin Fundamentals. It’s the same teachings you get from my in-person classes, all from the comfort of home. Buy the PDF book now, and a download link will arrive in your inbox in minutes.
Unpublished Blog Posts of Resin Obsession, LLC © 2023 Resin Obsession, LLC