
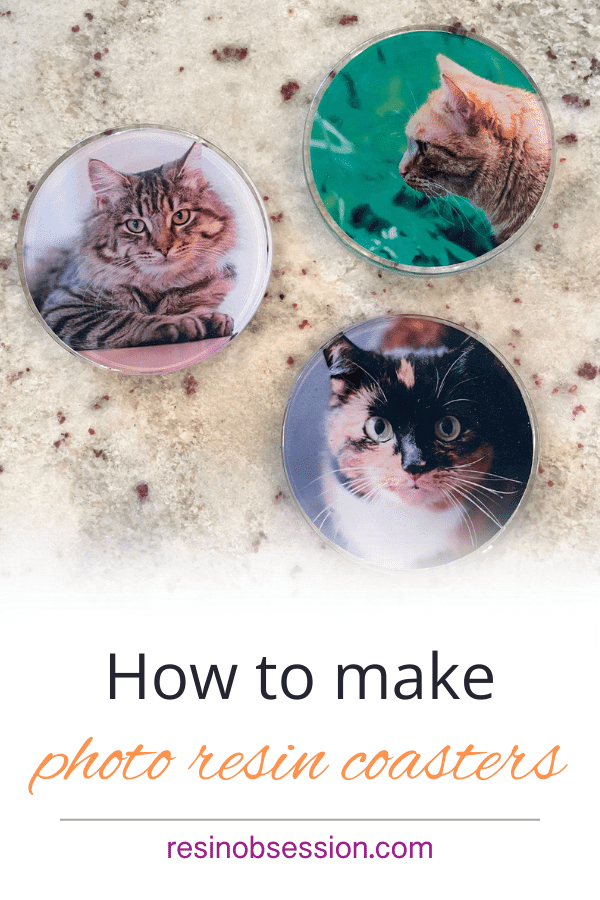
Photo resin coasters are pretty popular because they tick these two boxes: unique and personalized. Not only are they fun to make, but they’re a creative way to preserve cherished memories. Photo resin coasters are a superb choice if you’re looking for a heartfelt present or want to elevate your home decor.
And you get to show off your resin skills.
Why Make Photo Resin Coasters?
Sentimental Value
A photo resin coaster holds more than just a picture. It encapsulates cherished memories and special moments. How will you enjoy all those pretty pictures when they’re buried on your phone?
Customization
Whether it’s a family portrait, favorite vacation spot, or beloved pet, you can create a unique and personalized coaster. And you don’t have to worry about them matching the decorating trend of the moment. Because they’re a treasured memory, they’ll always be in style.
Functional and Decorative
Besides being a sentimental gift, photo resin coasters also serve a practical purpose. They protect surfaces from condensation, heat, and potential scratches. Yes, resin crafting IS practical.
Conversation Starters
Personalized coasters are great conversation starters. Guests will inevitably be drawn to them, sparking discussions about the cats memories in the coasters. And you can teach them about resin too.
Versatility
You can experiment with various shapes, sizes, and colors with your photo resin coasters to match any interior decor or theme.
Now that you’ve decided to make photo resin coasters, here are the supplies you’ll need:
Resin Obsession super clear resin
Resin coaster mold
Digital photos
Bright white paper
Resin mold release
Crafting Tools: Mixing cups, stir sticks, and a heat gun for removing air bubbles.
Protective Gear: Wear gloves, and work in a well-ventilated area
Step-by-Step Guide to Making Photo Resin Coasters
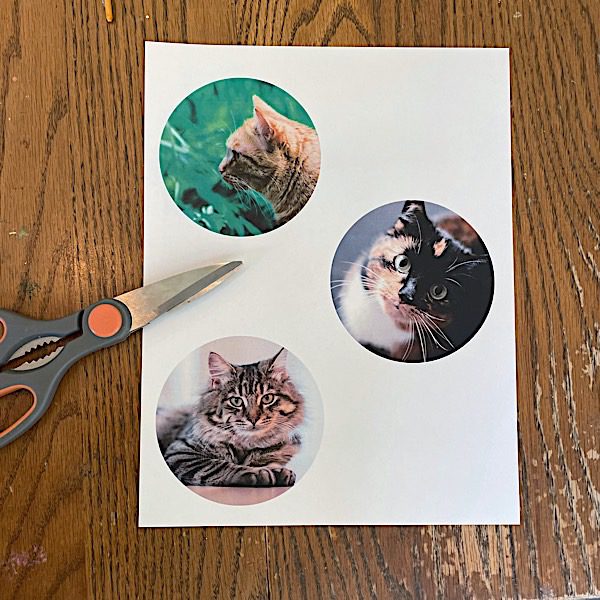
Step 1: Prep the picture.
Edit your pictures so they’re the right size to fit the coaster mold. Use high-resolution images with good contrast and sharpness to ensure the best results.
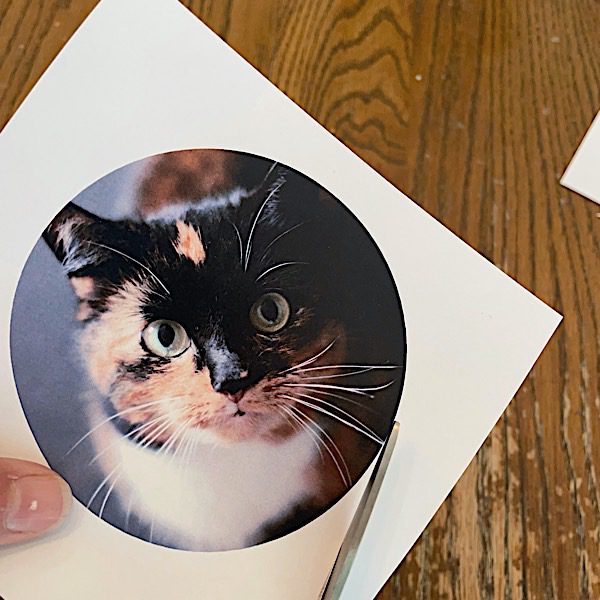
Then, print onto high-quality paper and cut out. Next, seal the images so they don’t take up moisture stains when you add them to the resin.
💡 Pro tip: Canva has a free version that makes it easy to size your pictures for this coaster mold. Edit your photographs for colors, cropping, etc., then download the image files. Next, reupload the images into Canva. Then, open this template in Canva. Add your pictures to the template and print the entire page.
Step 2: Prep the molds.
Mist mold release over the mold cavities. Let it dry for at least 30 minutes.
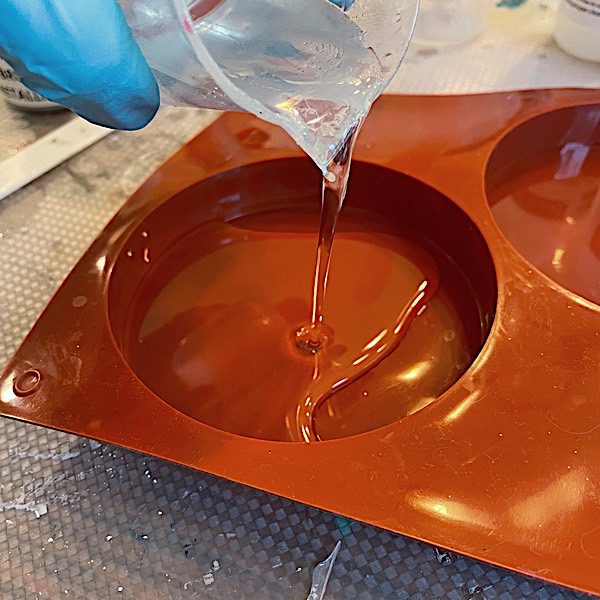
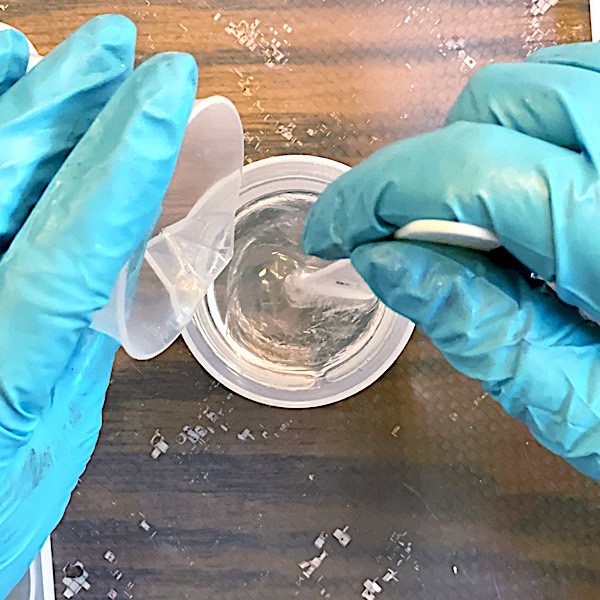
Step 3: Mix resin for the first layer.
Mix 3 ounces of super clear resin and divide it among the three cavities. Wait about 45 minutes.
Step 4: Mix resin for the second layer.
Mix another 3 ounces of super clear resin and add to the resin in the mold. Add the photo to the mold cavity, image side down. Wait another 45 minutes.
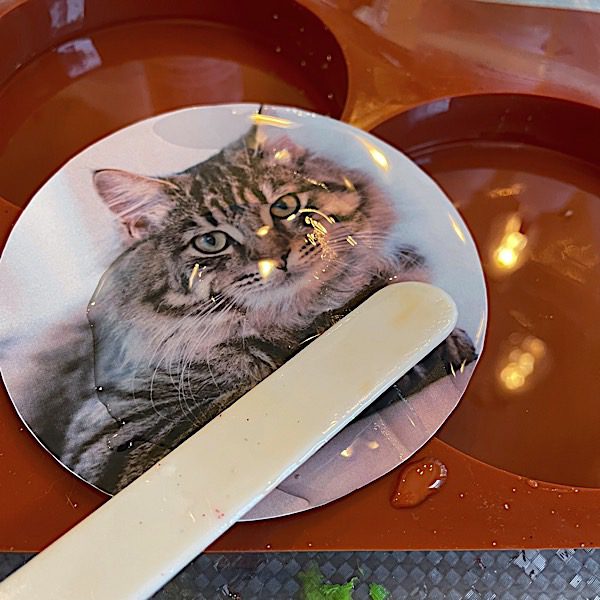
💡 Pro tip: Brush mixed resin onto the paper image before placing it into the mold. That will break the surface tension and make it less likely you’ll trap bubbles underneath the paper.
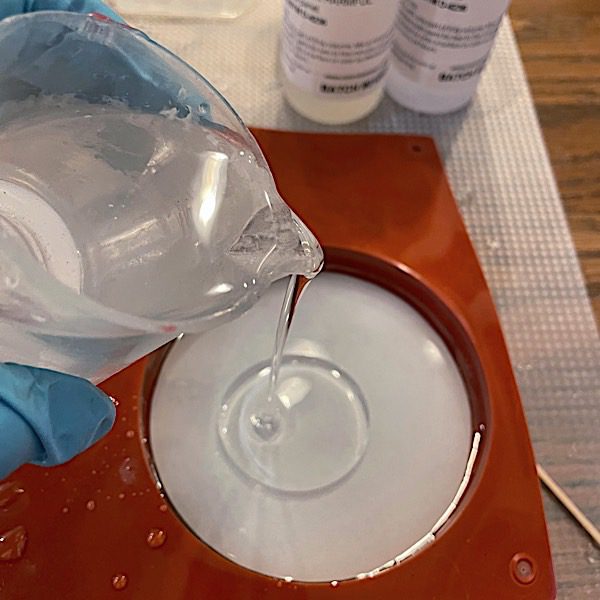
Step 5: Mix resin for the final layer.
Mix another 3 ounces of super clear resin and finish filling each mold cavity. Let the resin fully dry.
💡 Pro tip: As you pour each layer, check for bubbles. Hold a heat gun a few inches above the resin and move across the wet resin.
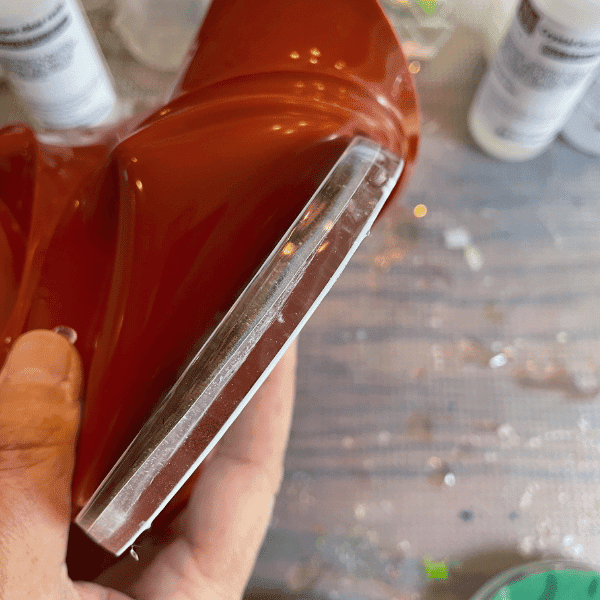
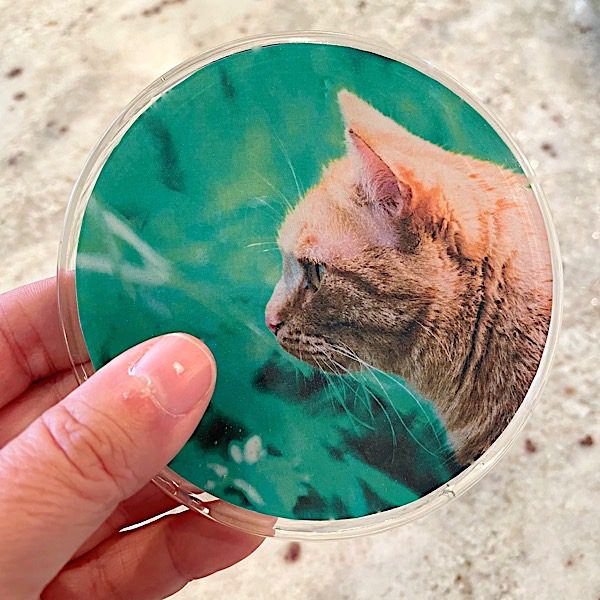
Step 6: Demold
Once cured, peel the coasters from the molds. If the coasters have rough edges, sand them for a smooth finish. Or, you can add cork or bumpers to the back instead.
💡 Pro tip: Here’s an easy way to fix a resin edge that doesn’t involve sanding.
Your personalized photo resin coasters are now ready to be gifted or displayed.
As you’re making photo resin coasters, here are a few other things you might be wondering…
Why not pour resin for the photo coasters in one resin layer?
Because your paper won’t sink evenly, getting the paper to ‘stop’ in the middle and look even from side to side is almost impossible.
Why don’t you let the resin cure all the way between layers?
You can. But you’ll see lines between layers. If you don’t want lines between layers, you’ll add the next layer when the previous layer is in the gel phase. (That’s about 45 minutes for the super clear resin.)
But you don’t have to. Like, who’s going to pick up the coasters and look at the sides and mention the lines? Waiting for the resin to cure entirely between layers is easier for beginners.
Why do you put the images in picture side down?
Because the bottom of the coaster mold forms the front of the coaster. If you pour with the picture facing you, you’ll have to work harder after demolding to get a flat, smooth coaster surface.
Why should you use the super clear resin to make photo coasters?
Because it cures hard and clear. You won’t have to worry about your coasters denting, bending, or scratching when you use them.
Creative Ideas for Personalizing Photo Resin Coasters
Themed Sets
Add pictures with specific themes, such as family vacations, weddings, or a series of beloved pet pictures.
Custom Quotes
Combine photos with meaningful quotes or personalized messages.
Nature-Inspired
Embed flowers, leaves, or other natural elements within the resin.
Artistic Designs
Experiment with abstract or artistic designs for a more contemporary and unique look.
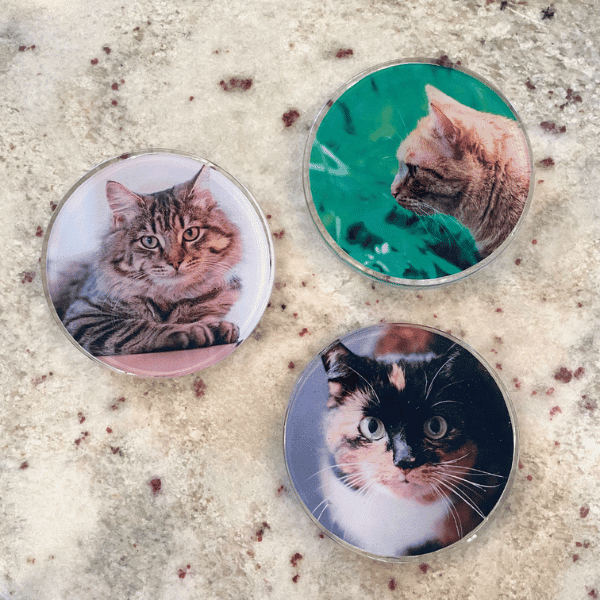
CATS
You can never go wrong making cat coasters.
Want more help making your photo resin coasters?
Then grab the beginner ebook Resin Fundamentals. You’ll learn the essentials of working with resin that will have you a pro status in only a couple of hours. Buy the PDF book now and get a download link in minutes.
Unpublished Blog Posts of Resin Obsession, LLC © 2023 Resin Obsession, LLC
Question: What is the diameter and depth of the finished coasters as shown above. Each one ends up with three ounces of resin/
Hi Claudia, the mold dimensions are shared here: https://shop.resinobsession.com/products/round-three-cavity-silicone-coaster-mold