
 What do you think when you see a dandelion? Do you swoon that they’re nature’s way of teaching us to find beauty in everything? Or, do you cringe knowing you need to mow the lawn? Whichever side you’re on, here’s how you can use them to make a dandelion paperweight.
Resin supplies list
*Super clear crafting epoxy resin
*Half of a 50 mm two-part sphere mold
*Fresh dandelion that’s gone to seed
*Mixing cups
*Stirring sticks
*Protective gloves
[OPTIONAL] Step 1: Calculate the resin amount
If you hate wasting resin, keep reading. Otherwise, skip to step 2, you maverick. I bet you cut the tags off mattresses too.
Using this sphere volume calculator, the entire mold (both parts put together) holds 65.45 cubic centimeters. But, we’re only using half the mold, so we only need 32.725 cubic centimeters. The super clear resin mixes one parts resin (A side) to one part hardener (B side). So, instead of breaking down 32.725 ccs into the math for Part A and B (this is supposed to be fun), let’s do this intead.
First, round up to 37.5 ccs. Then, mix 20 ccs Part A and 20ccs of Part B (for a total of 40 ccs). It’s a cinch with 1-ounce mixing cups that have marks on the side. You can use your extra epoxy for some leftover resin projects after you’ve made your dandelion paperweight.
OR
There’s an even easier way to figure out how much resin you need to fill a mold.
Yes, I could have started with that, but then I wouldn’t be able to say that this is the hardest step of the dandelion paperweight project. 😉
Step 2: Mix the resin
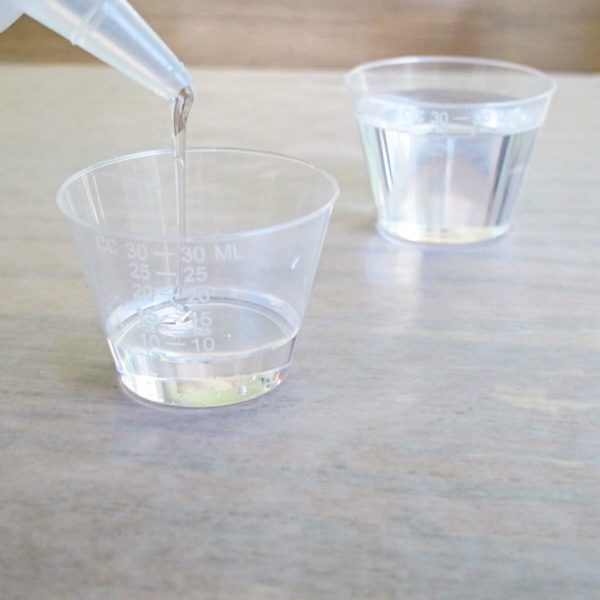
Mix your resin and hardener together until it’s clear and streak-free. This will take about two to three minutes.
⭐️ BONUS: Here’s how you know when your resin is mixed.
Step 3: Partially fill the mold with resin

Mix and pour enough super resin for crafts to fill the bottom half of the mold.
Why use the super clear resin for this project?
It releases bubbles easily. You won’t stress over microbubbles sticking to the seed stems. Instead, you’ll enjoy making your beautiful dandelion paperweight.
Step 4: Add the dandelion
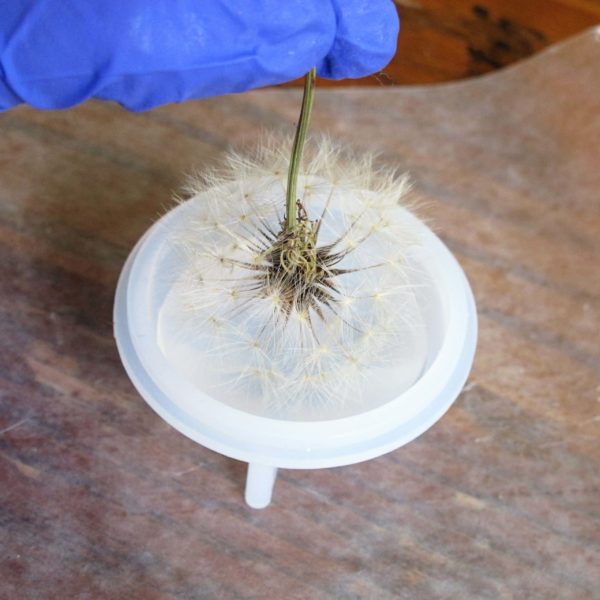
Hold the stem of the dandelion and press it into the epoxy resin. Go slowly and softly, so you don’t disturb the white tufts.
💡 Pro tip: I’ve had the best results using dandelion heads in resin within 24 hours of cutting them. After that, they dry out too much and become fragile. They’ll fall apart when you put them in your resin.
Step 5: Finish filling with resin
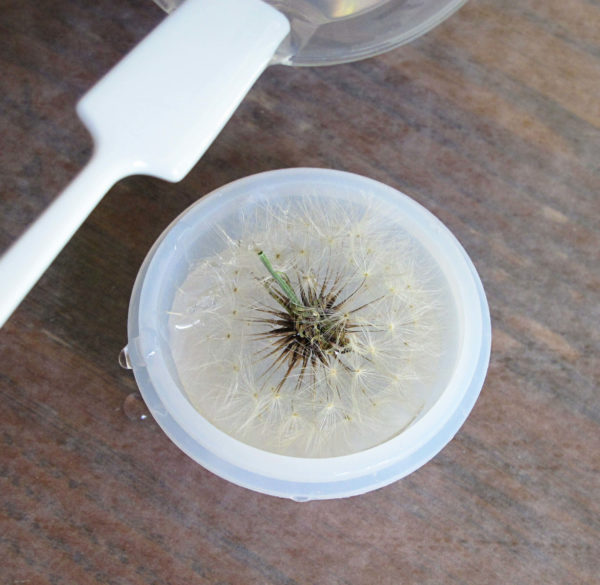
Add more resin to fill the mold.
You may need to trim the stem of the dandelion to help keep it in the upright position for your paperweight.
Cover with a dome while the resin dries.
⭐️ BONUS: How long does it take resin to dry?
Step 6: Demold
Once the resin is fully cured, peel the mold away from the resin.
Step 7: Finish the back
You’re likely to have edges on the back of your dandelion paperweight. You can either sand the back or glaze with a layer of doming resin to even out the surface.
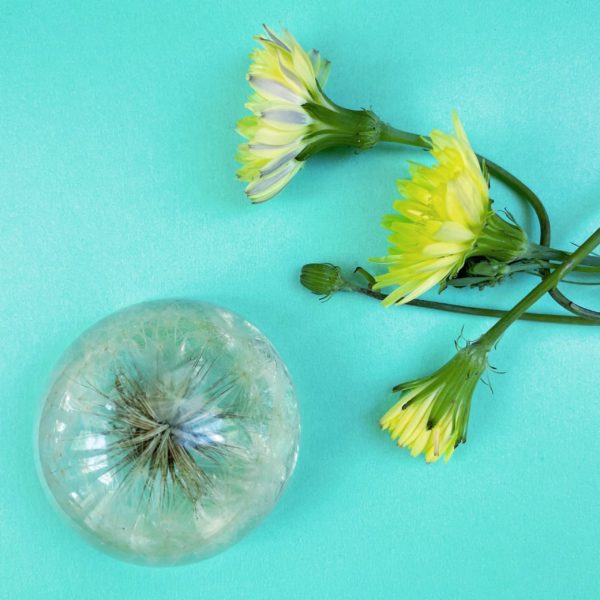
You now have a little bit of nature on your desk. And one less dandelion on your lawn.
Looking for more resin projects to make?
Then you’ll love Creative Epoxy Crafts. The PDF book has ten projects with step-by-step instructions, including color pictures. It’s the perfect guide to have when you’re stuck for resin ideas. Buy the ebook now, and a download link comes to your email in minutes.
Unpublished Blog Posts of Resin Obsession, LLC © 2023 Resin Obsession, LLC
I tried this and as soon as I put the dandelion in the resin all the seeds came off. I was really upset. The dandelion was freshly picked. Maybe next time I should let it sit for a while before putting it in the resin?
P.S. – The stem was also very long. Maybe I should have cut it down some so I would have better control of it?
I wouldn’t expect that to be the problem. I’m wondering if your dandelion was already relatively dry?
I spray my dandelions with a light coat of hairspray holding can at a distance so it won’t blow the seeds off.
great idea!
The dandelion was fresh. My daughter had just picked it. Next time I might try the hairspray. That worked great for some feathers that I used in a mold. I had no bubbles and they kept their shape.
I have been in love with dandelions almost my whole life and I love the idea of a paperweight. I am new to this and would love to know where you find your resin and mold supplies to purchase. Thank you. Virginia