
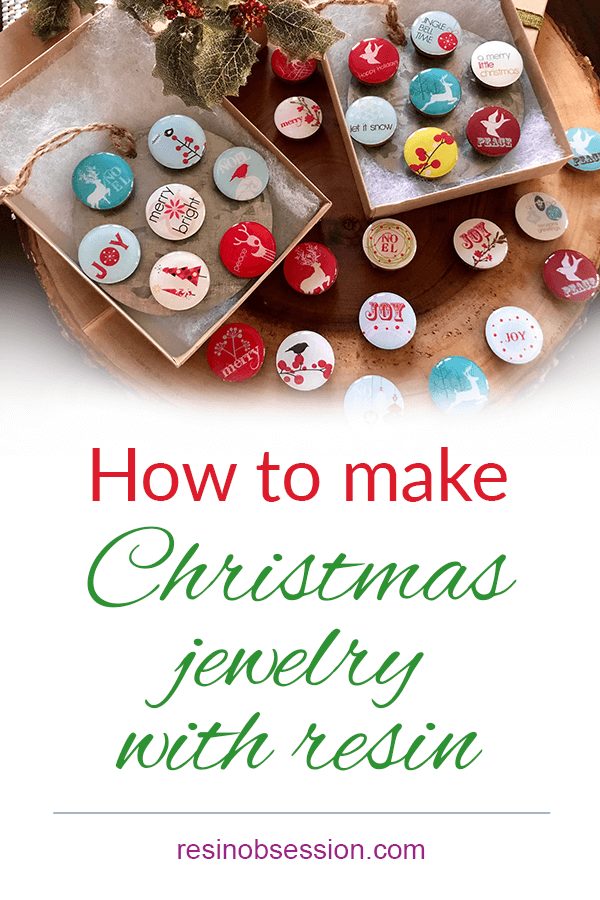
‘Tis the season to get busy with resin. We creatives know it’s almost always cheaper to DIY Christmas jewelry than buy it. Plus, making holiday-themed resin pendants and magnets is a great way to give a handmade gift this season. For this project, I calculated that each bezel and each set of magnets (6 per set) cost less than $10 to make, including everything.
This project requires:
- A Christmas image
- Wood pieces
- Glue
- Resin
- Glue-on bails
STEP 1: Get a Christmas image
Find images that match the size of your wood pieces. You can use scrapbooking paper or buy Christmas designs on Etsy. Simply search “digital collage for resin” or “Christmas images for resin.”
IMPORTANT: If you want to sell your DIY Christmas jewelry, be sure you buy images where you have permission to sell items with the designs.
STEP 2: Prepare your paper
Seal the paper with glue several times on each side. Be sure to get the sides too.
STEP 3: Glue the image to a backing
Glue the paper to the wooden discs. For this project, I used 1-inch round pieces.
STEP 4: Add resin
Mix the Resin Obsession crystal doming resin and drip onto the pendant surface. Carefully remove any bubbles that appear. This resin mixes thick, which is why you want to use it. It will produce a high dome and a glossy finish after curing.
💡 Pro tip: If this DIY Christmas jewelry project is your first time using epoxy resin, be sure to read this article on how to mix resin.
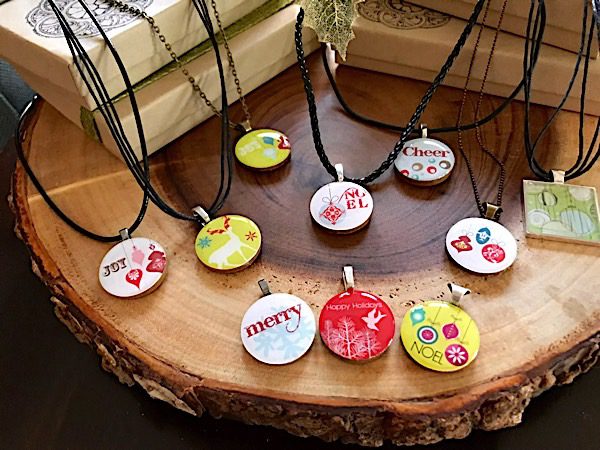
STEP 5: Finish with a bail
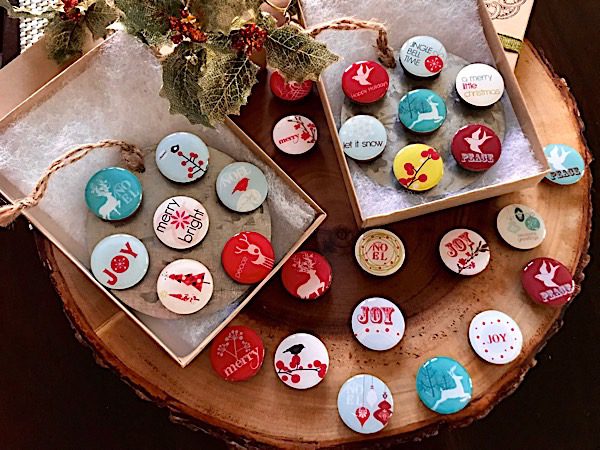
To finish the DIY Christmas jewelry, I glued on bails. For others, I glued on ¾-inch magnets for my friends who don’t wear resin necklaces.
Find an inexpensive way to present your jewelry and put all the money you saved into your next resin project!
Want to DIY this Christmas jewelry project but want more help?
It’s why I wrote the ebook Resin Fundamentals. I share the easy-to-follow path resin beginners need to take to create jewelry and crafts with resin that will have people saying, “I can’t believe you made that!” Buy the PDF book now and download it to read today.
Originally written by Penny Reid
Unpublished Blog Posts of Resin Obsession, LLC © 2023 Resin Obsession, LLC
Very Nice….
Love your site — and all your tips, ideas, and projects! Thanks for being so generous!
Very lovely.
Your choice of images are so elegant.
You’ve inspired me.
Cheers
Lisa
wow lovely 🙂