
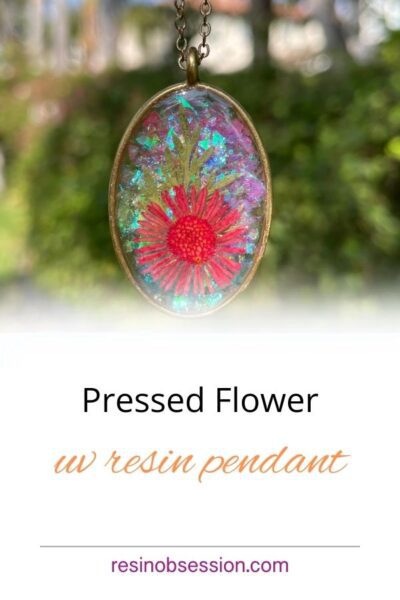
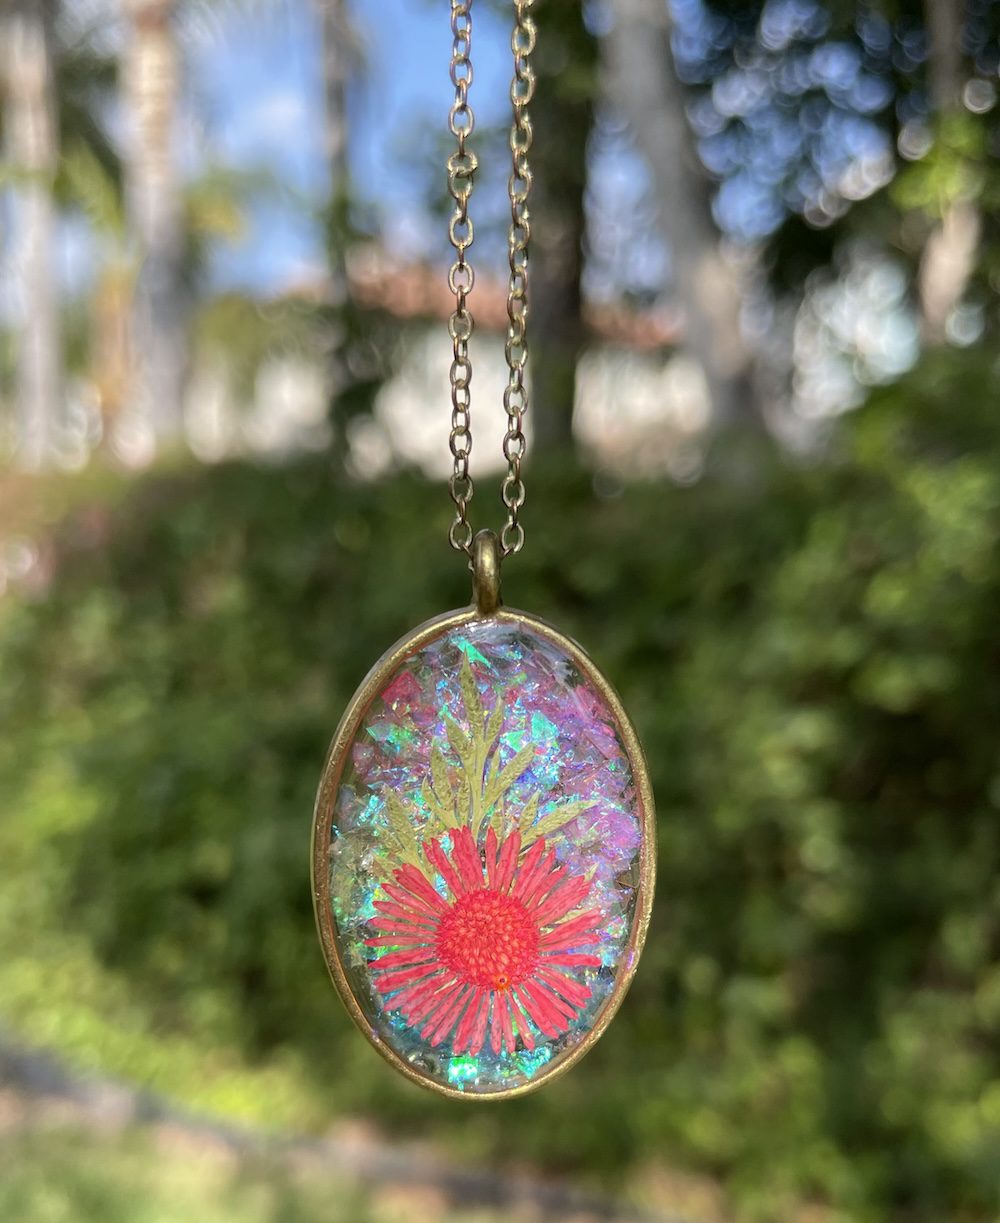
Hey there, Blossom Buddies and Crafty Crew! Have you ever wished you could capture the fleeting beauty of a blooming garden and wear it around your neck in a UV resin pendant? Well, your floral fantasies are about to become reality! Kelly Johnson, resin artist extraordinaire, is sharing a tutorial for this stunner!
What You’ll Need to Make the Resin Pendant
- UV Resin: The magic elixir of crafters.
- Oval Jewelry Bezel: Or the style you like.
- Clear Tape or Resin Tape
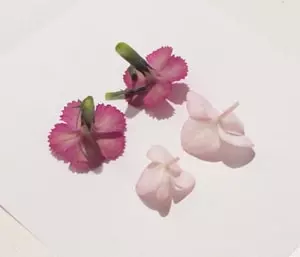
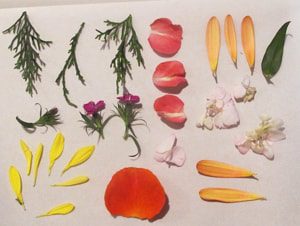
- Pressed Flowers: pick out your favorites!
- Tweezers: For precision petal placement.
- UV Lamp: Like the sun, but in fast-forward.
- Necklace Chain: To dangle your masterpiece.
- Glitter or Metallic Flakes: For that extra sparkle—fairy dust style.
- Toothpicks: For nudging petals perfectly into place.
Step 1: Flower Power Prep
Start by pressing your chosen flowers. If you haven’t done this before, it’s simple: follow my guide on pressing your own flowers here. Make sure they’re bone dry to avoid any craftastrophes!
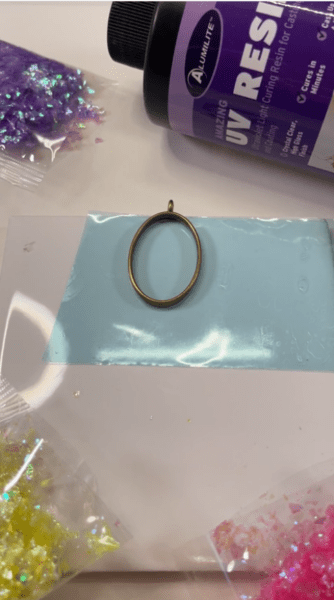
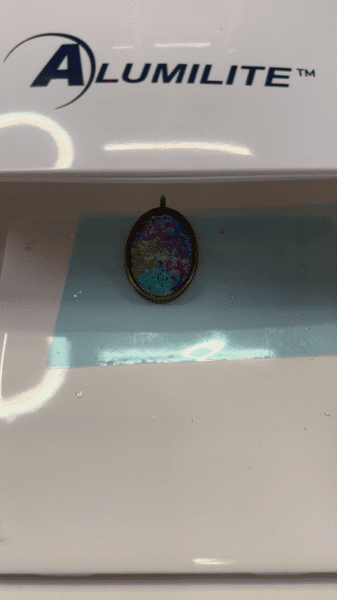
Step 2: Set Up your Pendant.
Place your jewelry bezel on a piece of clear or resin tape. Press down the ensure there will be no leakage when pouring the resin.
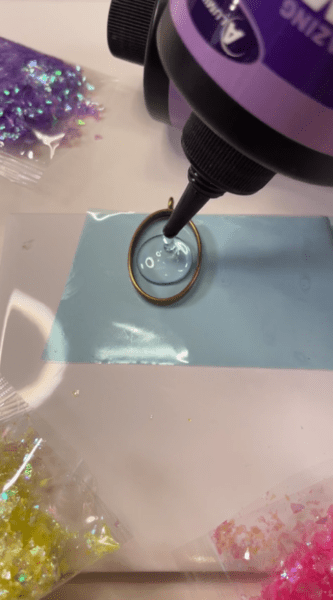
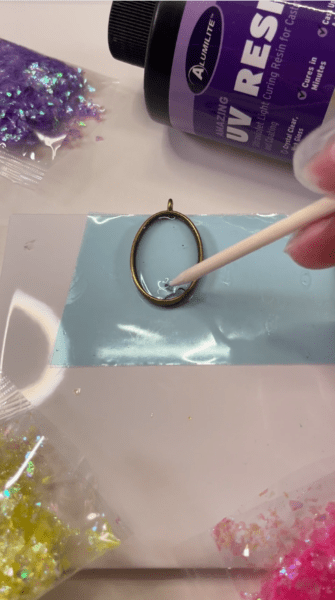
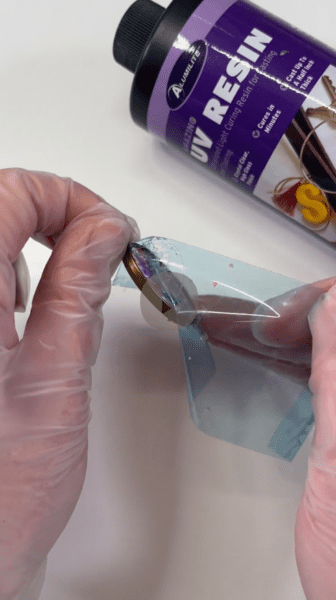
Step 3: Pour your UV Resin
Pour a thin layer of UV resin (just a base coat) into the bezel. Use a toothpick to spread out the resin and make sure it is touching all sides of the bezel.
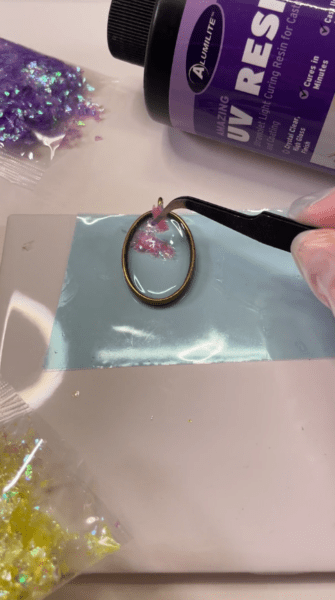
Step 4: Arrange Embellishments in your Pendant.
Use your tweezers to gently place your desired level of mylar flakes (or other bling) down first. This is where you get to be as extra as you want! Once your bling level is up to your standards you are going to cure the first layer under the UV lamp
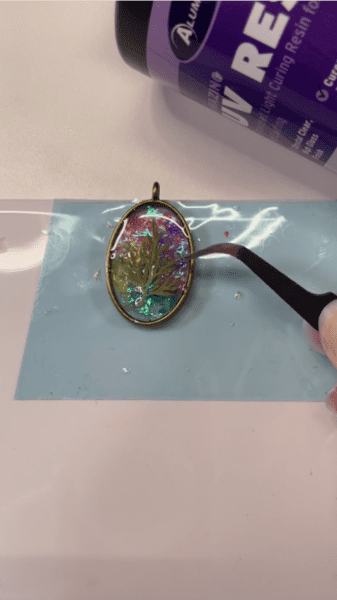
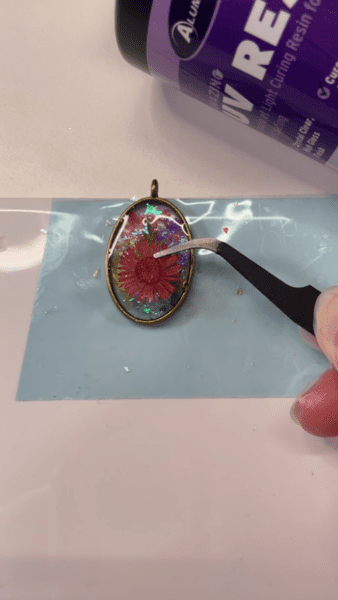
Step 5: Arrange Your Garden
Once the bottom layered has cured, it’s time to add your pressed flowers. Start by adding another layer of UV resin on top of the already-cured flake layer. Spread the resin out evenly and make sure the uv resin is evenly distributed. Now this is where you get to be a floral artist, arranging your petals and leaves like Monet arranging his lilies.
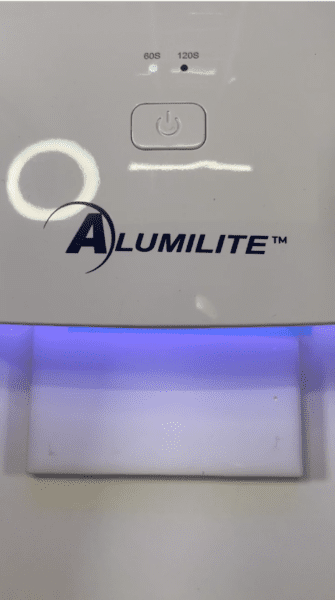
Step 6: Cure with UV Lamp
Once you’re happy with your petal placement, it’s time to cure again under the UV lamp. This won’t take long—just a few minutes. Remember, we’re sunbathing flowers here, not making sun tea!
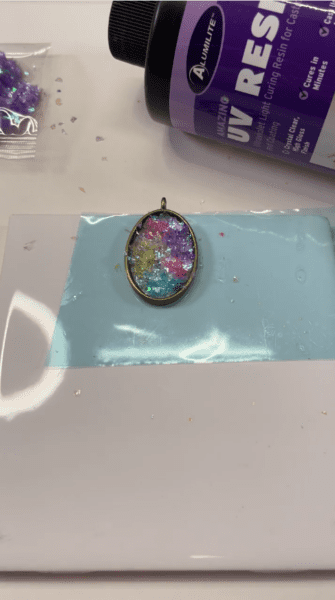
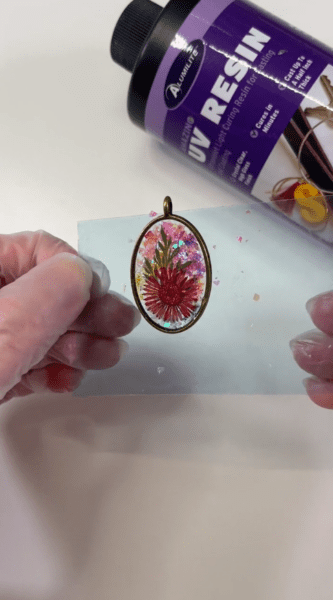
Step 7: Apply final coat of Resin
After the second layer is cured, go ahead and pour a final thin layer of resin over the top. Cure it again under the UV lamp. This seals in the magic and the petals.
Step 8: Finishing Touches
Once fully cured, peel your new pendant off of the tape. Attach it to your necklace chain, and add a jump ring.
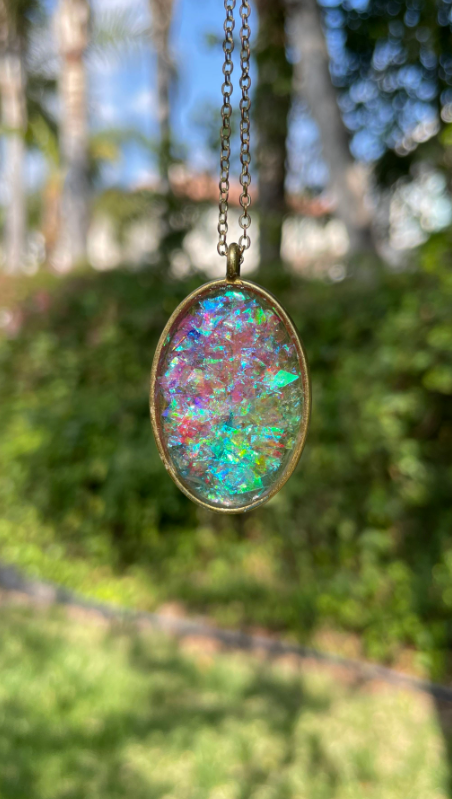
Step 9: Wear Your UV Resin Pendant Like You Mean It
Strut around with your new floral masterpiece. It’s not just a necklace; it’s a statement.
Crafting Tip:
Feel free to experiment with different flowers, colors, and backgrounds. Every piece is a unique expression of you and your connection to nature.
Making a pressed flower UV resin pendant isn’t just crafting; it’s creating a wearable garden that blooms eternally! So, whether you’re a seasoned botanical artist or a budding crafter, this project is a way to bring a little bit of nature’s magic into your everyday life. Let your creativity bloom and your pendants shine! 🌼🌿✨
Thanks to Kelly for showing us how to create this magical uv resin pendant! Check out more of Kelly’s creations on Instagram @kellyybellyy62 or Facebook.
If you’re looking to try out some more jewelry pieces check out my book Resin Jewelry Making and get crafting!