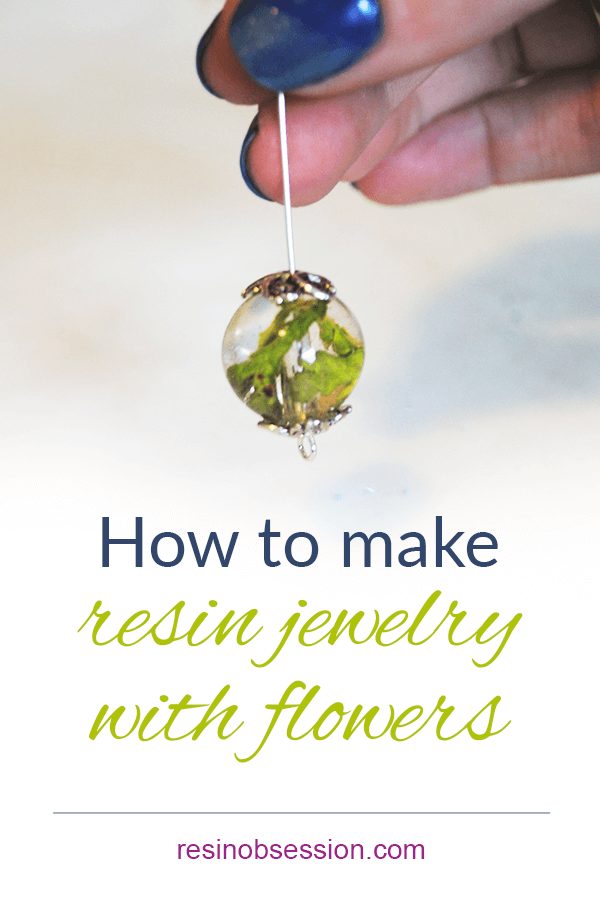
Of all the things I create, I think learning how to make resin jewelry with flowers is one of my favorite accomplishments. It is an easy way to make your jewelry line cohesive while also giving your jewelry a personal and unique look. Like I’ve made bead earrings to preserve petals from my wedding bouquet and keep vacation memories. Sometimes, I just walk into my backyard, grab a few weeds and make beauty out of something we would throw away. Even though this tutorial focuses on resin earrings, you can use these beads for necklaces, bracelets, and even keychains.
Resin supplies for the beads:
– Jewelry resin for molds
– Round Bead Mold
– Measuring Cups and Sticks
– Flowers, Leaves, Petals, etc.
Resin supplies for the earrings:
-Earring Hooks (2x)
-Bead Caps (4x)
-Decorative Dangle (2x)
-Eye Pin (2x)
-Jump Rings (4x)
-Pliers
STEP 1: Mix resin
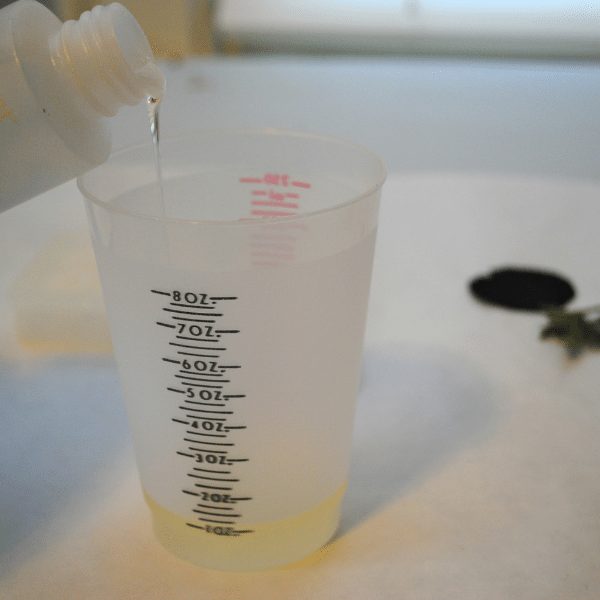
You only need about 1 oz of mixed resin, but I always mix a little extra just for any ‘oops’ moments. Be sure to mix the resin thoroughly and walk away for about 5-10 minutes to let some of the larger bubbles pop on their own.
STEP 2: Add resin to a bead mold
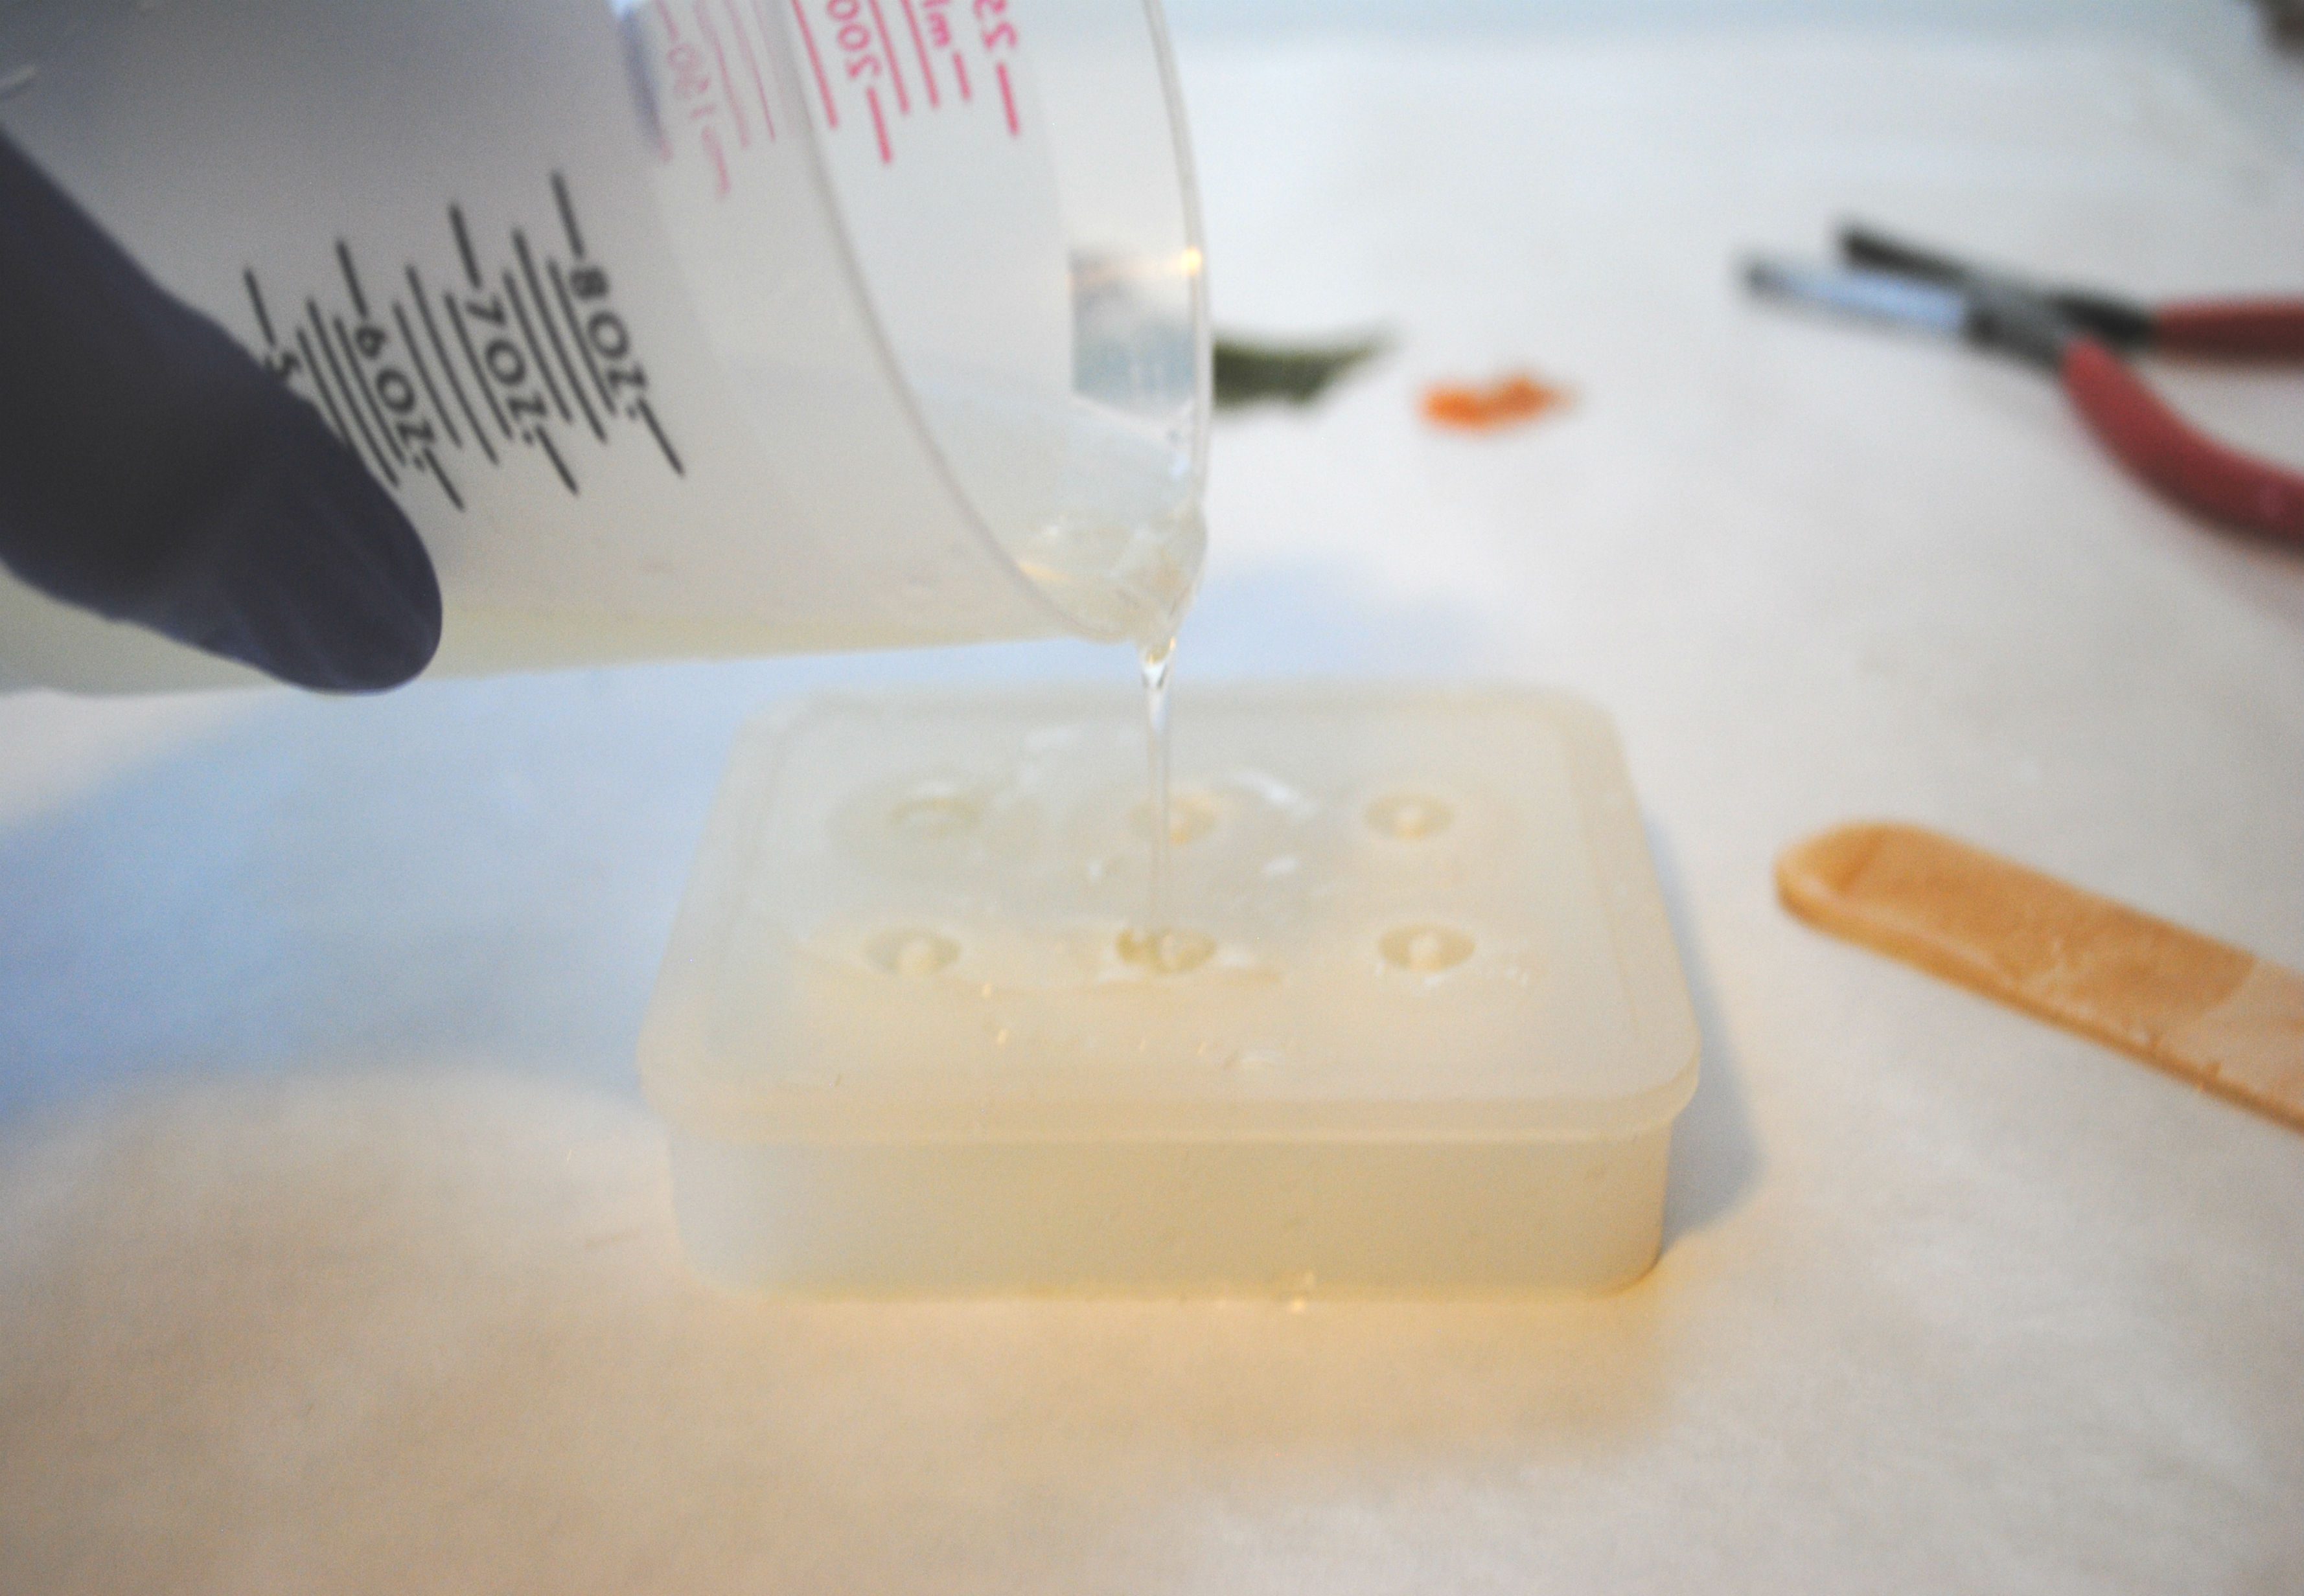
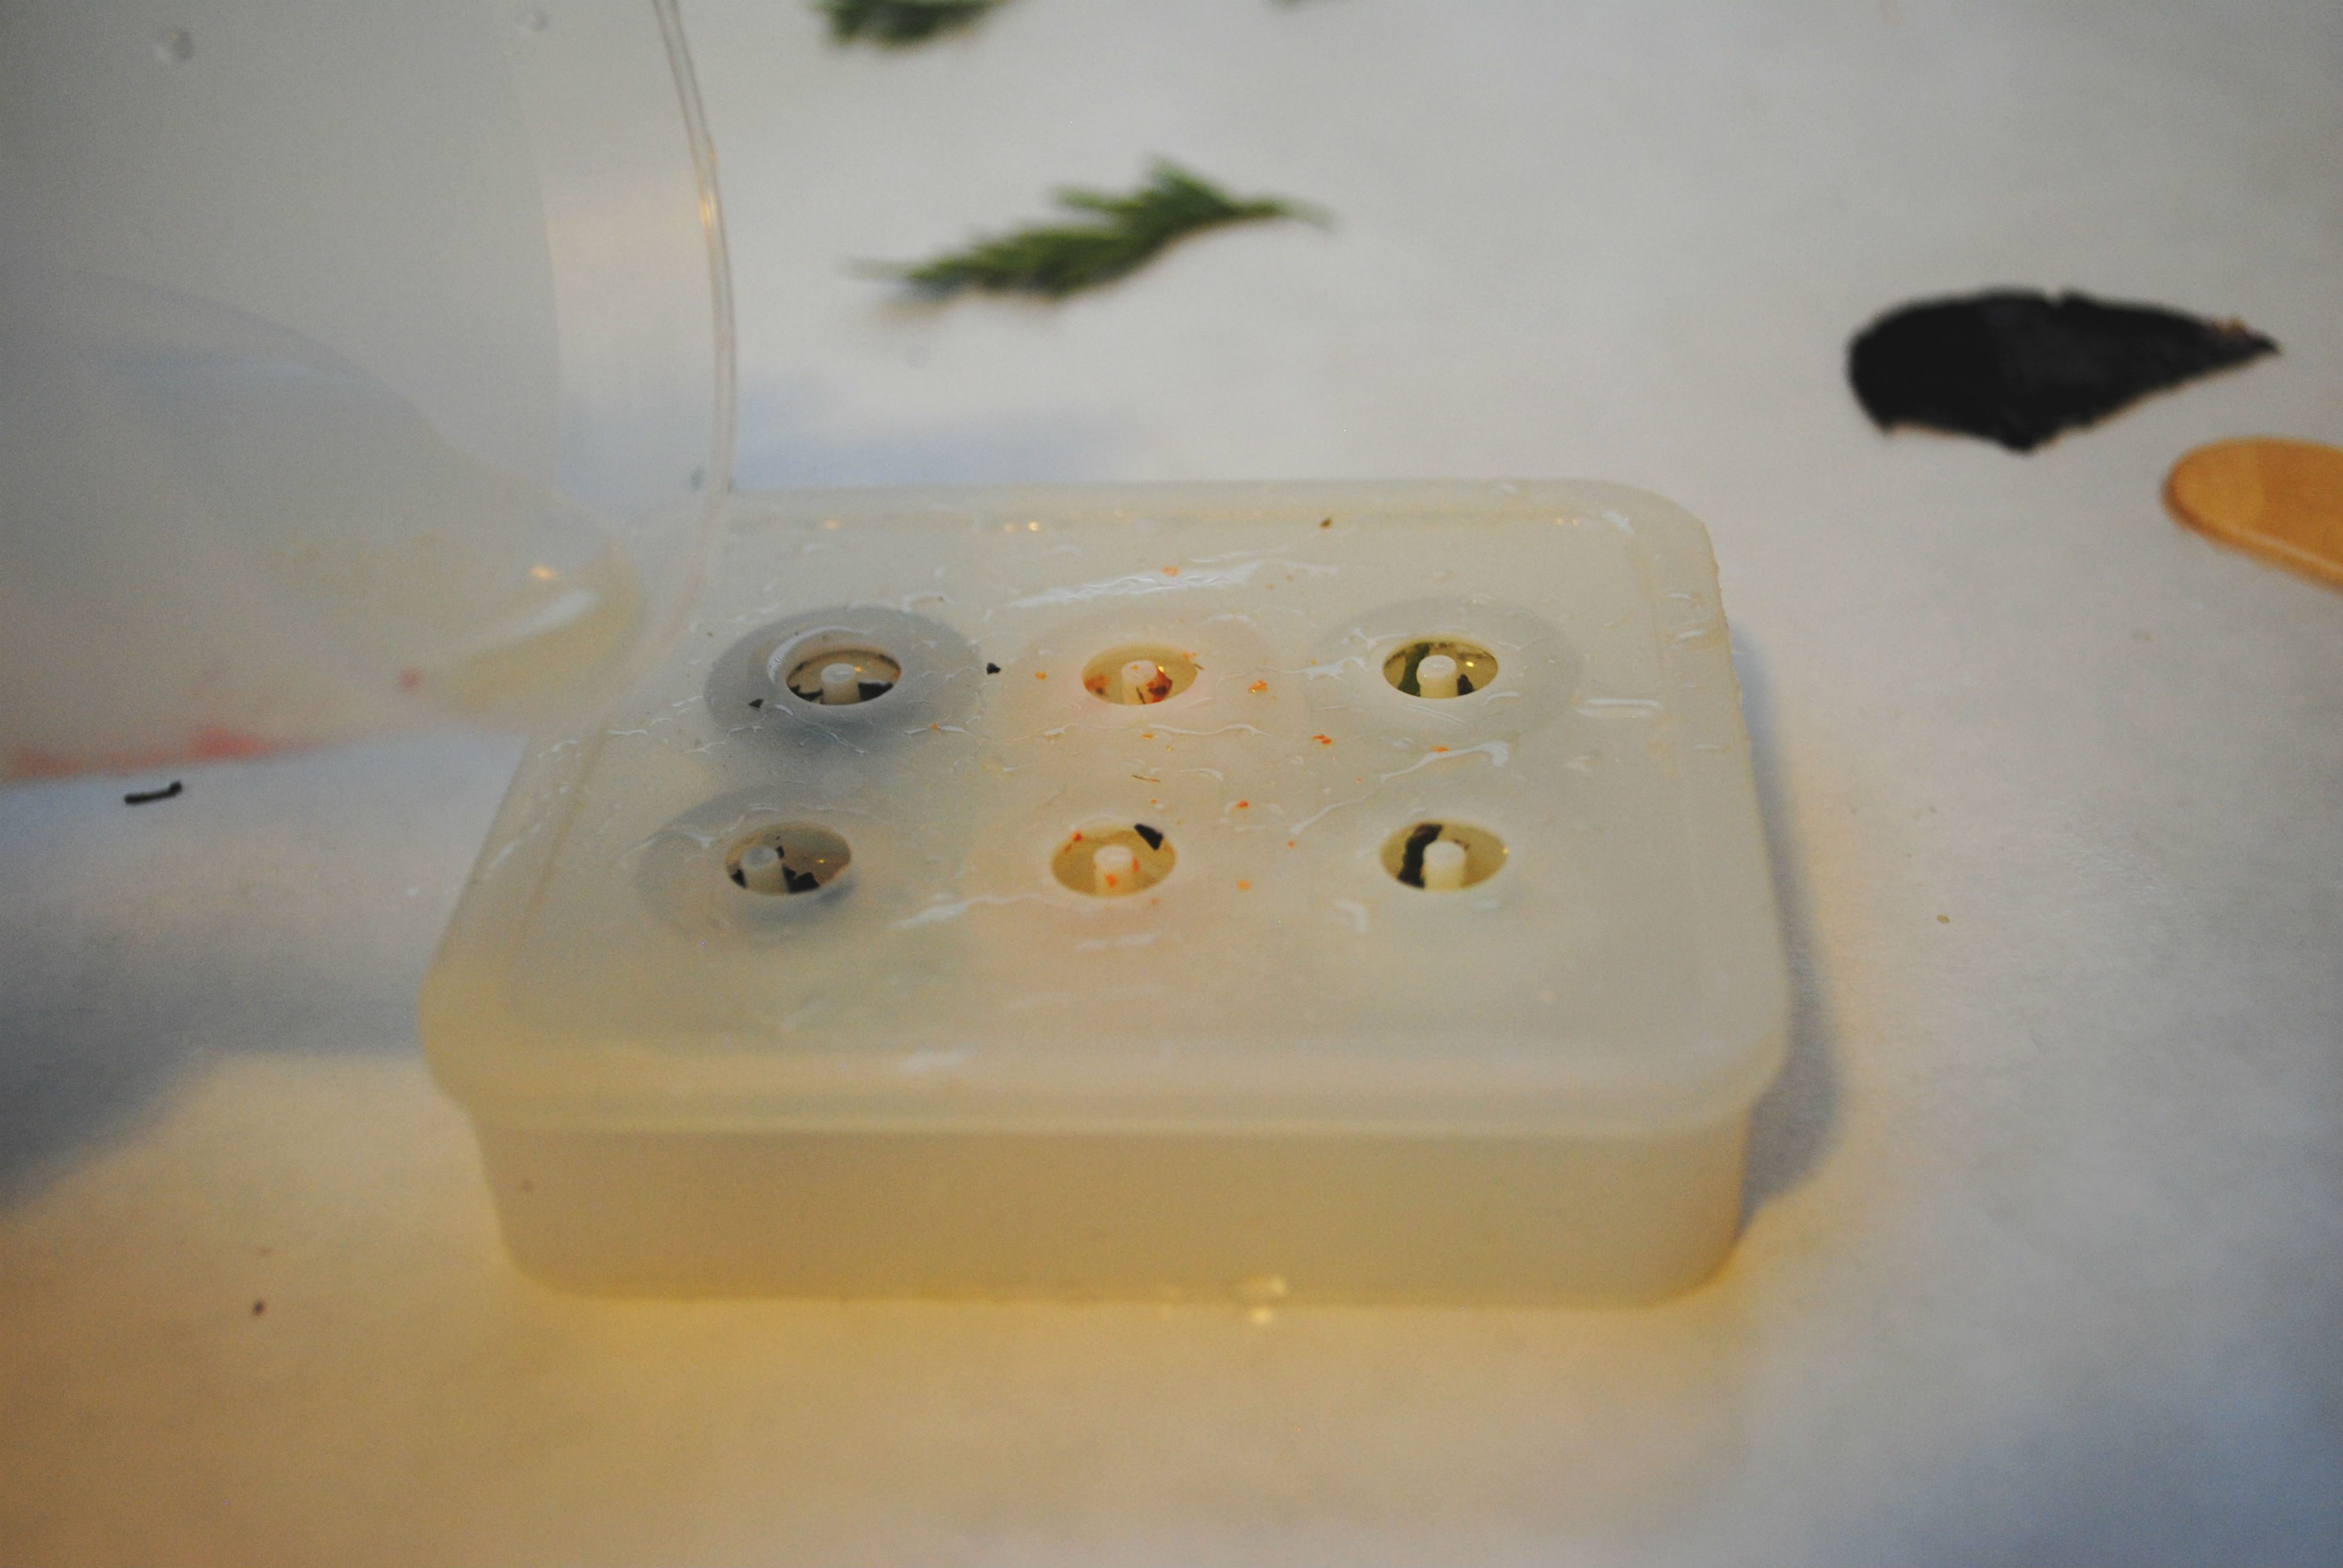
Be sure your mold is clean and free of any leftover resin drips from previous projects. I pour clear epoxy into each mold to be a little over halfway full. I start my pour holding the mixing cup close to the mold’s opening. Be careful that you are only allowing a slight drizzle out.
STEP 3: Add flowers and leaves
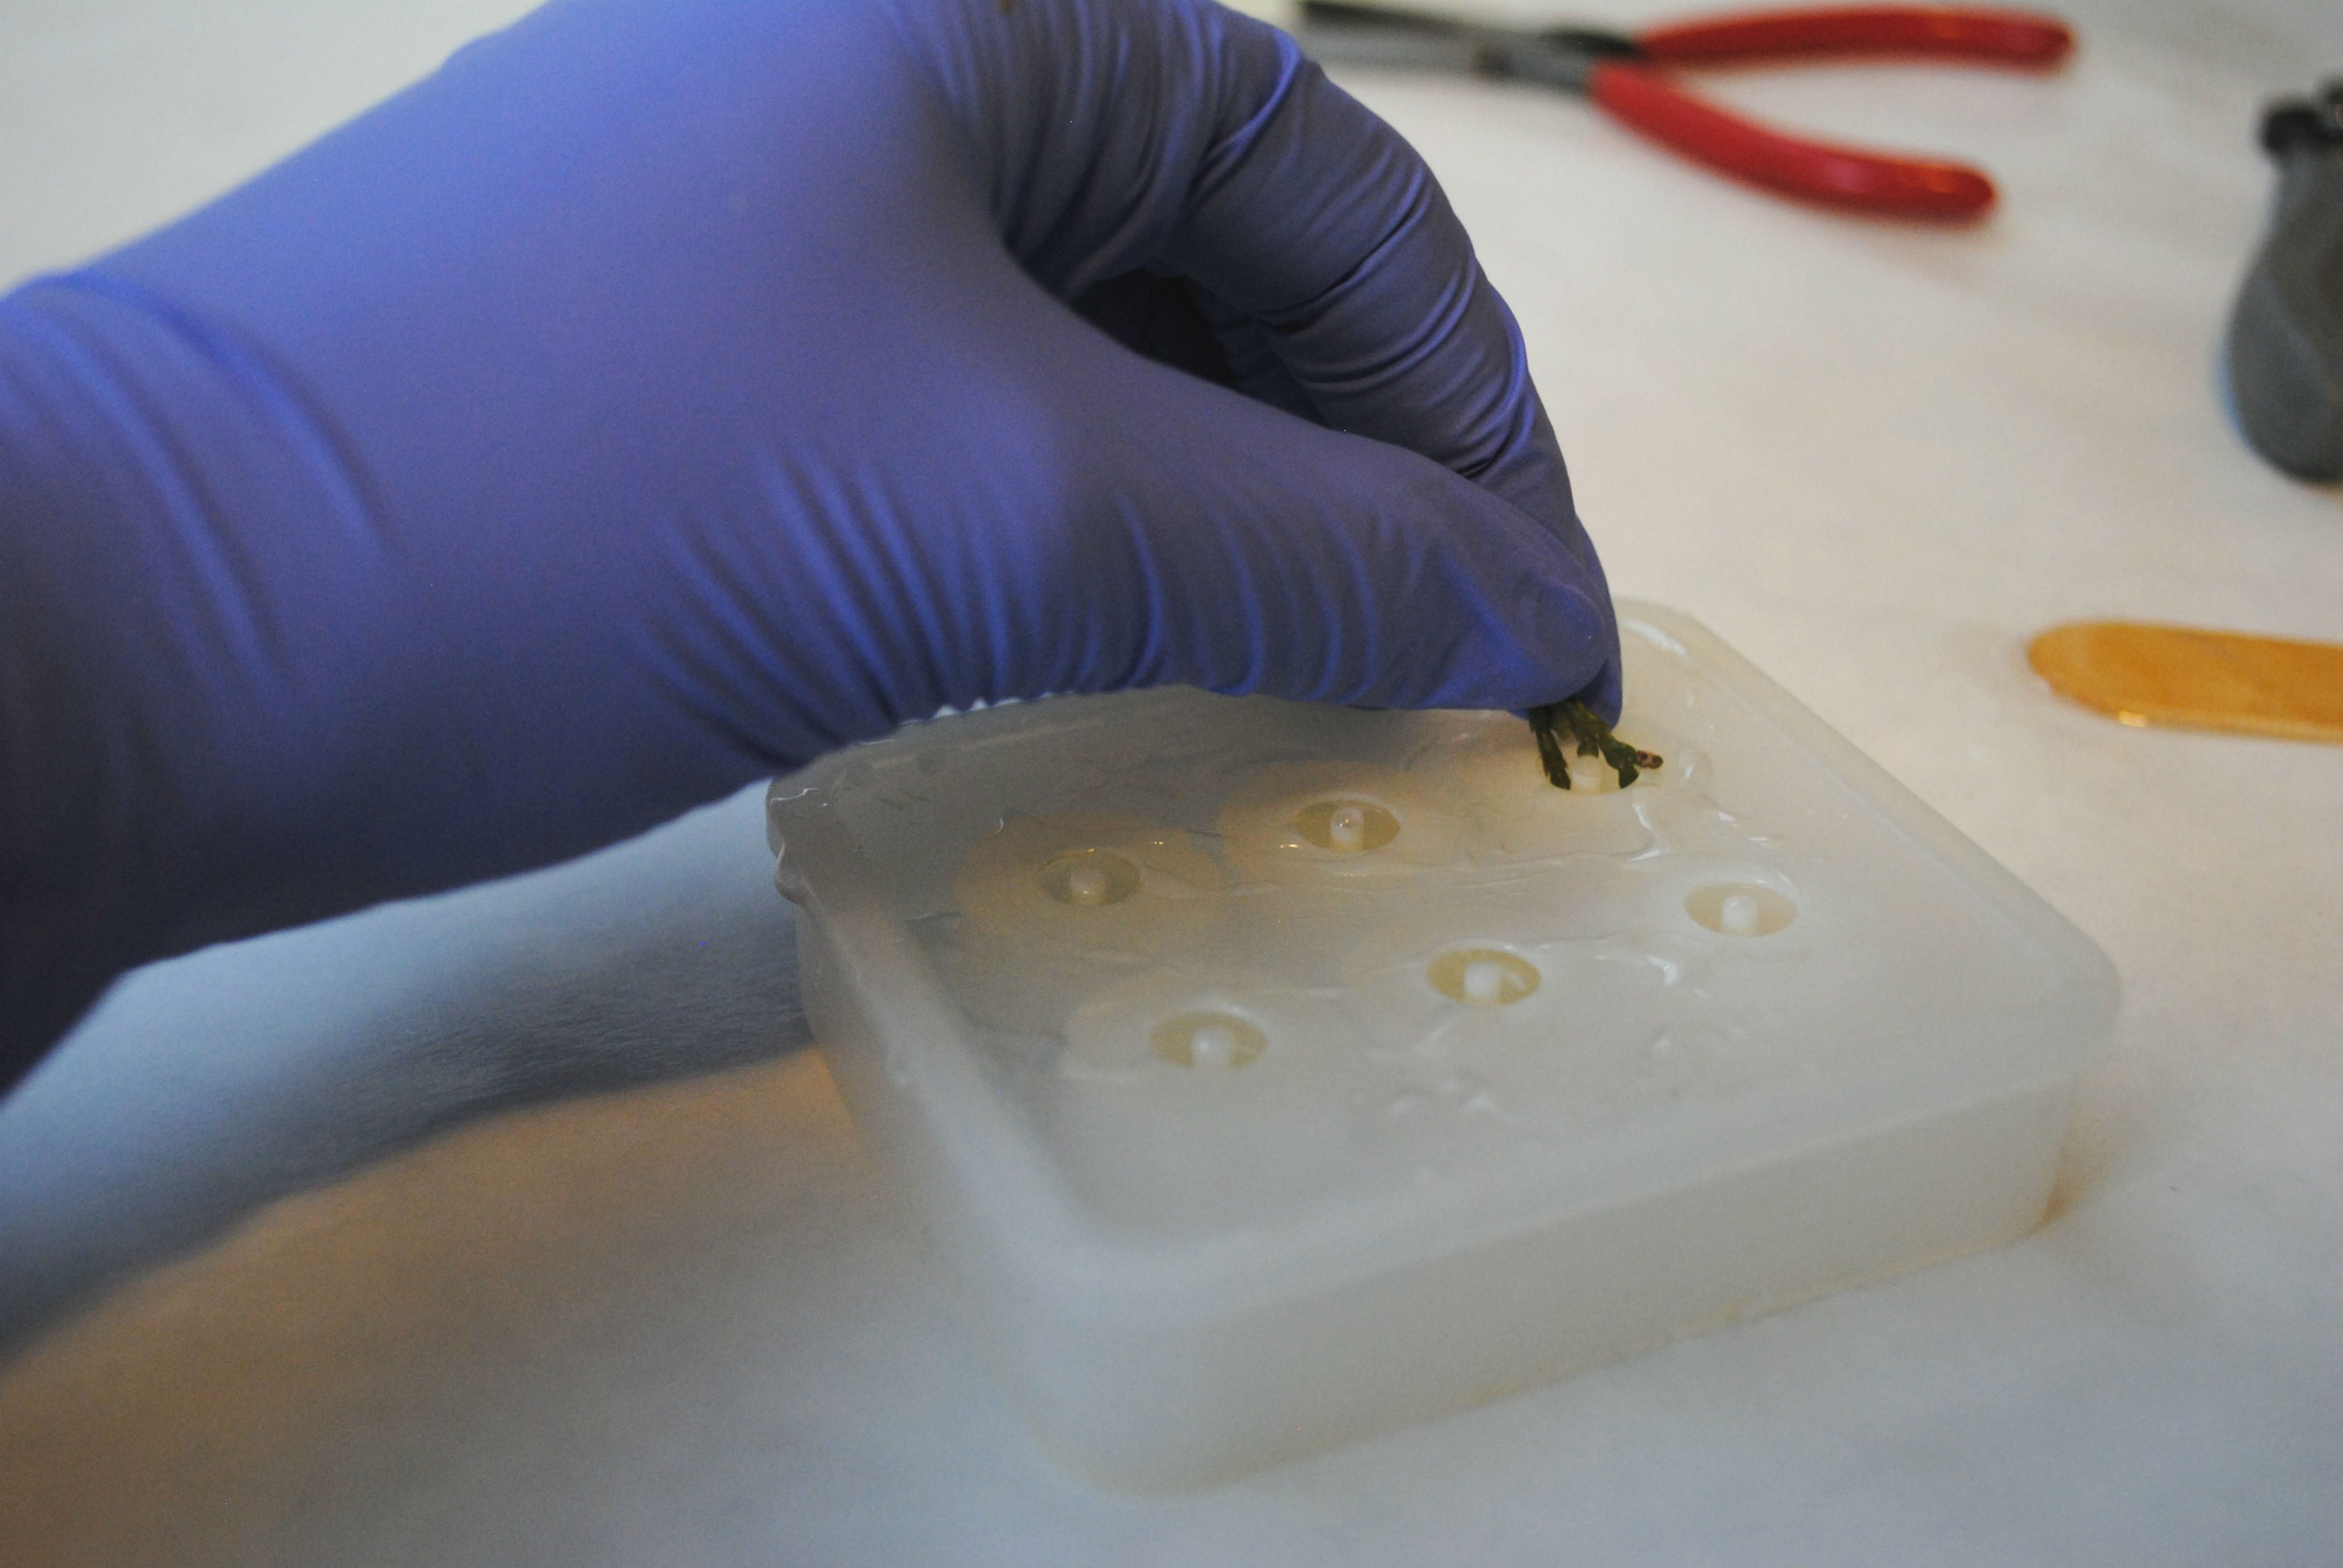
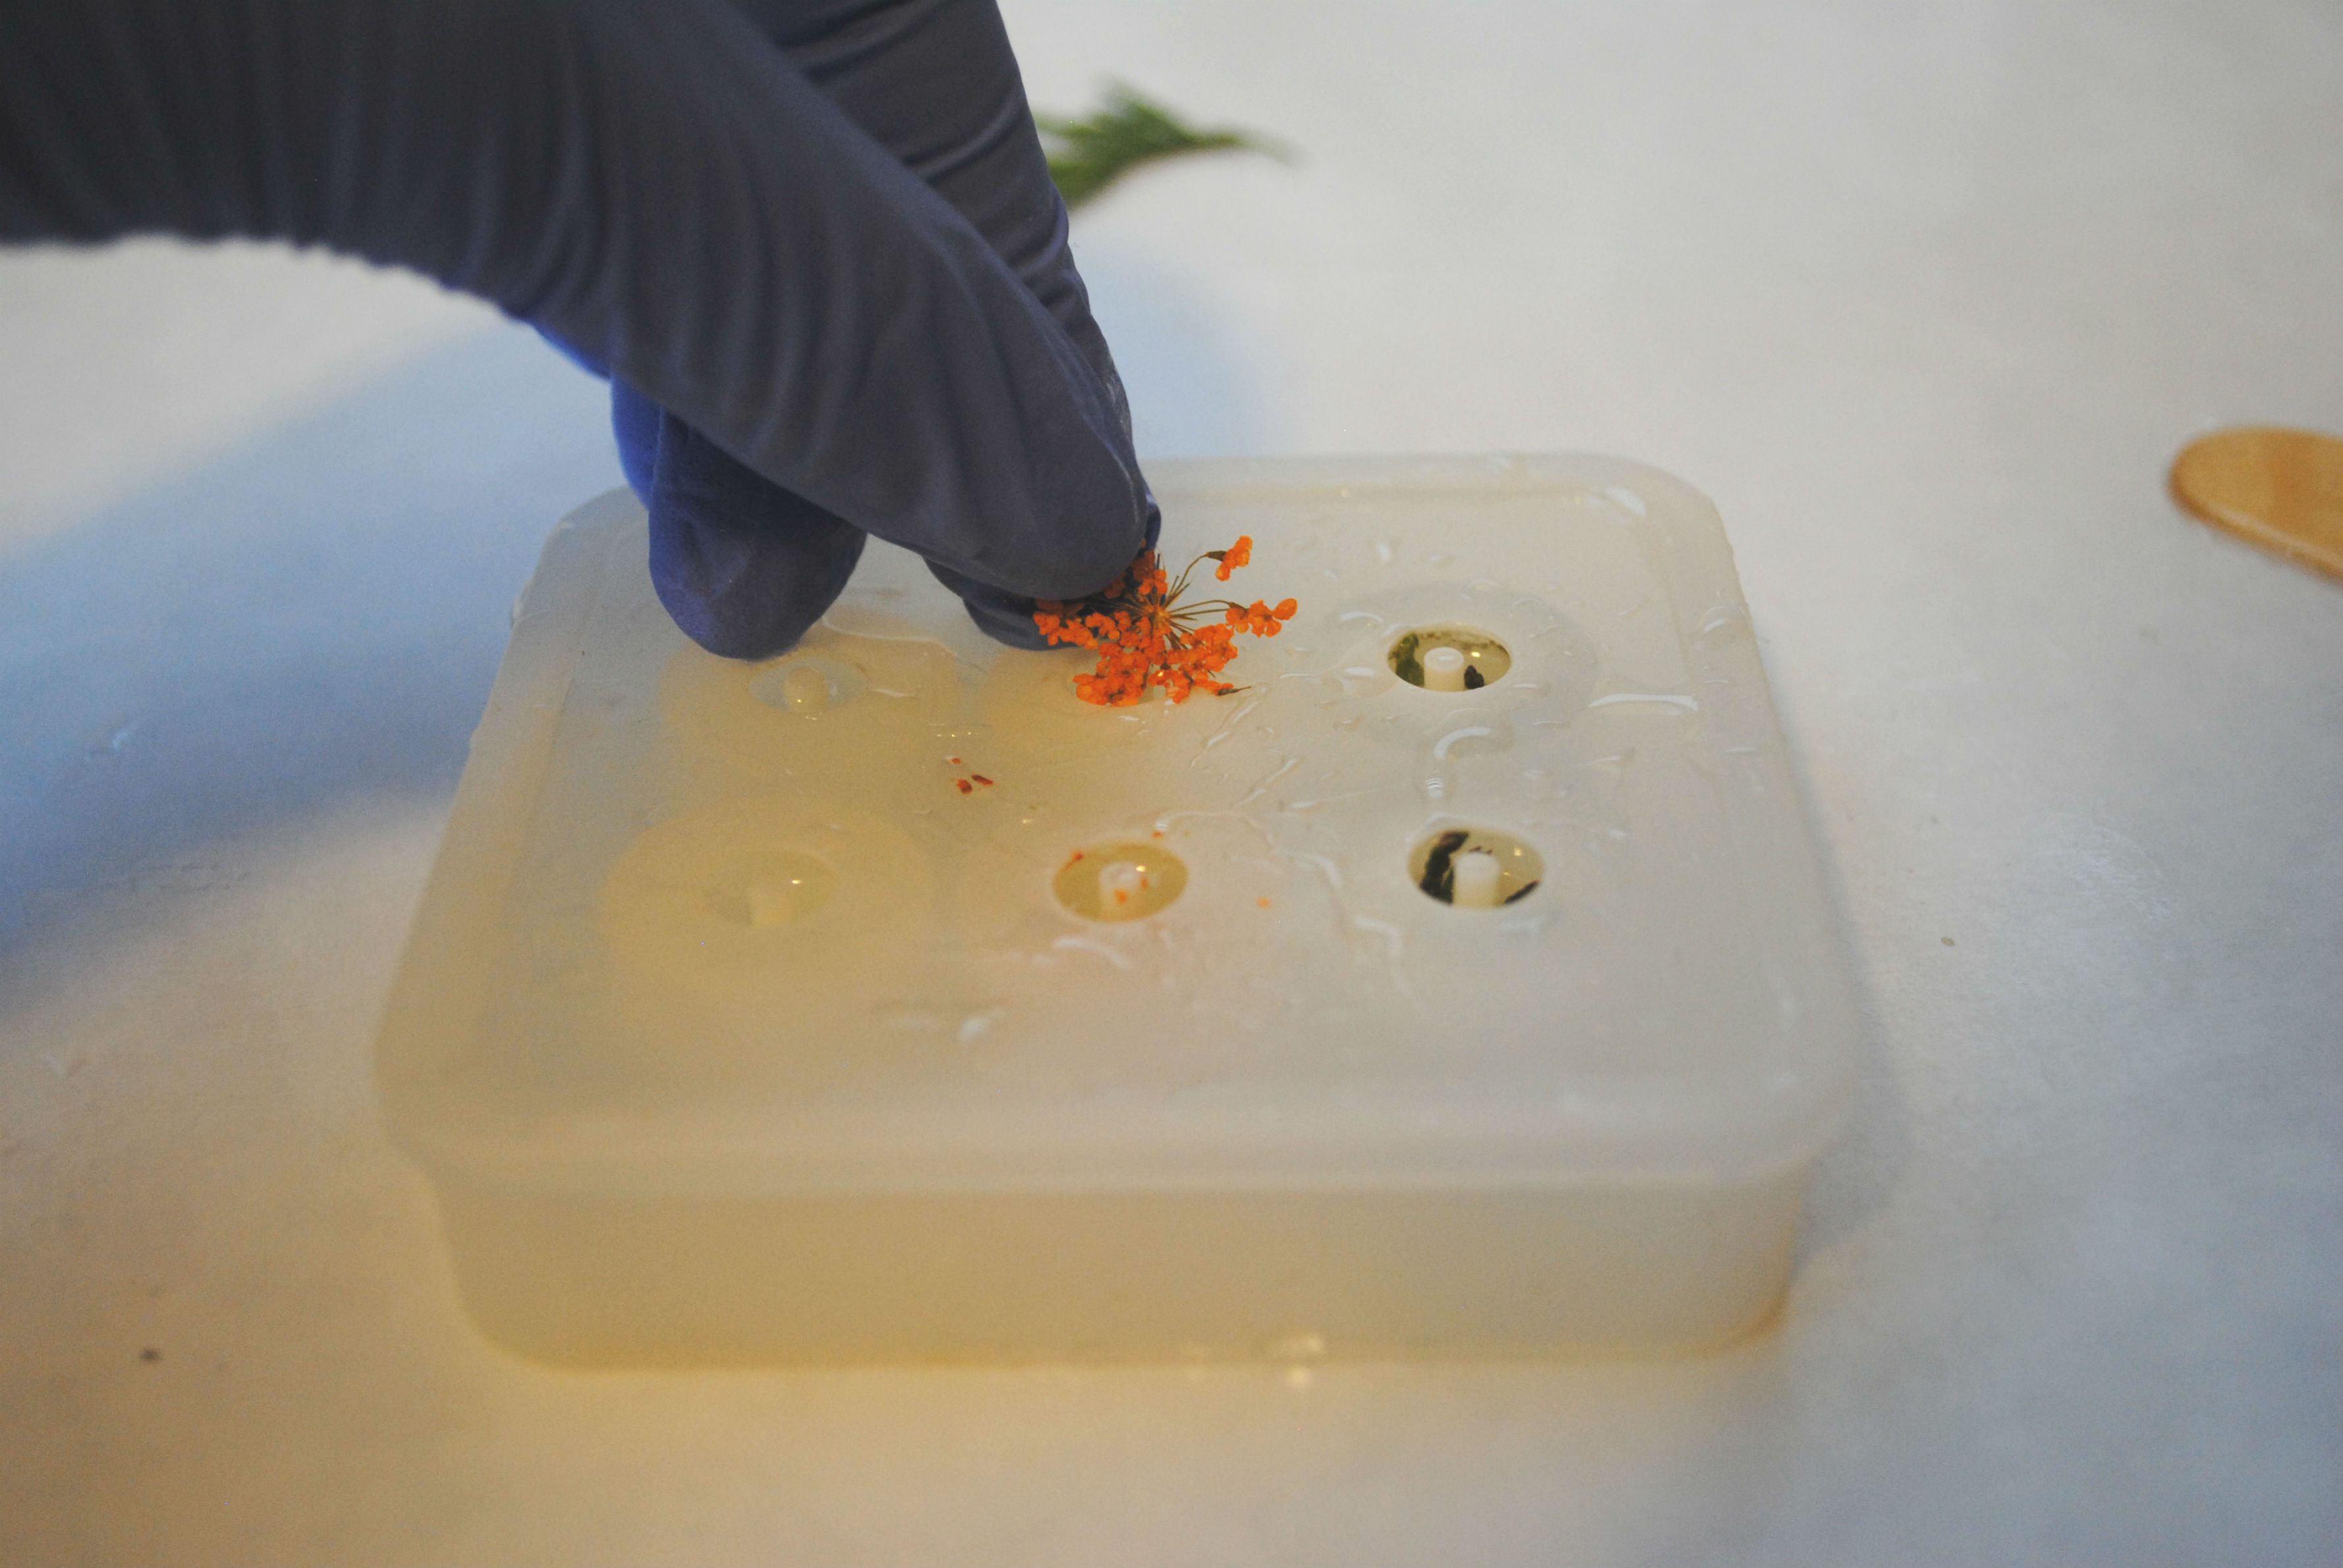
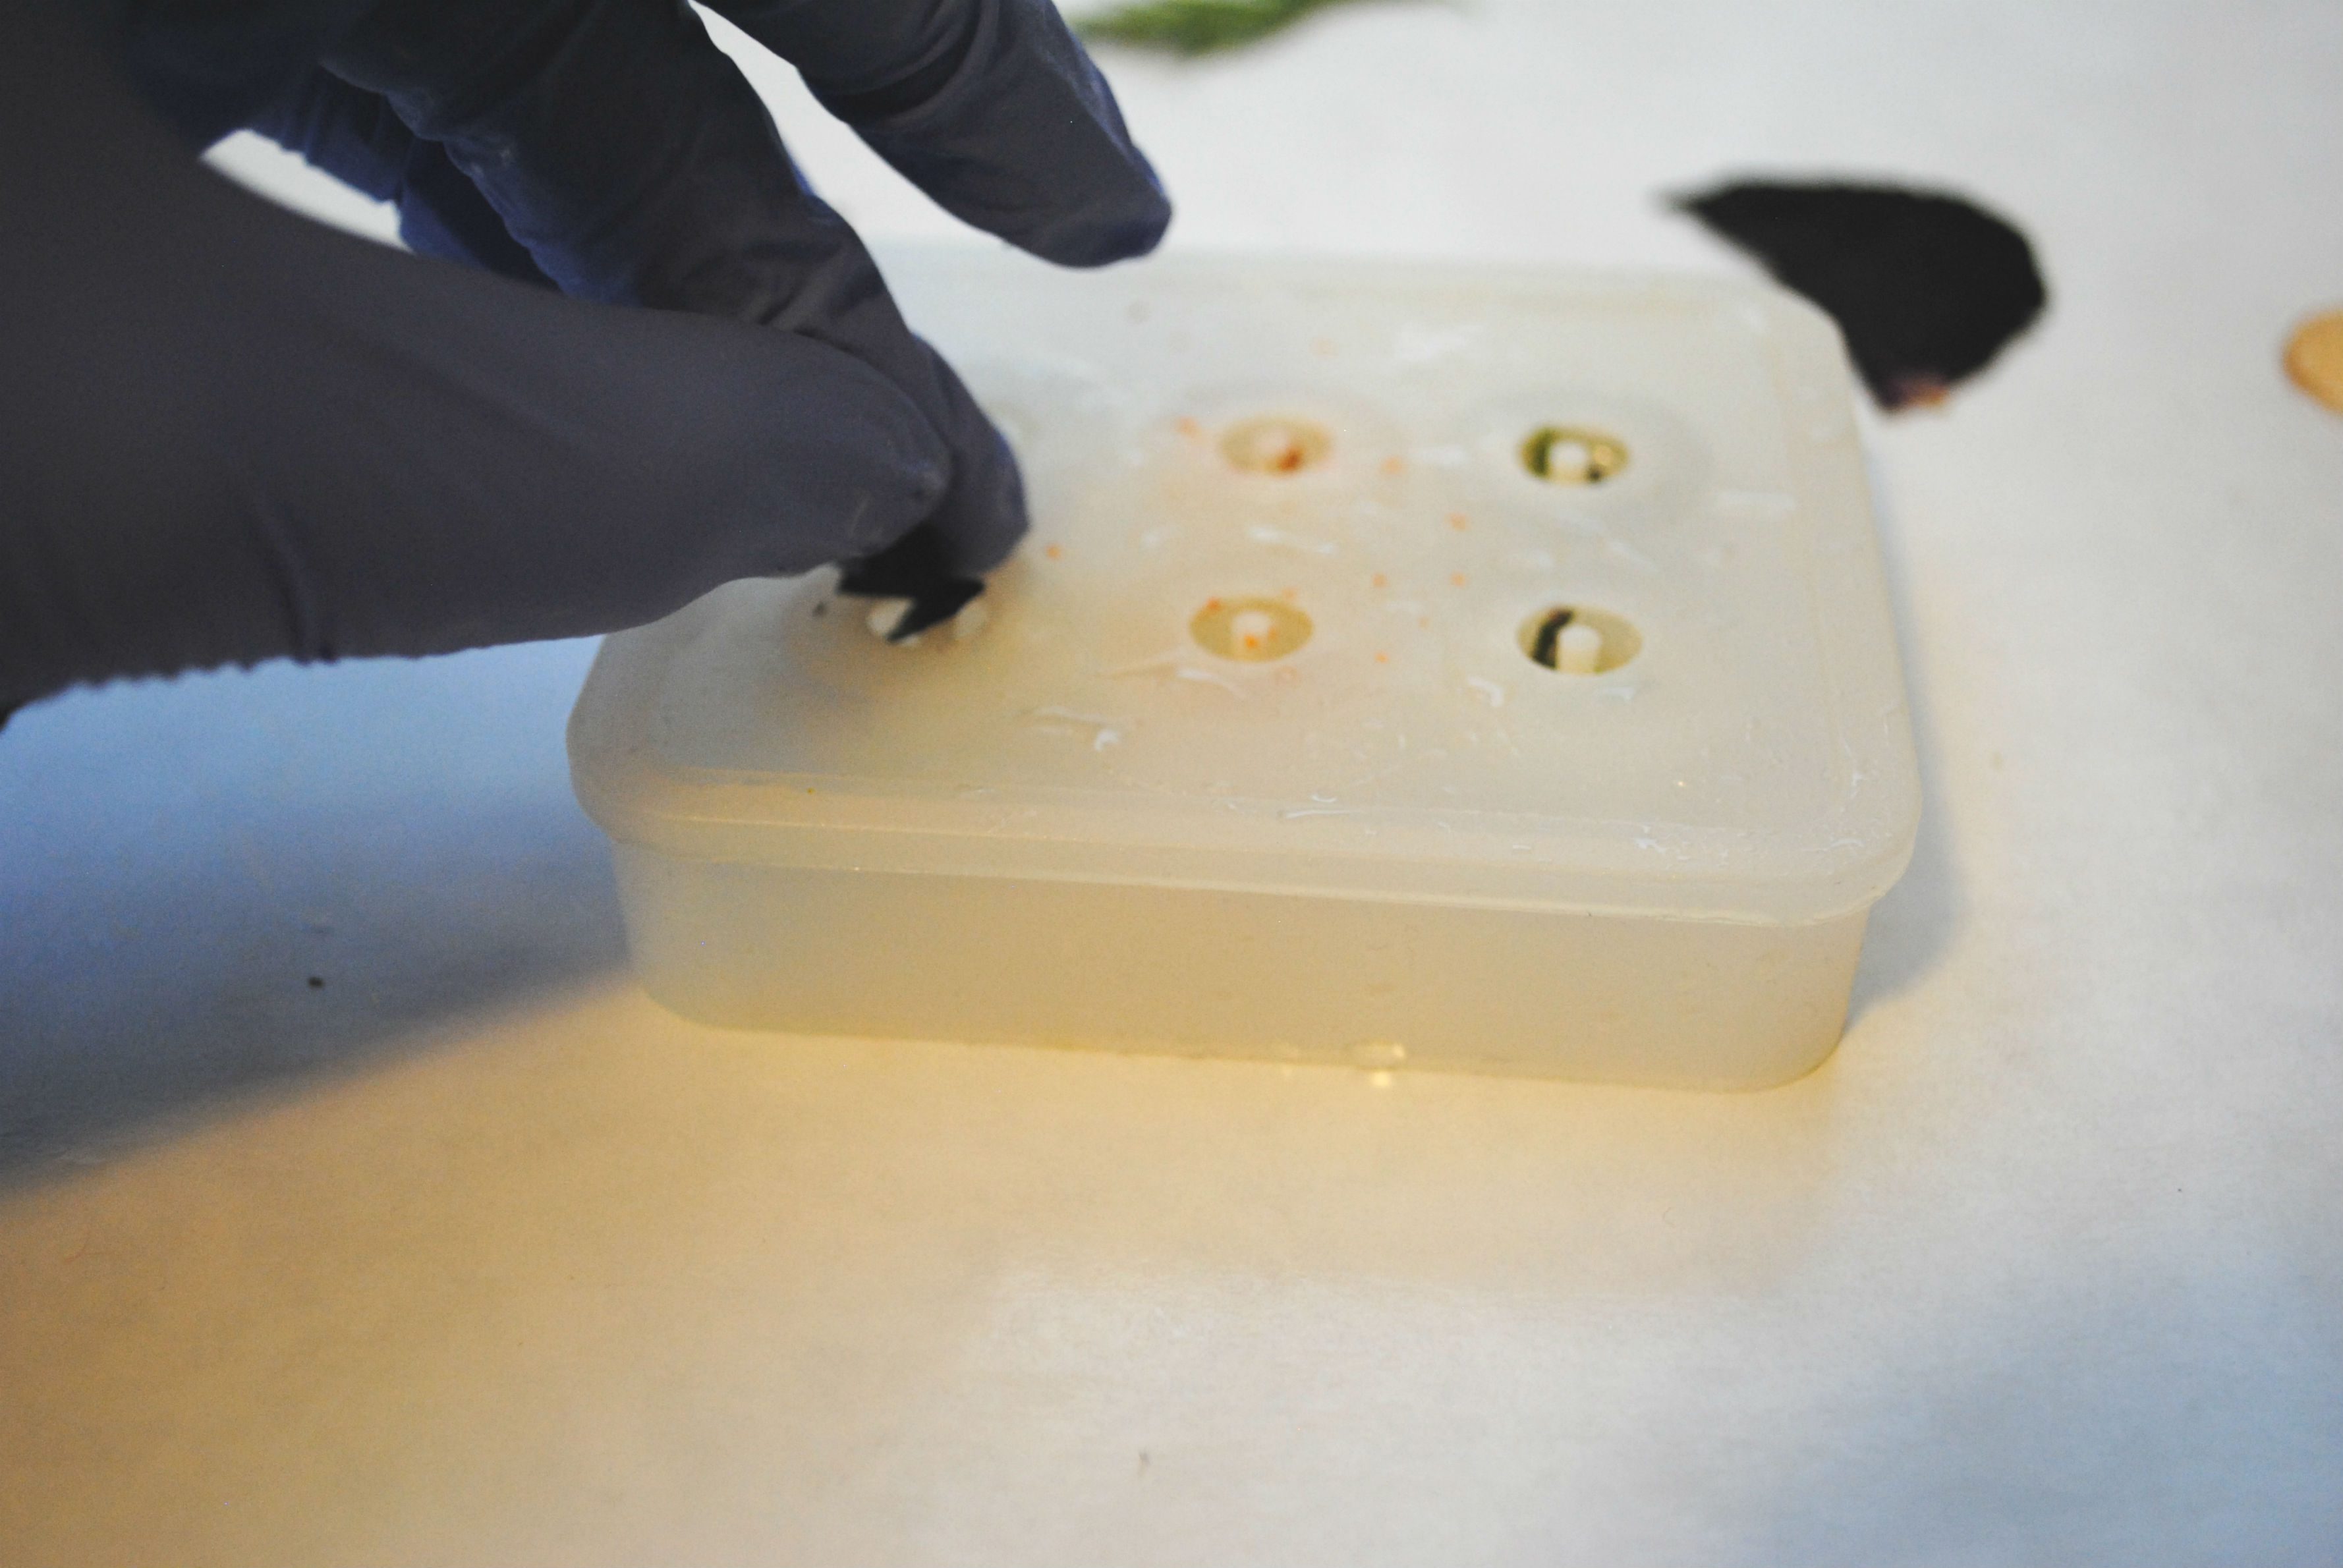
Now it’s time to add flowers to our resin jewelry project. Depending on the size, I tend to use 2-3 botanicals per bead. This can be a little challenging initially because flower petals and leaves are flimsy and delicate. A trick that works for me is to place the tip of the petal or leaf into the mold and then curl it deeper around the center of the mold’s stem. I like to crumble or break off flower pieces. If your petal has a pretty side, be sure it is turned outward.
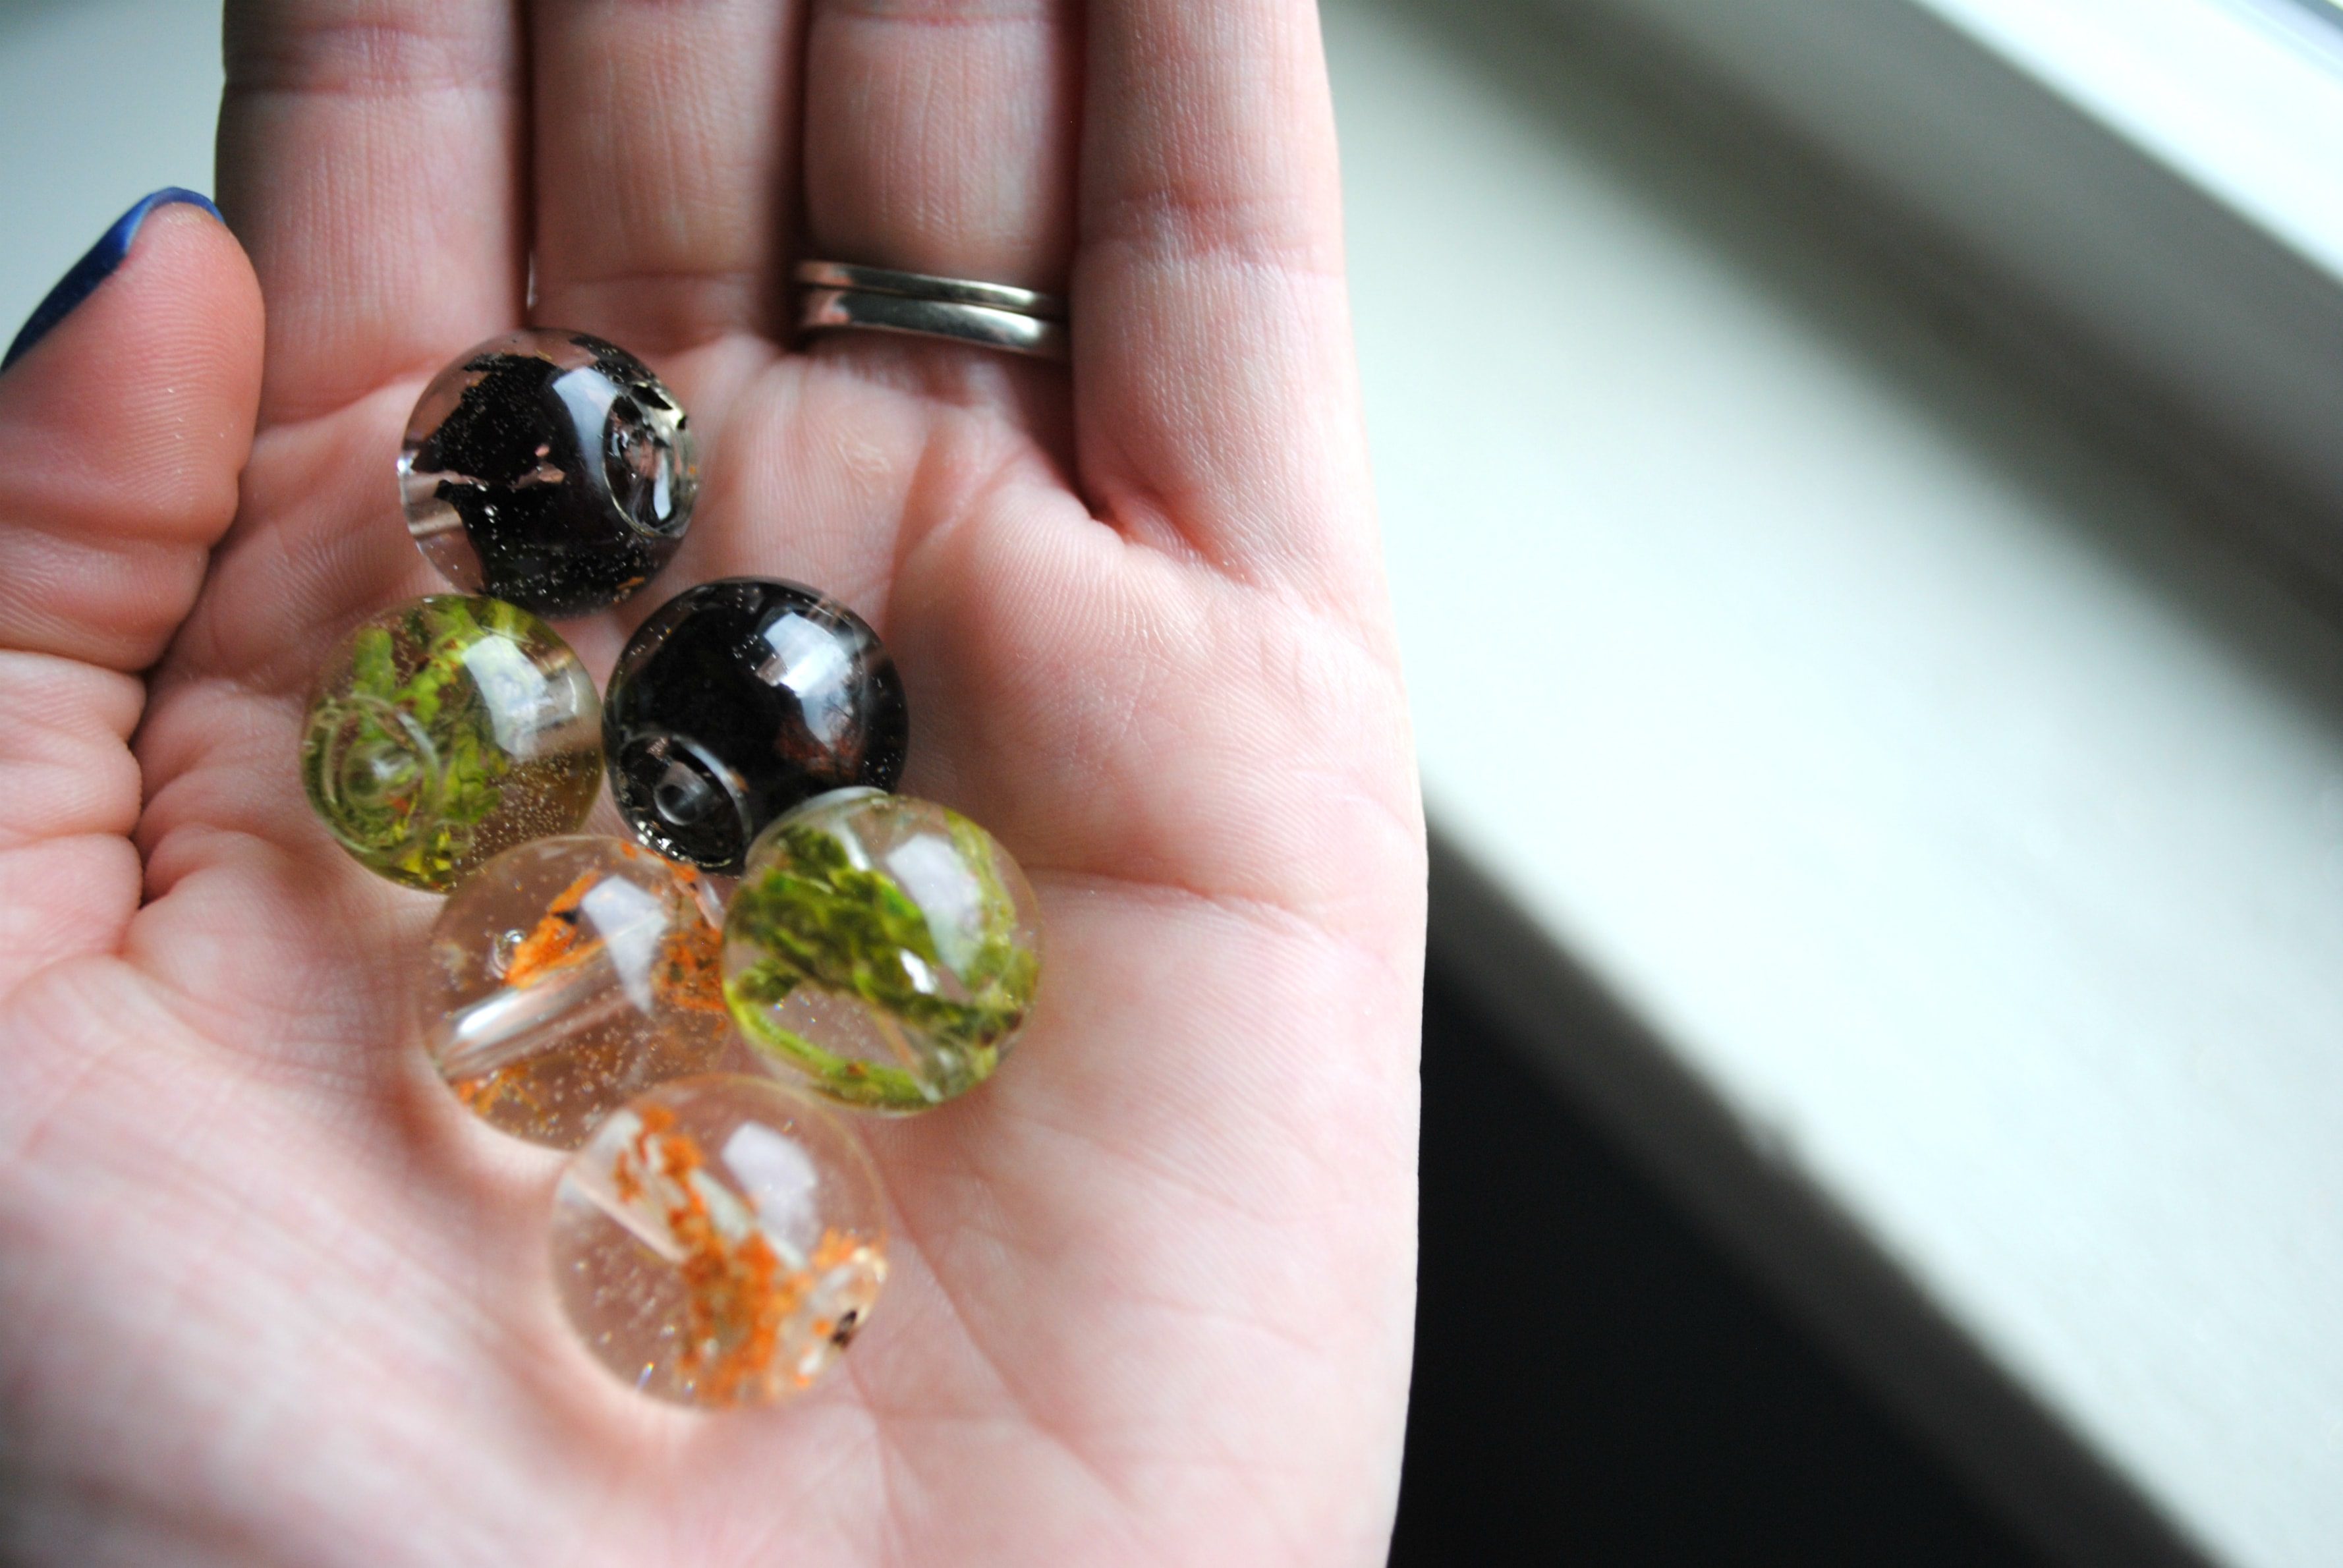
The items I am using are:
- Part of a shrub I have in my backyard.
- Dyed and pressed Queen Anne’s Lace.
- Not shown is a black rose petal I had from my wedding bouquet already pressed and dried.
The rose petal was the only thing I had to prep ahead of time.
The greenery was plucked right from outside (the only thing in my yard that is not dead) and placed into the resin. This specific greenery has a waxy texture, so I don’t have issues with browning or fading. Then the orange Queen Anne’s Lace is something I found online already dried.
STEP 4: Finish filling with resin
With the remaining resin, top each bead mold off using the same method as in step 2.
Overfill the mold just a bit. The resin will shrink as it cures. And if it does cover the stem, you can always drill through the hole after demolding.
STEP 5: Demold
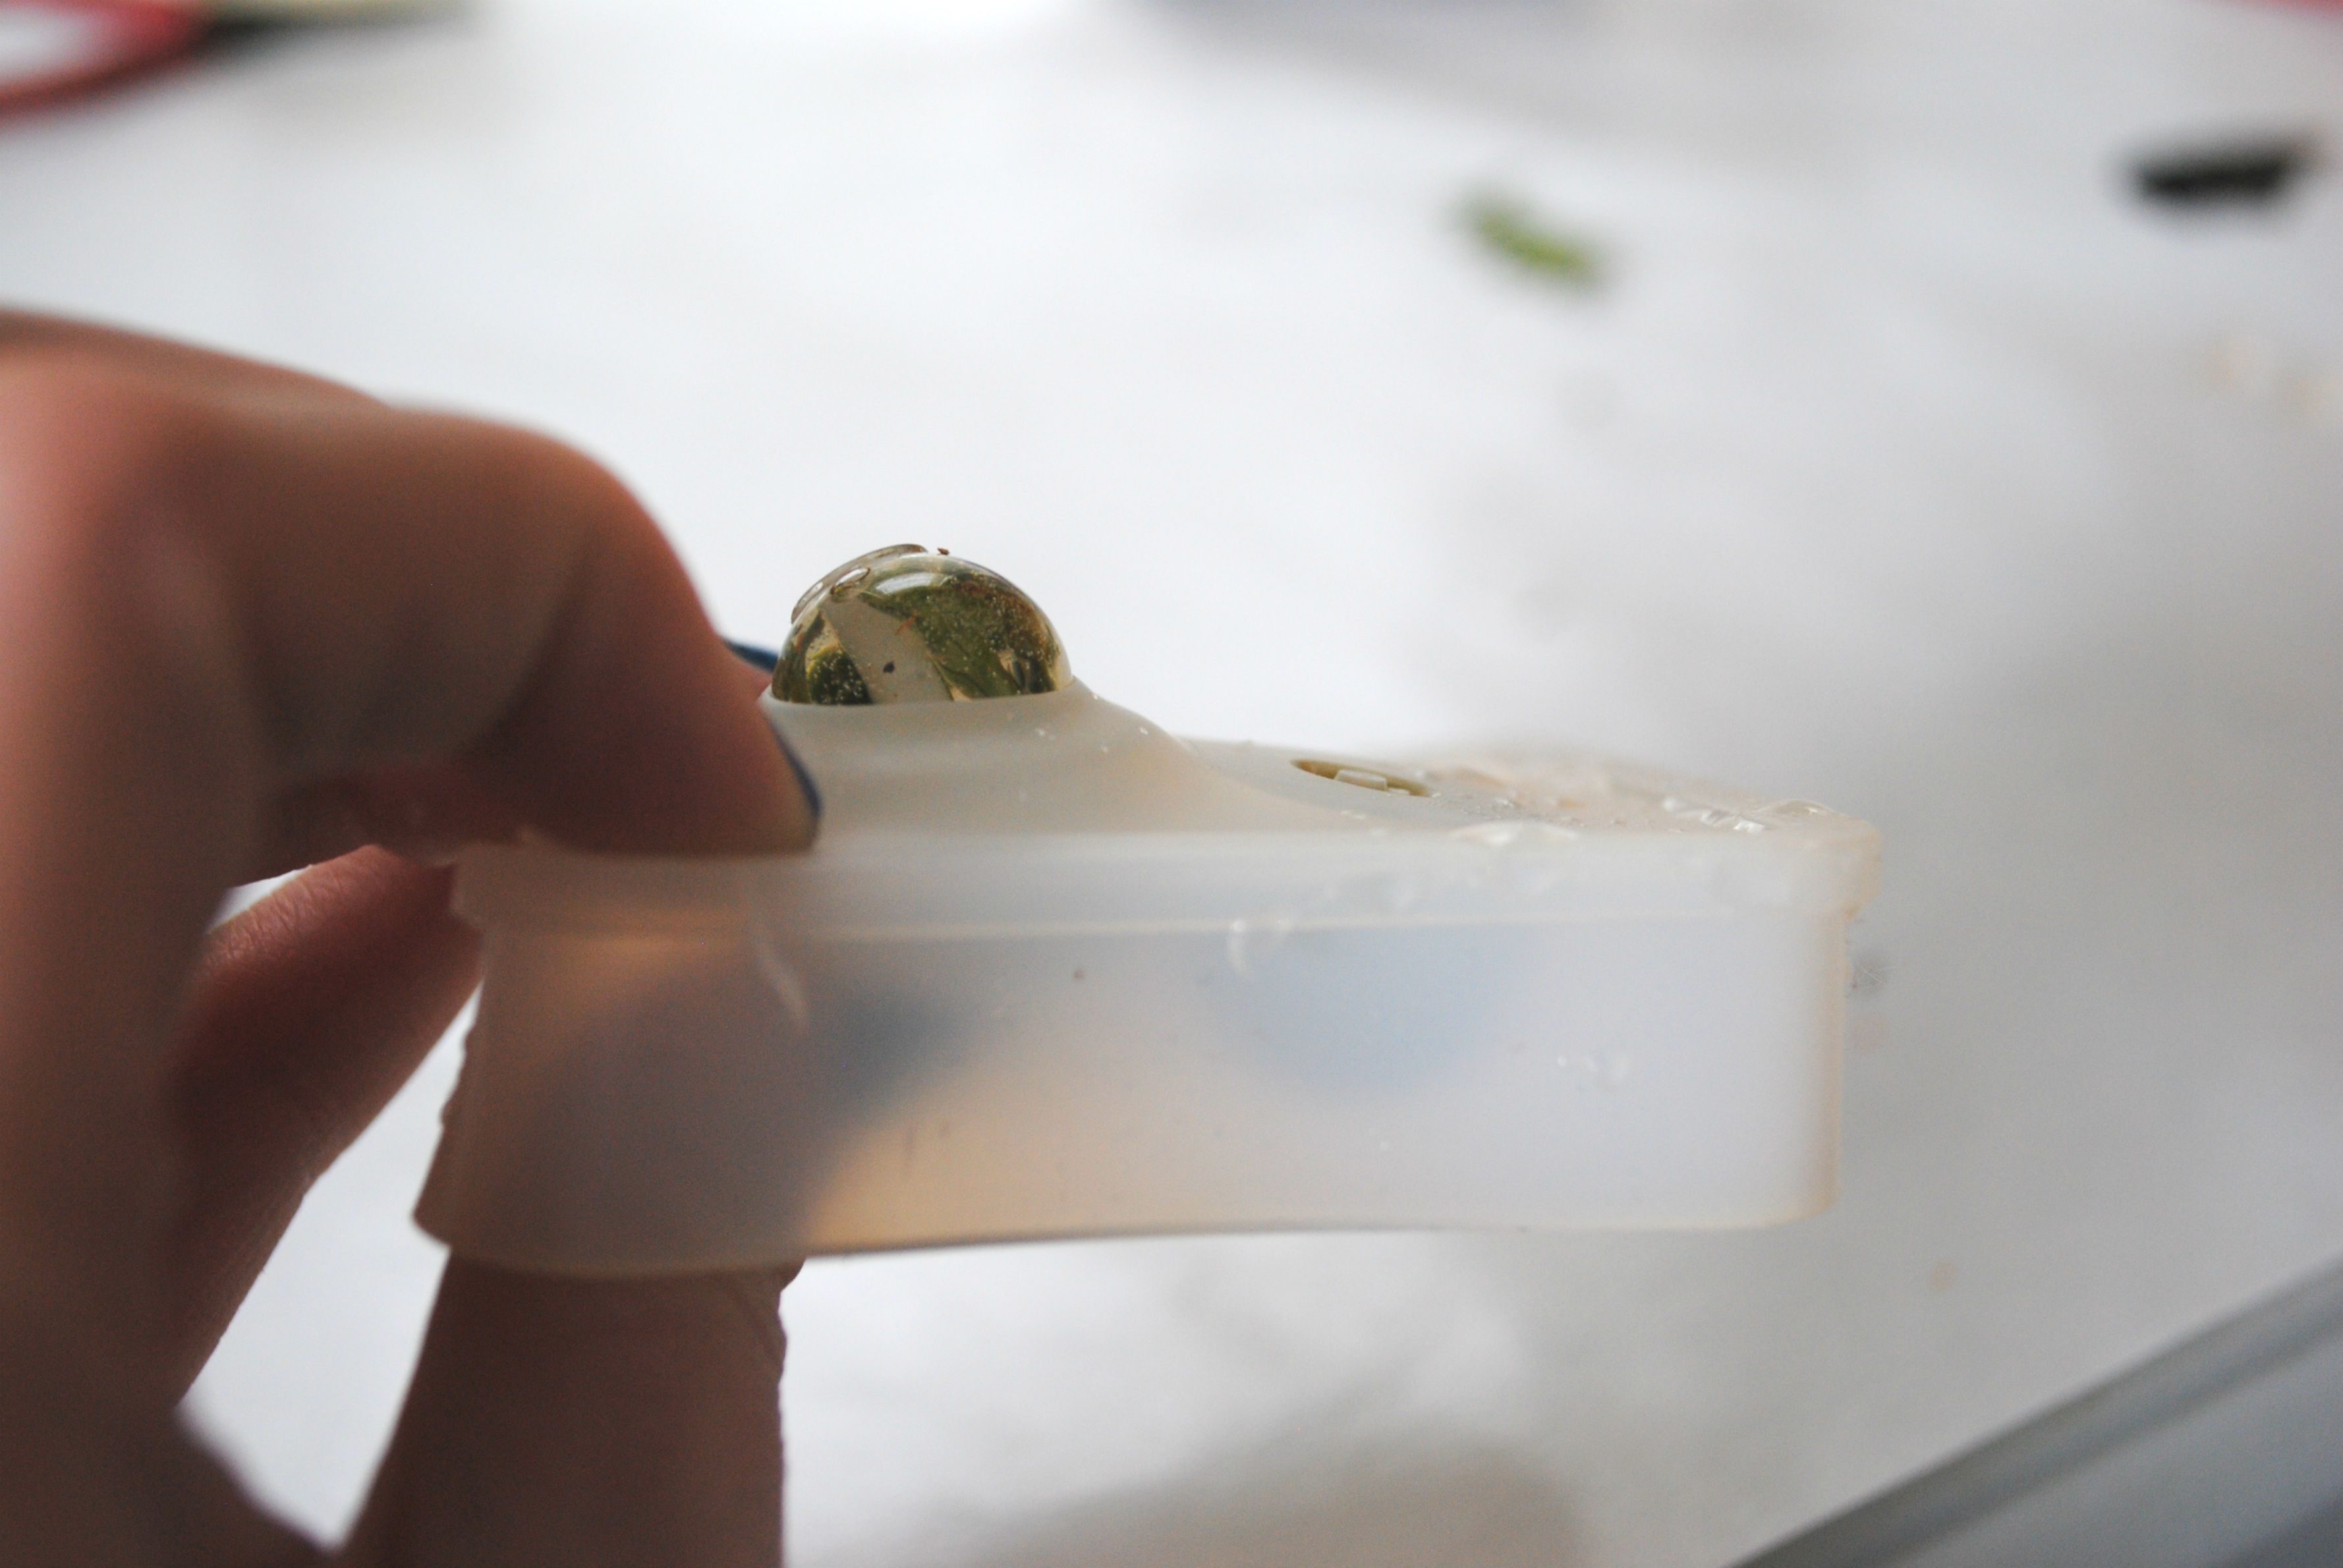
Wait 24 hours for your resin to cure, then pop them out of the mold. They should release quickly when you press on them from the bottom. If any of your resin jewelry beads with flowers have rough edges on the top, either sand them down or use an exact-o knife to trim them, but for this project, it isn’t necessary since we will be using bead caps.
STEP 6: Finish with findings
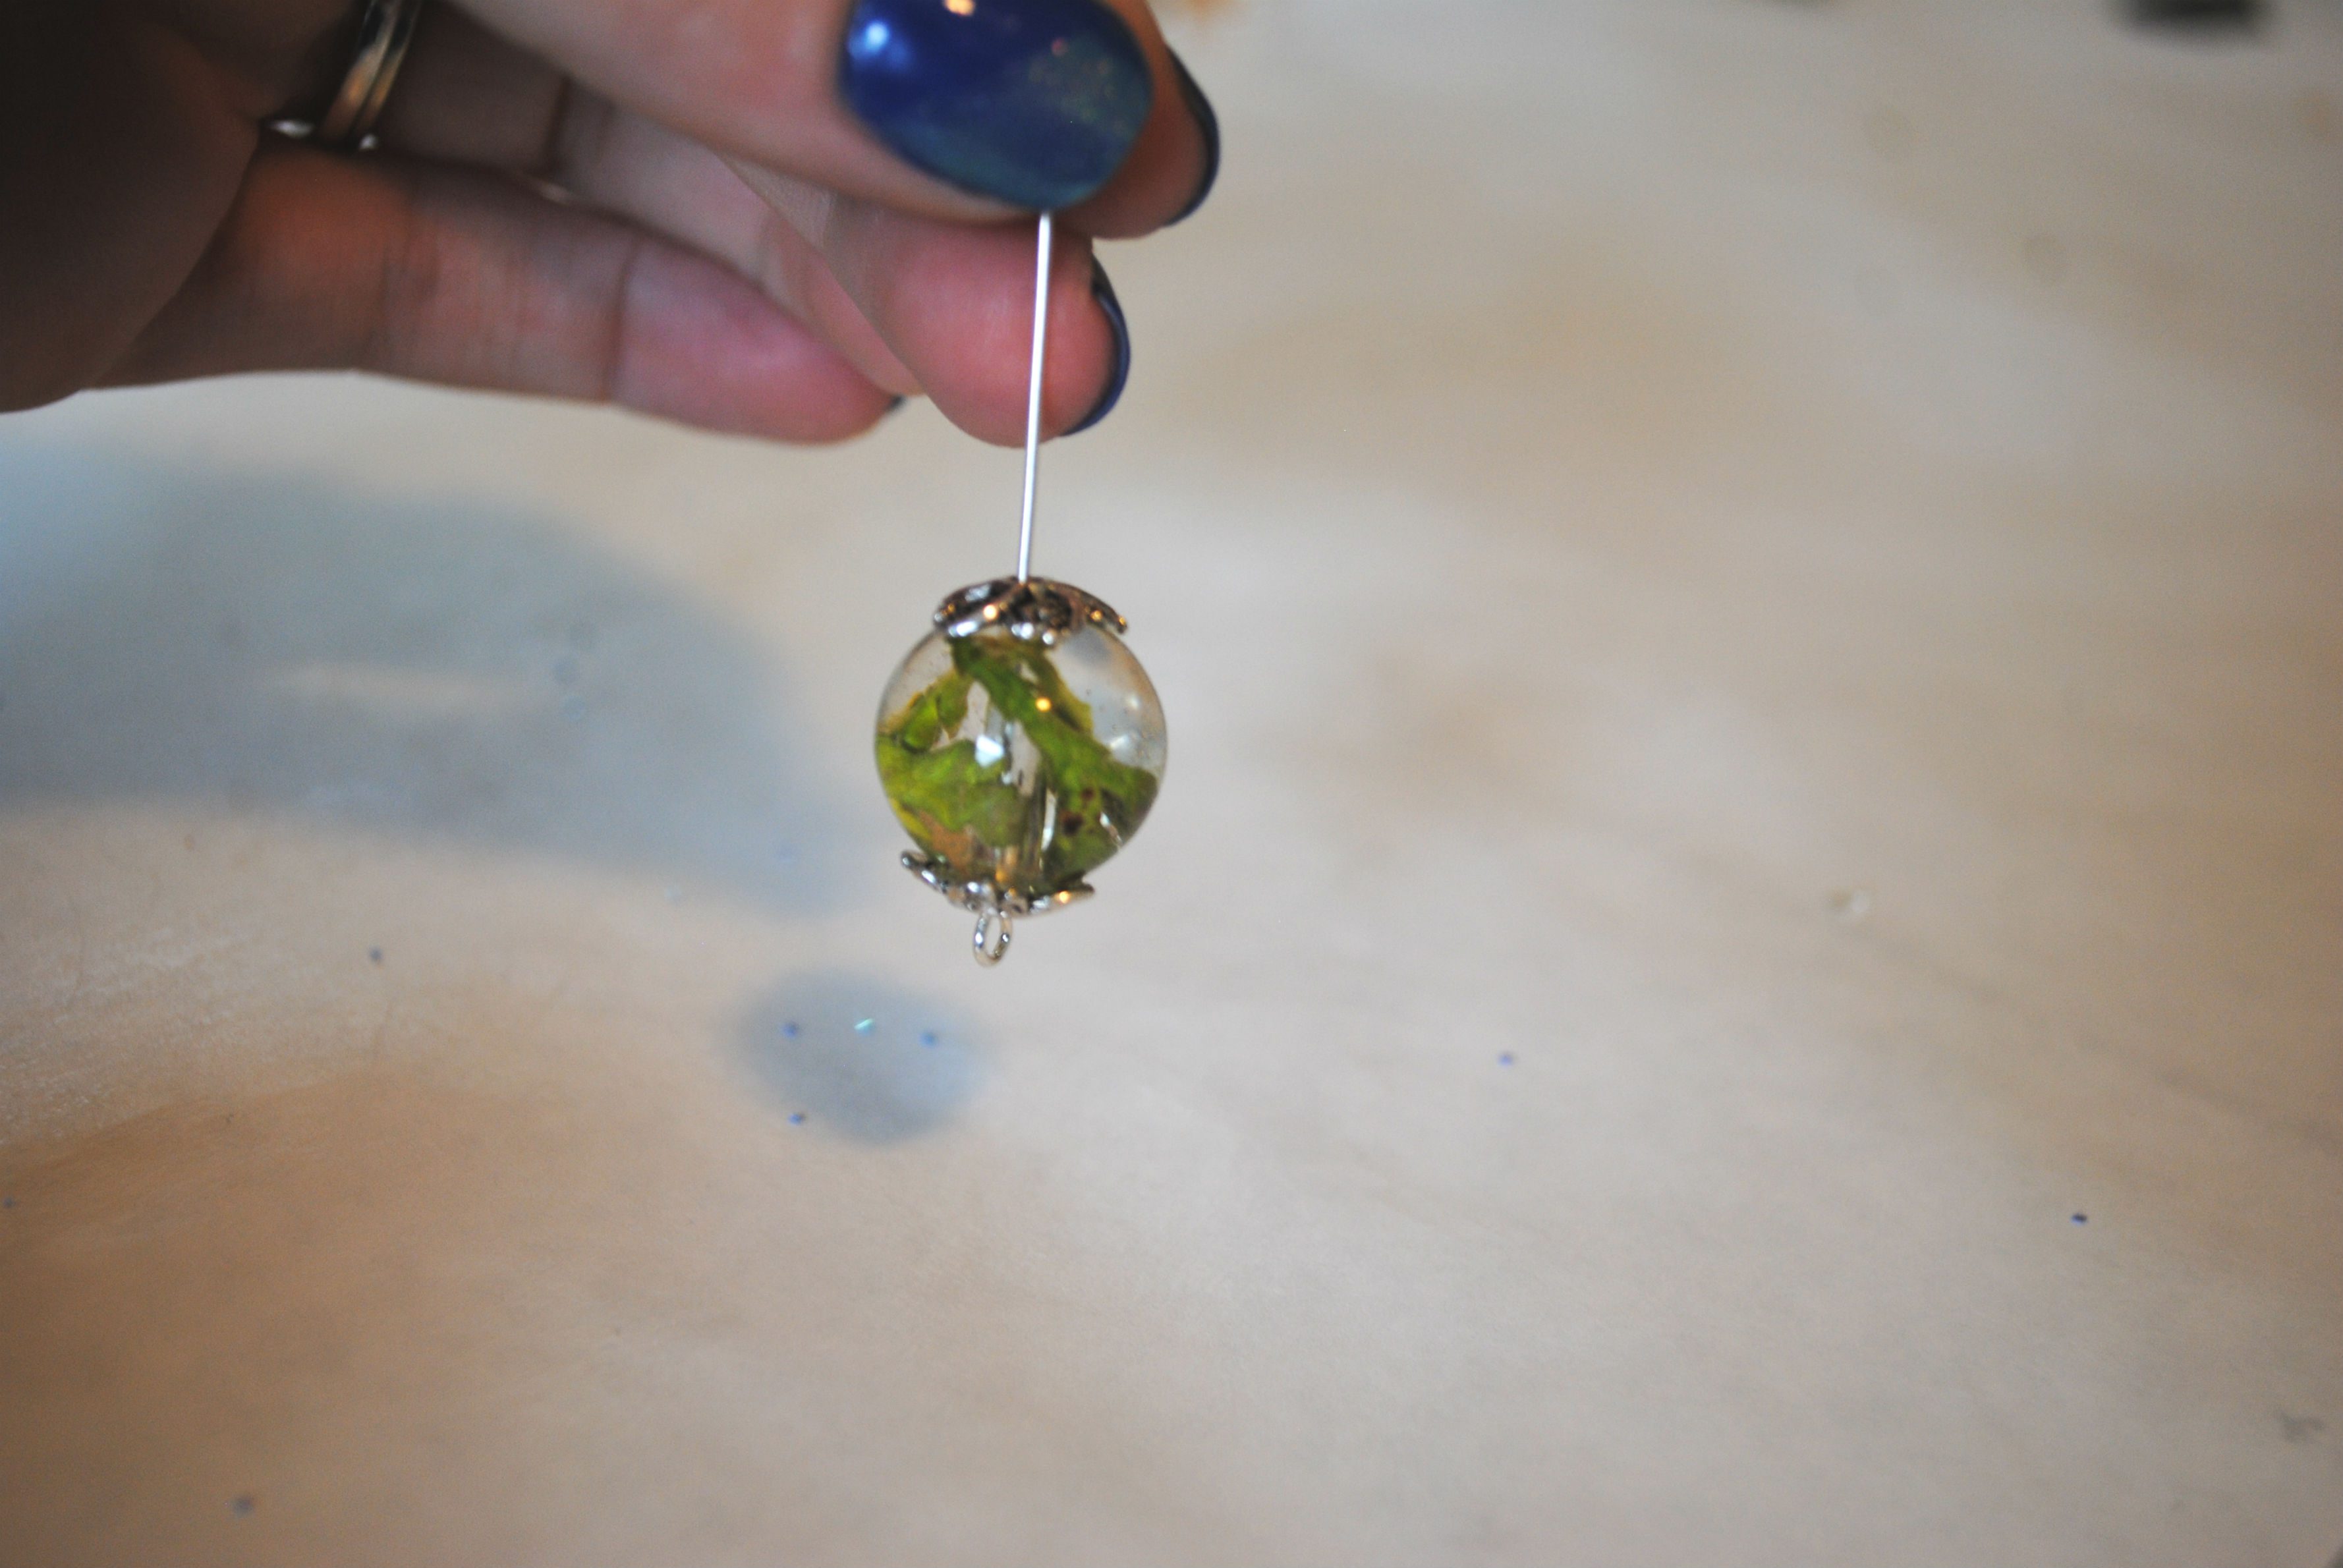
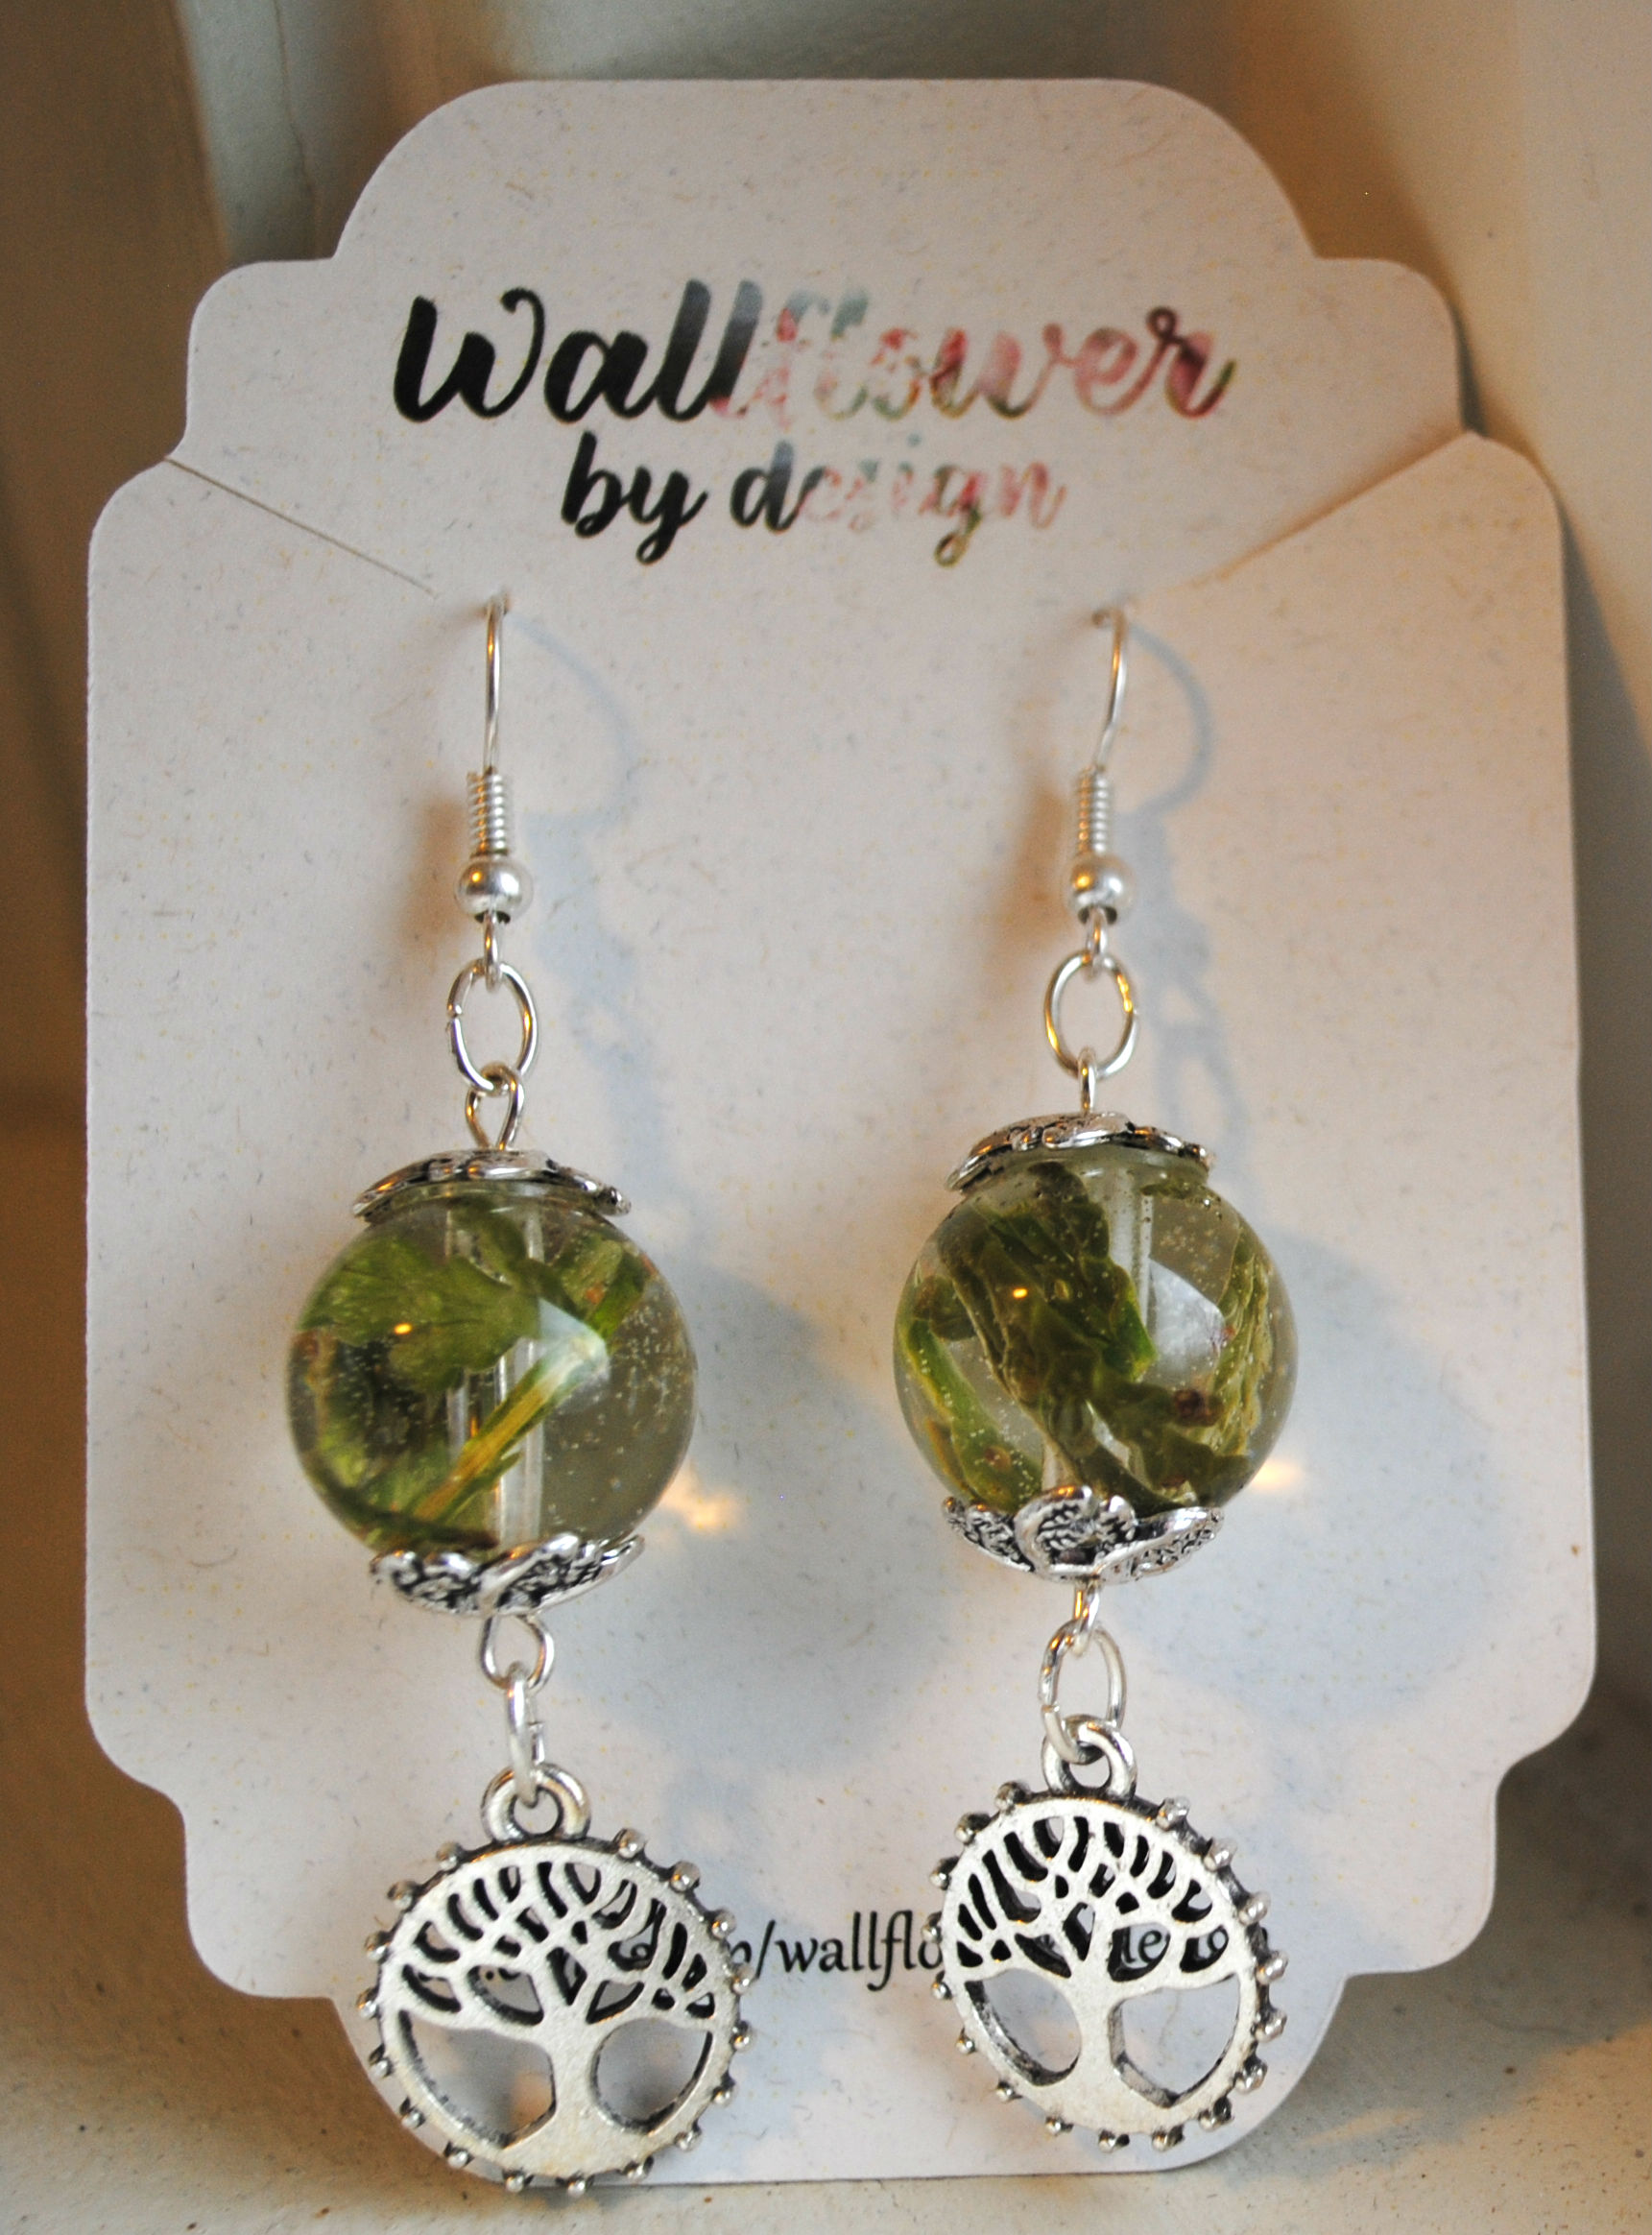
Take your eye pin, bead caps, and one of the resin beads you just made and layer them together as shown in the photo (bead cap on first, then bead, and then topped with the other bead cap).
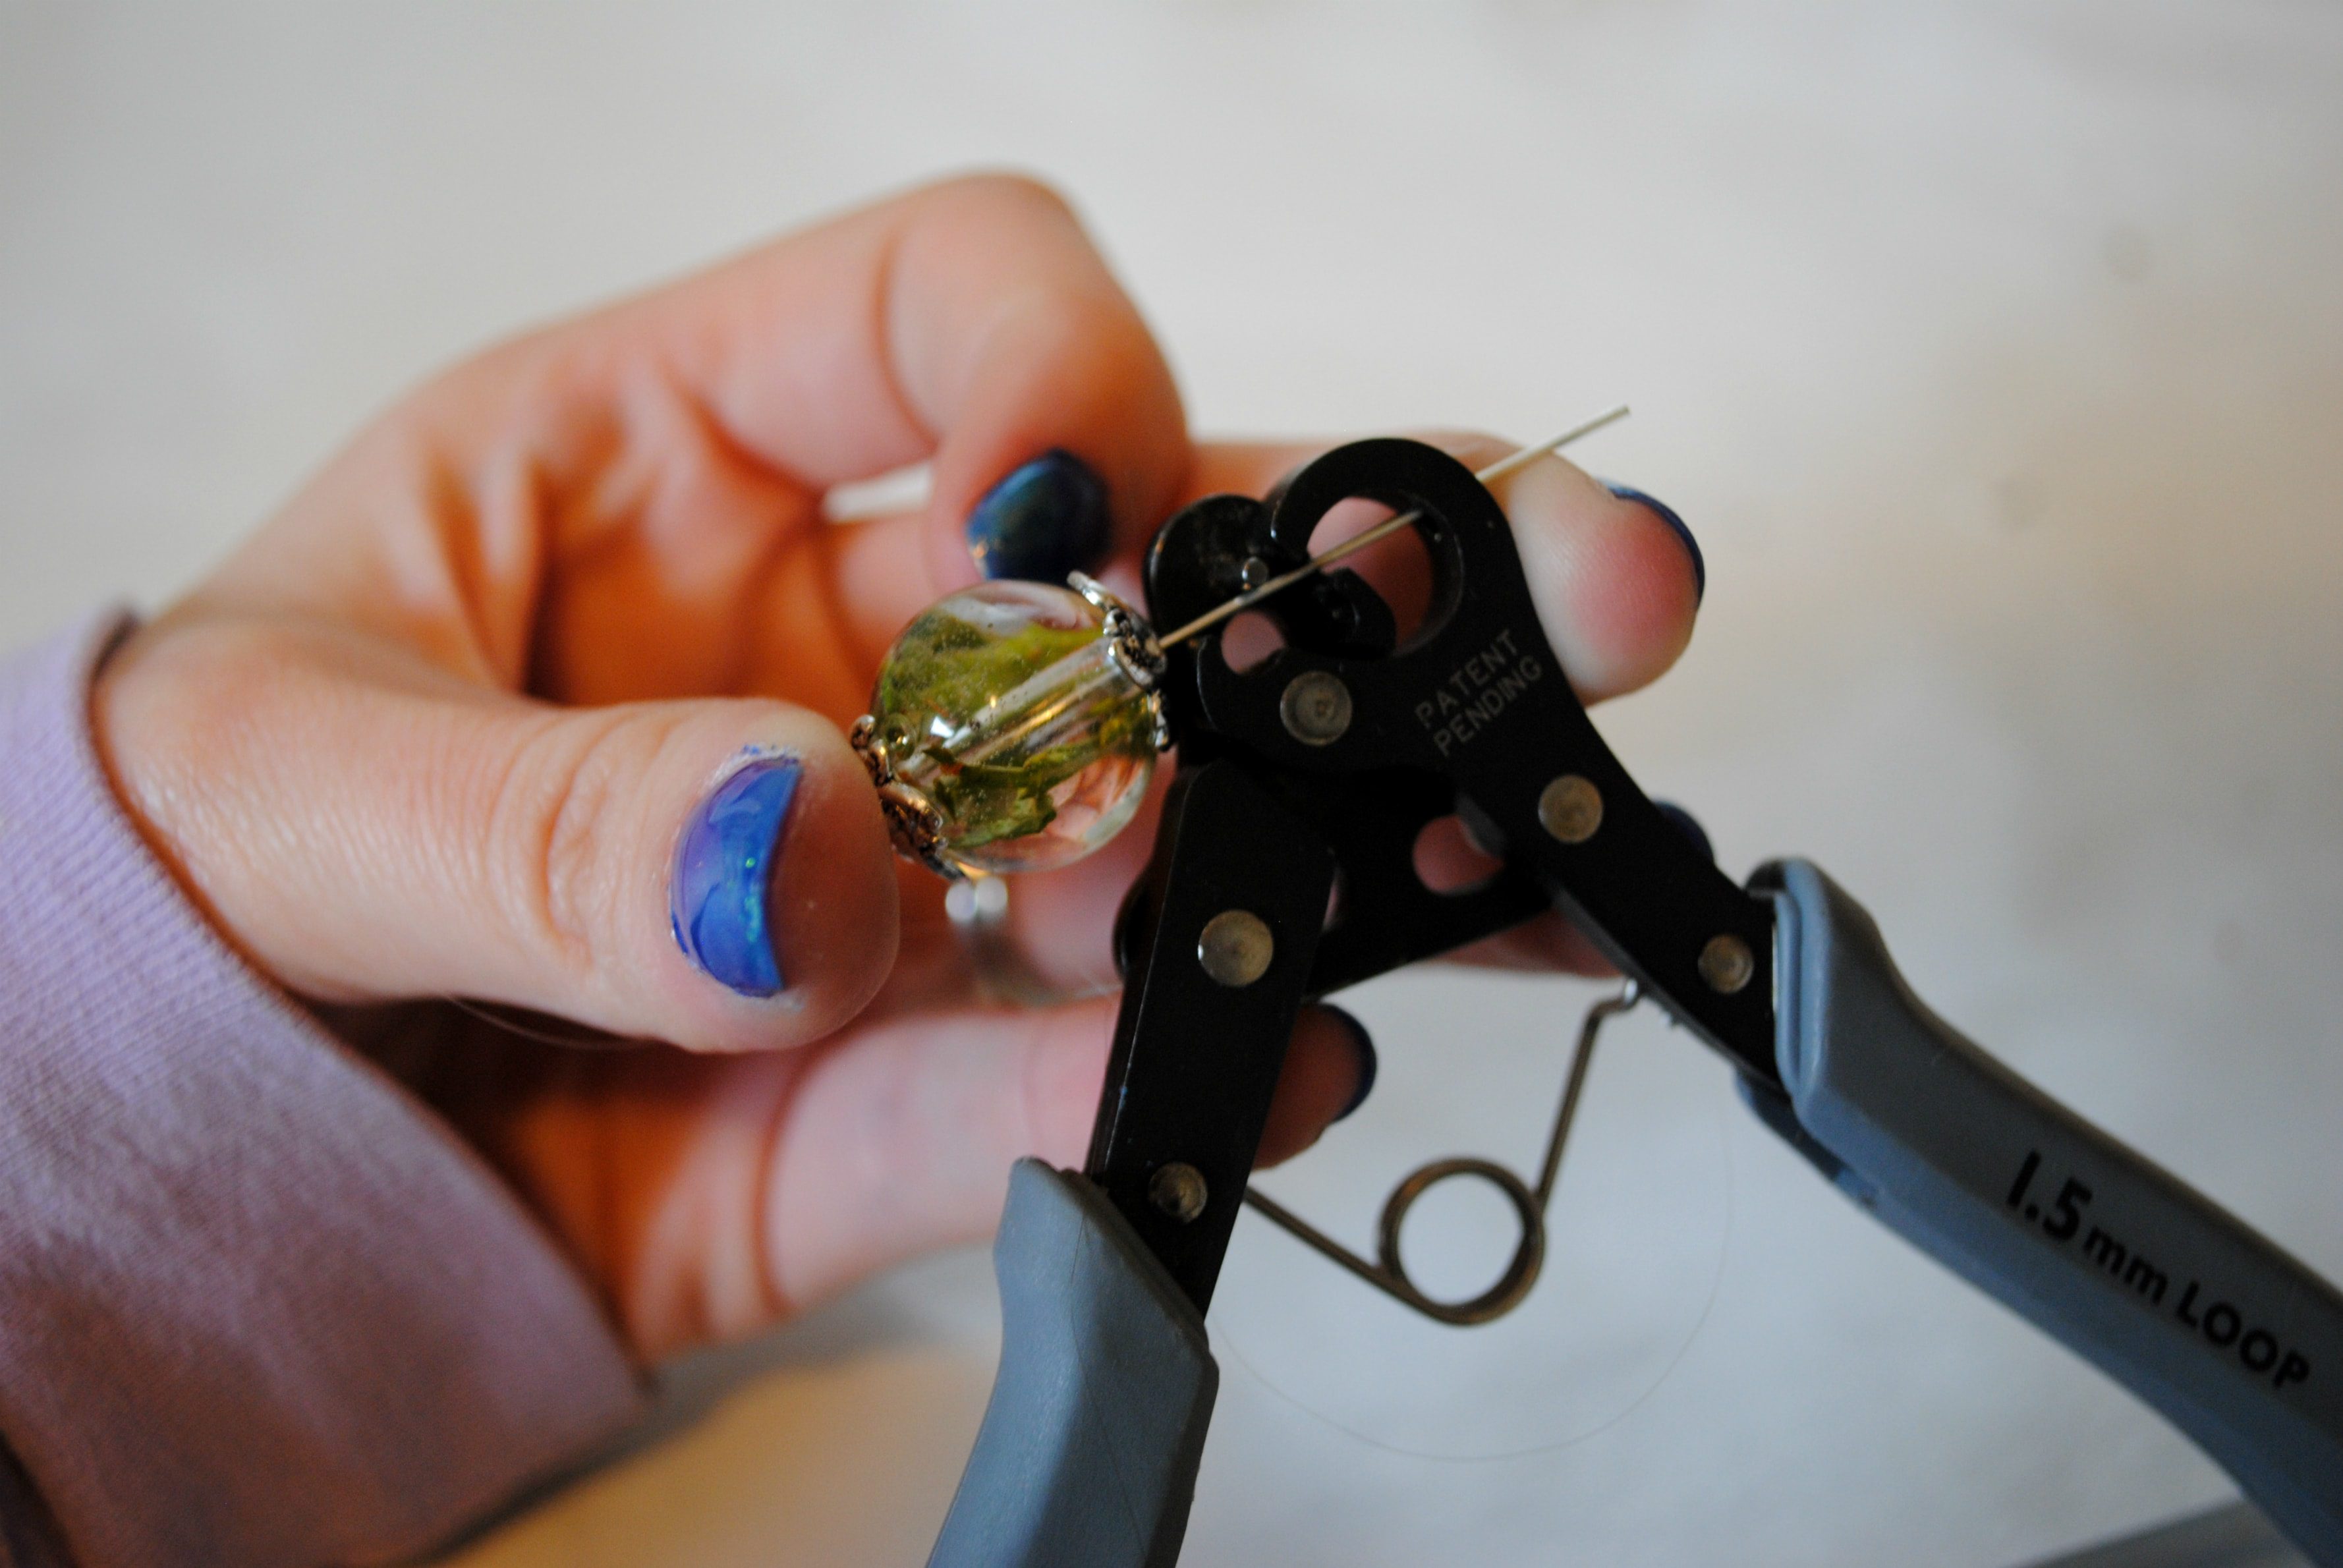
Cap off the eye pin with another hook, so the bead is between two closed loops. To do this, I use a handy dandy gadget I found a few years ago. It makes a perfect loop every time! But if you don’t have one of these bad boys, you can use your pliers to create the same thing.
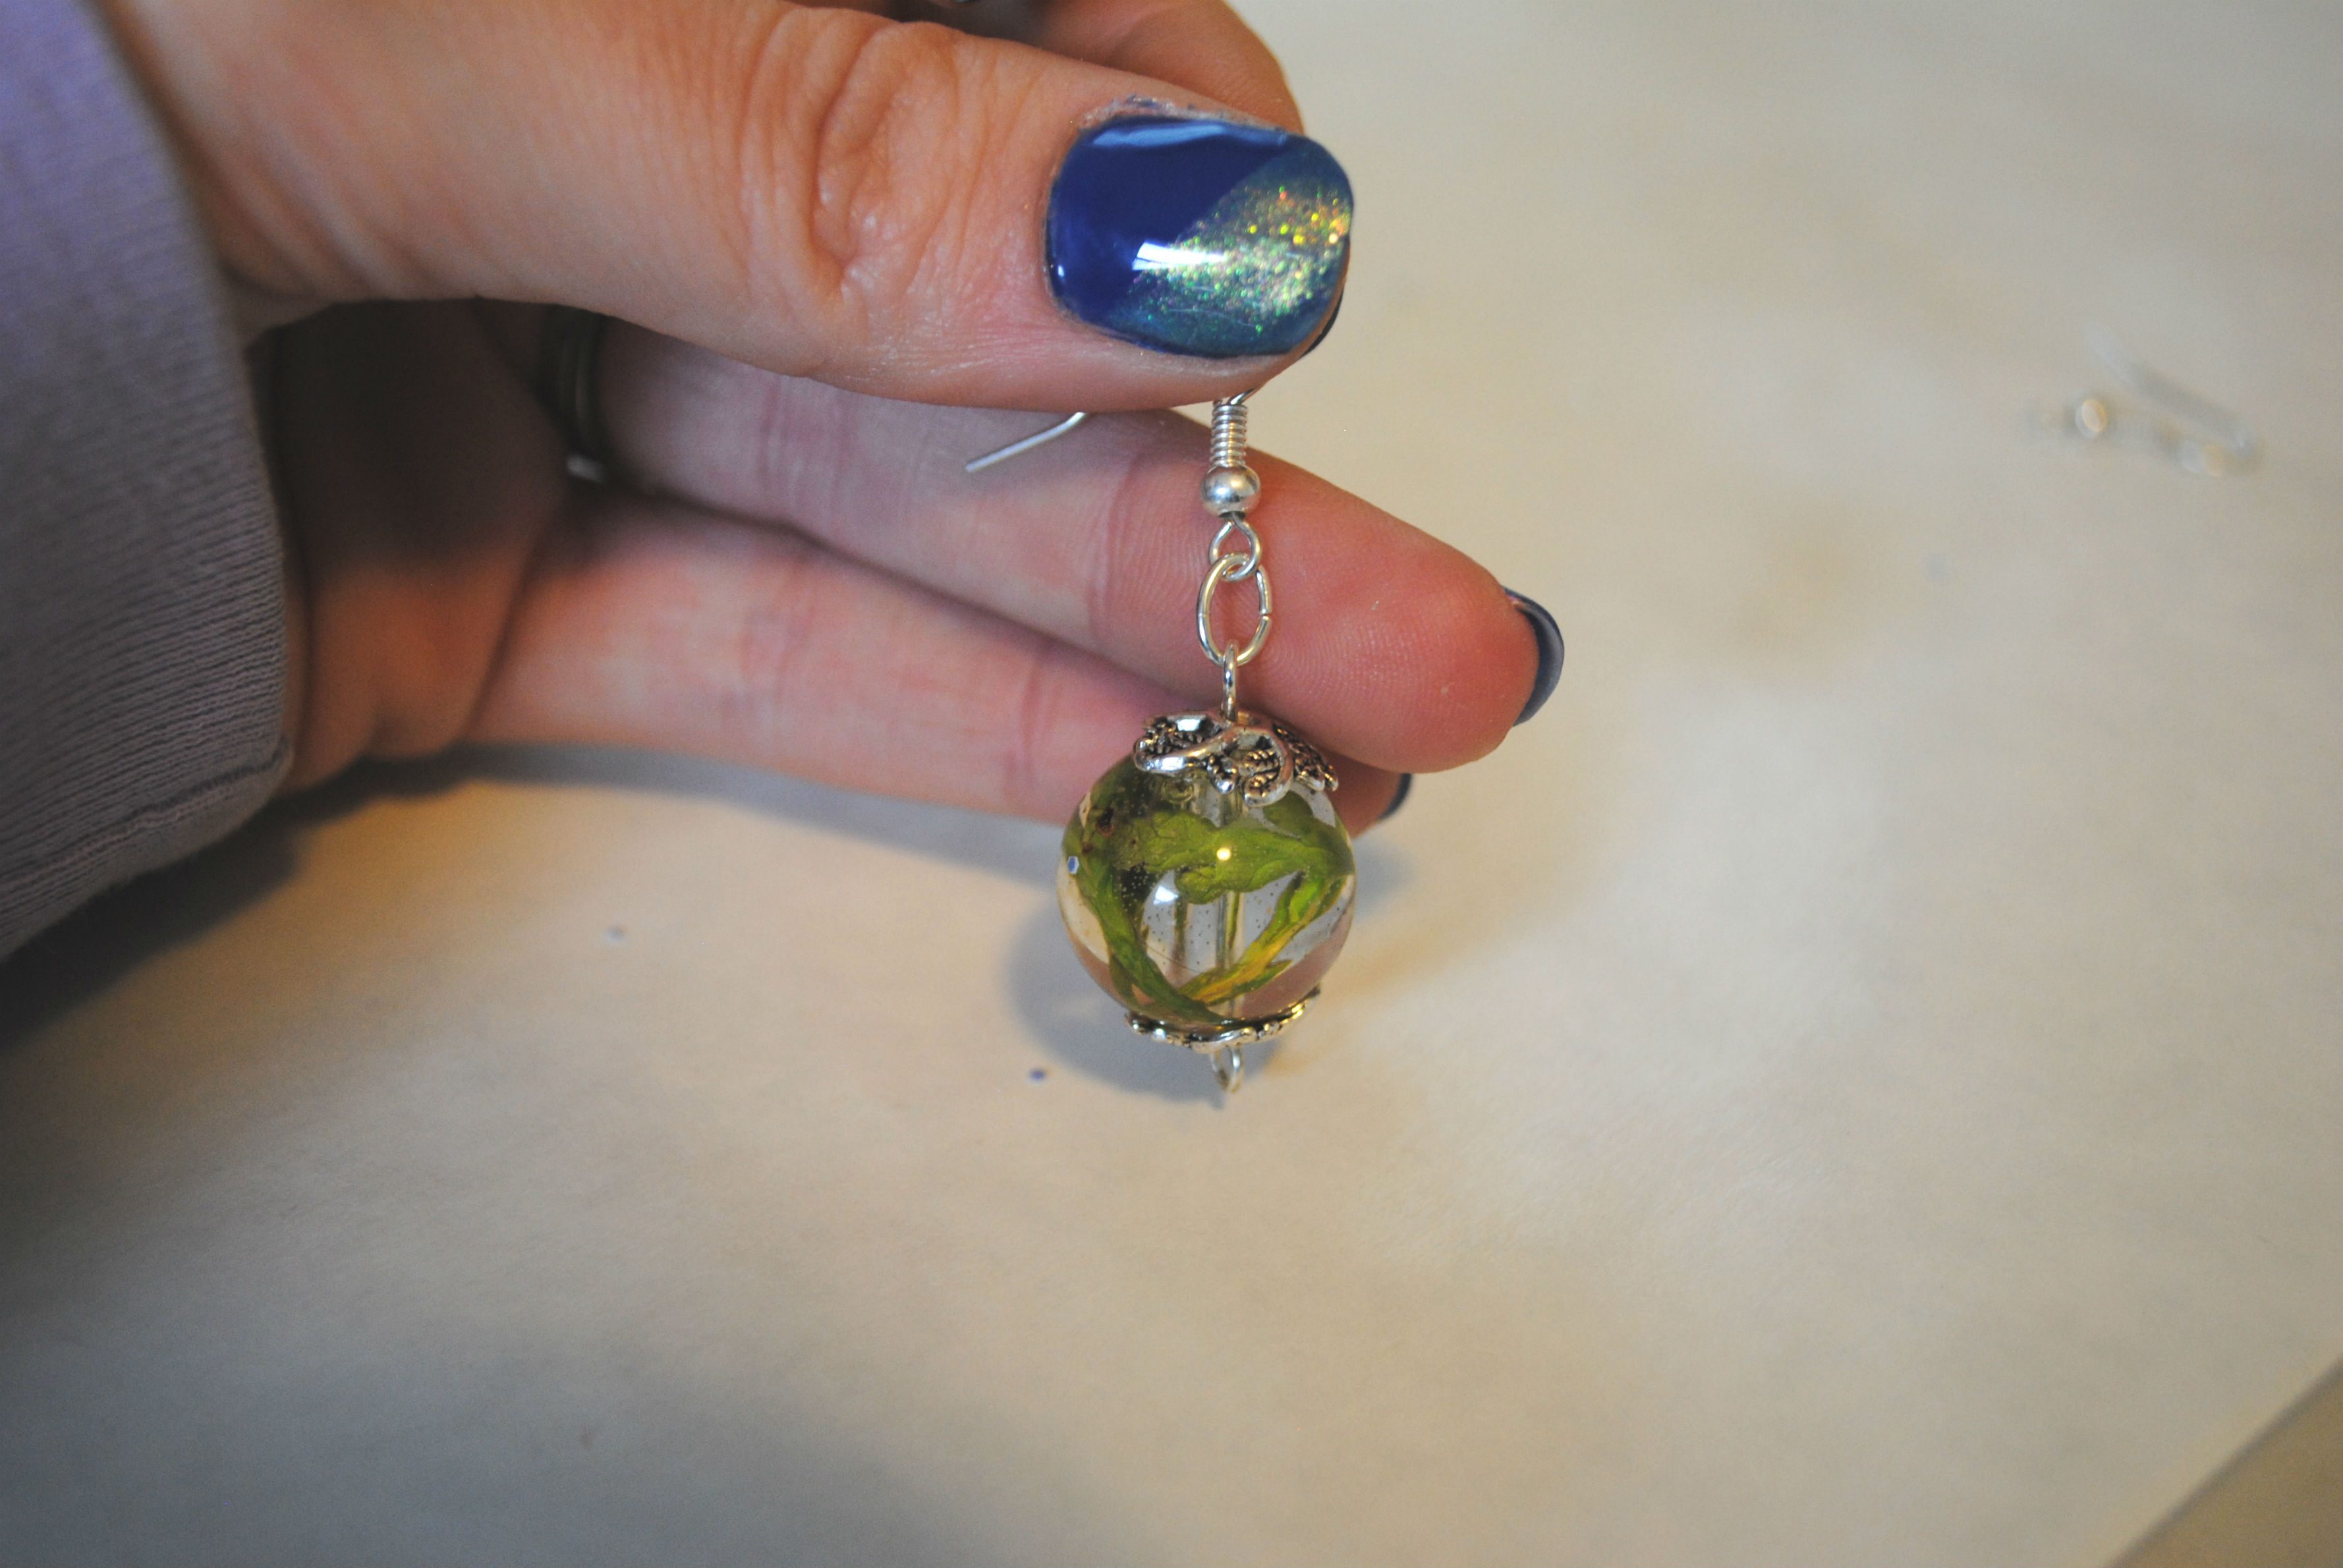
Use your pliers to open and attach jump rings to both ends of your beads. On one jump ring, attach your earring hook. On the other jump ring, attach your chosen decorative bead or dangle. Be sure to properly close your jump ring so that the ends are once again touching to ensure your earring doesn’t break.
Now get excited because you just learned how to make resin jewelry with flowers!
These make a great gift too. It’s such a nice way to remember a special occasion.
Ready to try making jewelry with resin but want more help?
Ready to try making jewelry with resin but want more help? Get the instructions and teachings I share in my live classes, all from the comfort of home. Buy a copy of my ebook, Resin Fundamentals. It has helped thousands of artists, crafters, and jewelry makers create something unique with resin. Buy now, and you can download the book to read in minutes.
Originally written by Michele Rober
Unpublished Blog Posts of Resin Obsession, LLC © 2023 Resin Obsession, LLC



What about all those microbeads? Bubbles?
And how can one determine WHAT NATURE ELEMENTS WILL BROWN? I’ve gathered some spongy moss and it dries out so ugly so i want to use it fresh
Hi Lisa,
If you are asking about larger bubbles forming in the beads after placing the botanical items, sometimes it does happen. However, I find more often than not they form when a big glob of resin falls onto the mold opening. This creates air within the bead even after it all sifts in. Slow tiny pour if key.
I wish I knew all of the elements that tend to brown with drying and or within resin, but unfortunately it’s just been a lot of trial and error for me. I’ve personally never worked with moss, but I would suggest using it semi-fresh. After picking it, pat as much moisture out of the moss as possible and maybe leave it wrapped in a paper towel overnight before using it in a craft.
Thank you for this! I’ve been collecting botanicals and pressing them for a while now and wasn’t sure of the best way to incorporate them into a resin project. Would you ever suggest dipping them in resin before placing them into the mold?
Hello! So for the most part, I do not need to dip or spray my items before placing them into my bead mold. I tend to use flowers and greenery that work well with resin (such as Babies Breath and Queen Ann’s Lace).. However, flowers like hydrangeas would do well with a resin spray before covering them with resin because they do tend to brown and spot. I just think it all depends on what botanicals you plan on using.
any idea what the ‘handy dandy contraption’ is? i’m intrigued by what it is & how it makes loops, but i have no idea from the picture how to search for it.
in case it’s helpful, i also put natural materials in resin and have found that some of it really should be dried before encasing (because it reacts with the resin)… i have used thin green moss without too much drying and have had success (i don’t pick it and put it straight into resin, but i let it sit a couple days). some items i’ve found benefit from a sealant before coating in resin- basically anything that looks different (in a way you don’t want) when wet is often better sealed. and i’ve put natural items in resin both dipped and undipped- i suggest dipping them if they’re strong enough to allow it and you’re worried about bubbles. i made the mistake of coating objects in resin, letting them cure, *then* putting them in a mold… & that trapped giant bubbles below the objects that i couldn’t see until it was cured. so i definitely wouldn’t recommend that.
Hello Leah,
I googled what the brand name of my loop pliers are and it’s called: 1 Step Looper. I hope that helps!
Hello. Thank you so much for your tutorials. I’m only sorry I live in the UK & can’t order from you!
Can you please advise which resin is best for making cuff bracelets please?
Many thanks!
P. S. reCaptcha doesn’t work on the mobile version of your site 🙂
Hi Cam, I like using the Resin Obsession super clear resin for anything in molds. It mixes in a thin viscosity and cures crystal clear. Unfortunately, we cannot ship it to you in the UK. Instead I can direct you to my friends Clare and Kate at Resin8. resin8.co.uk. They are in the UK and should be able to give you some options.
Thanks for making us aware of the technical issue. I have my team working on it and hope to have it resolved shortly.
Thanks so much! (& for the recommendation)
Hi! I´m a begginer… will be
Do you have tutorials for beginners? I’m in Mexico City, do you have any idea where can I find good resins here?
Thank you
Yes, we have beginner articles here: https://www.resinobsession.com/tag/beginner/
I love the info. What I am most impressed by is your response to guestions.
Great work
Hello! I am from Brazil and I am using your site as my best information base for making jewelry with dried plants and epoxy resin. I have been tested for more than three months several techniques (and I lost a lot of material), I used several tips from your aite about on how to take out bubbles, how to make a good piece of resin, and now I think my pendents are looking beautiful and with great quality. I will start selling my pieces, bit I don’t know how to guide customers to care about resin pieces. could you give me tips? Resin pieces can not be in the heat, in contact with alcohol, etc? I’m afraid of the pieces scratch with use. I would like to give people information on how to keep the jewelry beautiful longer.. Thanks you. Sorry for english mistakes.
It sounds like you are on your way to providing the tips! Keep from direct heat and sunlight are the big ones I advise customers on.
Ciao, i’m from Italy, can i find some of your resin here? Thank you
Hi Anna, I’m afraid we don’t sell the Resin Obsession brand resins outside the U.S. or Canada at the moment.
Hi, love your tutorials pages!
Please could you tell me where I can buy the little silver clasp bits that attach onto the sphere (between the sphere and the chain) ? I’d love to make some necklaces with my resin and i’m looking for beautiful silver cup shaped thingies!! Many Thanks
Hi Christian, they are called bead caps. We have them in our store here: https://shop.resinobsession.com/collections/findings/Bails
Do you wear a mask while working with resin? IF so, what type do you recommend? Thank you! Beautiful work.
Hi Amy, I use a mask for my large volume pours. I talk about the one I use and where to get it in this article: https://www.resinobsession.com/resin-resin-resin/epoxy-resin-safety-precautions/