
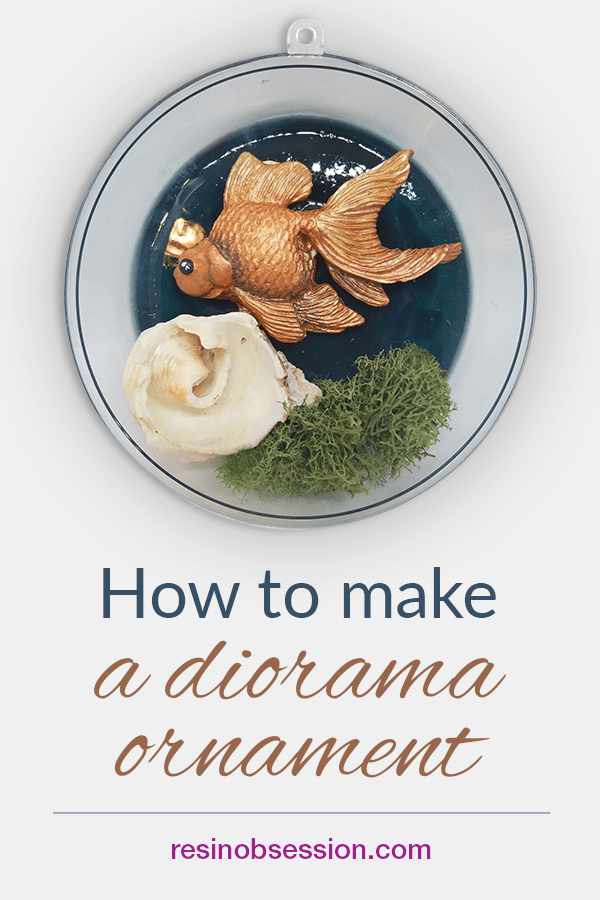
Here’s how you can make a resin diorama that looks like a bubble aquarium ornament. And here’s the cool thing — you don’t need to only display it for your Christmas tree. It’s cute enough that it can stay up year-round.
Resin Supply list:
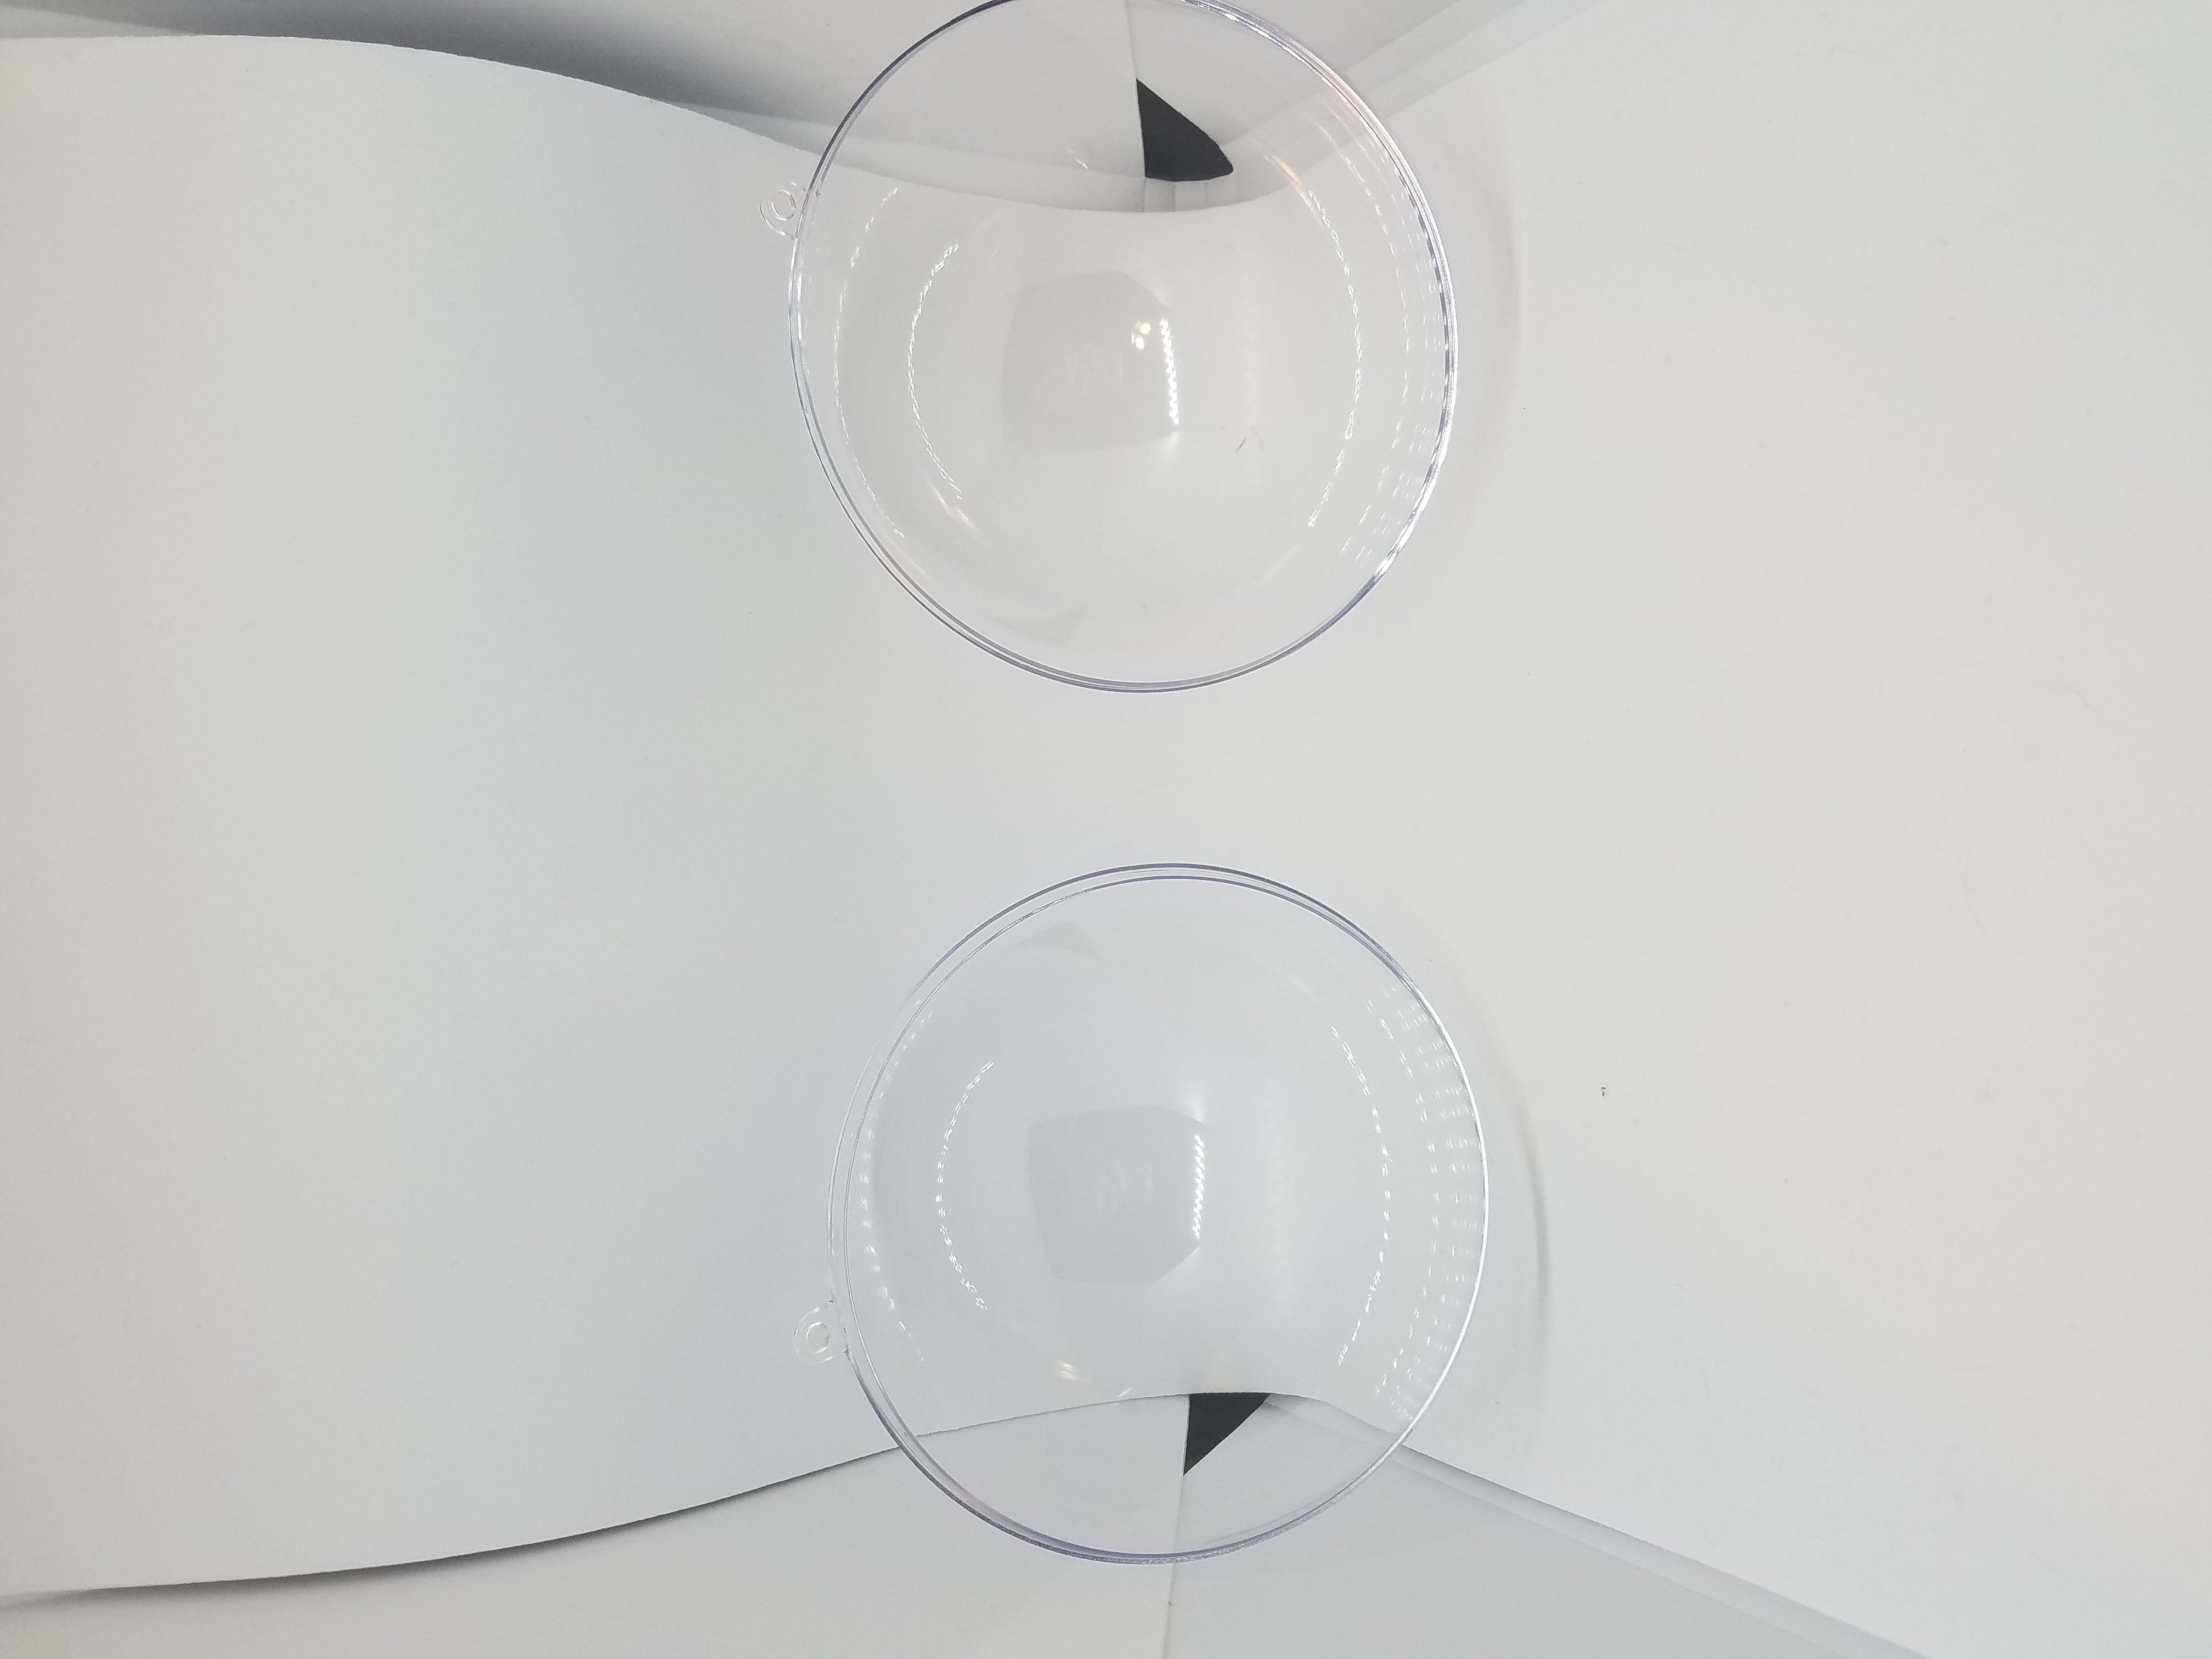
*clear, round, two-part ornament
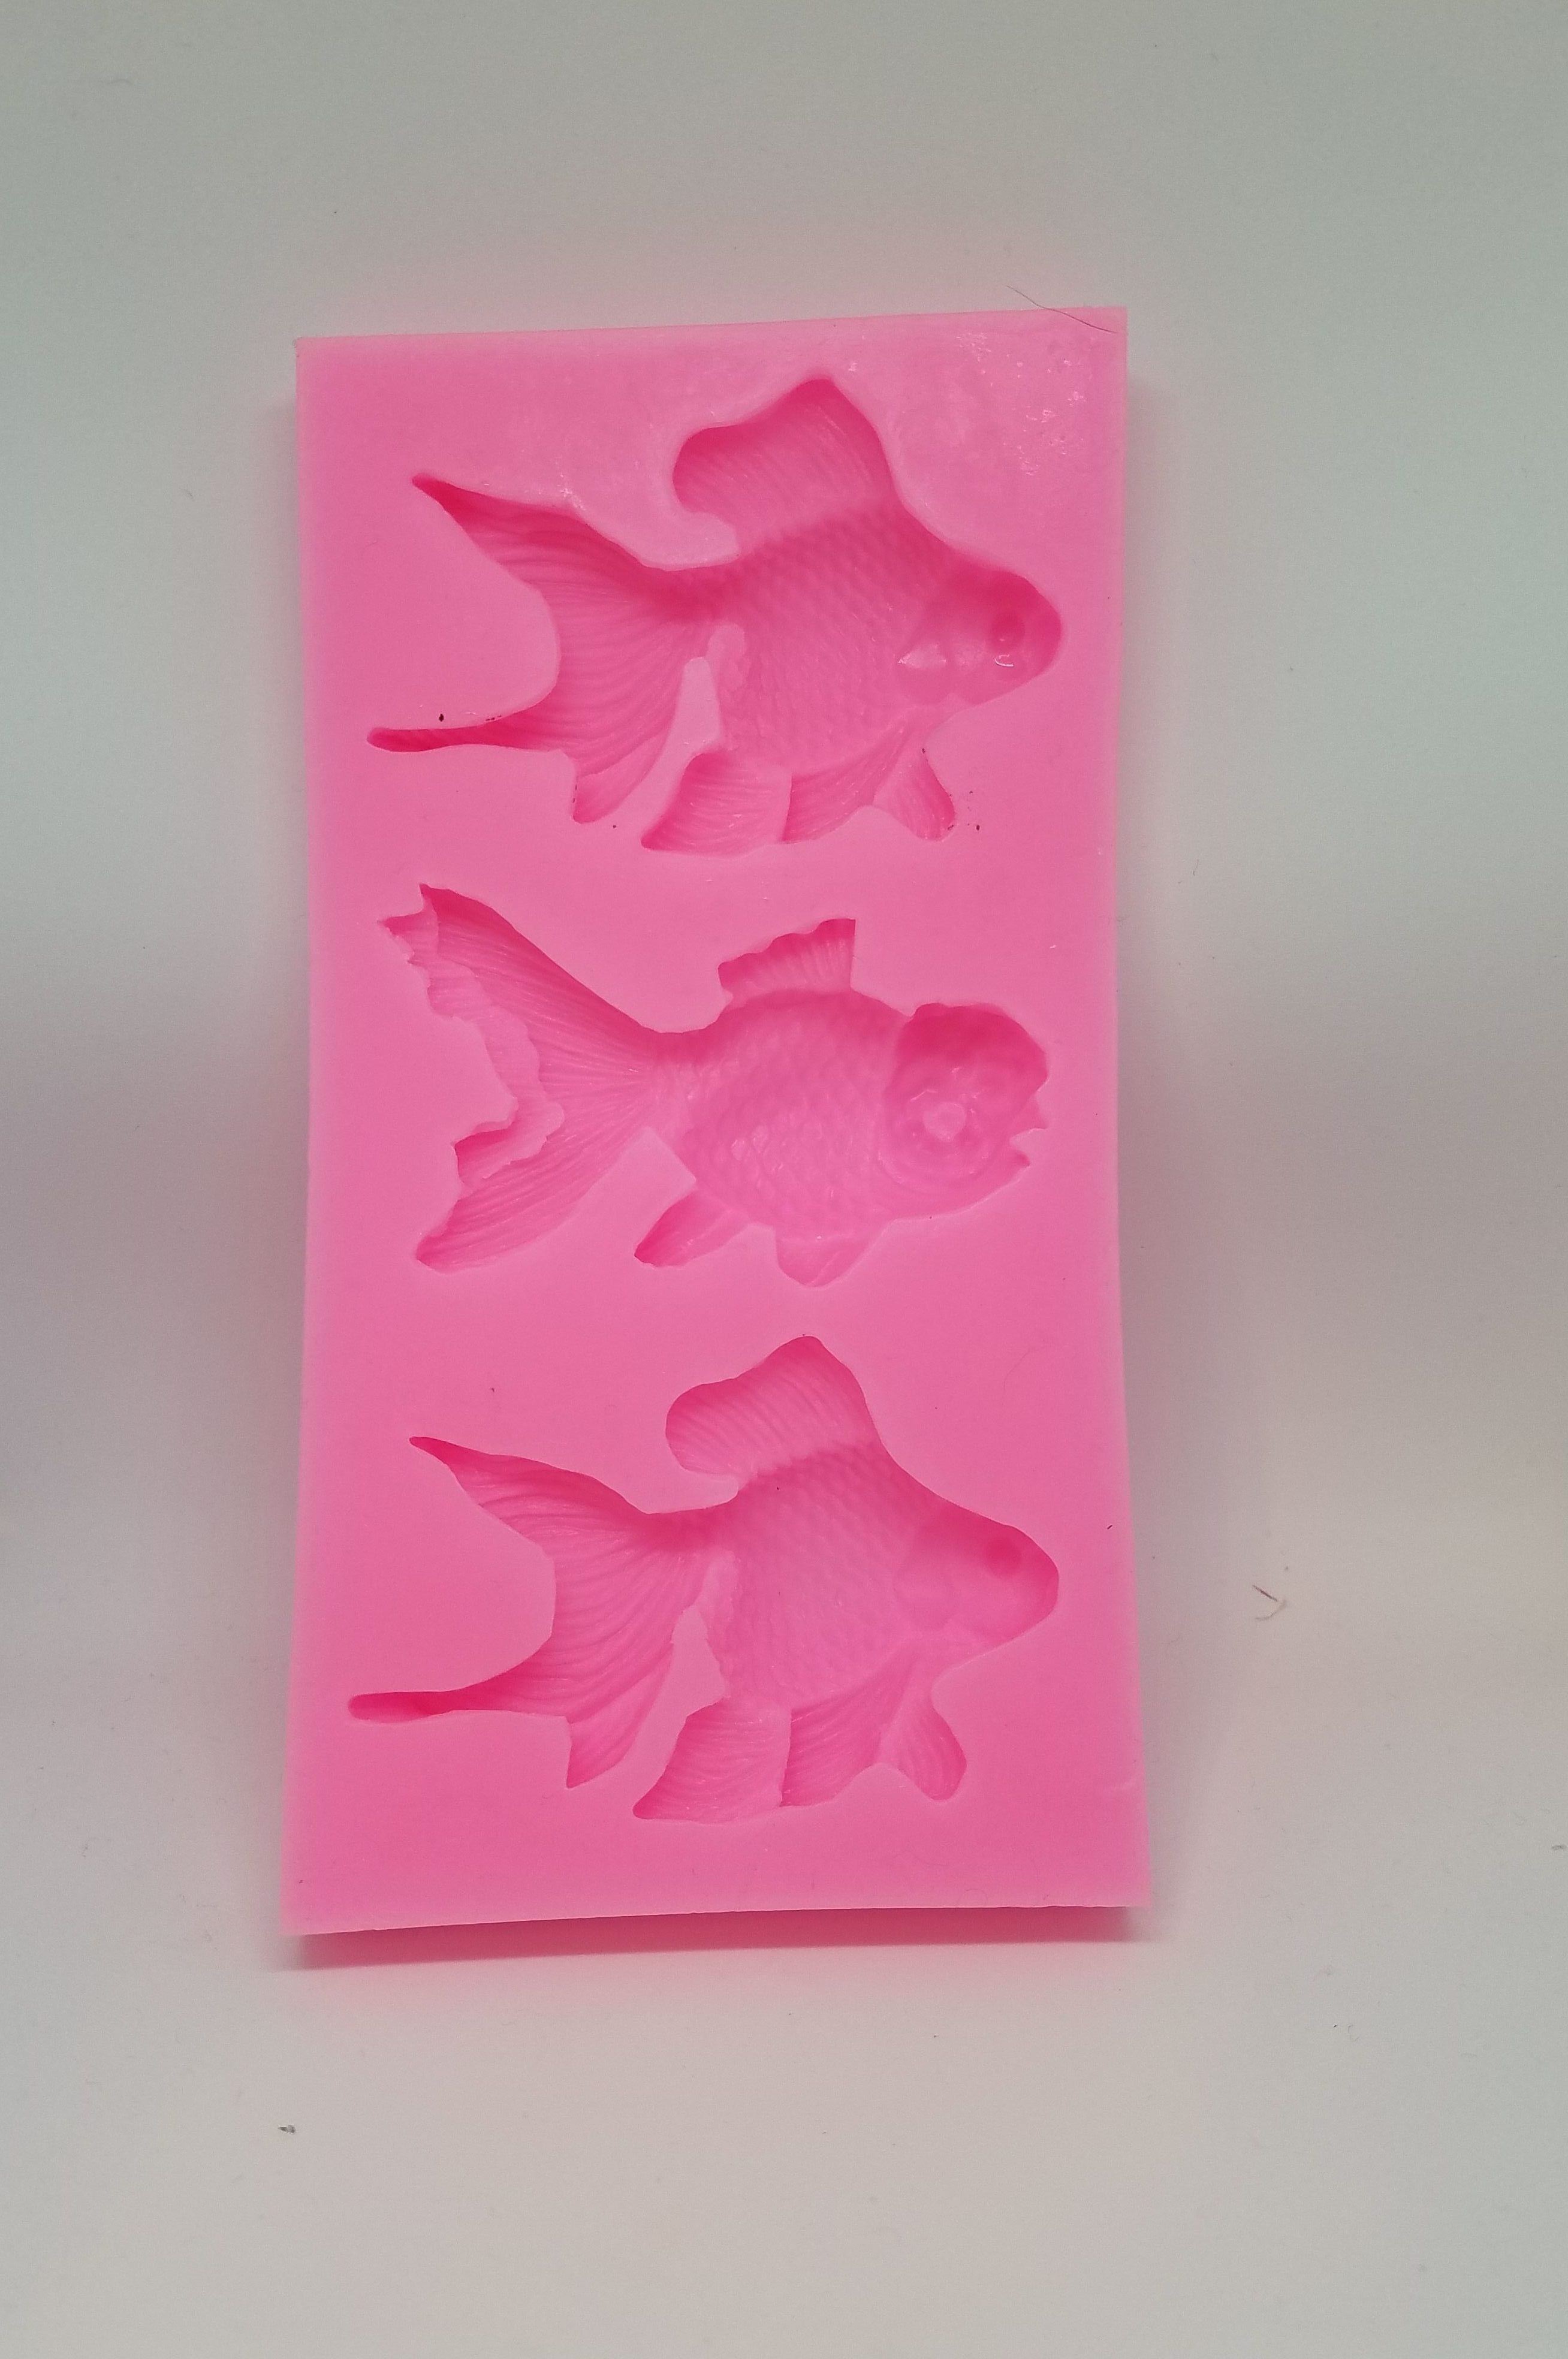
*fish mold
*clear craft resin
*resin colors
*accessories to put in the ornament (shells, coral, moss, etc.)
*gloves
*stirring utensils
*mixing cups
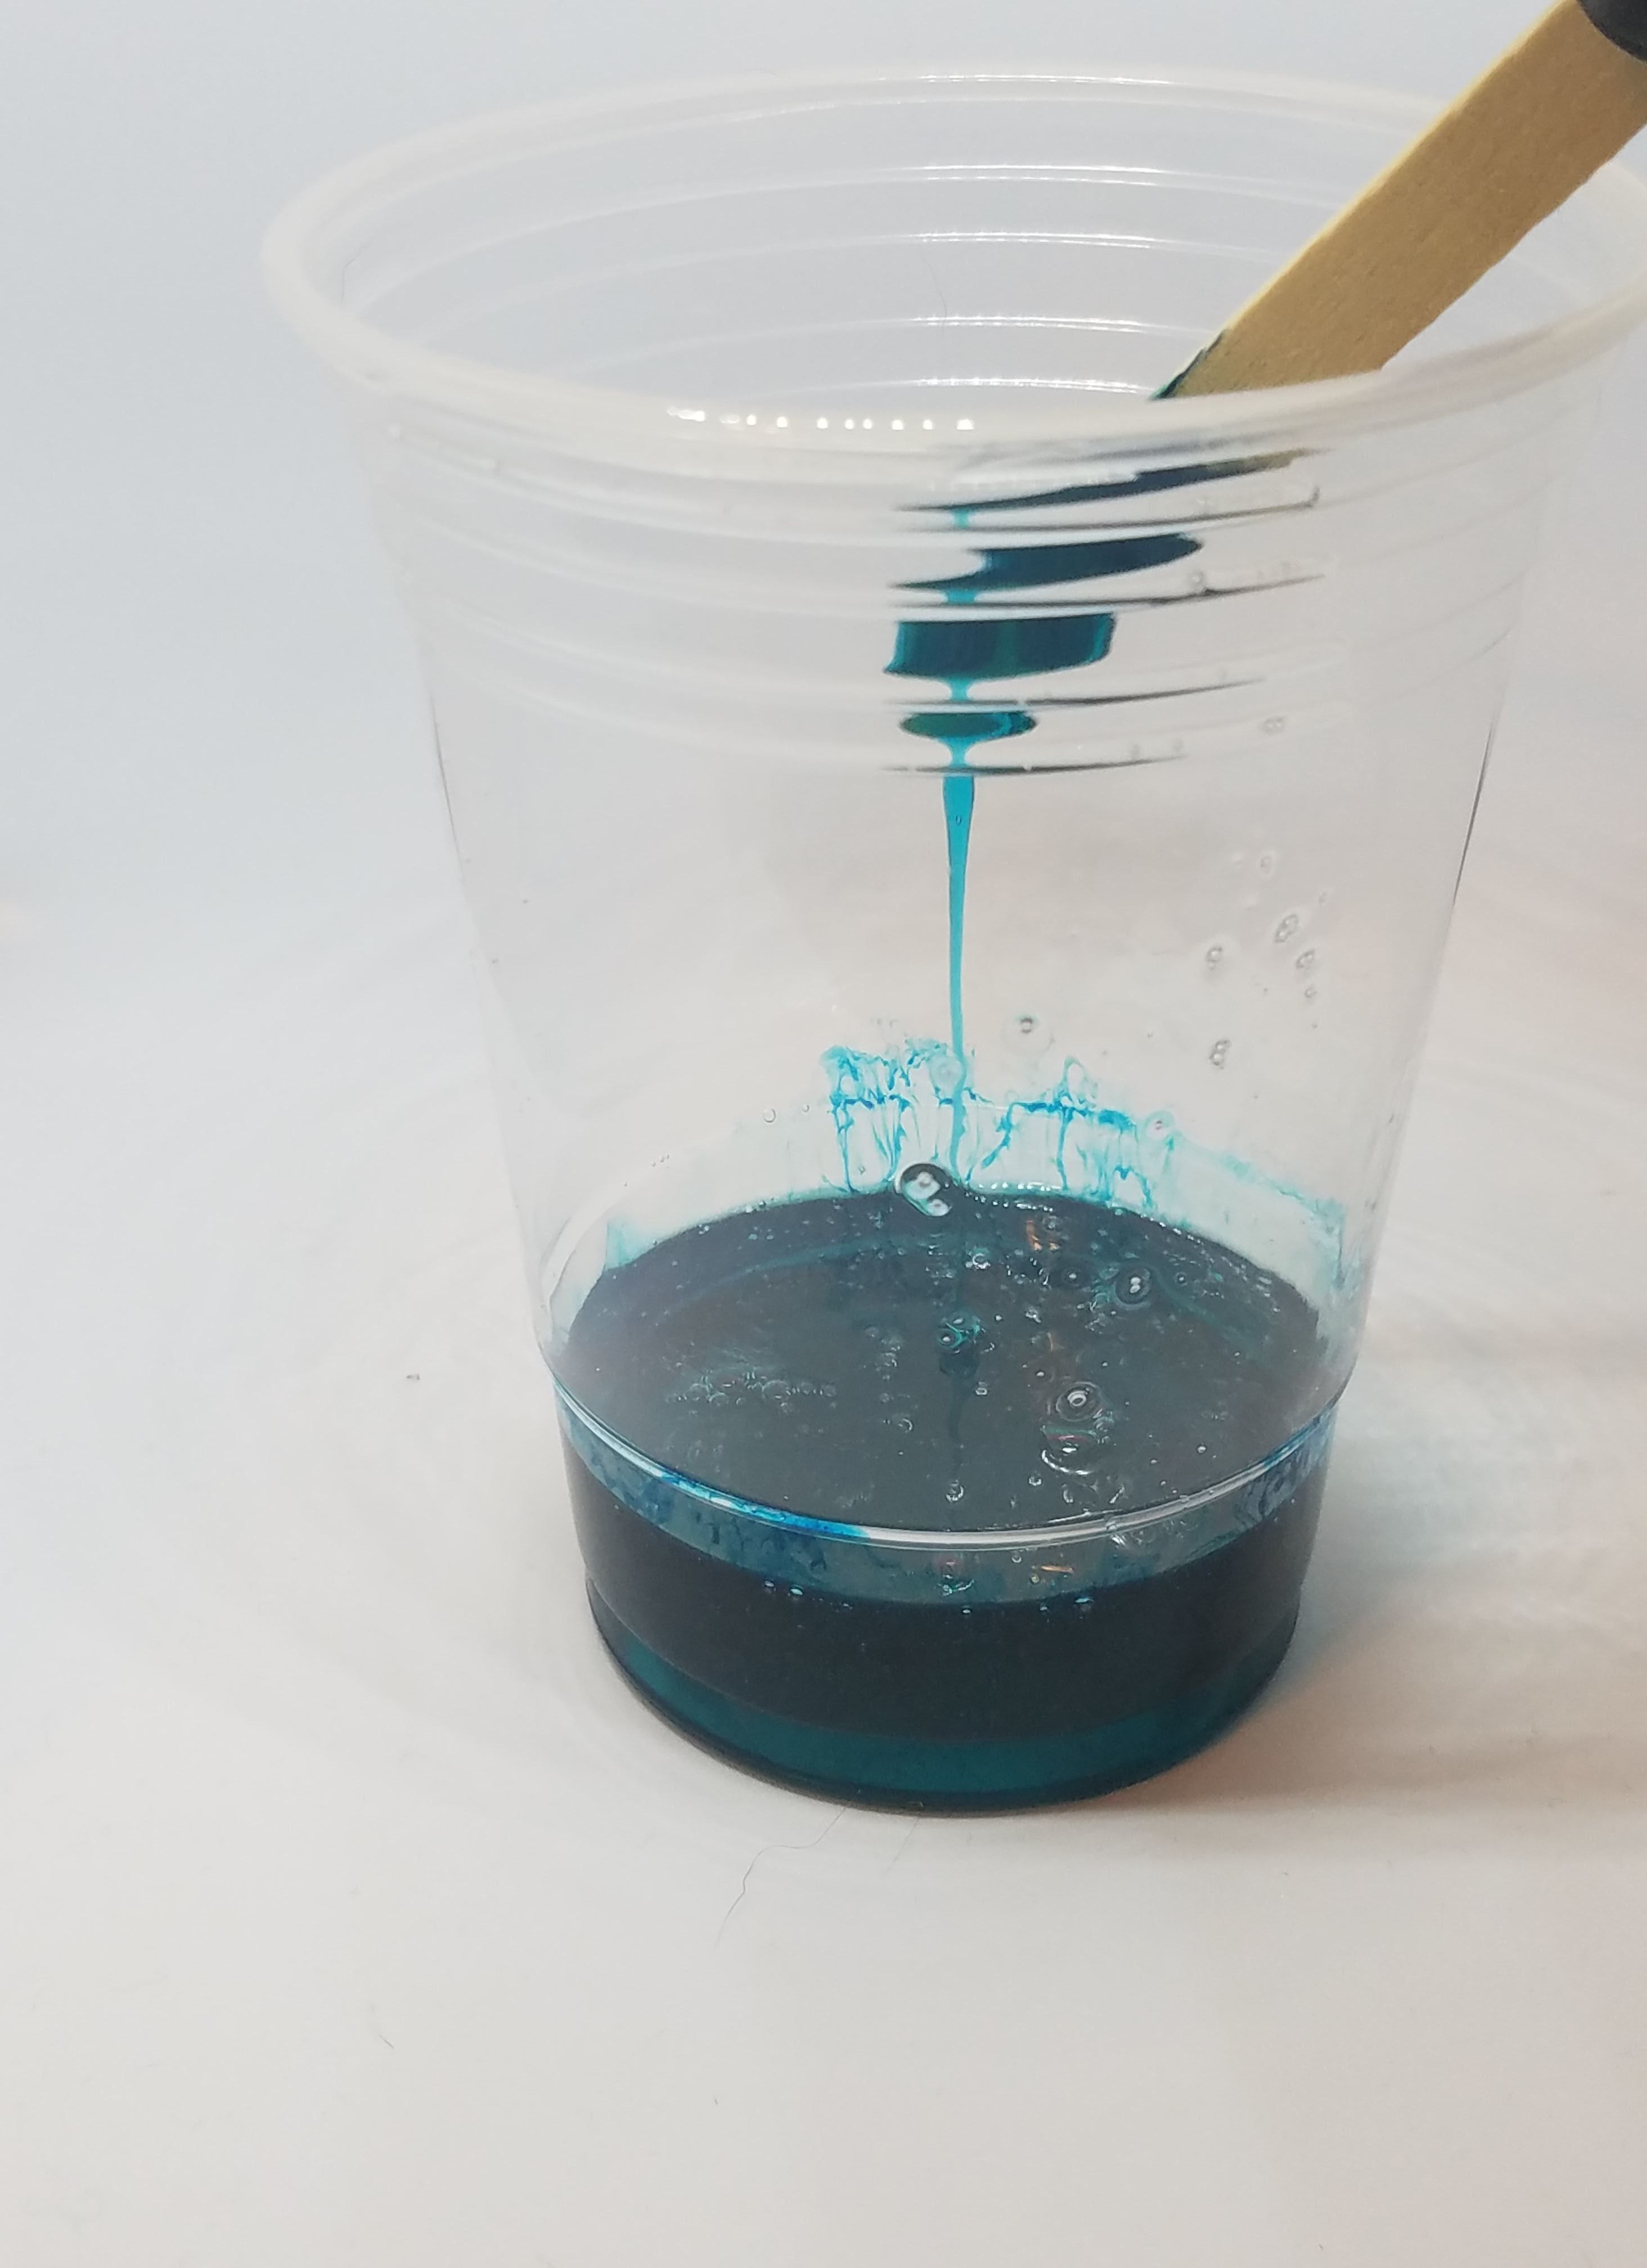
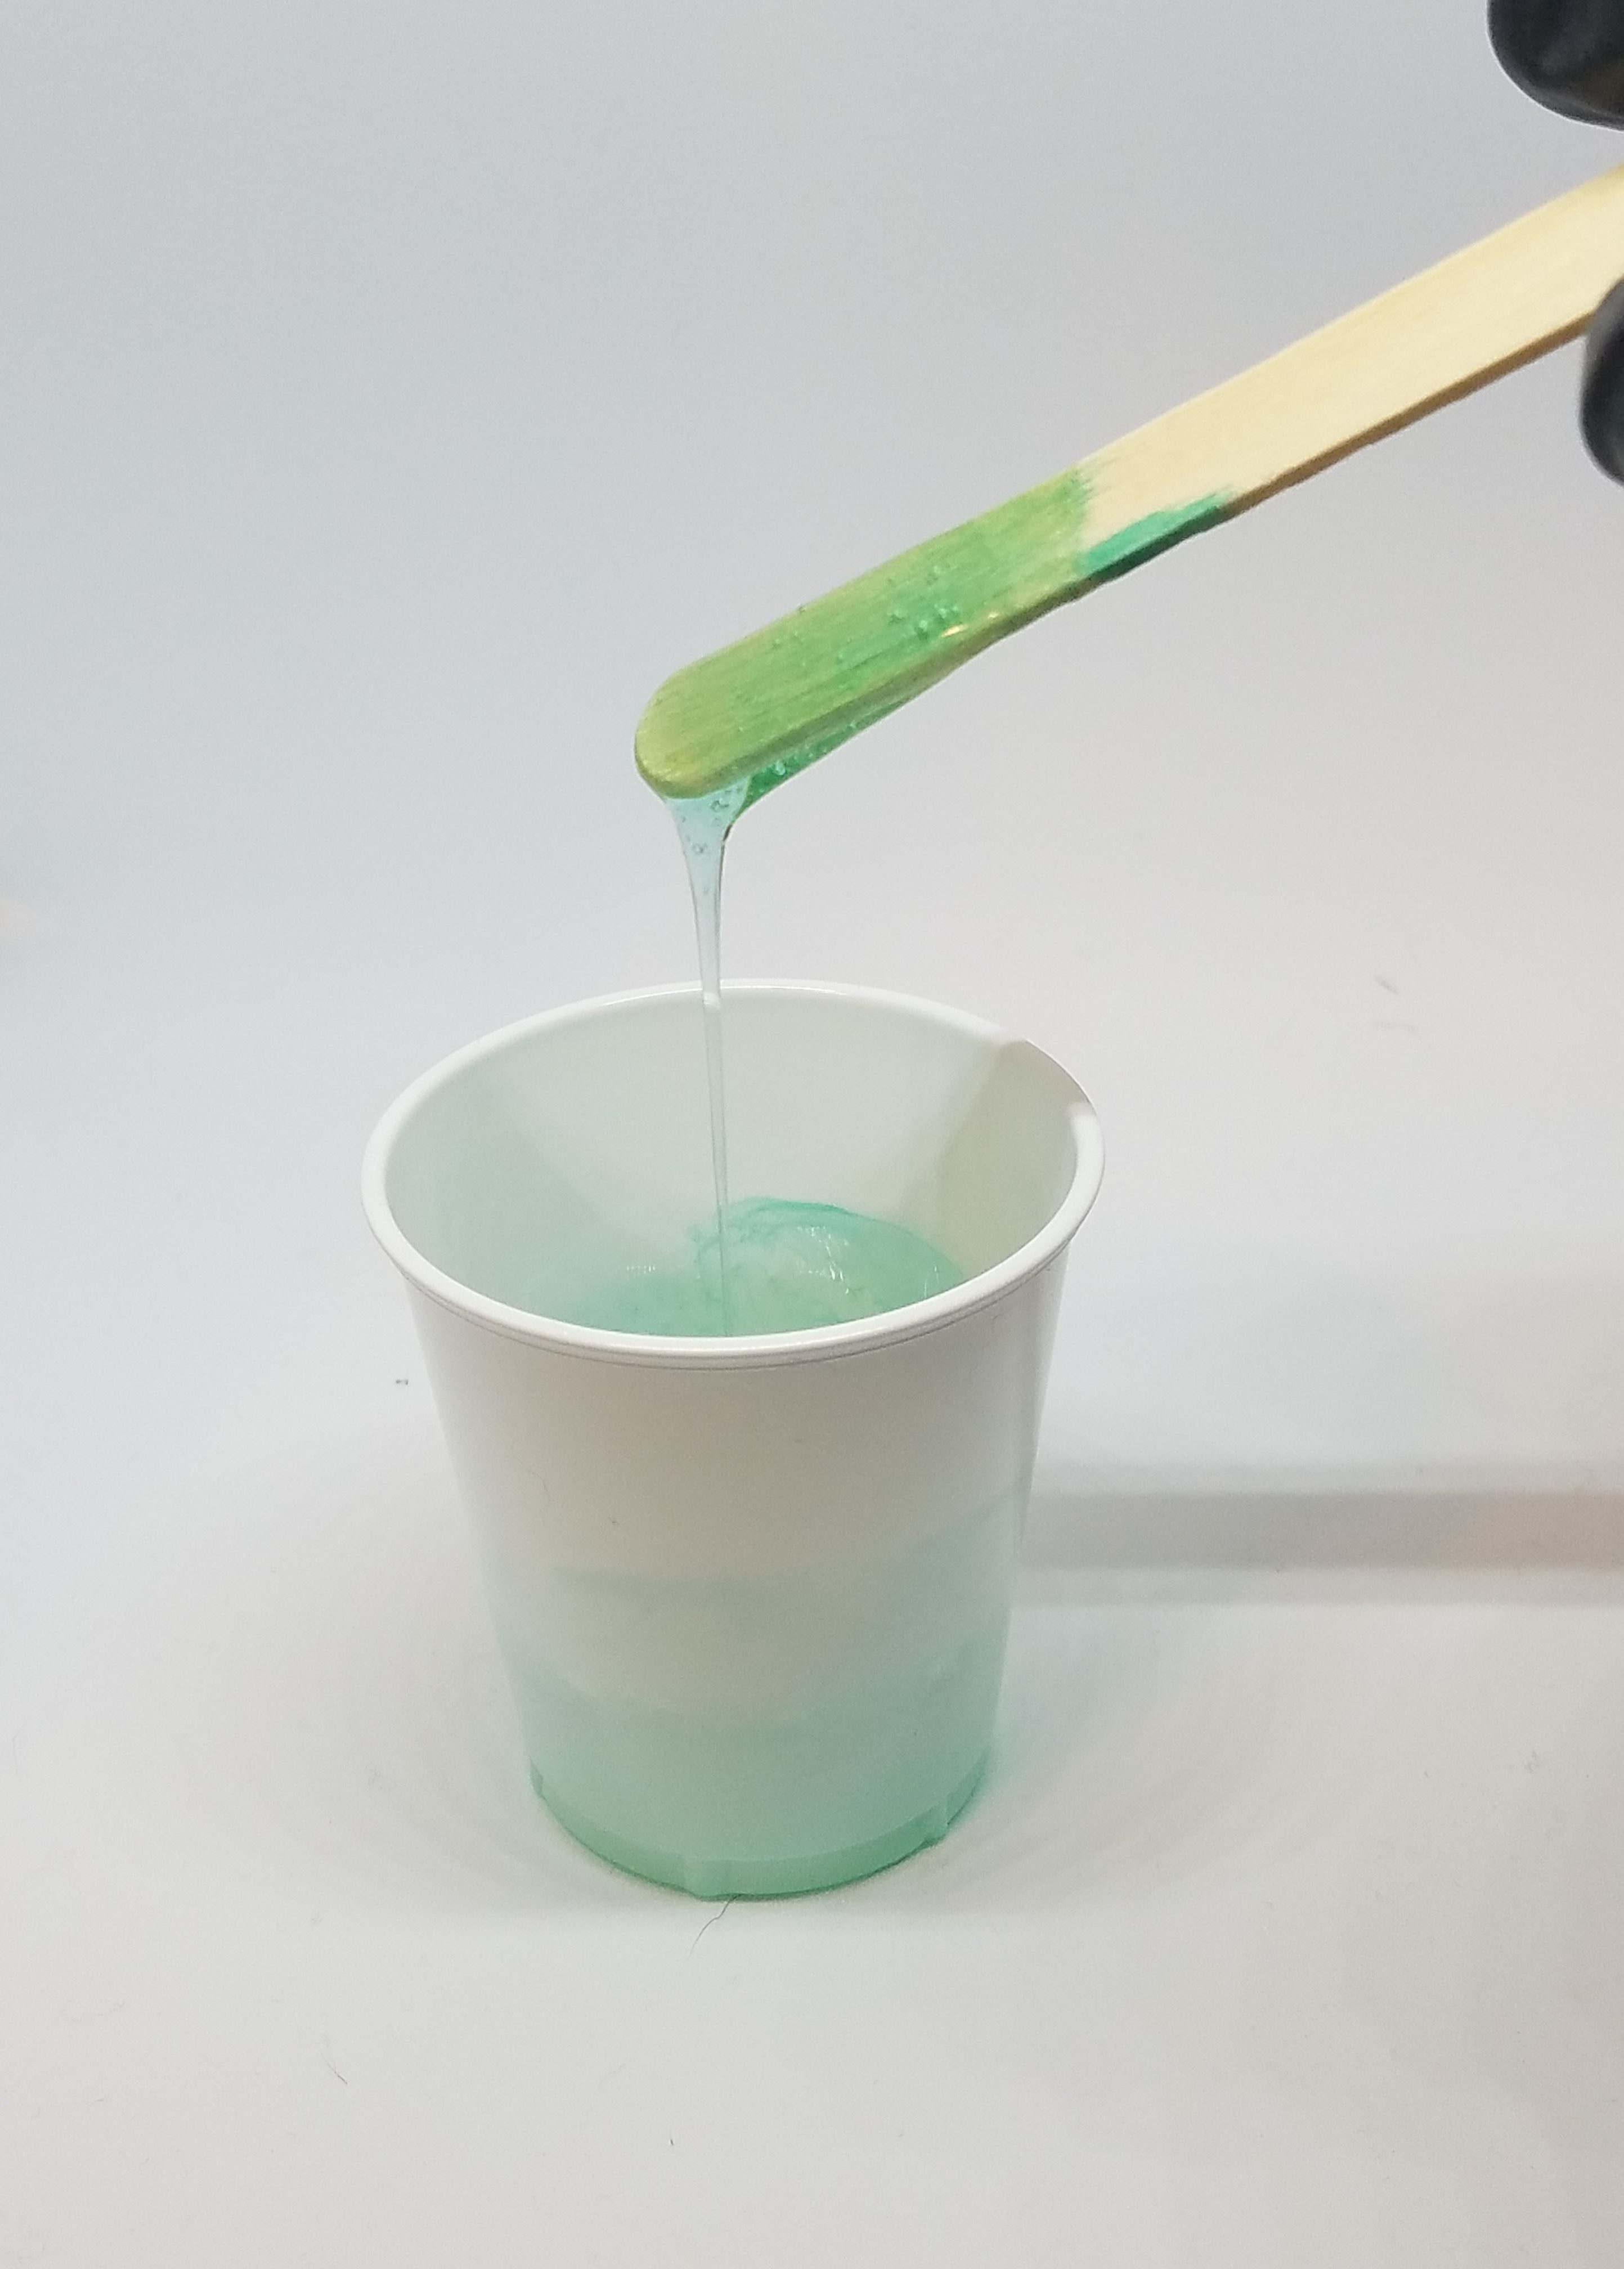
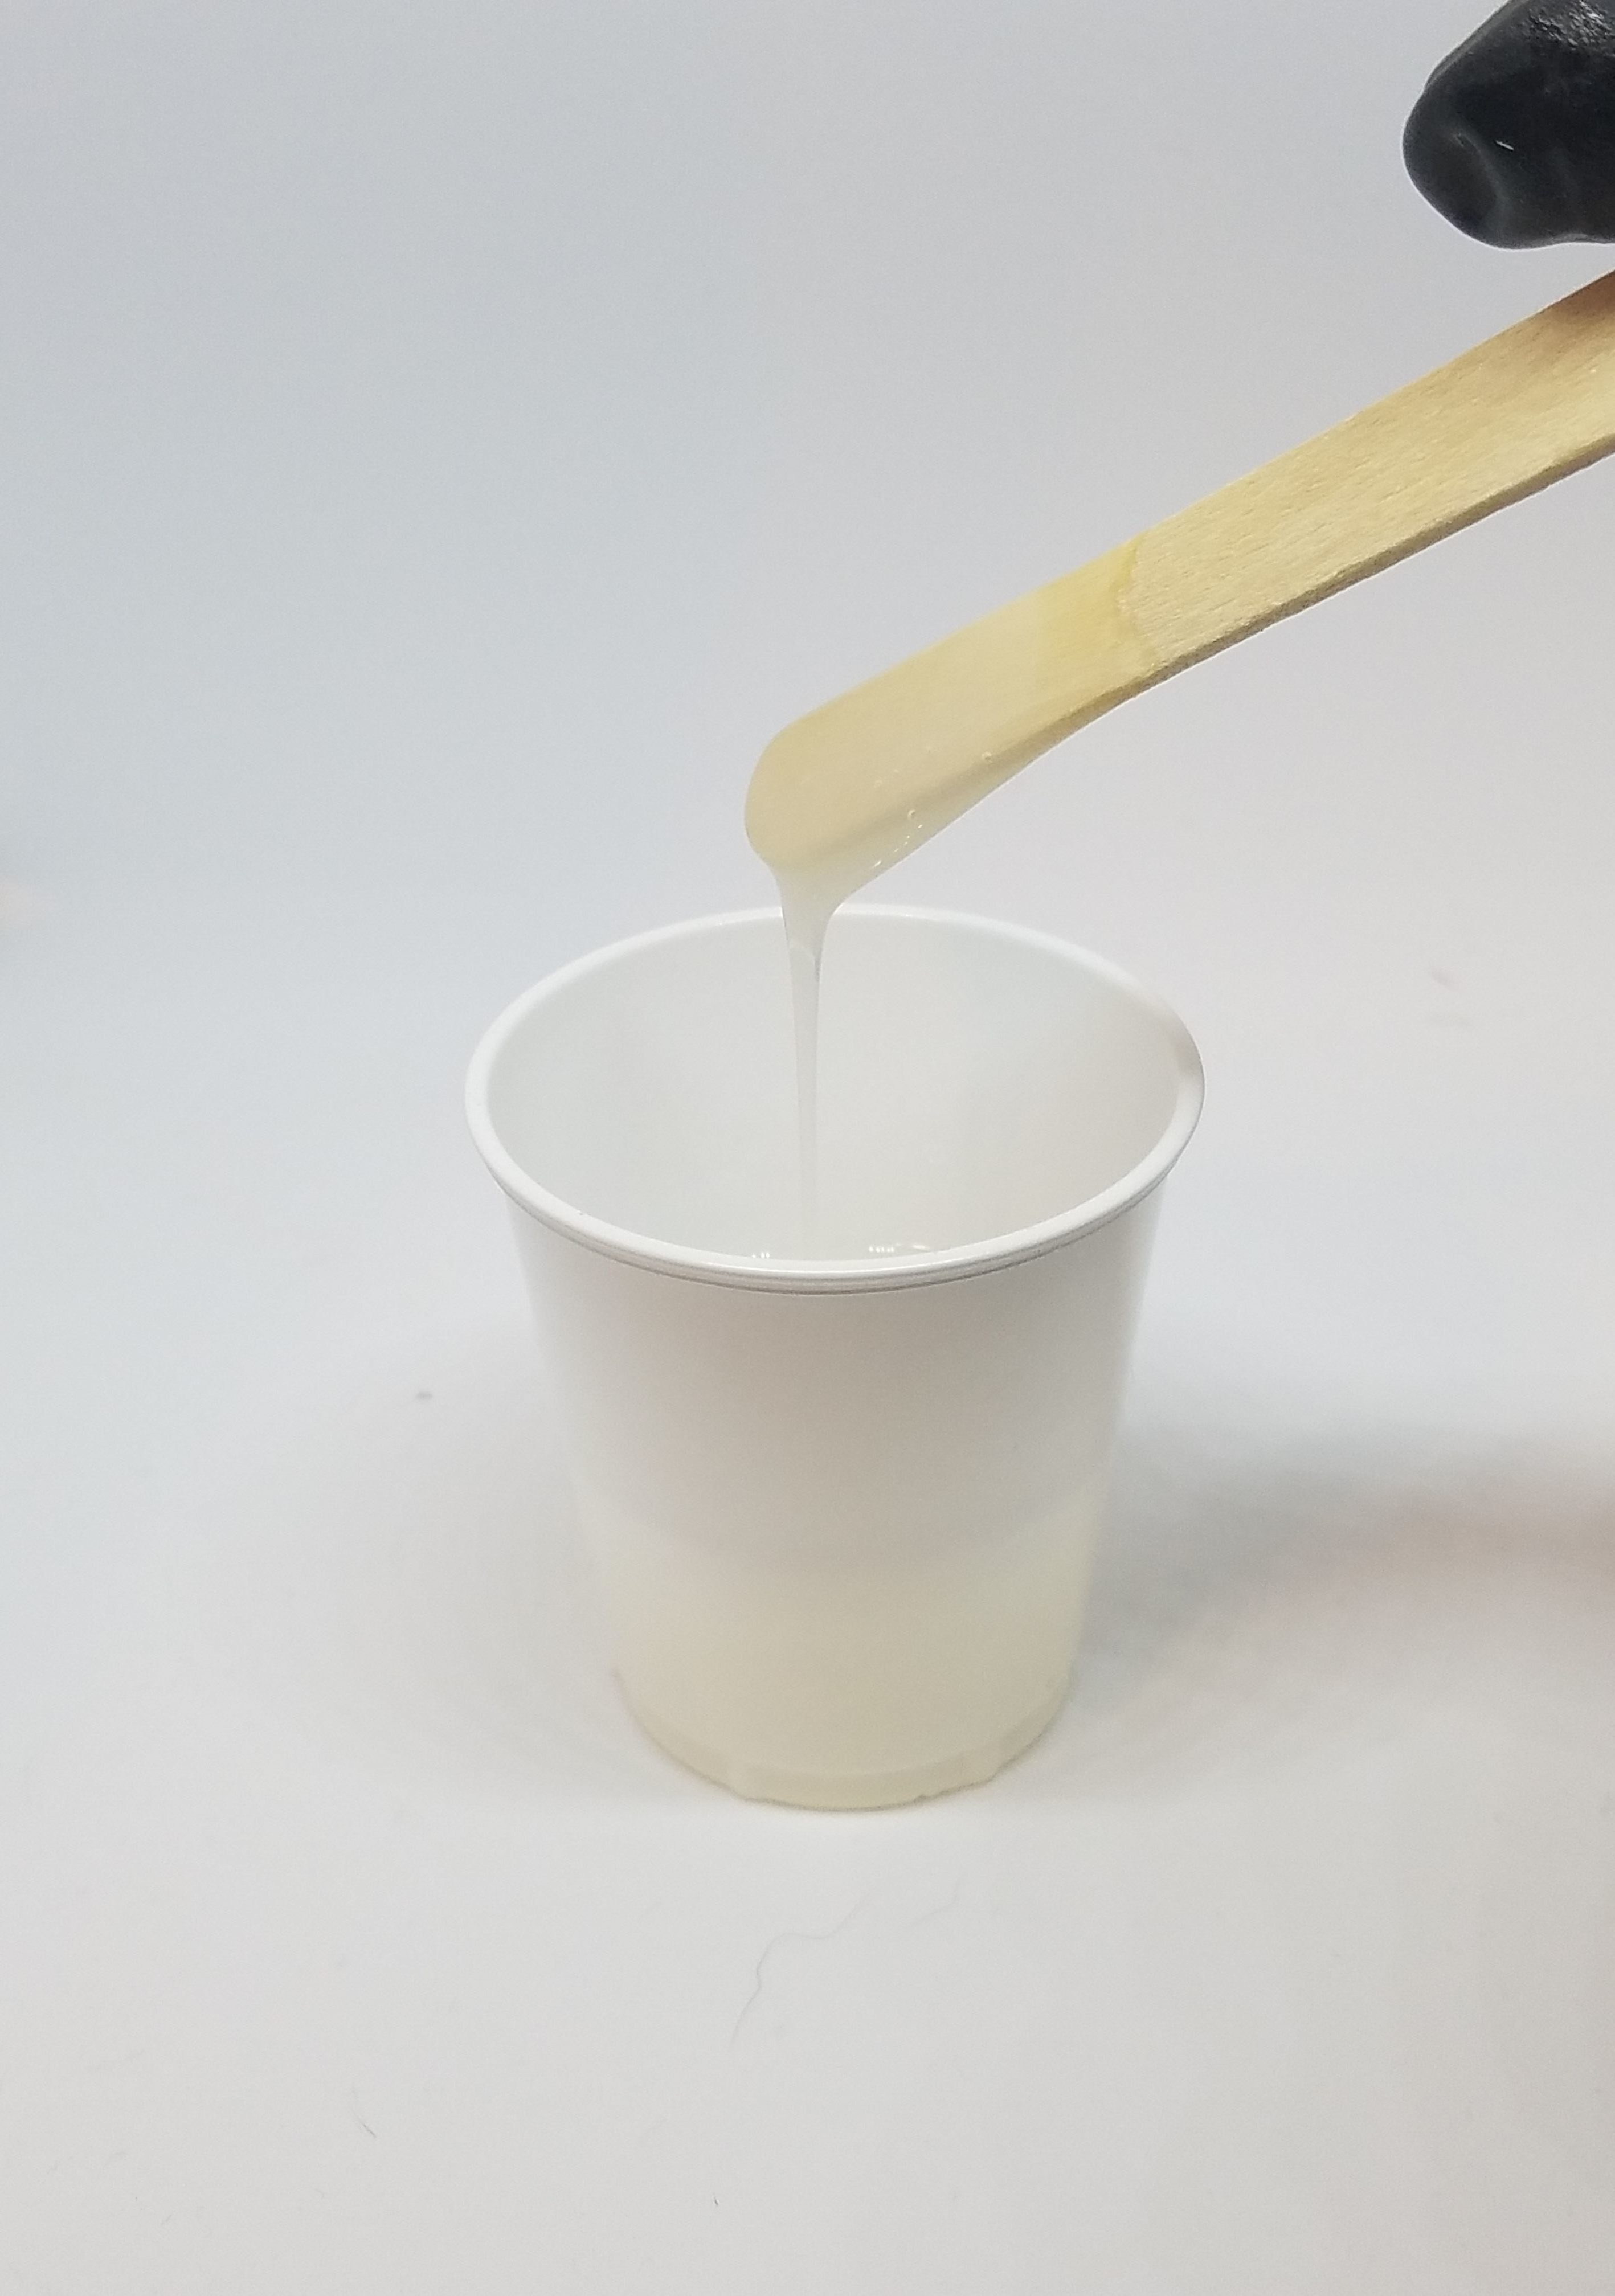
Step 1: Mix resin
Mix your resin, making sure to protect your hands with gloves. After the resin is thoroughly mixed, split it into several cups. You’ll need colors for the water and the fish. I mixed several shades of blue for the water, plus one green and one white.
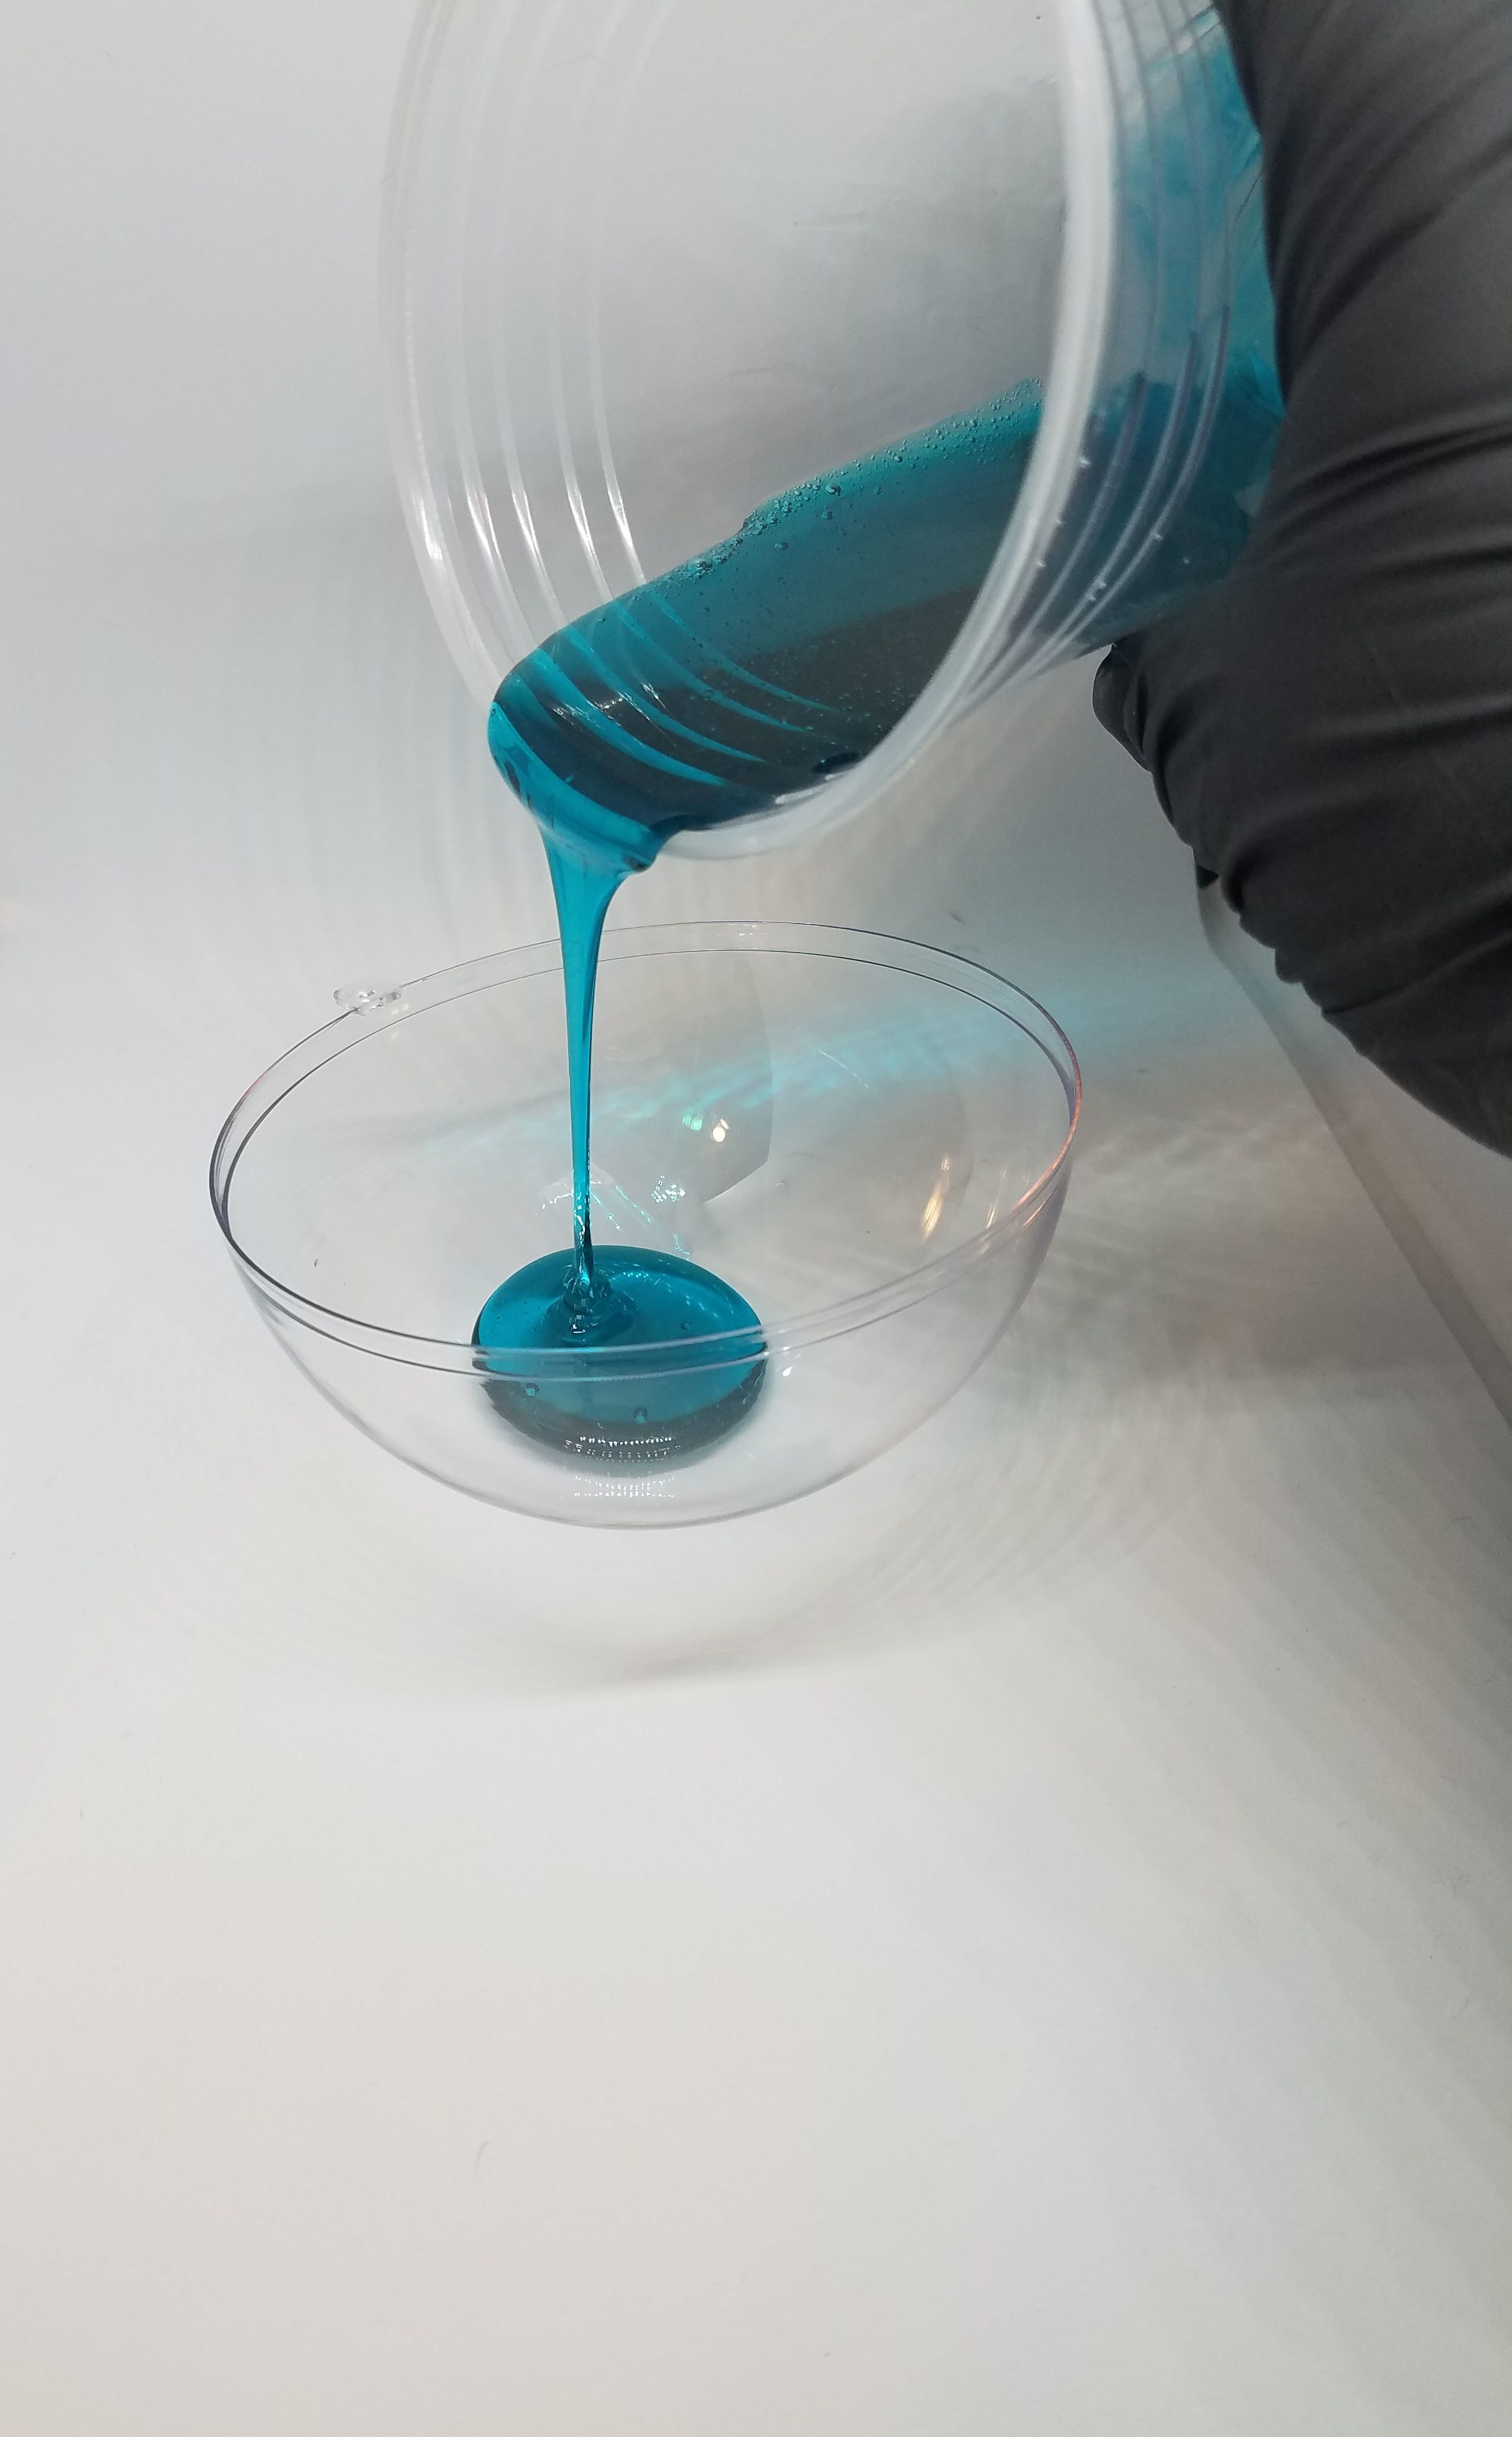
Step 2: Add to half of the ornament
After mixing the colors, pour several layers of each color into the ornament. I try to use only a bit of white as an accent color. Once all the resin is in the ornament, you can use a pipette or craft stick to move the resin around a bit to create a more realistic effect of the water for your diorama.


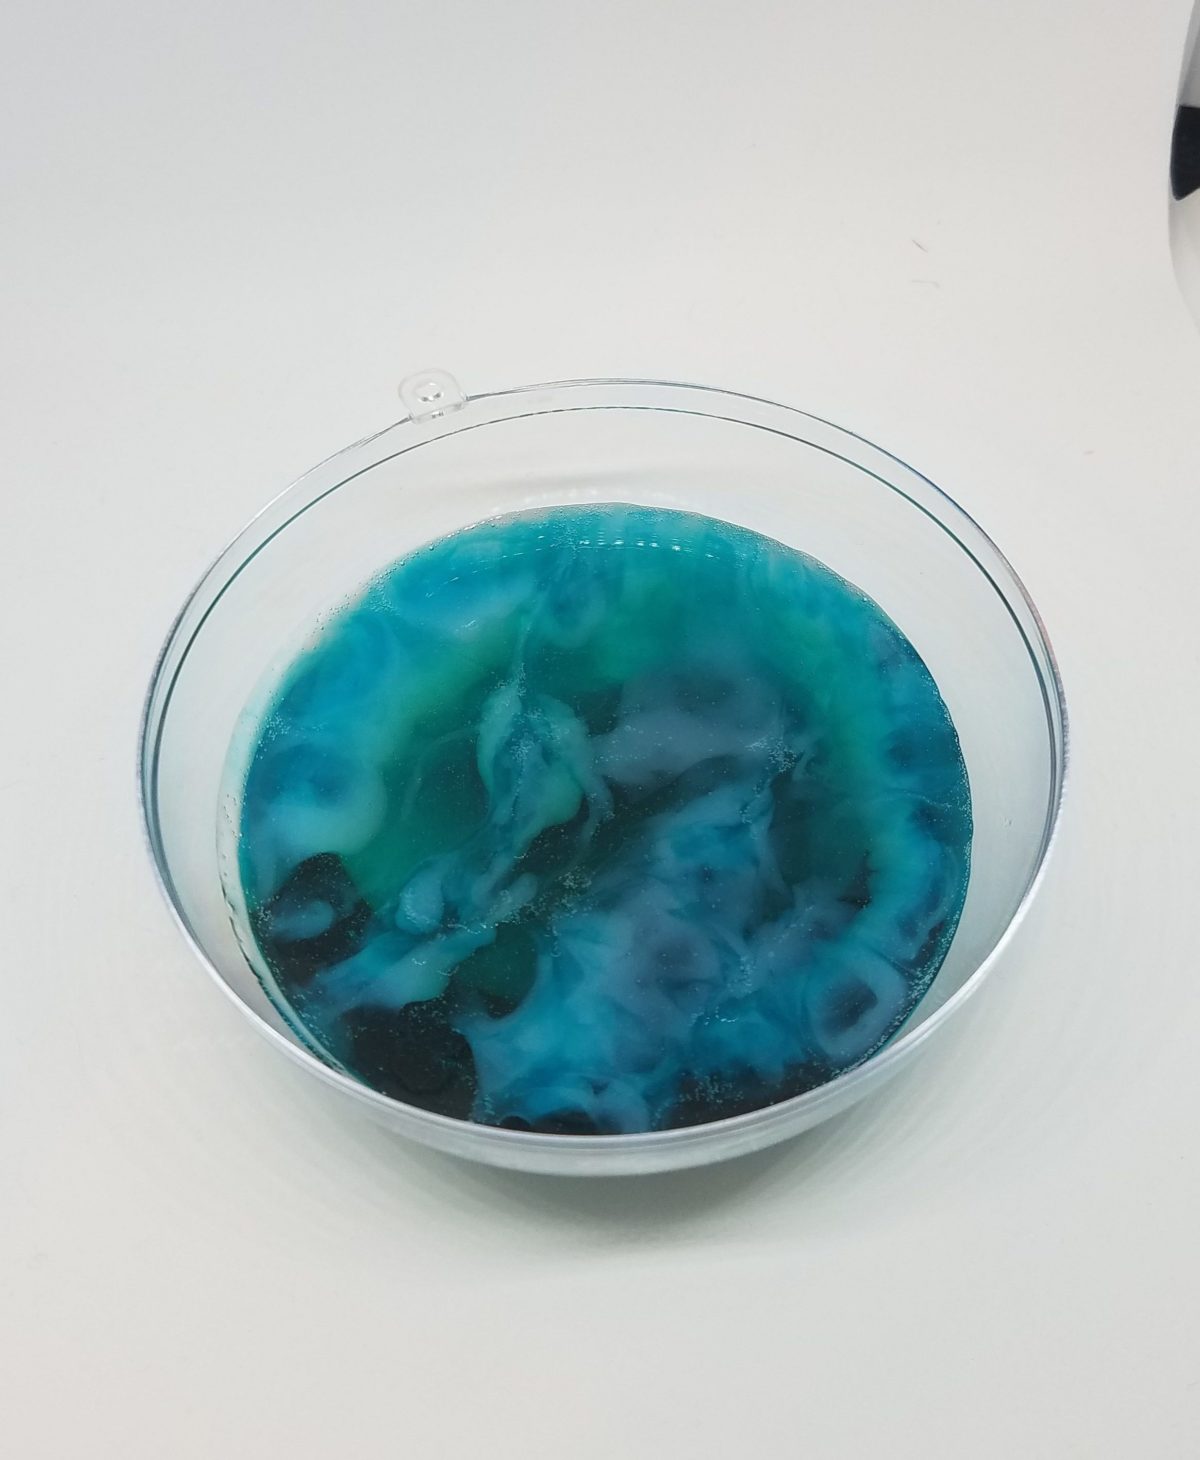
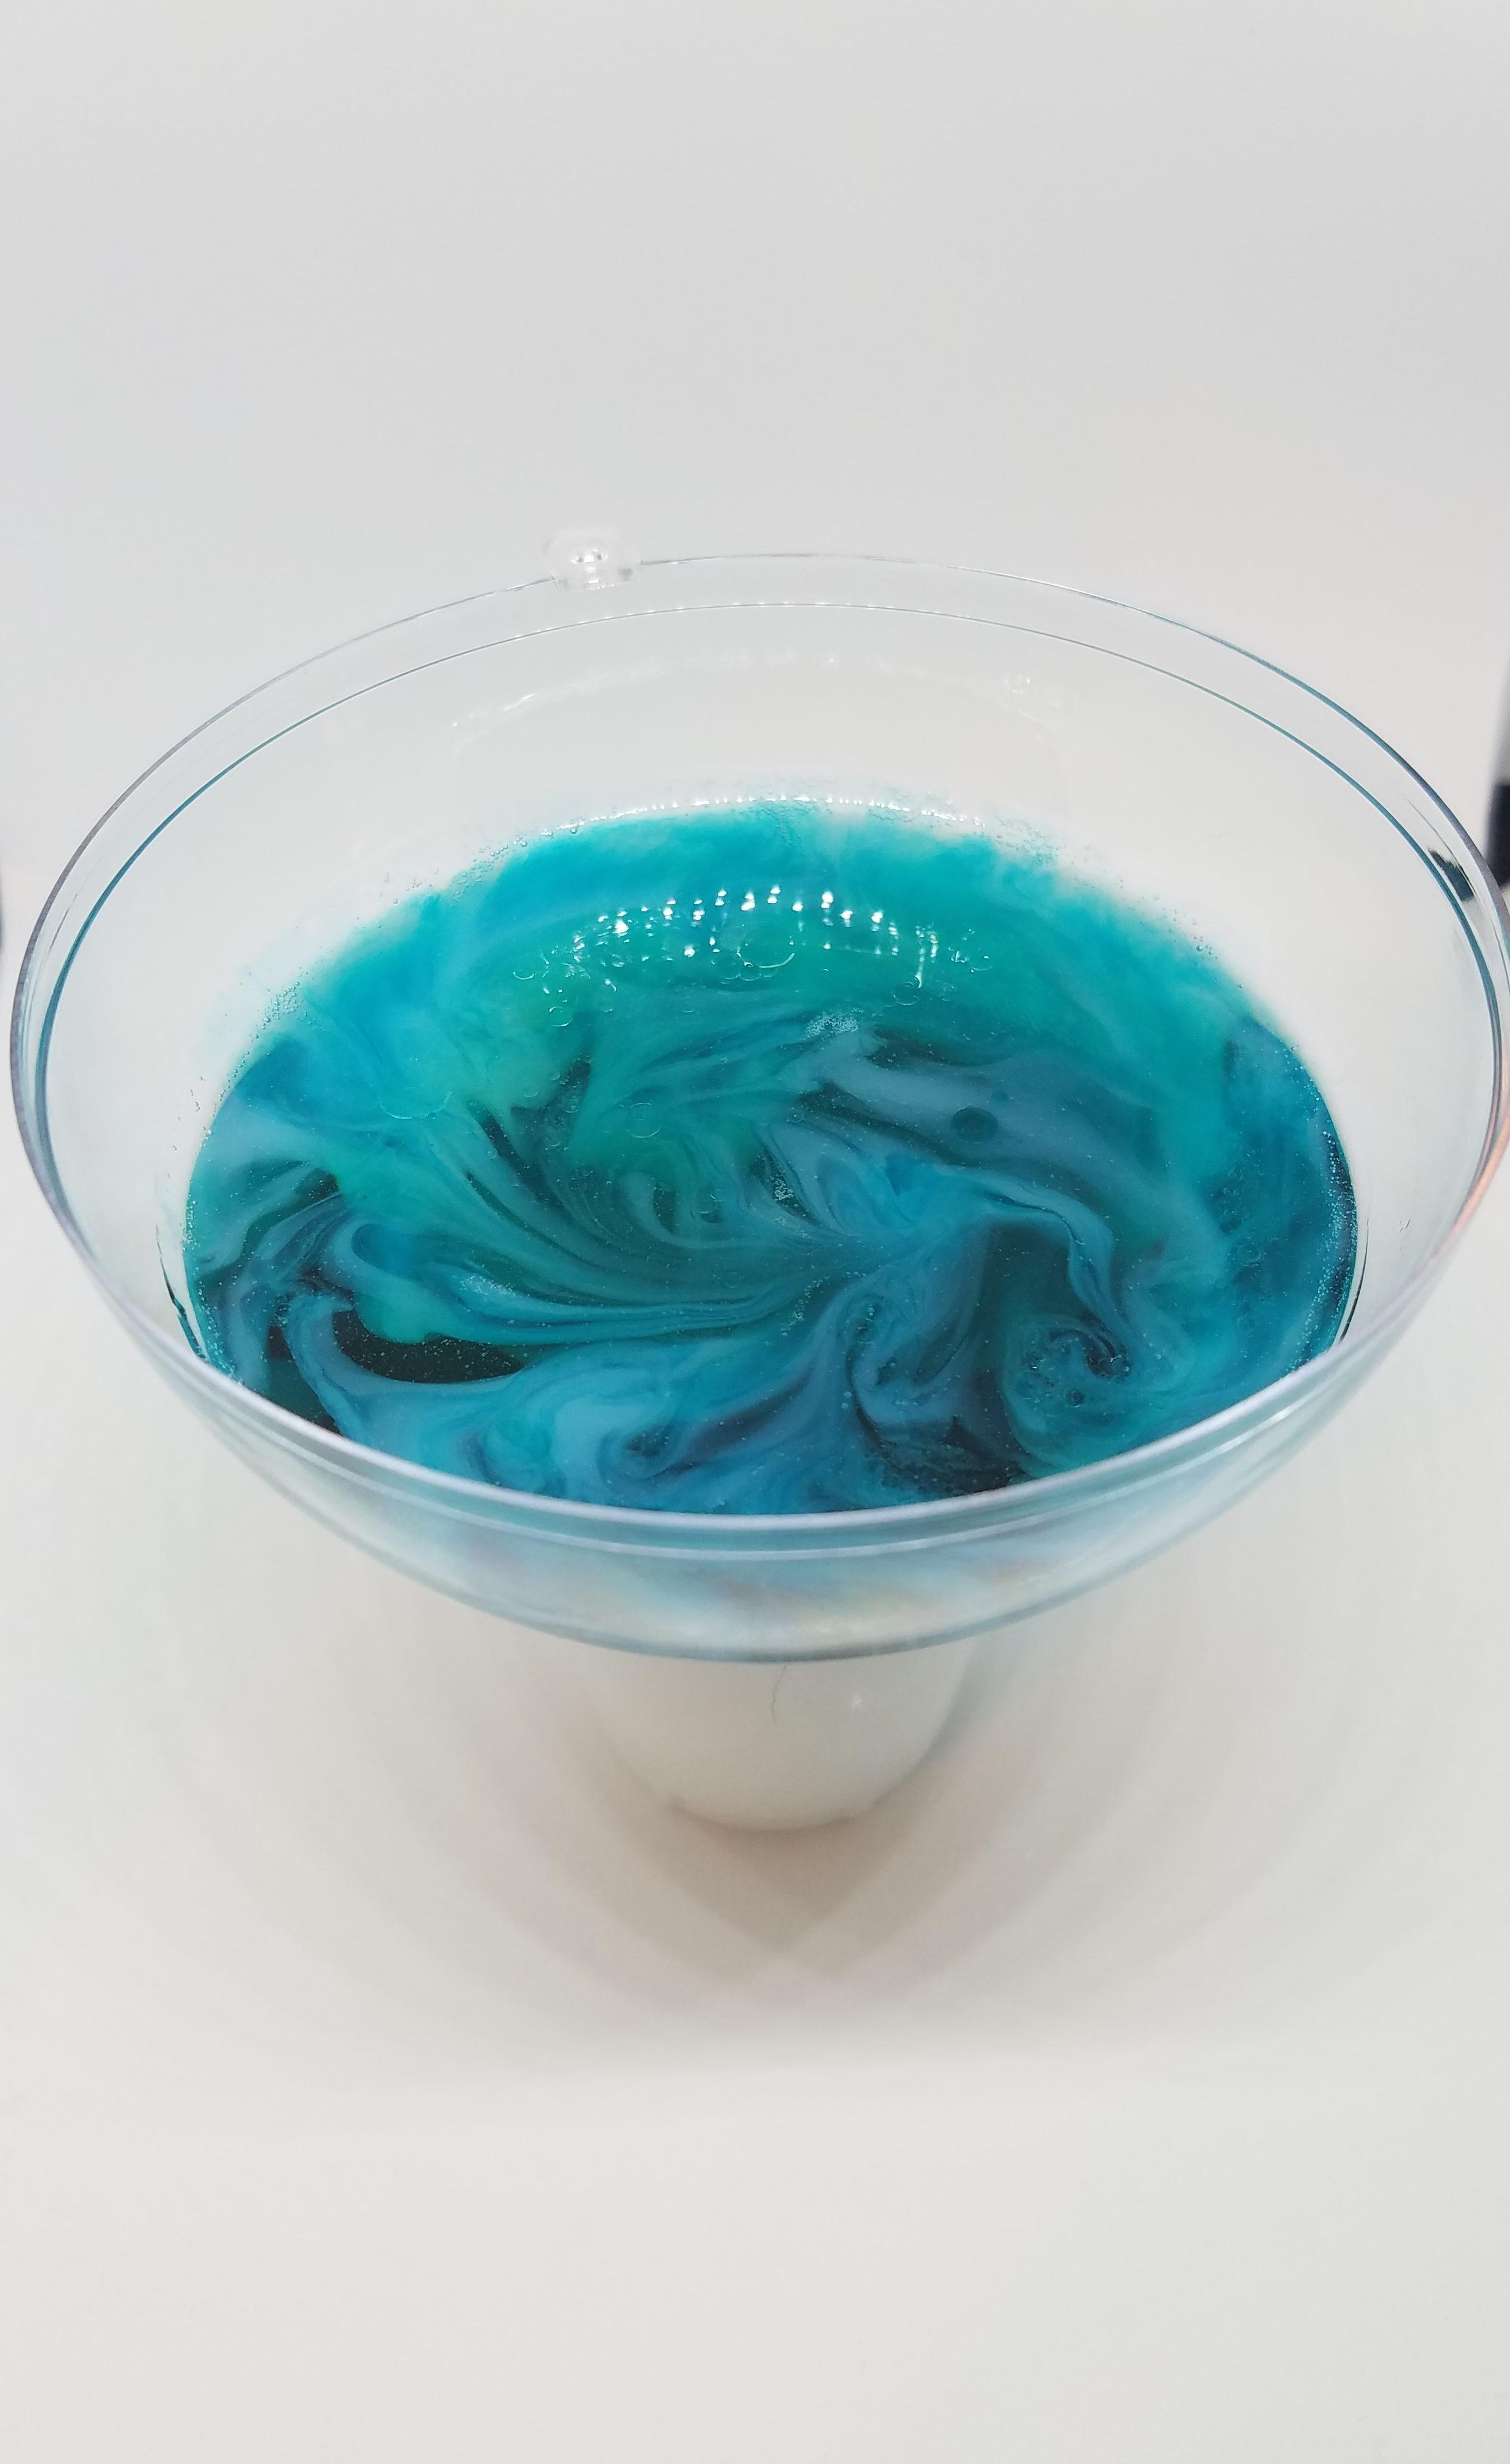
Step 3: Let cure
After swirling your resin colors around, use a heat gun to eliminate any bubbles. Be very careful when using the heat gun and keep it constantly moving; don’t leave it in any one spot. If you overheat the ornament, it can melt. Once done, set it aside to cure. I put the ornament in a plastic cup to keep it from tipping over, then covered it with foil to prevent dust and other debris from getting into the resin.
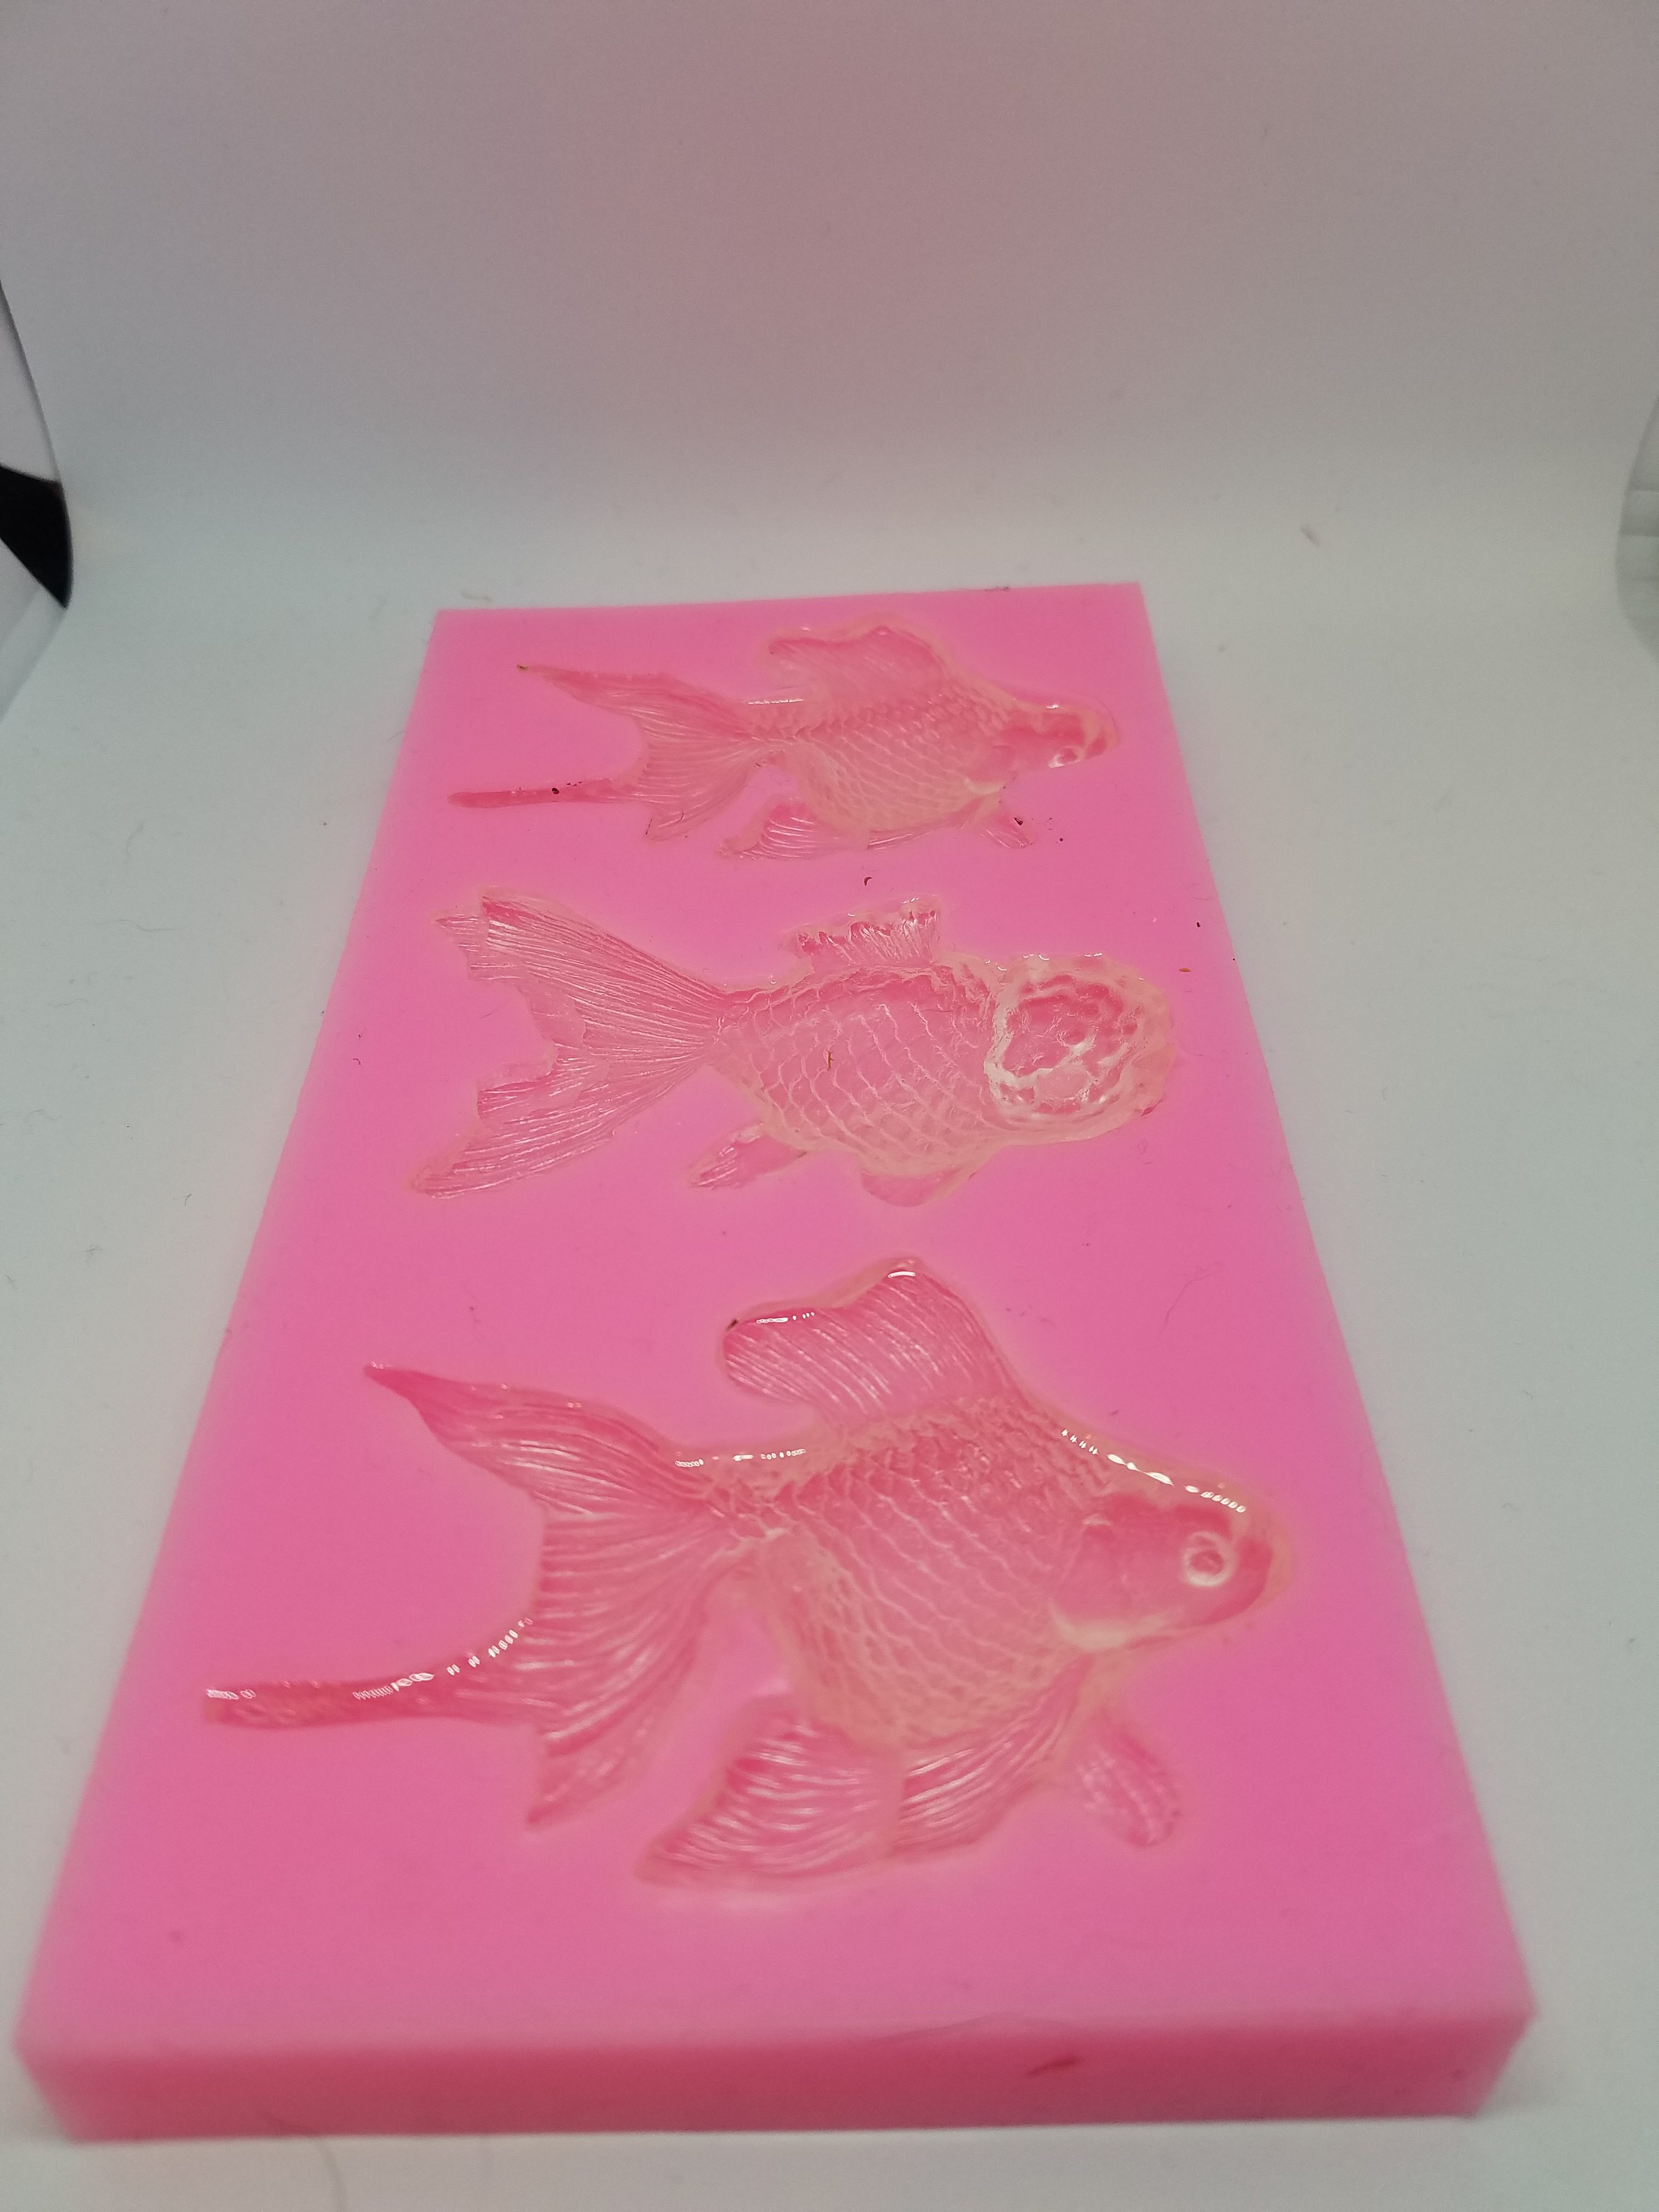
Step 4: Make the fish
You can make your fish in several different ways:
1. Mix some colored resin to get a unique-looking fish.
2. Use Pearl Ex powders to create a shimmering effect.
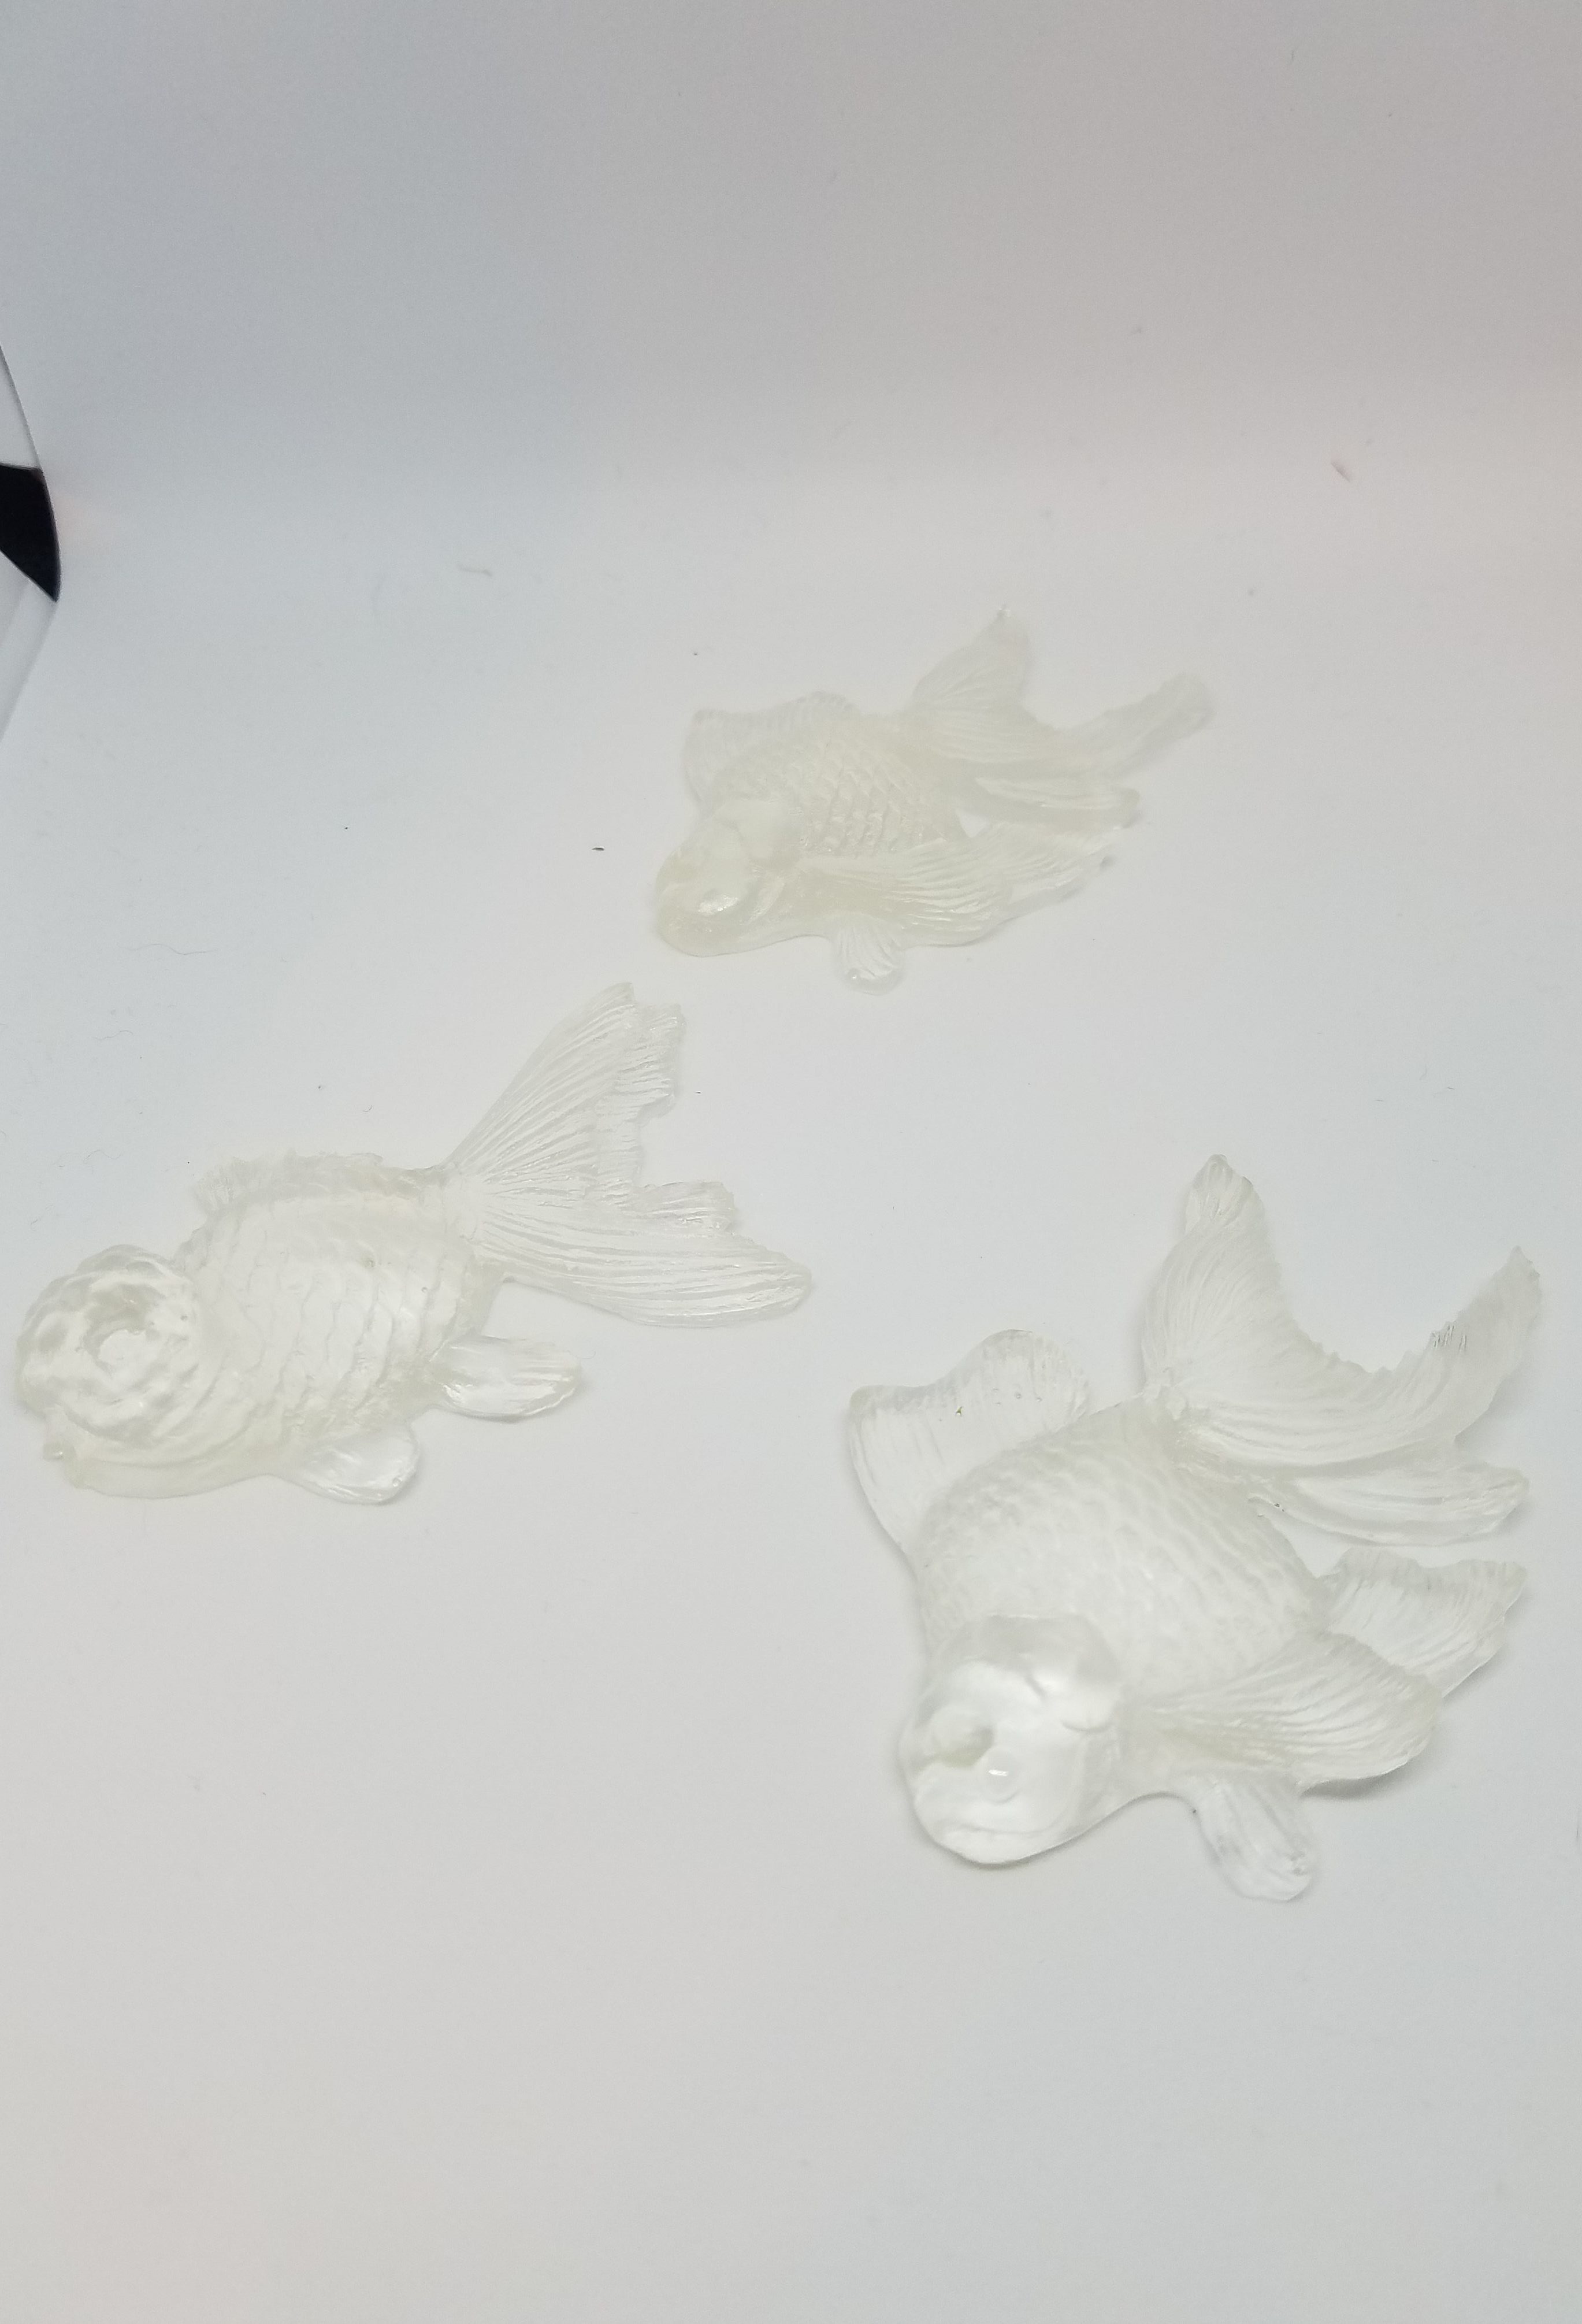
3. Cast with clear resin and paint it with acrylic paint.
Here are my tips on painting resin:
If you want to paint your fish, use a primer spray on the cured resin piece to get the paint to stick better. I also prefer pearlescent resin colors since they look a little more like scales. You can also mix some of these techniques. For example, you can get a base color using Pearl Ex powders, then add some accents and details using acrylic paint.
Give the water and fish 24 hours to cure. If you’re adding any details to the fish, ensure they are completely dry before the next step.
By the way, this is why the Resin Obsession super clear resin is great for this diorama project. Look how clear these resin fish are!
Step 5: Make the resin diorama
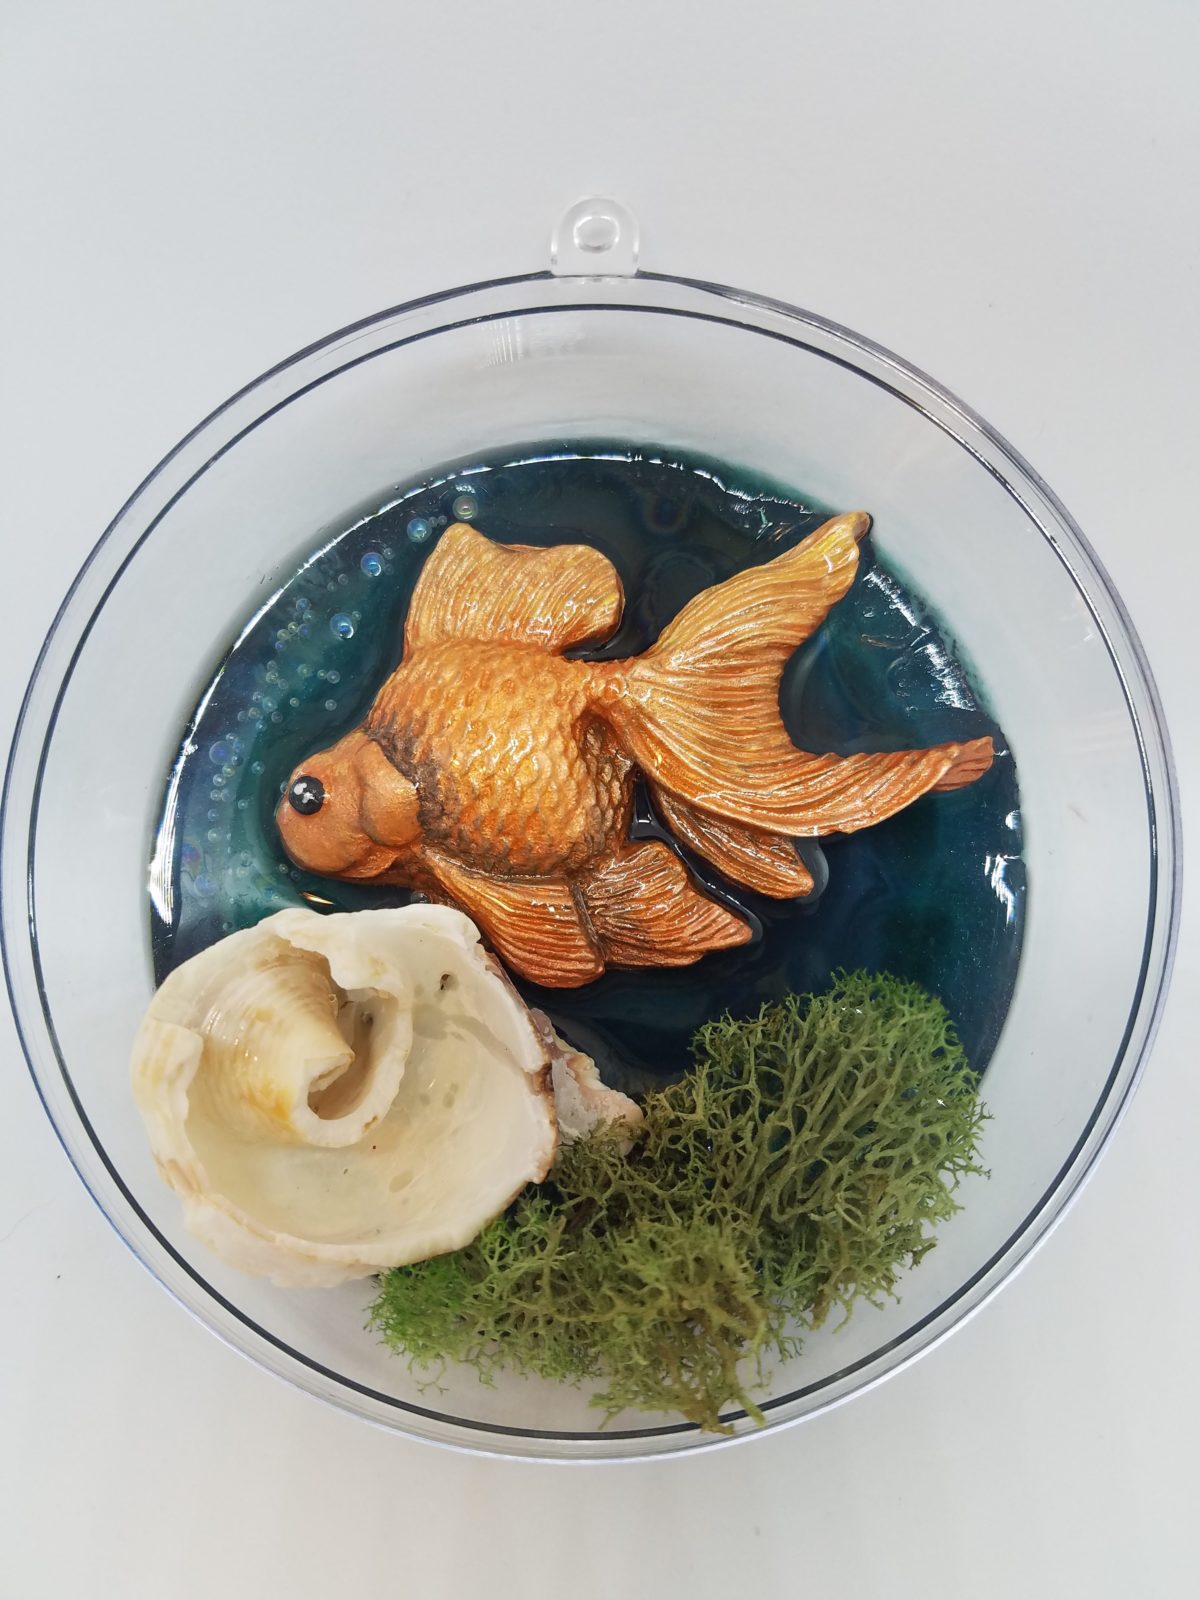
Here’s the point when your resin diorama starts to come alive.
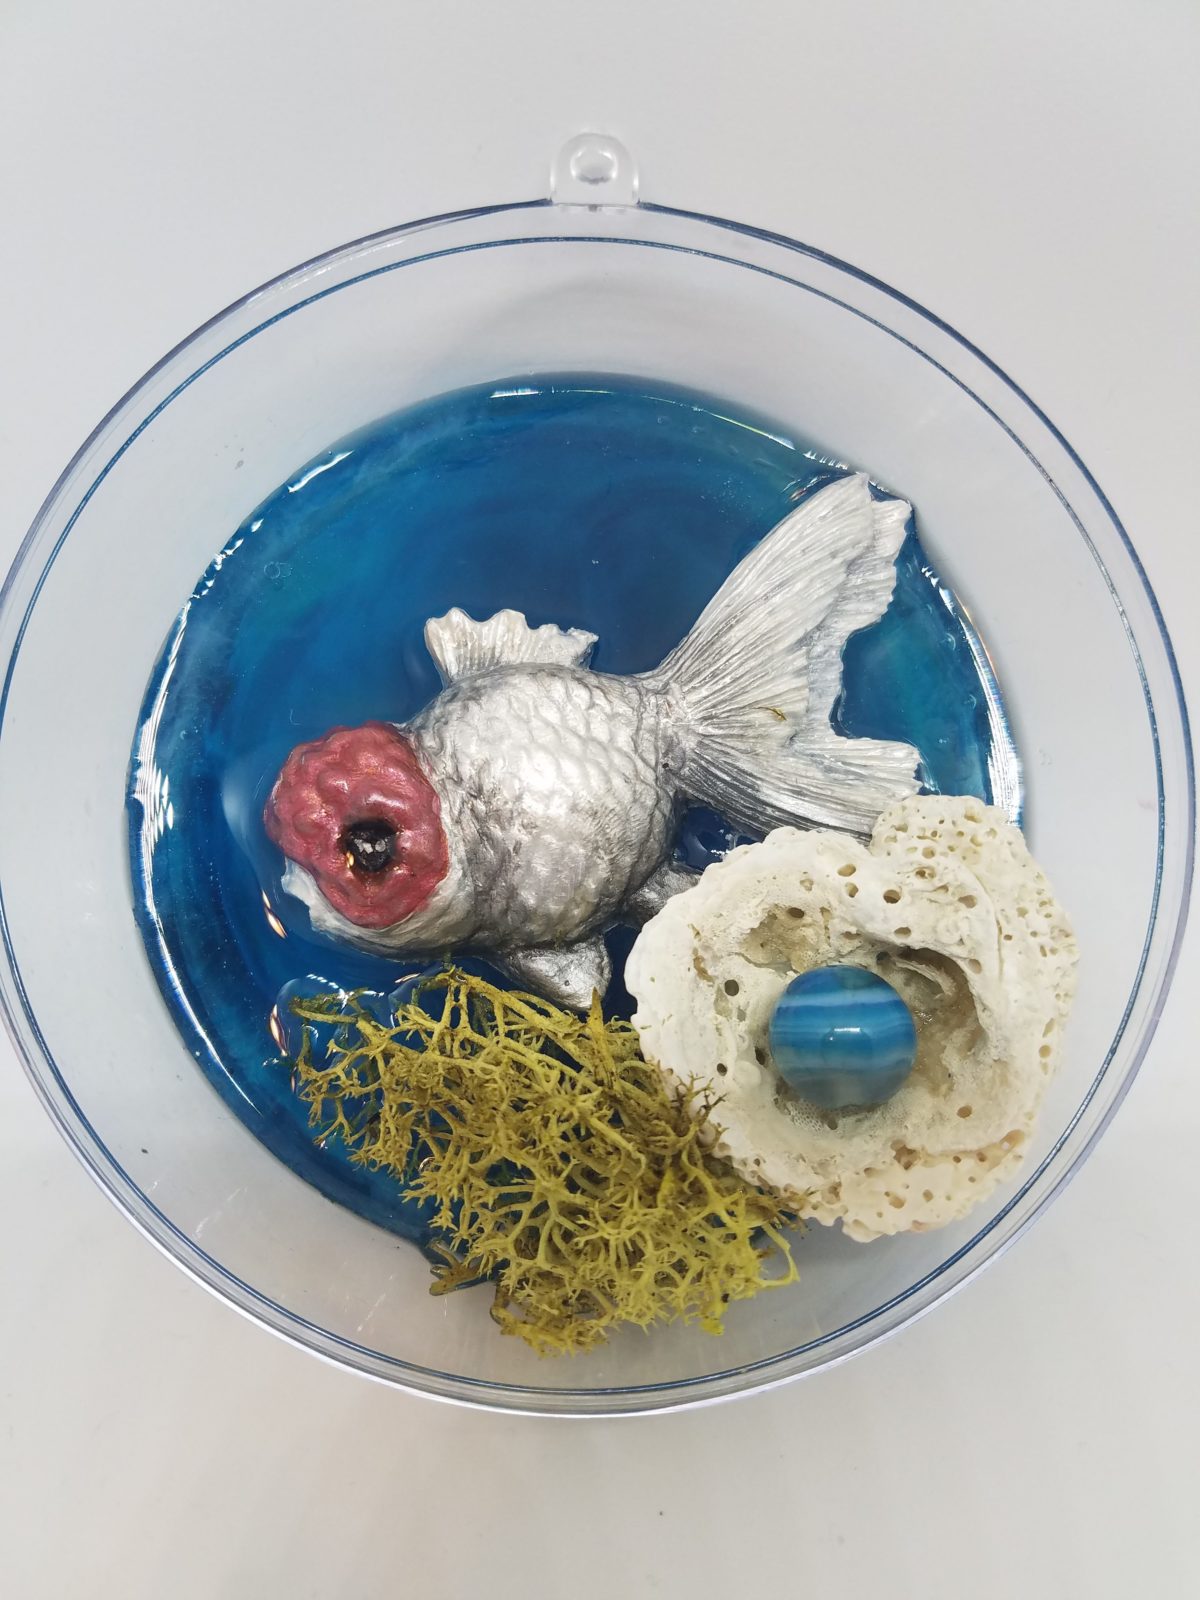
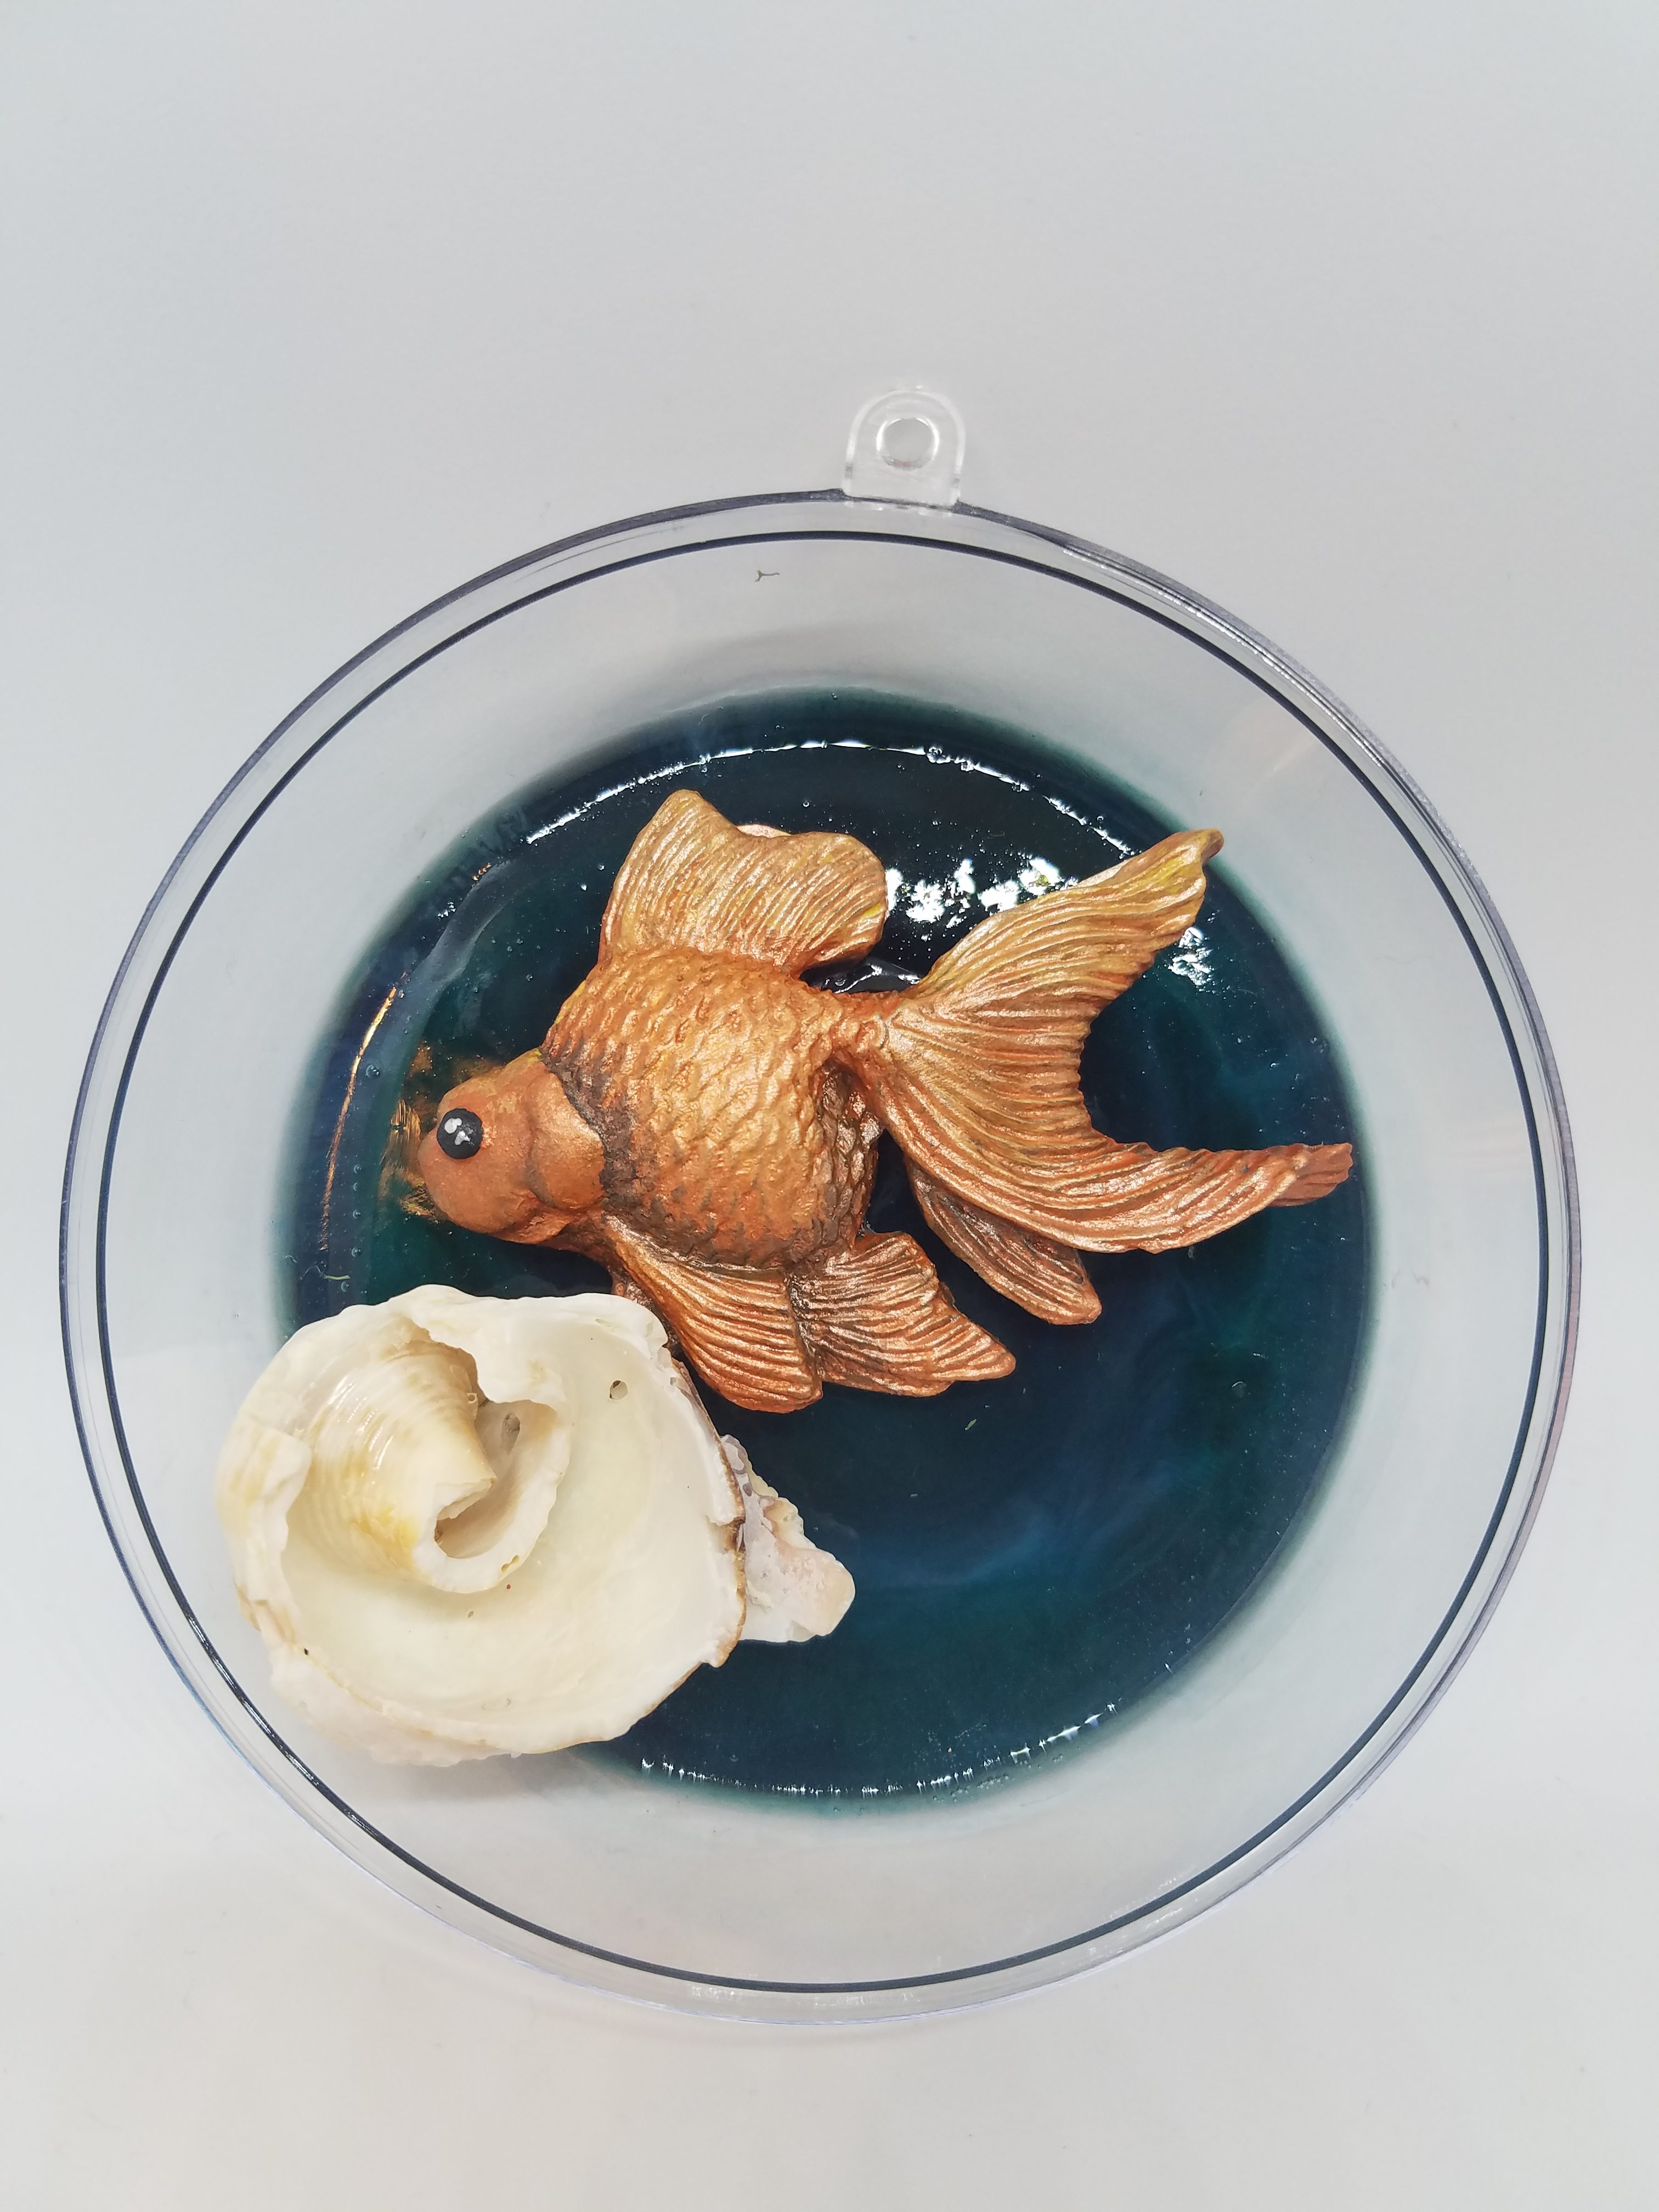
Position your fish in the ornament. I glue mine in place with E6000 to make sure nothing happens while the next layer of resin is curing. Once the glue is dry, you can add accessories to the ornament.
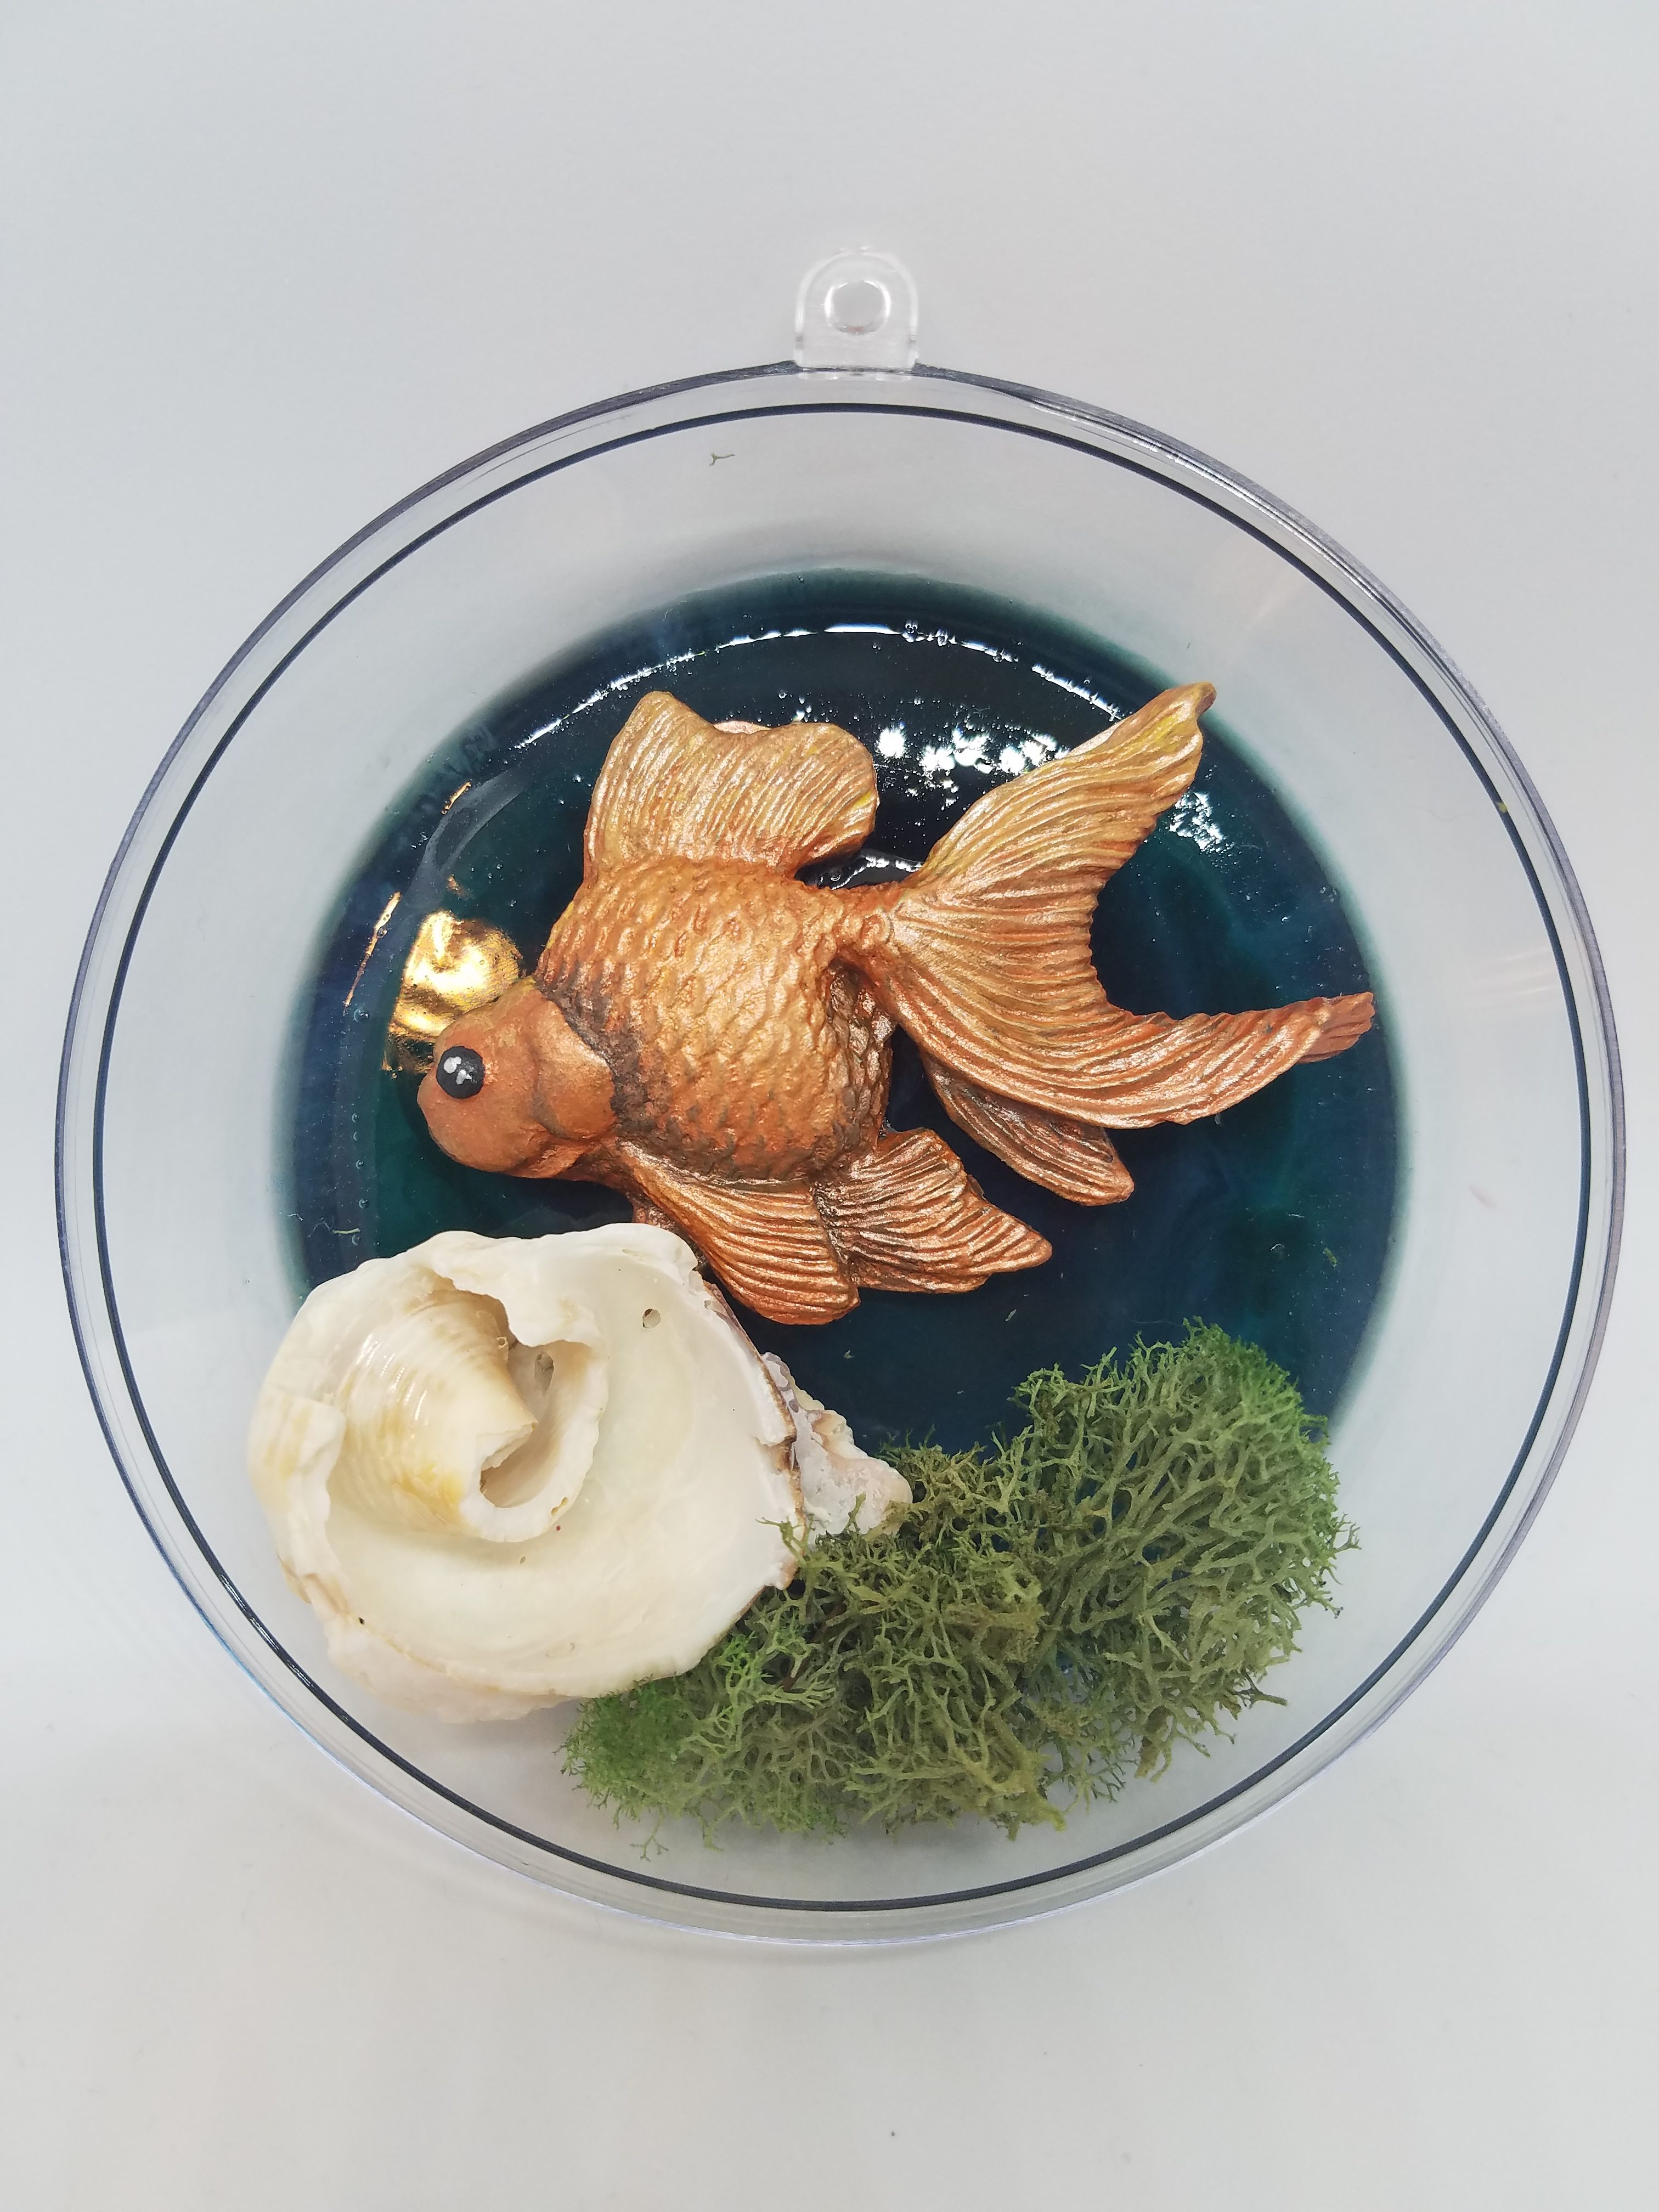
I like this ornament’s look of dried moss since it creates a little more depth to the project. You may want to use a little glue to secure your accessories when adding them to the piece (though I wouldn’t recommend this for the dried moss, as it releases too many bubbles into the resin).
Step 6: Add a new resin layer
Once the glue is dry, mix a new batch of clear resin. Add this layer of resin directly to the parts of the piece showing the blue background and on top of the fish. Try to avoid adding it to the visible parts of the shells just because it affects the look of the shells.
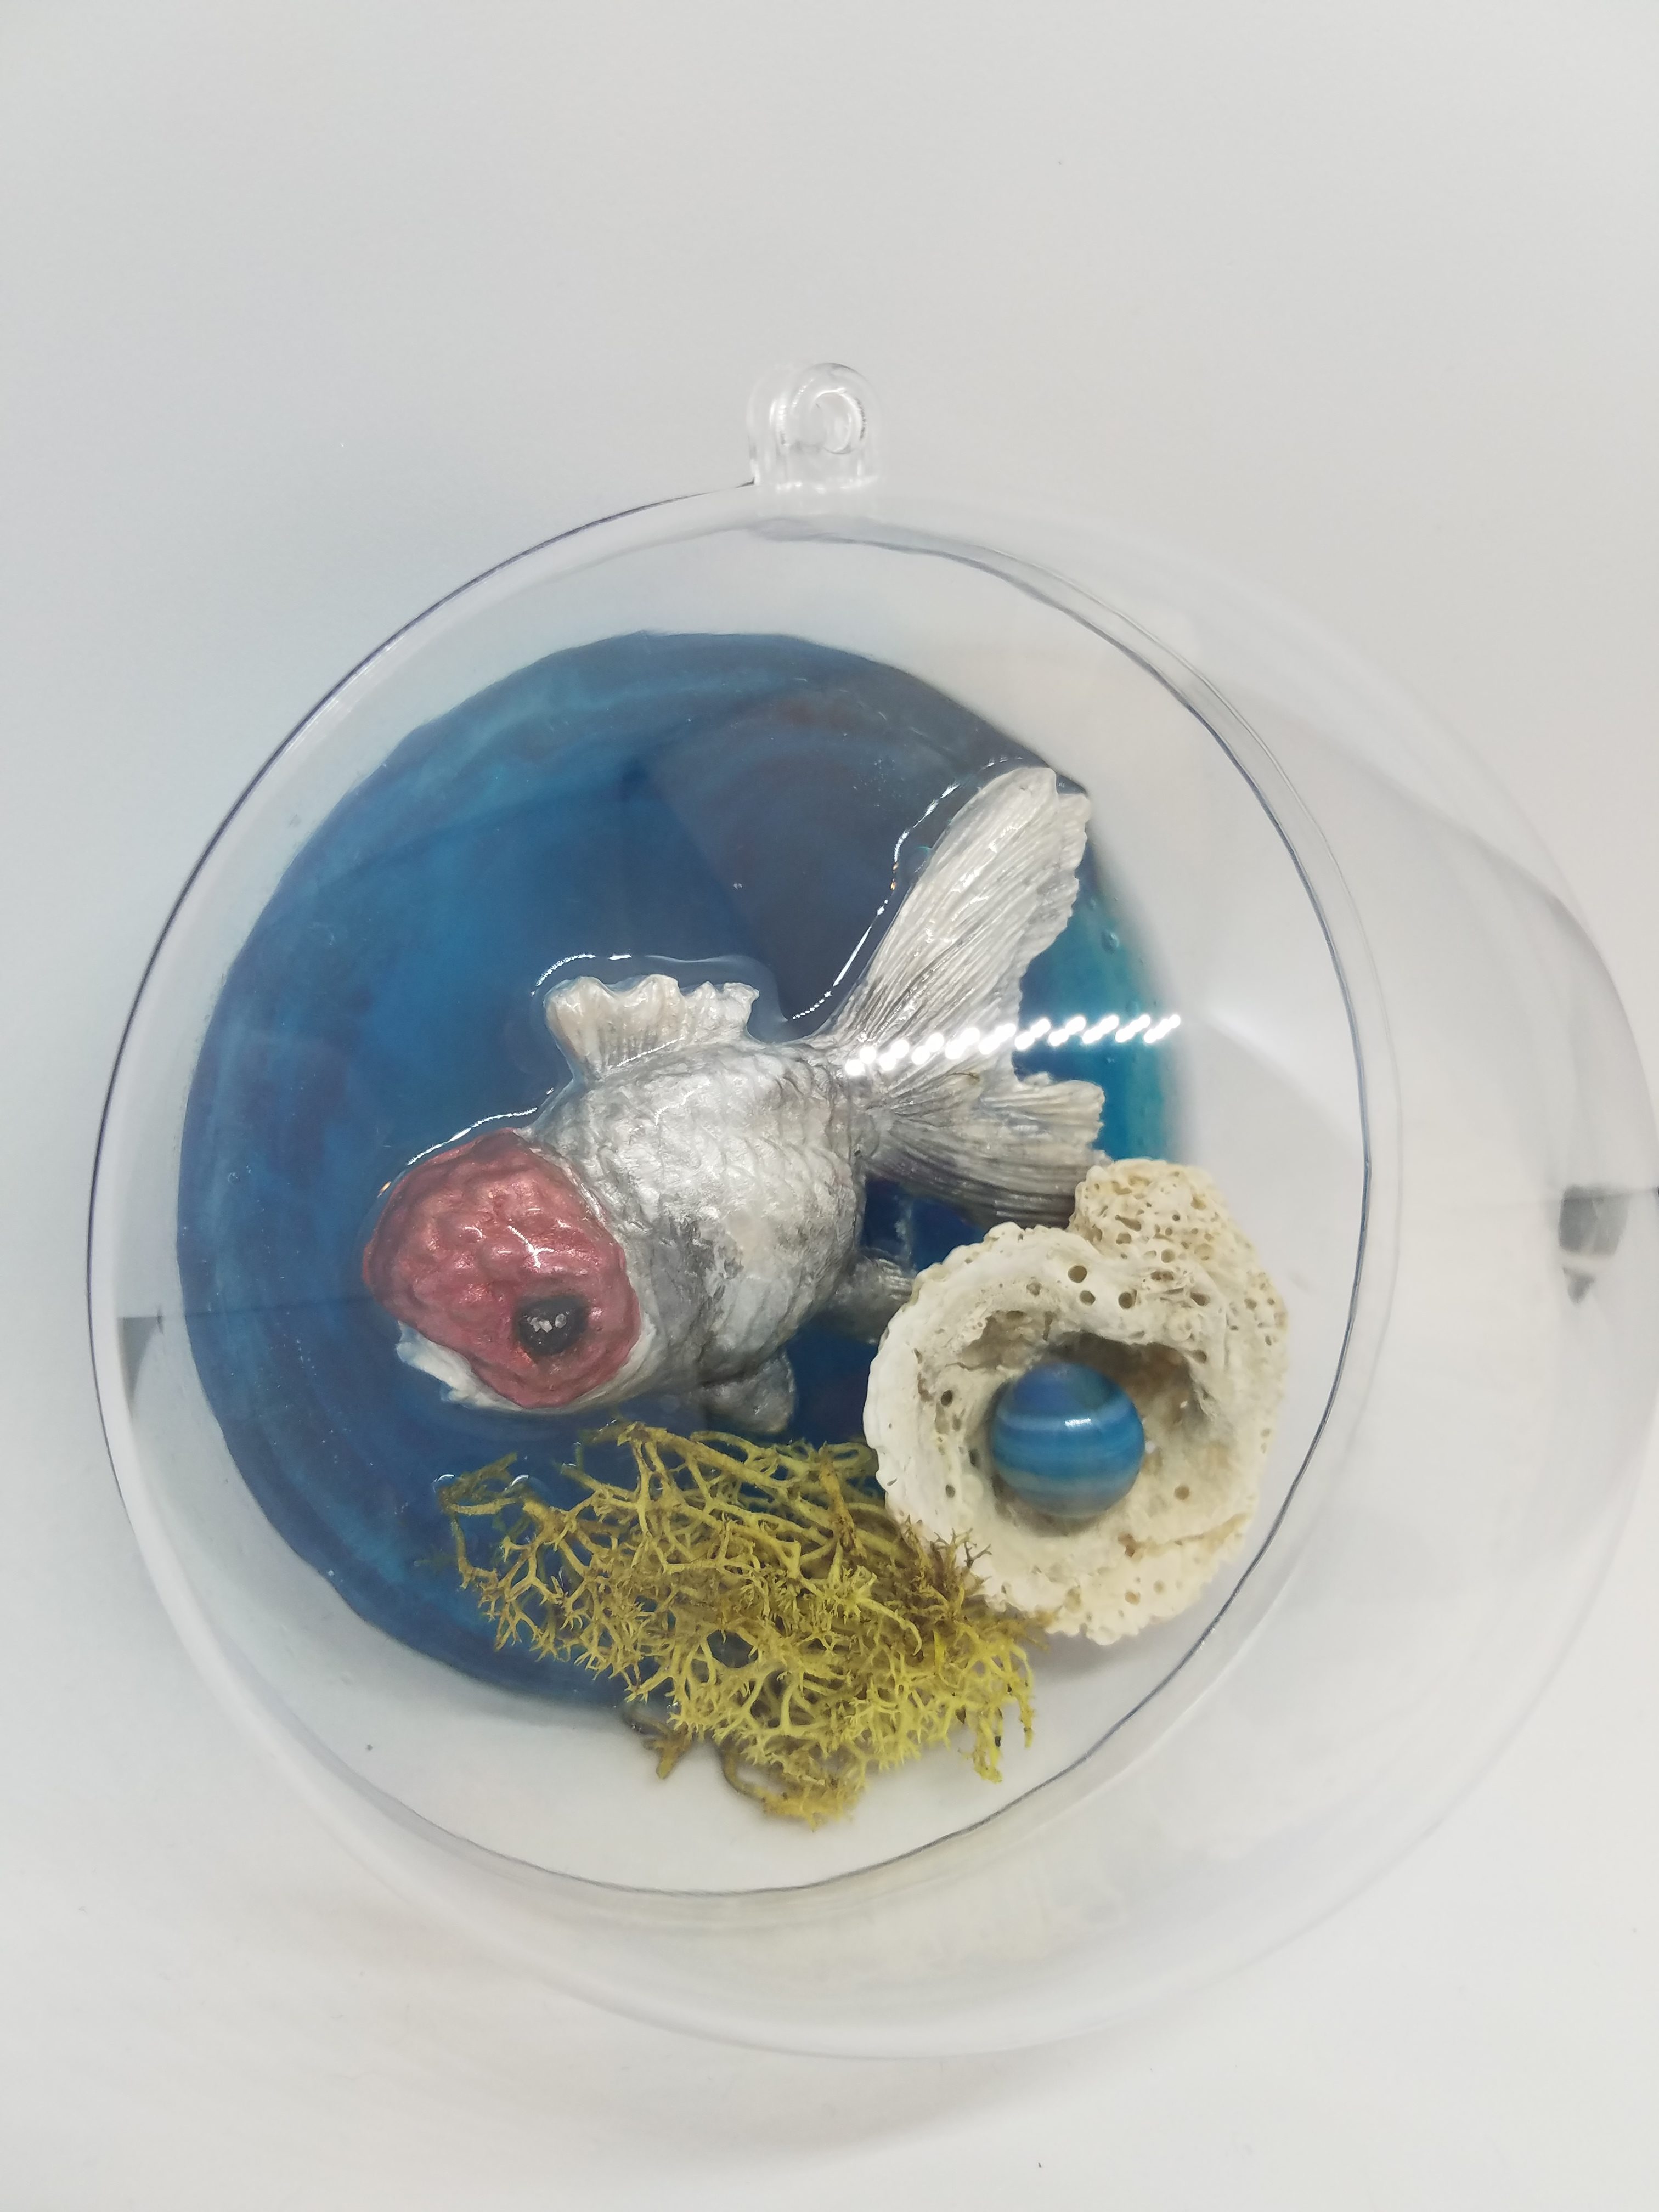
If you use dried moss, don’t the resin on top, as it makes the moss look more clumped together. You can use this additional resin to better seal your accessories to the diorama. You may also want to add some bubbles from the fish; you can use pearl beads, stickers, etc., to do that.
Once you’ve added this final layer of resin, put your piece aside to cure. Again, use a cup to ensure the piece stays level. Cover the top with foil.
Step 7: Finish
Once the final layer of resin is dry, you can decide how you want to show off your piece. You can make it look like it’s in its little bubble by putting the other half of the ornament on, or you can leave it off your resin diorama.

Imagine making something with resin with people saying, ‘Wow, that is amazing!’

It may not feel like you can get there, but I promise you can. It’s why I wrote the ebook Resin Fundamentals. It contains the vital elements artists and crafters need to know to create with resin every time successfully. Order now and you’ll get your PDF copy today.
Originally written by Lynette Olnhausen
Unpublished Blog Posts of Resin Obsession, LLC © 2023 Resin Obsession, LLC
searched long and hard spending many laptop hours to find instructions for resin water creation. This is the best. Once again Resin Obsession wins a prize!!!!!
Thanks so much Gayle!