
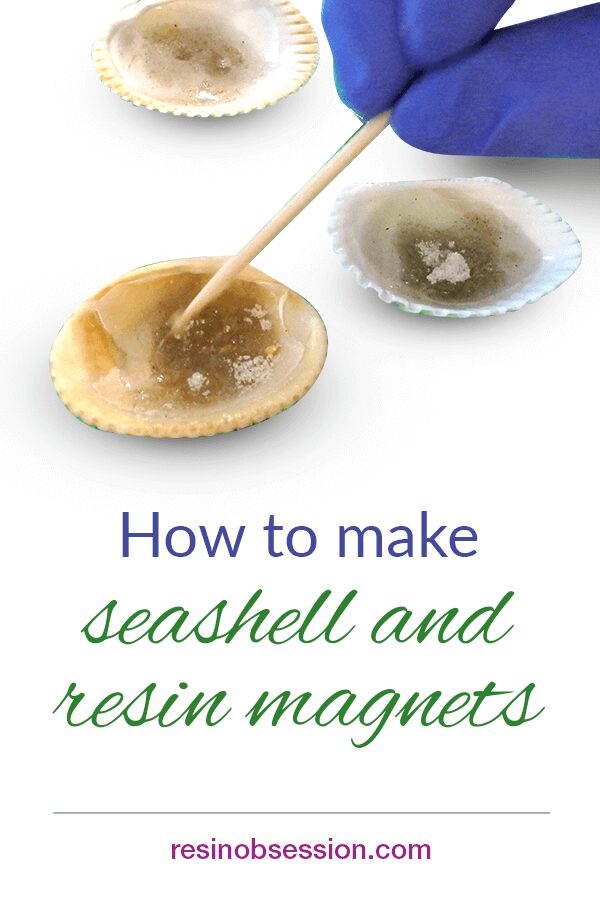
 Spending a few days at the beach? Then you’re probably going to come home with a few seashells. But then what? Here’s how you can turn that seashell collection into resin magnets.
💡 Pro tip: This project is perfect for resin beginners.
Step 1: Dry the sand
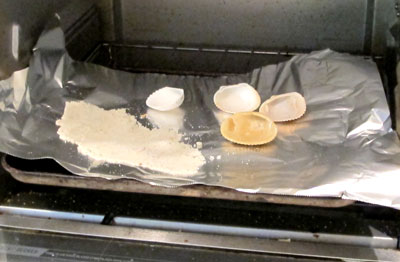
Before using your shells and sand, they must be completely dry.
Why? Resin hates moisture. It can affect curing, meaning you might get sticky resin.
Dry your beach sand and shells by putting them in a 150-degree oven for 1 hour. Then, let them cool.
Step 2: Place on a drying mat
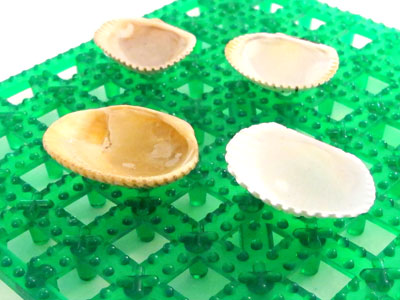
Arrange your shells on a drying mat. The mat’s openings and knobs will help keep your seashells in place while you add epoxy.
💡 Pro tip: The other thing I love about this drying mat is that you can peel resin off of it once it’s cured. Flex the mat, and the resin pops off.
Step 3: Mix resin
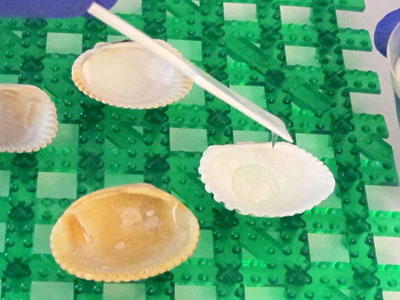
Mix Resin Obsession super clear resin. It works great for these seashell magnets because resin bubbles release easily. (You’ll have bubbles come up as you add the sand. And you don’t want those resin bubbles to ruin your magnets.)
Spoon a small amount of the resin into each shell.
⭐️ BONUS: If you’ve never mixed resin before, this article will help: how to mix resin and hardener in five easy steps.
Step 4: Add the sand
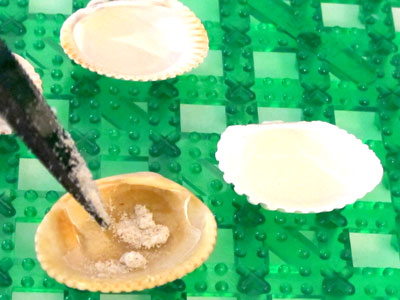
Put a little bit of sand into each resin-filled shell. The sand will sink to the bottom.
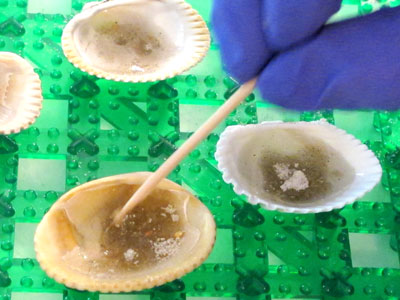
Mix the sand with the resin to cover the bottom. Check for bubbles, then cover and allow to cure.
Step 5: Add a magnet
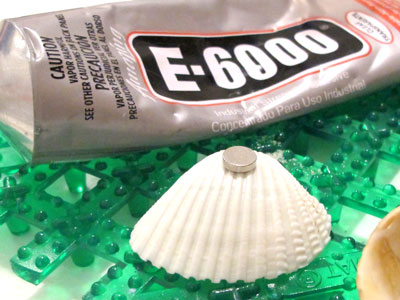
Now it’s time to turn your resin seashell batch into magnets. Use E-6000 glue to add a rare Earth magnet. The strong bond means your magnet won’t break off when your magnets hit the floor.
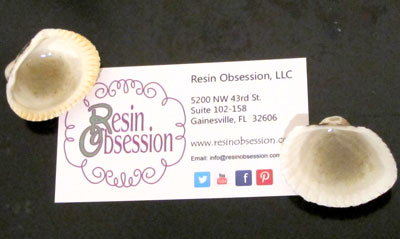
Ta-da! You just learned how to turn your beach seashell pile into resin magnets.
Ready to try making more with resin?
Then you’ll want to get a copy of the ebook Resin Jewelry Making. The PDF book includes several projects that you can make today. Buy now and get a download link to your email in minutes.
Unpublished Blog Posts of Resin Obsession, LLC © 2023 Resin Obsession, LLC
is there any way that you might be able to post a pic of the necklace with the washer? would love to see it cause I cannot get a Visual on what it would look like ..thank you …Kathy Howington….
@Kathy,
There are examples of washer necklaces on this blog: http://theiveyleague.com/2011/11/14/12-crafts-of-christmas-personalized-necklace/ Your magnetized seashell would simply stick to the washer.
How did you keep the sand intact? I’ve been making resin jewelry with beach sand mixed in for awhile, and I make sure the sand is dry before I use it, but the resin pretty much dissolves it. The only thing visible is the impurities- the sand itself completely disappears 🙁
@Stevieretro,
All I did for this tutorial was to add beach and until the resin was almost full. The sand will settle to the bottom. If yours looks like it’s settling out, I would suggest either adding more sand or coarser sand.
Hi I was making some shell tiles and used a little sand to put around the shell, the sand just floated around and eventually sunk but looked bad.
Right now I am making another shell tile (to be a pendant) using small shells. I notice that the one’s that are rounded float, I pressed them down with a toothpick but I think I might have made the pendant (tile) bumpy and it will not be smooth. This is suppose to be a gift. How can I make them not float?
Thanks
@Bonnie,
Try dipping some of the smaller shells in resin first, then allowing to cure on wax paper. Once cured, peel them off and add to your next casting. The extra weight of the cured resin is usually enough to keep them from floating.
I usually use sand in my bezels as a backdrop. I find that if I spread a little resin in the bezel and pour the sand on top, it works great. I let it cure and then add a few shells and sea glaass and add more resin. They turn out really nice
I want to make a pendant using soil from land in Africa- does soil follow the same principles as using sand? Is there something I should do differently?
Yes, I would treat soil like sand.
I want to cover my counter with sand and resin, for a beachy look, do you think it will work?
Sure! That sounds like a great project.
Hi Katherine, I have glass jars, vases, glasses all shapes n sizes. I’m putting sand in bottom, arranging shells and beads, gems, crystals on top. What can I use that dries clear, keeps the sparkles alive and pieces in place? My idea was to have something I can pour or spray into glass just covering enough to seal a top layer ( about 1/8 inch) so it doesn’t spill, keeping design in place. I thought spray acrylic, but would it hold shells and sand in place? Or a resin?
Hi Kelly, what a neat idea! Here’s a similar project that should give you some ideas: https://www.resinobsession.com/resin-tutorials/beach-crafts/
I love shells! I have a variety of shells of all sizes and several sizes of starfish. I made a necklace and earrings by coloring part of the inside of the 3/4″ and 1″ clam shells a pale aquamarine shade for sea and very fine sand mixed with modpodge for shore. When it was dry, I sprayed them with acrylic laquer and glued small pearl beads and tiny starfish on them, to make a “sea scene”, like little shadowboxes. I get lots of comments whenever I wear them. I tried using resin at first, but it just didn’t look right.