

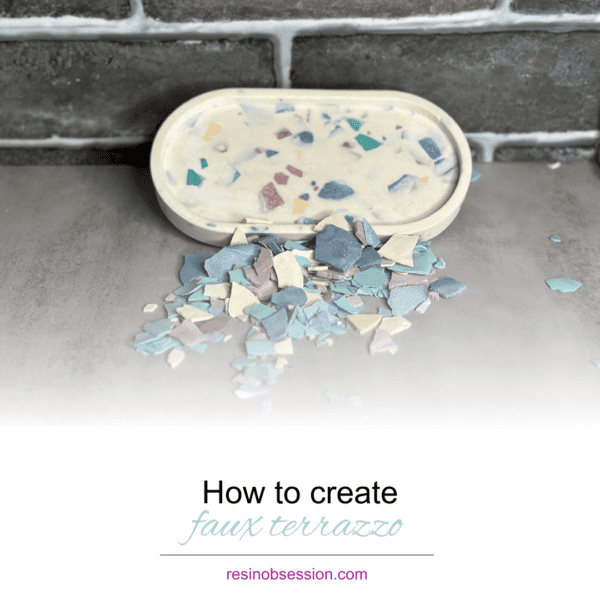
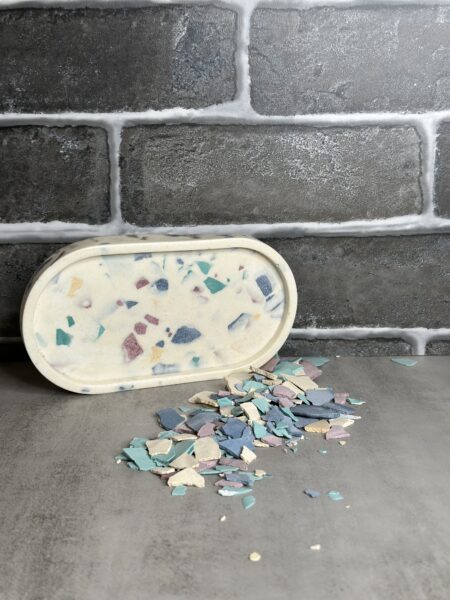
Terrazzo, with its distinctive speckled appearance, has been a popular material in design for decades, beloved for its versatility and colorful aesthetic. Traditionally used for flooring and wall treatments, terrazzo has found its way into smaller, more personal items like jewelry trays. Making a faux terrazzo jewelry tray using eco resin is not only a fun and creative project but also an environmentally friendly choice. This article will guide you through the process step by step, ensuring you end up with a beautiful and sustainable piece for your home.
Materials Needed:
- Eco resin: A sustainable alternative to traditional resin, made from bio-based renewable materials.
- Water: We used a 3:1 water based Eco-Resin
- Colorants: Acrylic Paints
- Mixing cups and sticks: For mixing resin and colorants.
- Silicone mold: Choose a tray shape according to your preference.
- Terrazzo flakes: You can use recycled glass, colored stone, or pre-made eco-resin flakes for the terrazzo effect.
- Sandpaper: For smoothing the edges of the finished tray.
- Protective gear: Gloves, mask, and safety glasses.
Step 1: Preparation
Start by protecting your work surface with a plastic sheet or newspaper. Wear your protective gear to avoid skin contact and inhalation of fumes. Ensure your work area is well-ventilated.
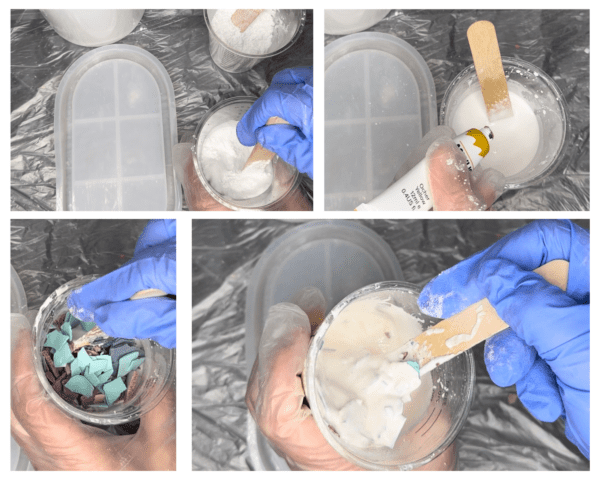
Step 2: Mixing the Eco Resin
Follow the instructions on your bio resin package carefully. Typically, you’ll need to mix the resin powder with the hardener or water (depending on the type of Eco Resin) in a specific ratio. Most measuring advises to use a weighted ratio vs a volume ratios. Pour the resin and water (or liquid) into a mixing cup and stir slowly and thoroughly until resin is a smooth lump free consistency.

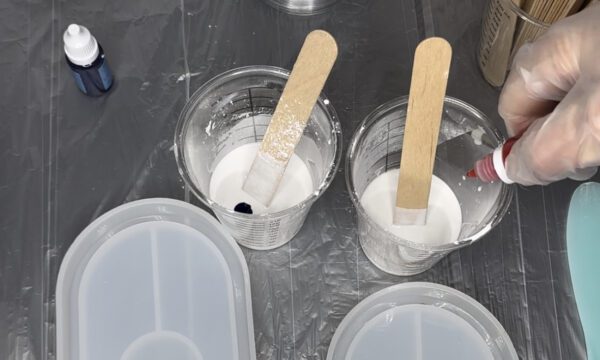
Step 3: Add Color
Once your resin is mixed, pour your resin equally into as many cups as you want to have terrazzo chips. For this tray I made four different color chips. Add your acrylic color to the four mixes once dispersed and mix thoroughly to ensure an even color throughout the resin. You can use a single color per mold or experiment with mixing colors in one mold for multicolored flakes.
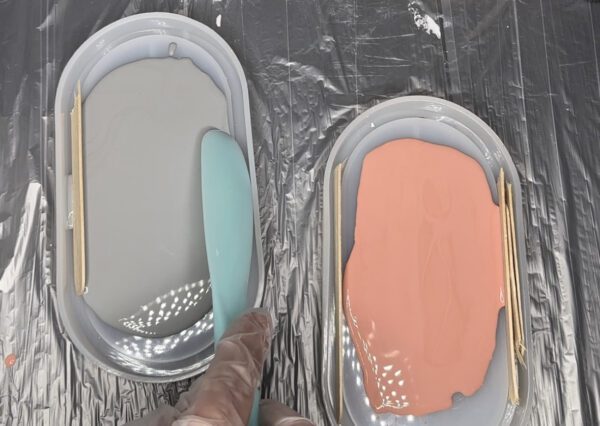
Step 4: Pour Resin
Pour the colored resin onto a silicone mat. Spread it like you would a thin layer of frosting. You don’t want to see through to the silicone mat underneath, but you also don’t want it too thick or your chips will stick out of the jewelry mold.
Step 5: Cure the Resin
Let the resin sit undisturbed in a well-ventilated area to cure. Curing times can vary, but it generally takes between 20-40 minutes for eco resin to harden enough to break into chips.
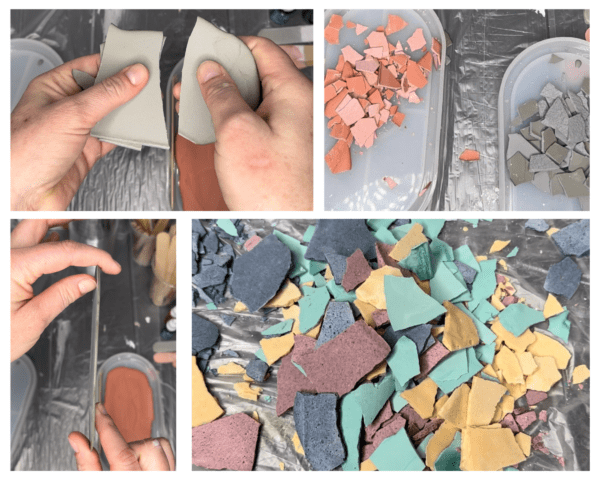
Step 6: Demold and Create Flakes
Once cured, lift the resin whole off the mat. To create terrazzo flakes, using your hands, carefully break the resin into small, irregular pieces. I added these to a sandwich bag to keep them out of my work space.
Step 7: Mixing the main Eco Resin for your piece.
Once again mix your powder and water until you get a smooth consistency. For me this was about 2 minutes.
Step 8: Adding Color and Terrazzo Flakes
After mixing the eco resin, add any color to your base that coordinates well with your chips. I added a small amount of acrylic yellow to my white base for a cream color. Then, pour your terrazzo flakes into the main mixture and stir being sure to incorporate the flakes well into your base.
Step 9: Pouring the Mixture into the Mold
Pour the resin into the silicone mold. You can create layers or patterns by pouring different colors at different times. I poured my terrazzo mixture into about 90% of the mold and then waited 30 minutes and added a small top layer of white. Each time your pour, gently tap the mold on your work surface to release any trapped air bubbles. You do NOT need any type of heat for eco resin. You’ll be amazed at how air bubbles are non existent with this type of resin.

Step 10: Curing
Leave the mold undisturbed in a well-ventilated area for the curing process. The curing time can vary depending on the eco resin brand, so refer to the product instructions for specific details. It usually takes between 25-40 minutes before you can demold and 2 hours until fully cured.
Step 11: Demolding and Finishing Touches
Once fully cured, gently remove the tray from the mold. If the edges are rough or sharp, lightly sand them until smooth. Take your sandpaper and wet sand the top until you see the terrazzo chips coming through. This is completely up to you on how much or little you want to sand. Clean the tray with a damp cloth to remove any dust from sanding.
Step 12: Sealing (Optional)
For added protection apply a thin layer of eco-friendly sealant. Allow it to cure as per the product instructions before using the tray.

Creating a faux terrazzo jewelry tray with eco resin is a rewarding project that combines creativity with sustainability. By choosing eco-friendly materials, you’re not only crafting a unique item for your home but also contributing to a healthier planet. Experiment with different colors and terrazzo flakes to create trays that reflect your personal style and make wonderful gifts for friends and family.
Get your copy of the instantly downloadable book, Ten Epoxy Craft Projects. You’ll get inspiration for the days you need resin ideas. Buy the PDF book now and you’ll get an email download link in minutes.
Resin Obsession, LLC © 2024 Resin Obsession, LLC
Many thanks, terrazo is something I really like and you’ve made it so easy; your help is appreciated. – kind regards Hilary
I’m so happy to hear that! We’re always available for questions.