
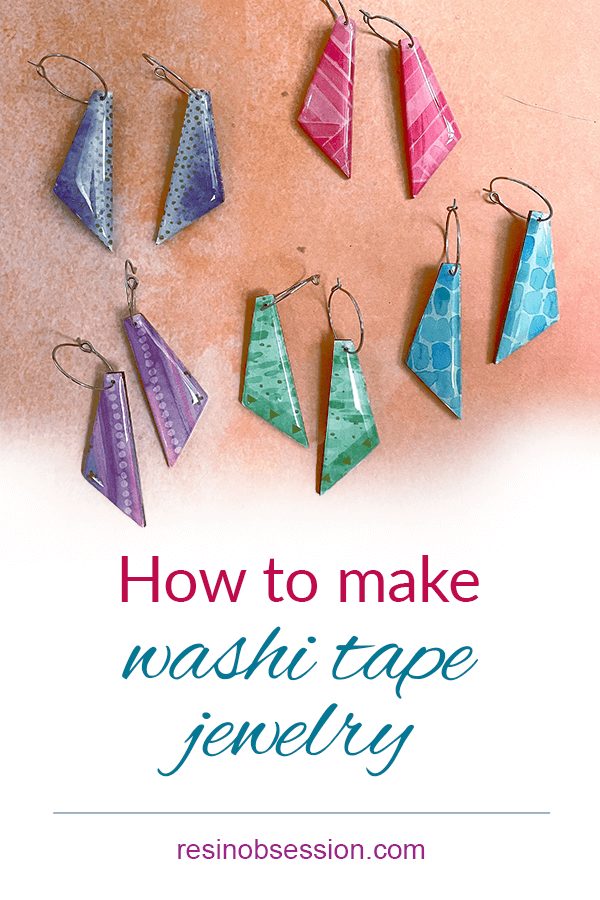
 Sure, you can use washi tape to make book journal covers or gift tags. But did you know you can use washi tape to make jewelry? And by coating it with a layer of clear epoxy, you’ll give it a glassy finish. It’s super easy to do too.
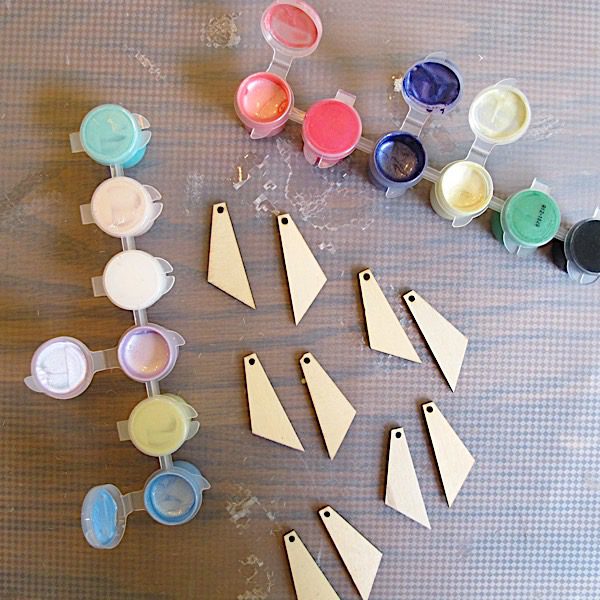
Supply list:
Wooden jewelry cutouts
Washi tape
Acrylic paint
Scissors
Paintbrush
Resin Obsession crystal doming resin
Mixing cups
Stirring stick
Drill with a bit between the sizes 53 of 60
Earring findings
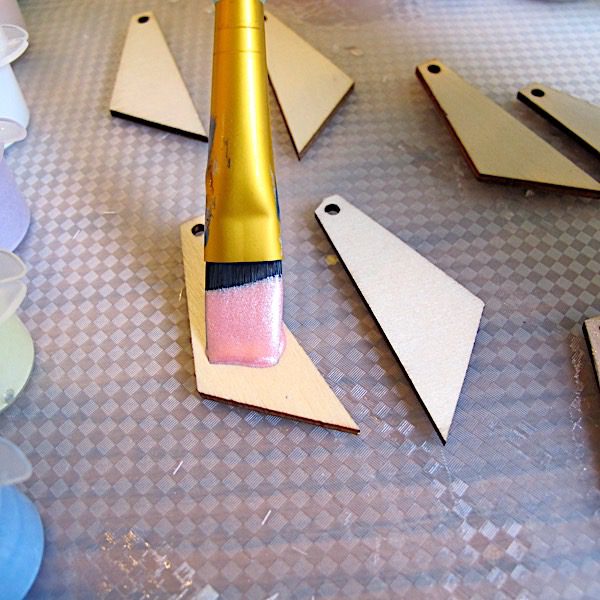
Step 1: Paint the bases
Paint the wooden earring bases with acrylic paint. Choose a color that matches your tape colors. When in doubt, go with white paint.
Let the paint dry.
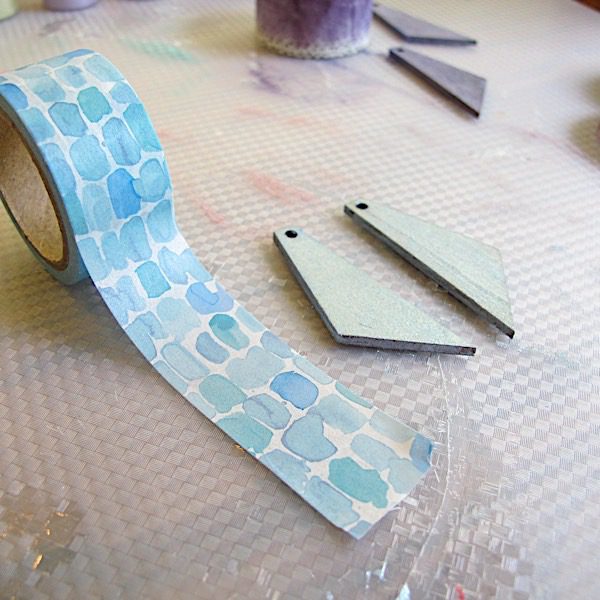
Step 2: Add tape
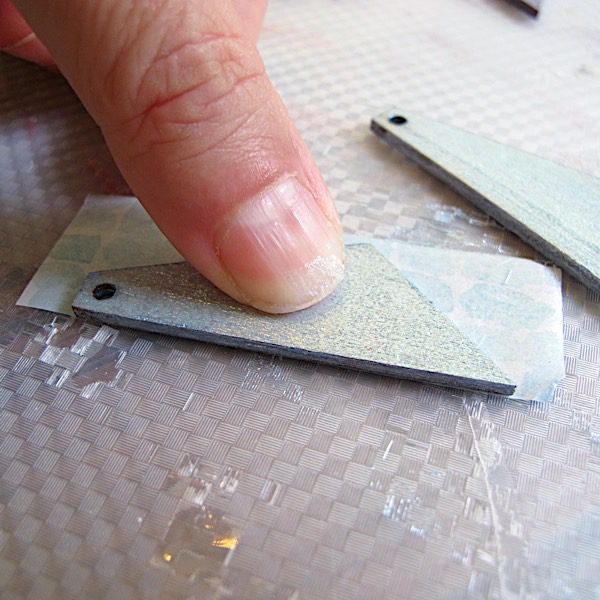
Add washi tape to one side of the earrings.
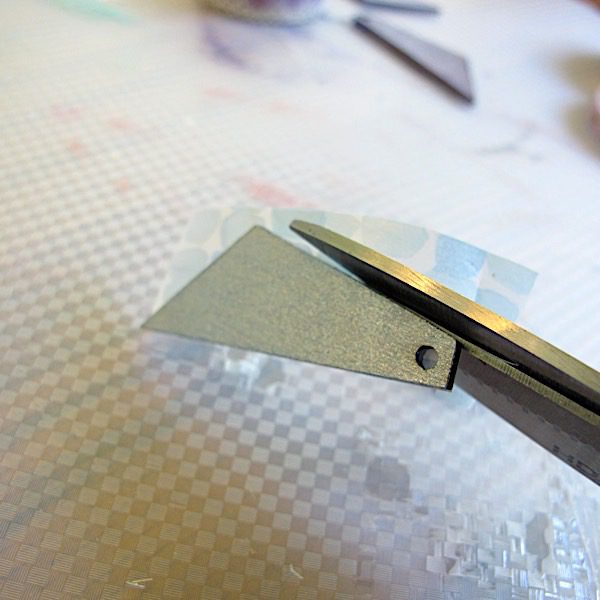
Then, trim the tape to the earring edge.
Step 3: Add clear resin
Here’s the magic to making your washi tape jewelry pop. By adding a dome of clear resin, you’ll magnify the tape design and give it a glossy finish.
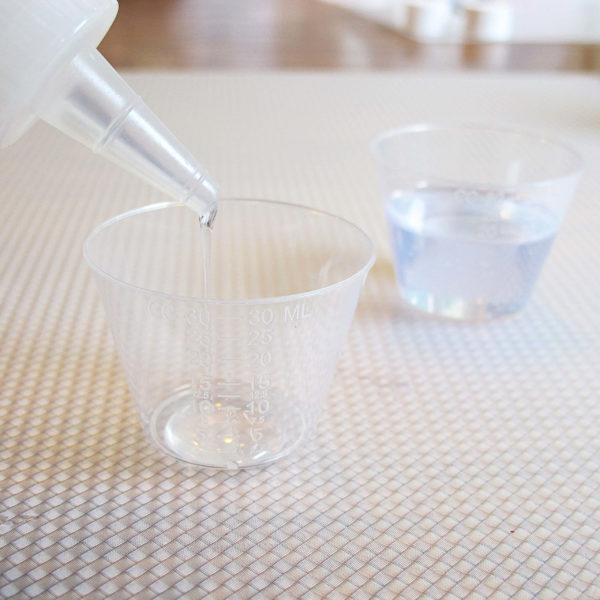
Mix the crystal doming resin. (If you’ve never done this before, you’ll want to read up on the five steps to mixing resin like a pro.)
Drip resin in the center of the earring. Then, use your stirring stick to draw it to the edge. Add LESS resin than you think you need to cover the earring. If you add too much, the resin will run over the side and make a mess. You can always add more resin if you need it.
Here’s how
View this post on Instagram
Check your washi tape earrings for bubbles before letting the resin cure.
💡 Pro tip: Using the crystal doming resin is essential for this step. It mixes thick enough to let it rest on the washi tape jewelry surface without running over the side. Not all resins do this.
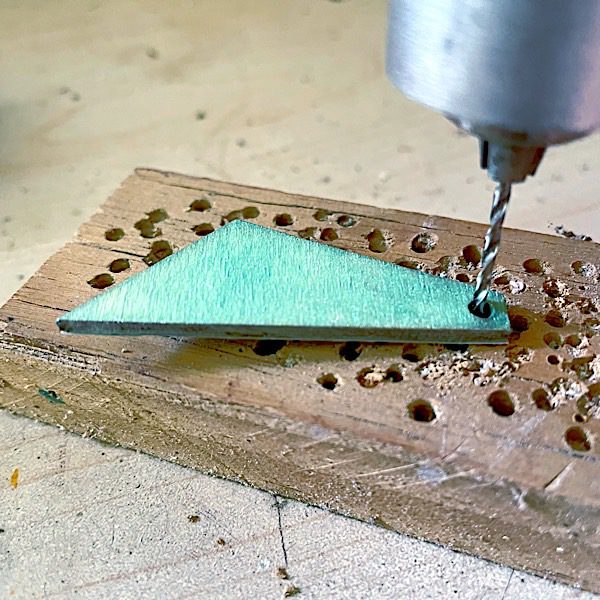
Step 4: Drill holes
These wooden jewelry templates came predrilled. That means you only need to flip them over and drill through the back to put holes in the resin.
💡 Pro tip: Let your resin cure for three or four days before drilling the resin. While the resin is 90% cured after 24 hours, you can scuff the surface if you aren’t careful. You don’t want to scratch the resin on your table while drilling.
Step 5: Add ear wires
Add hardware to make your earrings wearable.
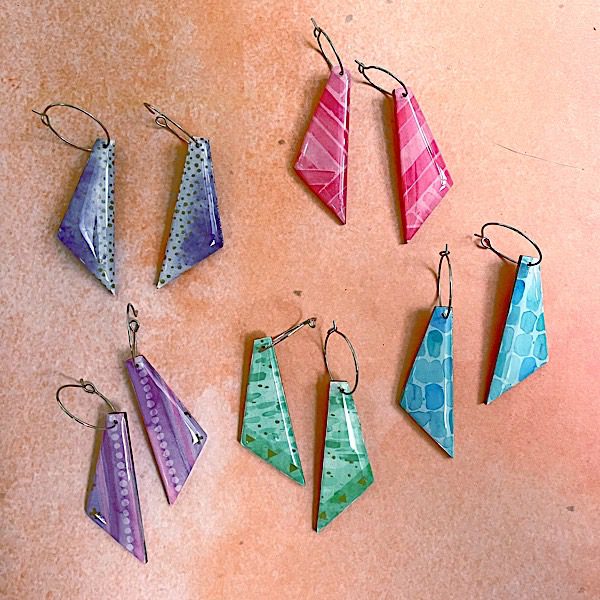
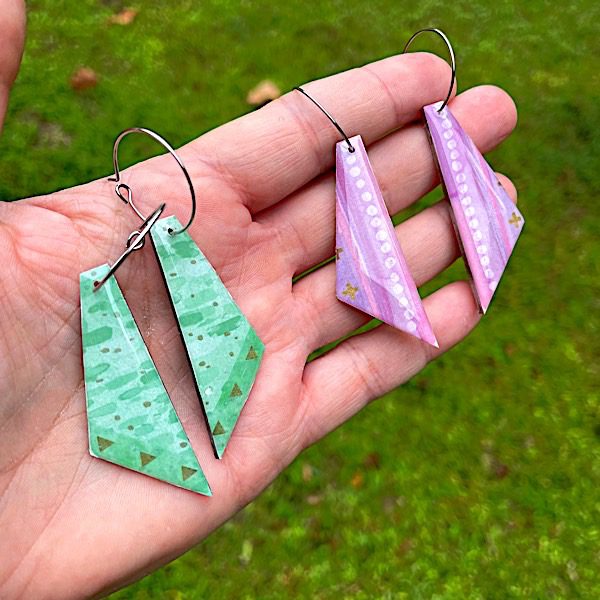
Ta-da! You just learned how to make washi tape jewelry.
I love using washi tape for unique designs. Plus, they don’t need sealing before you add the epoxy.
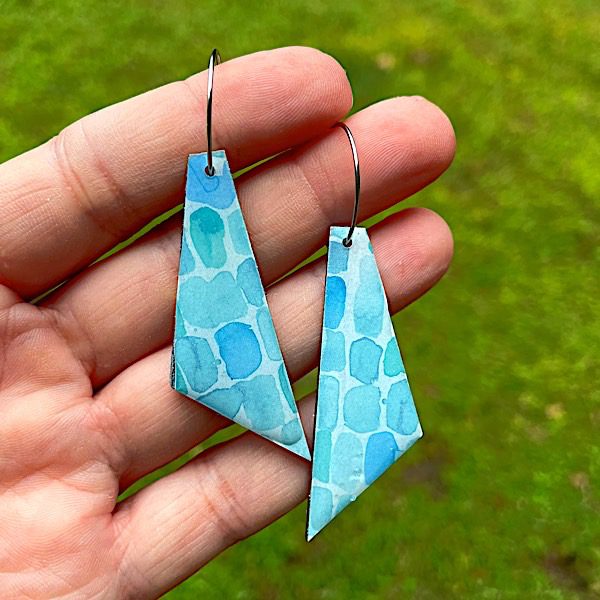
This pair is my favorite. They look like a watercolor painting – but for your ears.
I also love how the resin adds a glossy coating to the tape. They look like they were meant to go together. Next time, I’ll try two contrasting tape patterns to see how they make washi jewelry.
What happens if your washi tape doesn’t stick to the wood very well?
You can add mixed resin or jewelry adhesive between the wood and tape in case you don’t have a tight fit. You can also add extra glue to the tape when you’re adding it to the wood to ensure a firm fit.
Ready to try more jewelry making projects with resin?
Then you want the ebook Resin Jewelry Making in Bezels. You’ll get 15 projects to make with epoxy resin. It’s the perfect PDF book for beginners. Buy now and get an email download link in only a few minutes.
Unpublished Blog Posts of Resin Obsession, LLC © 2023 Resin Obsession, LLC