I like creating with epoxy resin all year long. Unfortunately, though, the weather isn’t always ideal. I live in British Columbia, Canada, where it is cool and rainy most of the year. So for most of the year, I have to plan ahead to have successful pours. I’ve learned a few things along the way. Today, I’m sharing my four favorite tips for resin casting in cold weather.
Resin prefers warm temperatures and doesn’t like excess moisture.
Resin that’s too cold is like molasses. While mixing the parts, no matter how slowly you stir, you’ll trap all sorts of bubbles. The thicker consistency also makes it challenging to combine the two components thoroughly. Since part of the curing process is a chemical reaction causing heat, a resin that’s too cold can have problems curing. Sometimes resin that cures soft and bendy cured at too cold a temperature.
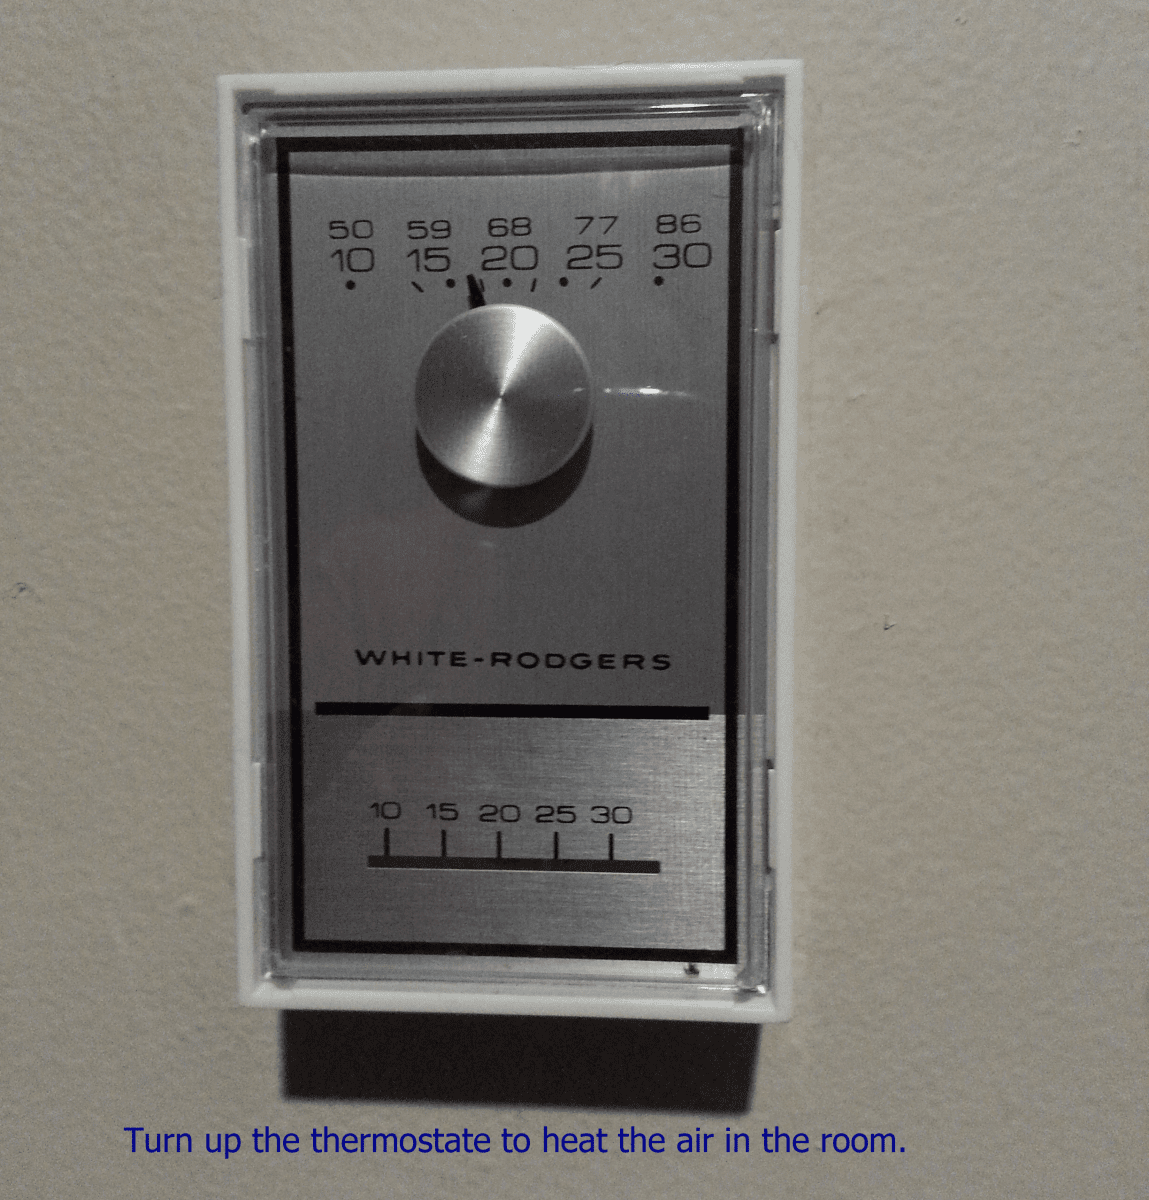
Tip 1: Turn up your room temperature.
I can set the heat for a single room, so I’ll turn the thermostat up for my workshop and keep the door closed to trap that warm air. Turning the heat up in that room also helps to dry it out a bit, too. (Yes, this is how cold it is before I turn on the heat.)
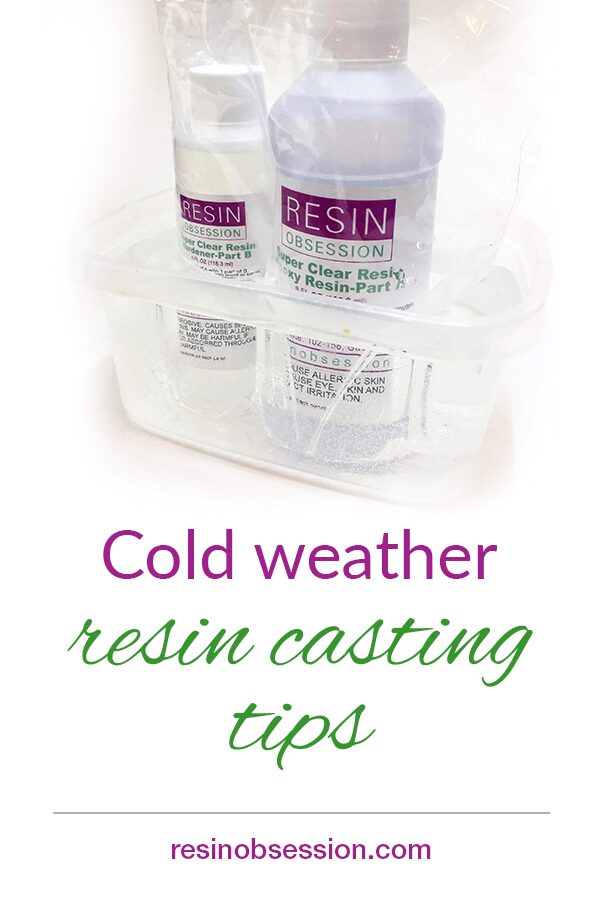
Tip 2: Warm up your resin kit.
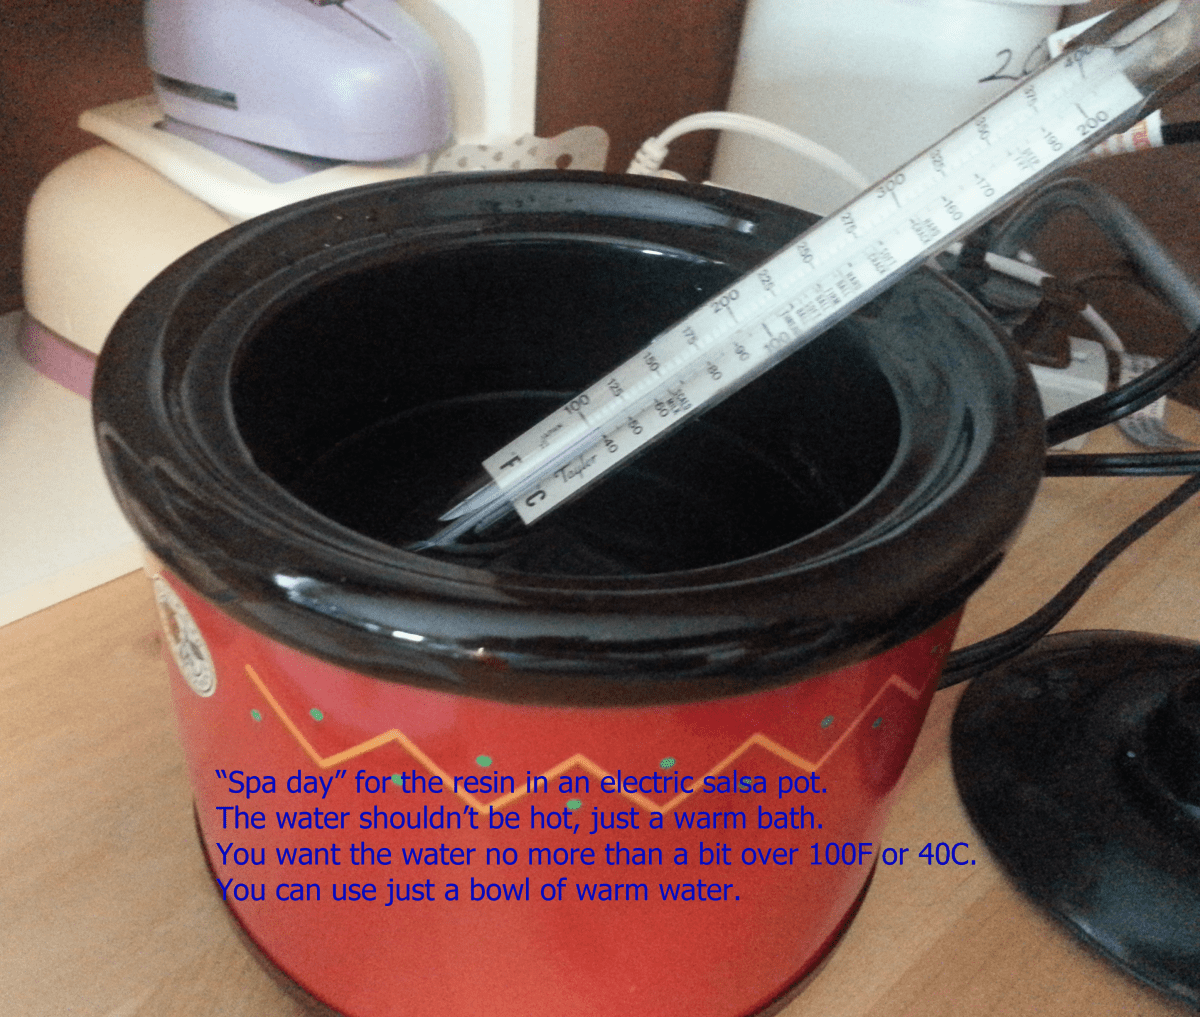
To warm up the resin, I give it a “spa day,” a warm water bath for 10 minutes. I have a salsa pot mini slow cooker which keeps the water warm. A bowl of warm water will work, but the water doesn’t stay warm the entire time. You can find a mini crockpot like this at kitchen stores or even use a potpourri warmer.
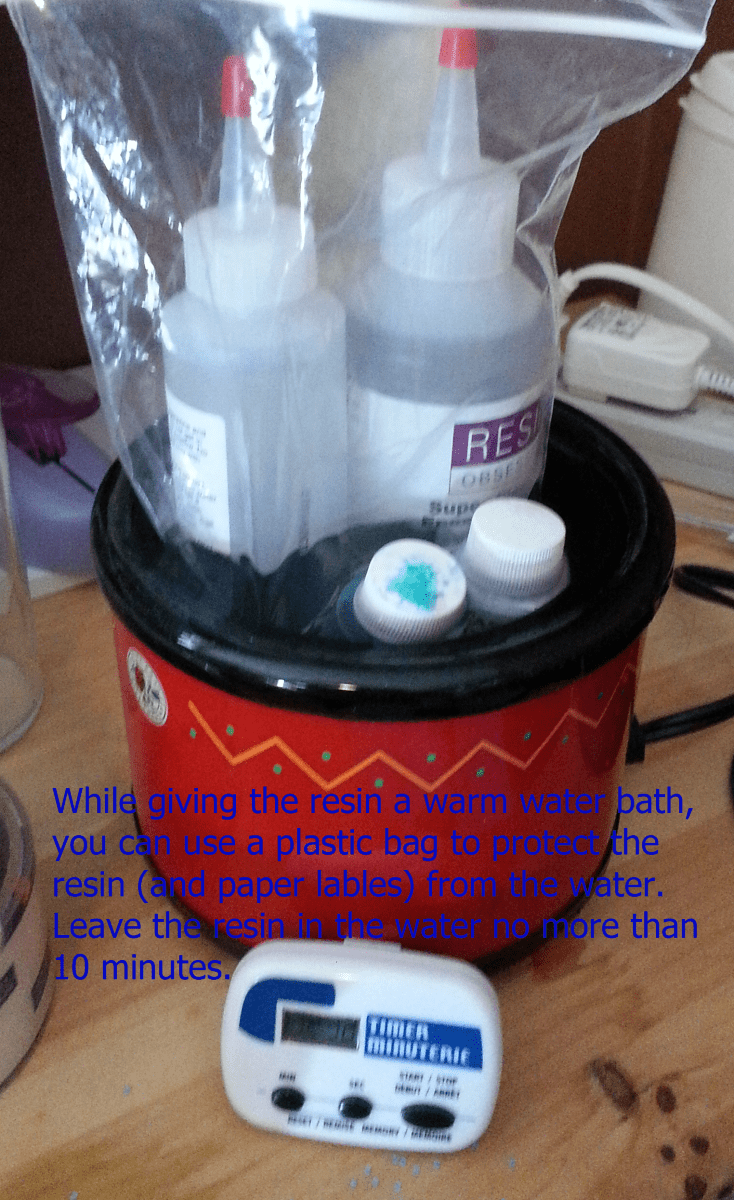
When I’m about ten minutes away from casting my resin, I put the bottles into plastic bags and then into the pot. I can put the bottles directly into the water, but it destroys the paper labeling. If I use liquid resin colors, I also put them into the pot with the resin.
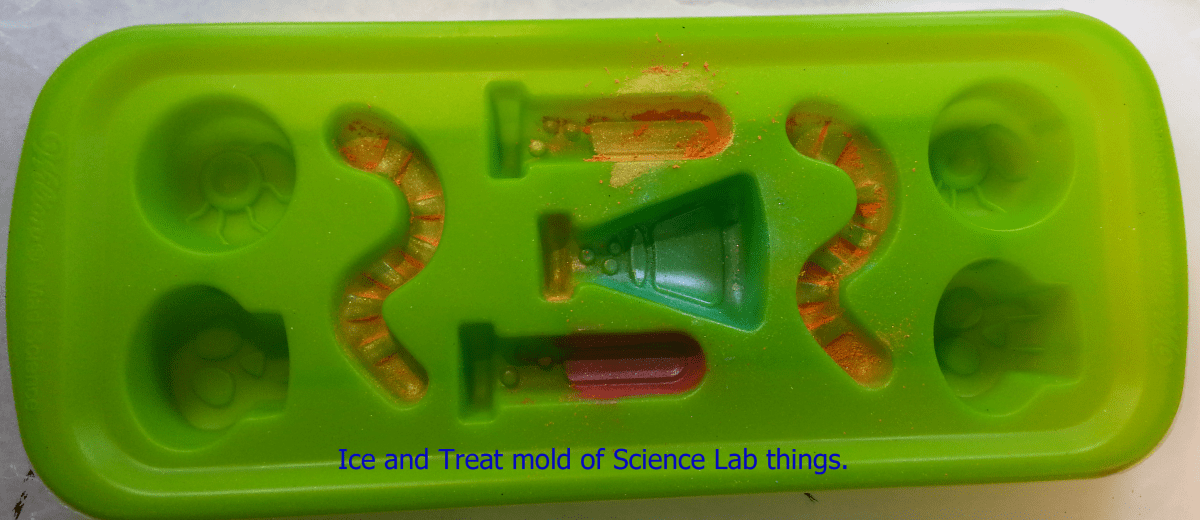
Casting resin in cold weather also means I prepare any molds I plan to use. I am using this mold I bought on sale a couple of days before Halloween. Wa-Hoo!
⚠️ WARNING: If you use “food” mold for resin, do not use it for food after. Once you use it for resin, you should think of it only as a resin mold.
After the resin has warmed up, I take the resin out of the spa and make sure the bottles are dry on the outside. You don’t want to drip water into your resin.
Because I’m working with small volumes of resin in molds, I’m using the Resin Obsession super clear resin. If you aren’t sure which resin you should use for your project, check out our resin buying guide.
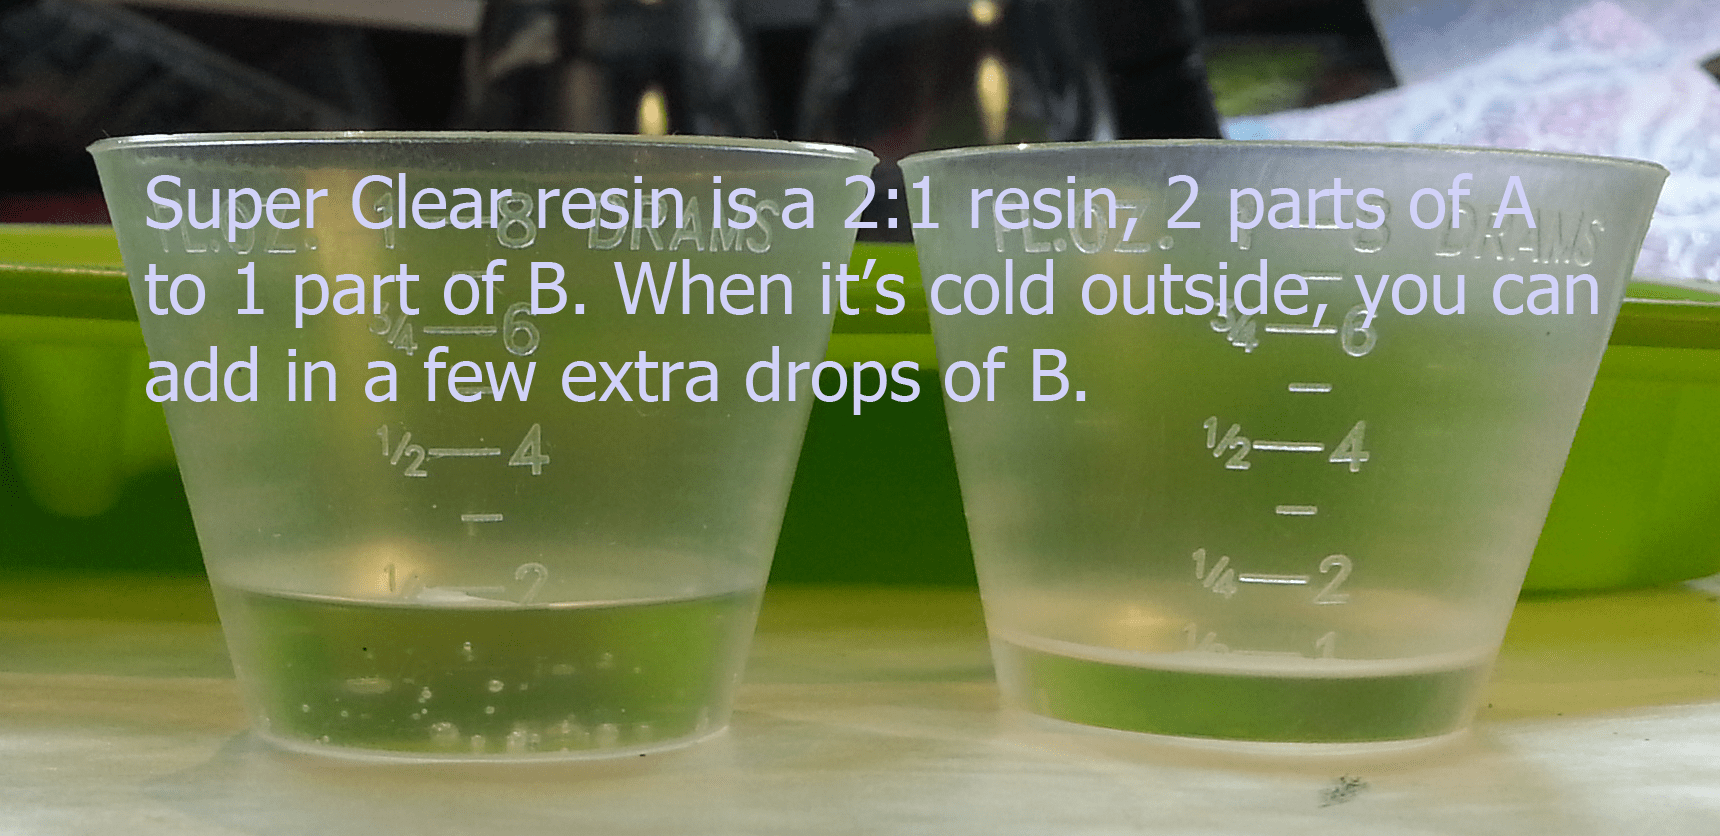
To measure the resin, I use two cups, making it easier to see how much I am pouring. The super clear jewelry resin is a 2:1 ratio two-part resin. In this example, I poured 2 drams of part A and 1 dram of part B. While you might think adding extra hardener is a good idea to help heat up the resin, don’t! Adding too much hardener causes problems.
Tip 3: Create a resin hot box.
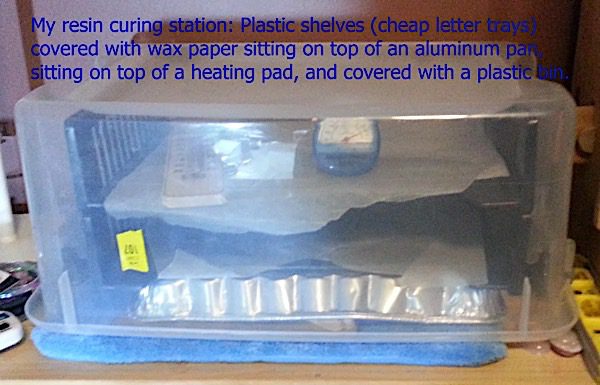
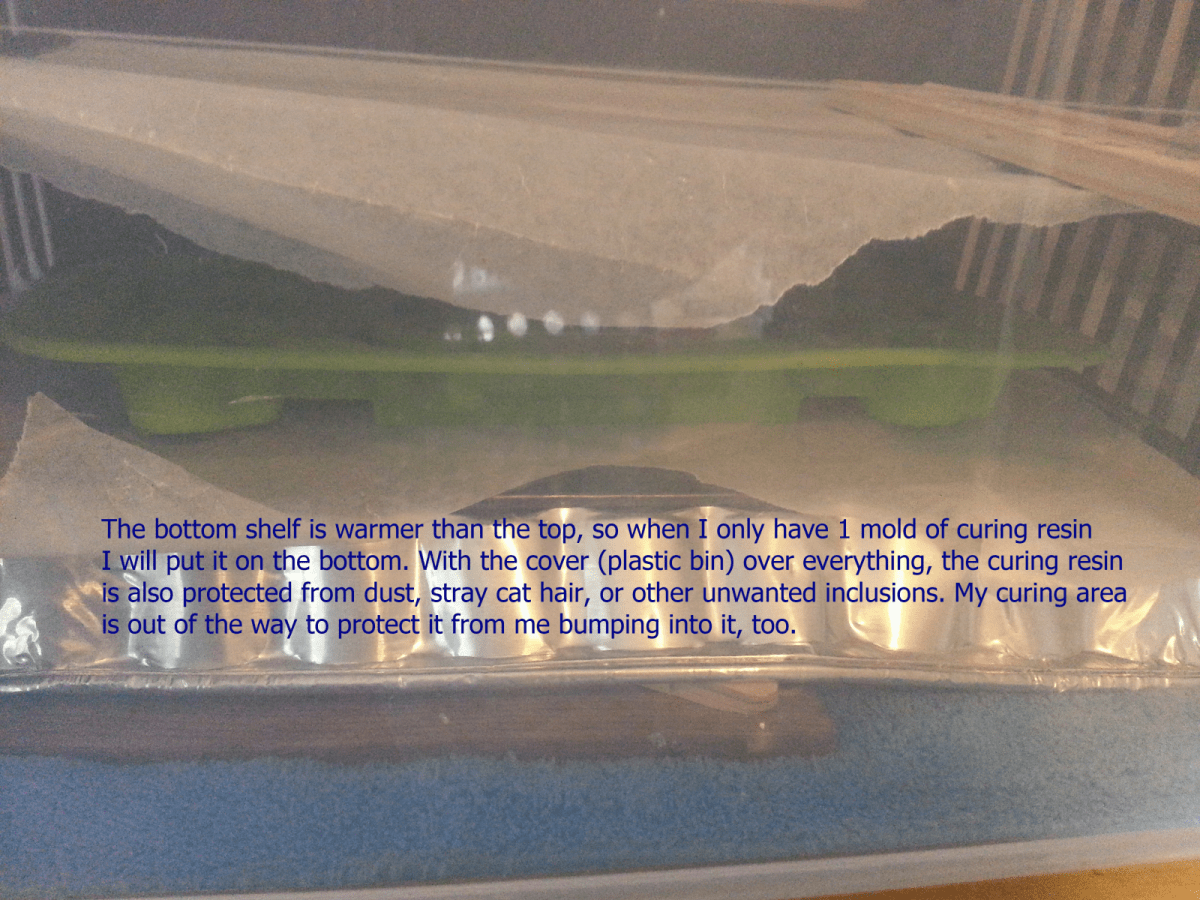
Part of resin casting in cold weather also means I have a “hot box” to keep the air around the curing resin warmer than my room temperature for (at least) the initial part of the cure time. Simply having the air in the box warmer than the room air will help with curing. The hot box also does the double duty of protecting the curing resin from unwanted things like dust, cat hair, human hair, or anything else that might wander by and drop in.
My ‘hot box’ is made from a pair of cheap letter trays sitting on an inverted low-profile aluminum pan. Then, I place the trays on an electric heating pad (that has an automatic shut-off) and cover them with an inverted clear plastic storage box. I like the clear bin so I can see into the box, but I have seen hot boxes made with cardboard.
Tip 4: Warm up your resin mold.
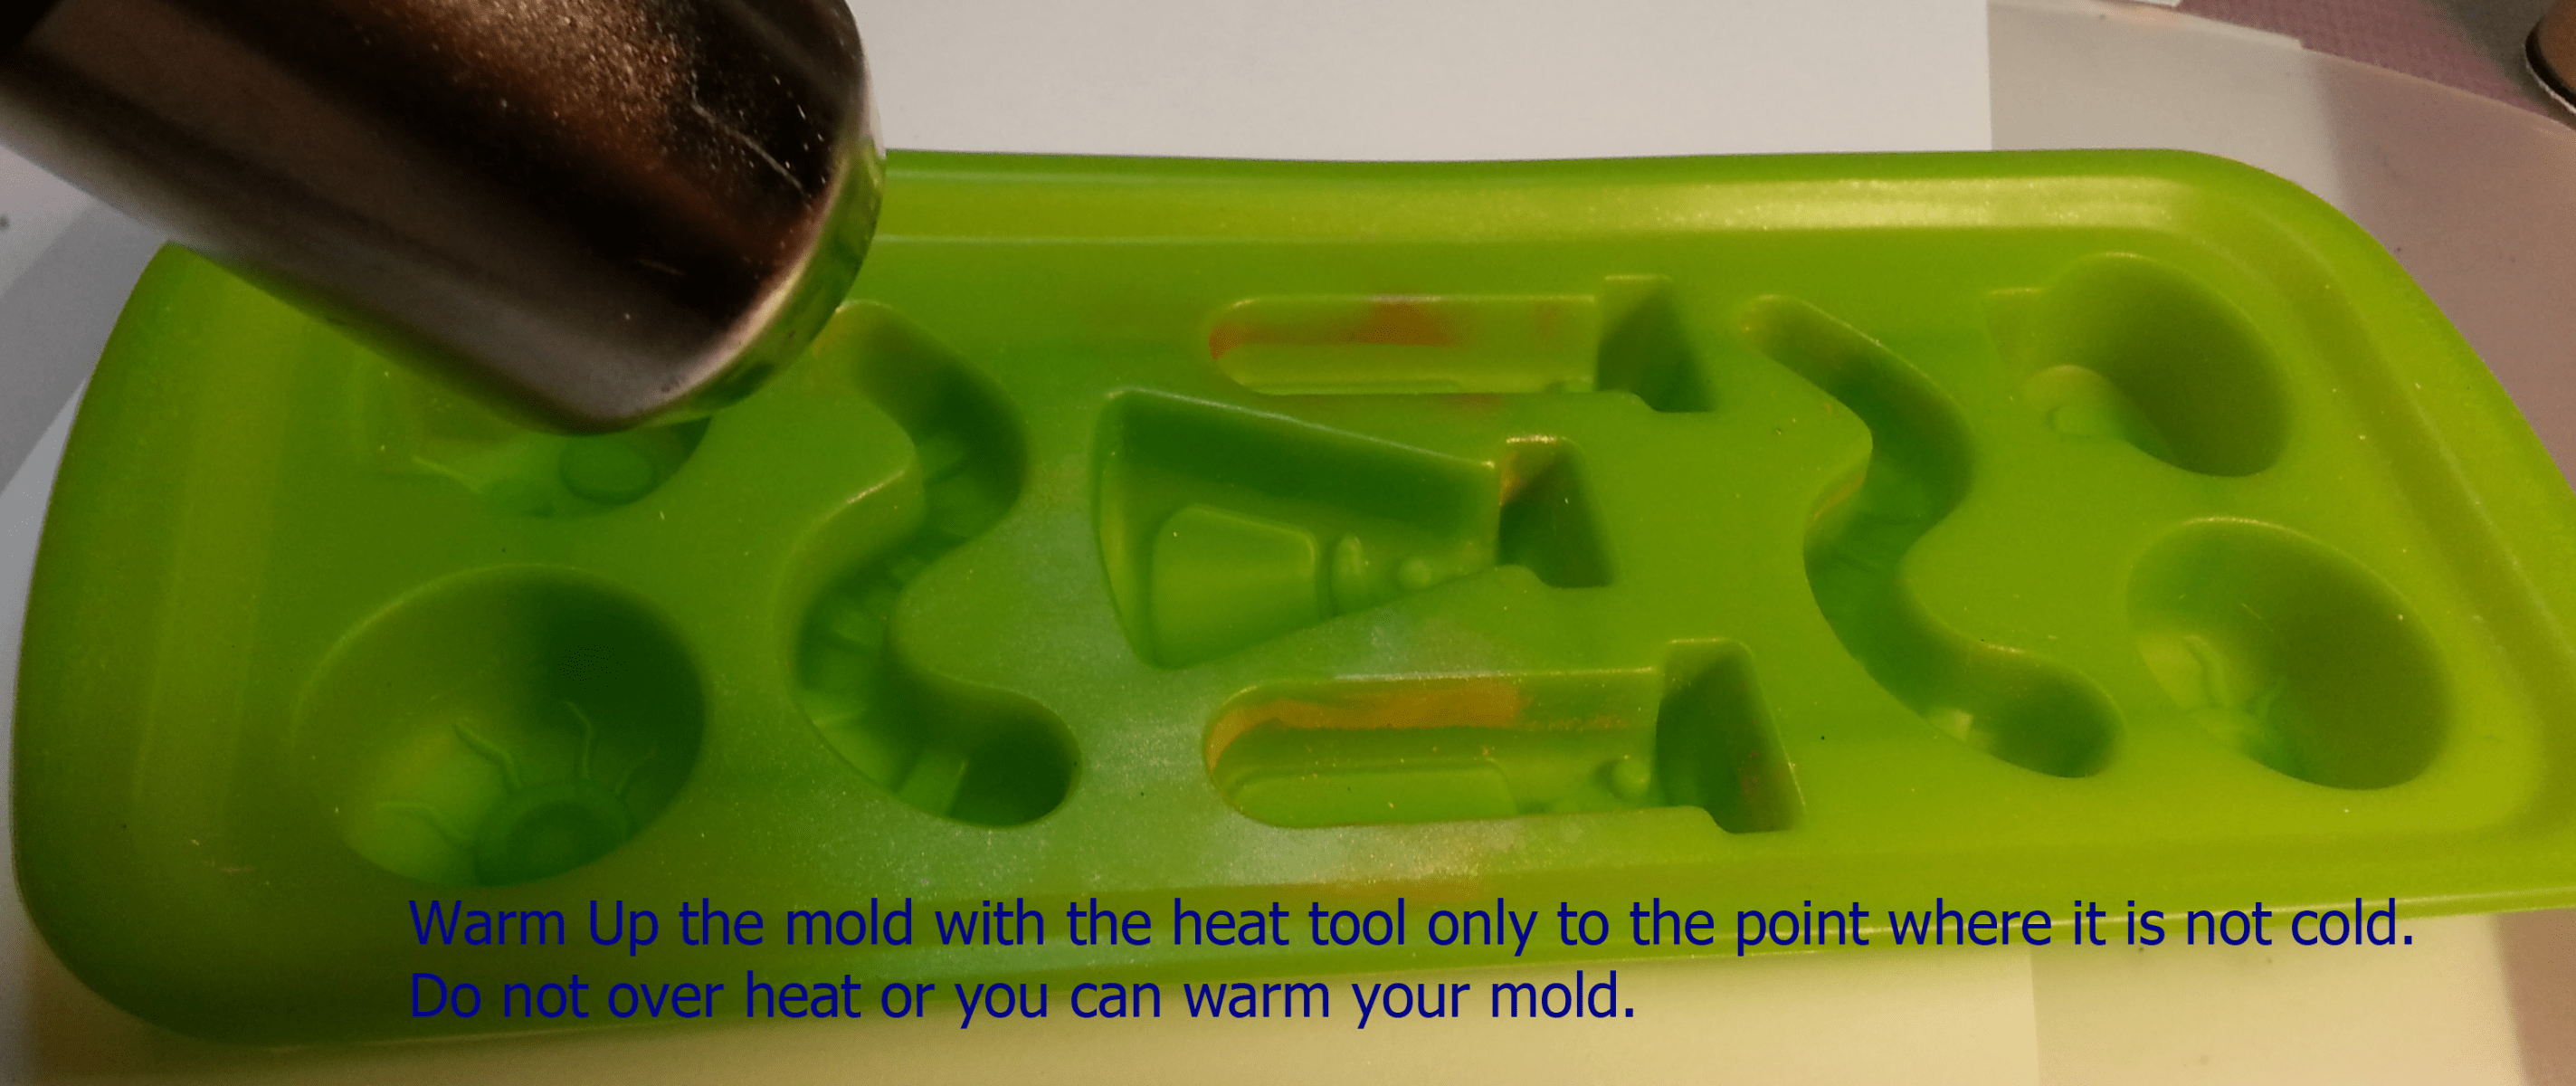
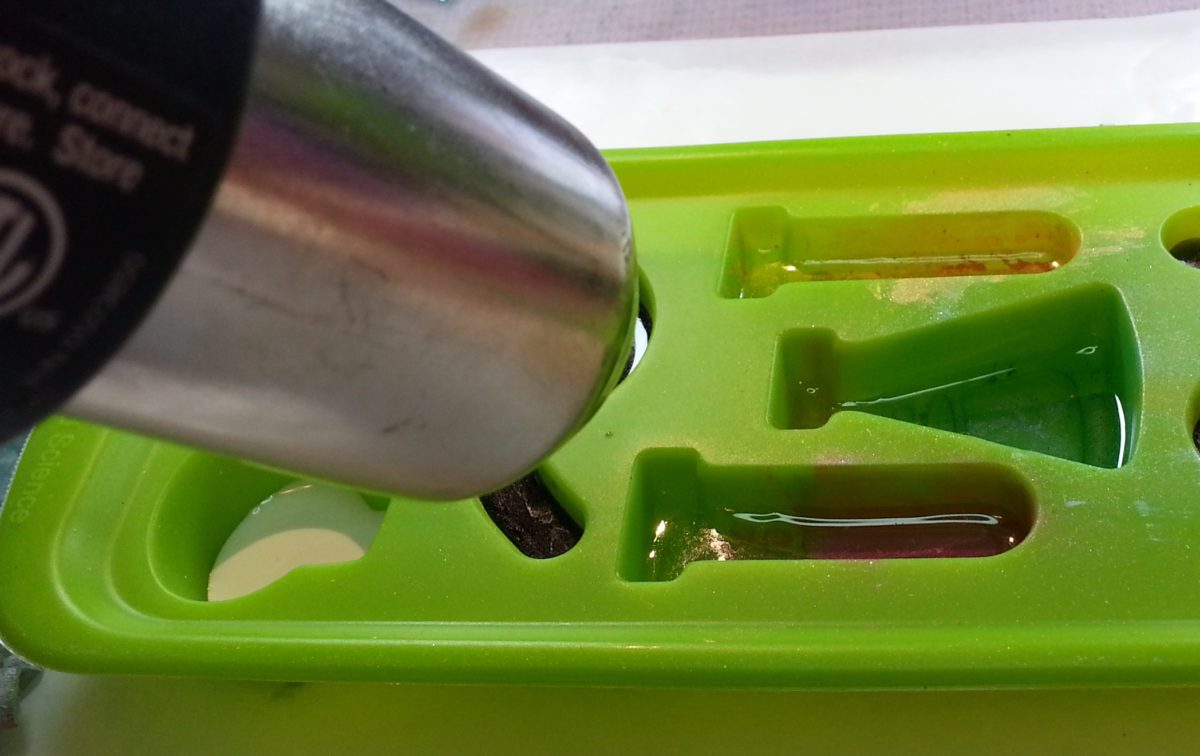
When casting resin in cold weather, warm up the mold before pouring the resin using a heat tool. Just don’t get them too hot. If you overheat resin molds they can warp and distort. So, just enough heat so the mold is not cold.
After pouring the resin, using the heat tool not only helps to pop bubbles that might form but also helps to warm the resin and start the curing process.
After pouring the resin, I carefully remove the plastic bin without tipping it (to keep the trapped air trapped) and set it aside. Next, I put the freshly poured mold on the rack. If I am only inserting one mold, I put it on the bottom shelf, which is the warmest in my “hot box” because it’s the closest to the heating pad. Then, I replace the bin over everything.
Since the heating pad has an automatic shut-off, I check it several times during curing to ensure it’s still generating heat and hasn’t turned off.
Enjoy your cured resin charms!
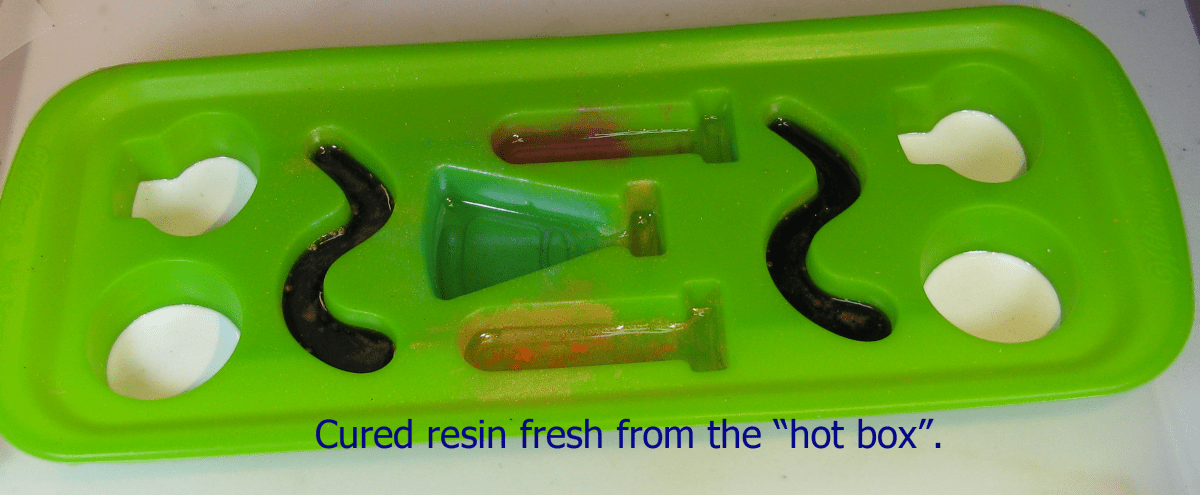
When the resin is cured, remove it from the hot box and do the usual stuff to finish it.
The super clear resin cures to a demoldable stage in about 6 hours. That’s one of the big reasons I like using this casting resin in cold weather. This quicker cure time for an epoxy resin makes it great for a single-day project. If you take it out of the mold at 6 hours, when you first take it out of the mold, it will still be a little pliable but completely non-sticky. You can sand and paint or do other finishing effects immediately. The resin will continue to harden and should be fully hard after another 6-12 hours.
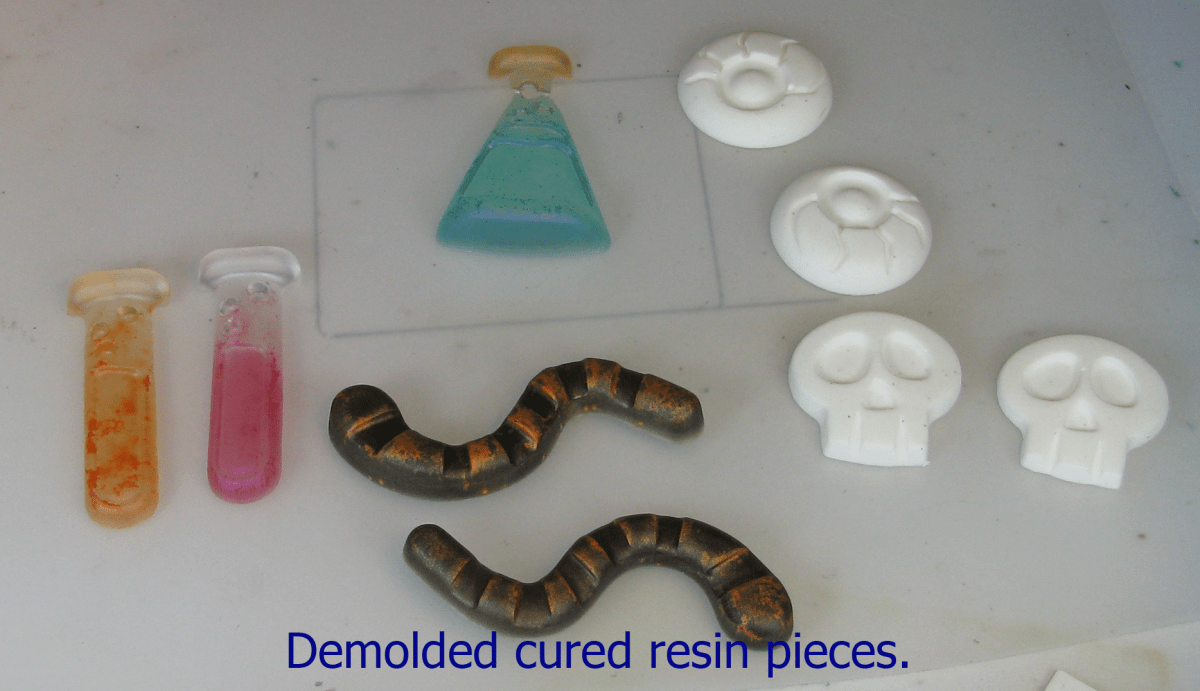
When I demolded the resin charms, the beaker was too thin right by the top. I didn’t want the item to get too bulky, and the bottle part was more recessed, so I didn’t pour enough into that cavity. The first time using a mold, you discover things like that. Next time I’ll be able to gauge the depth of that cavity better. Everything else turned out great.
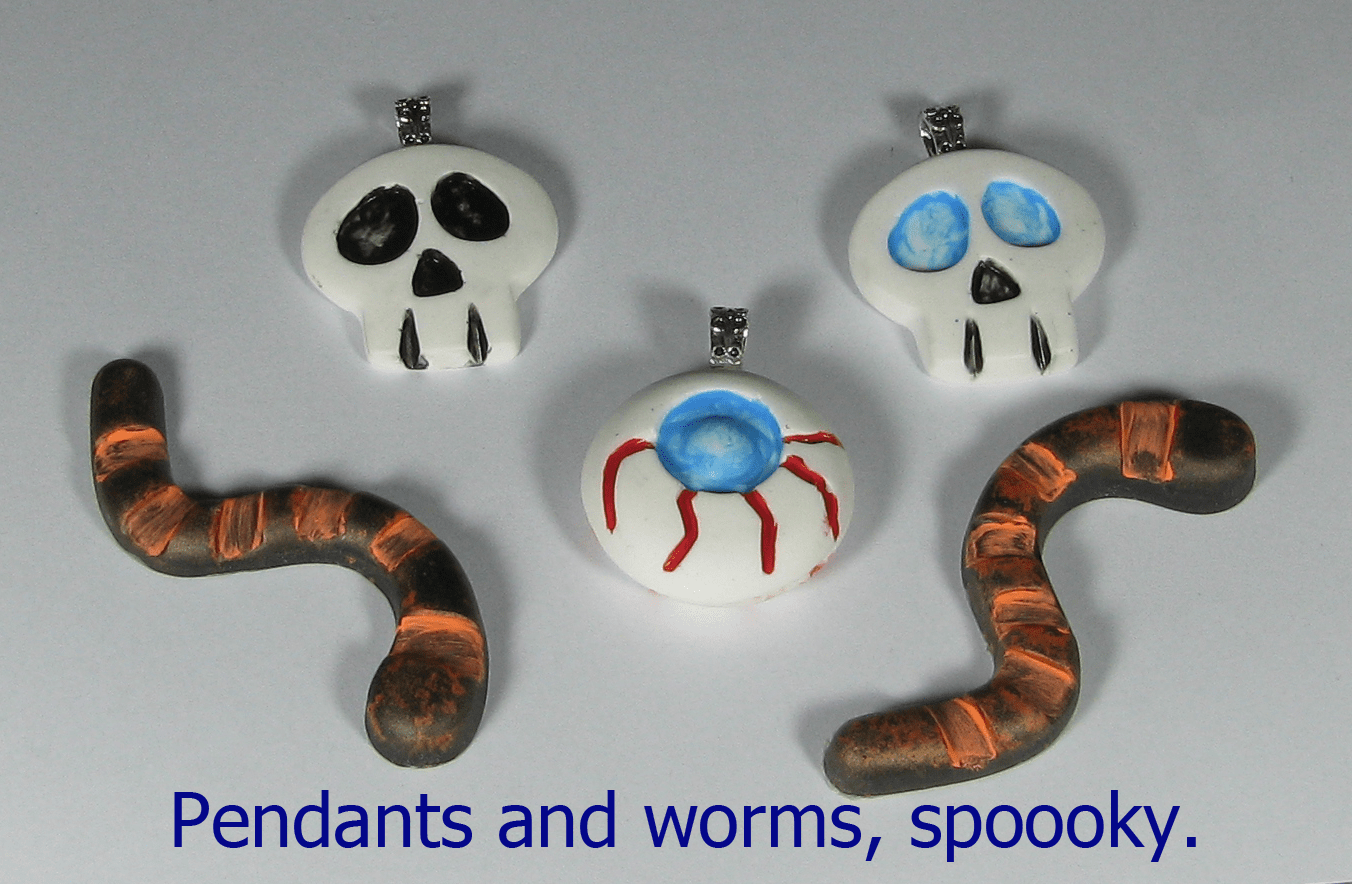
I added a bit of paint and some bails to the skulls and eye to make resin pendants. I glued the eyes back to back with the bail between them to make a 2-sided pendant. I’m unsure what to do with the worms other than just leaving them on the counter as decoration.
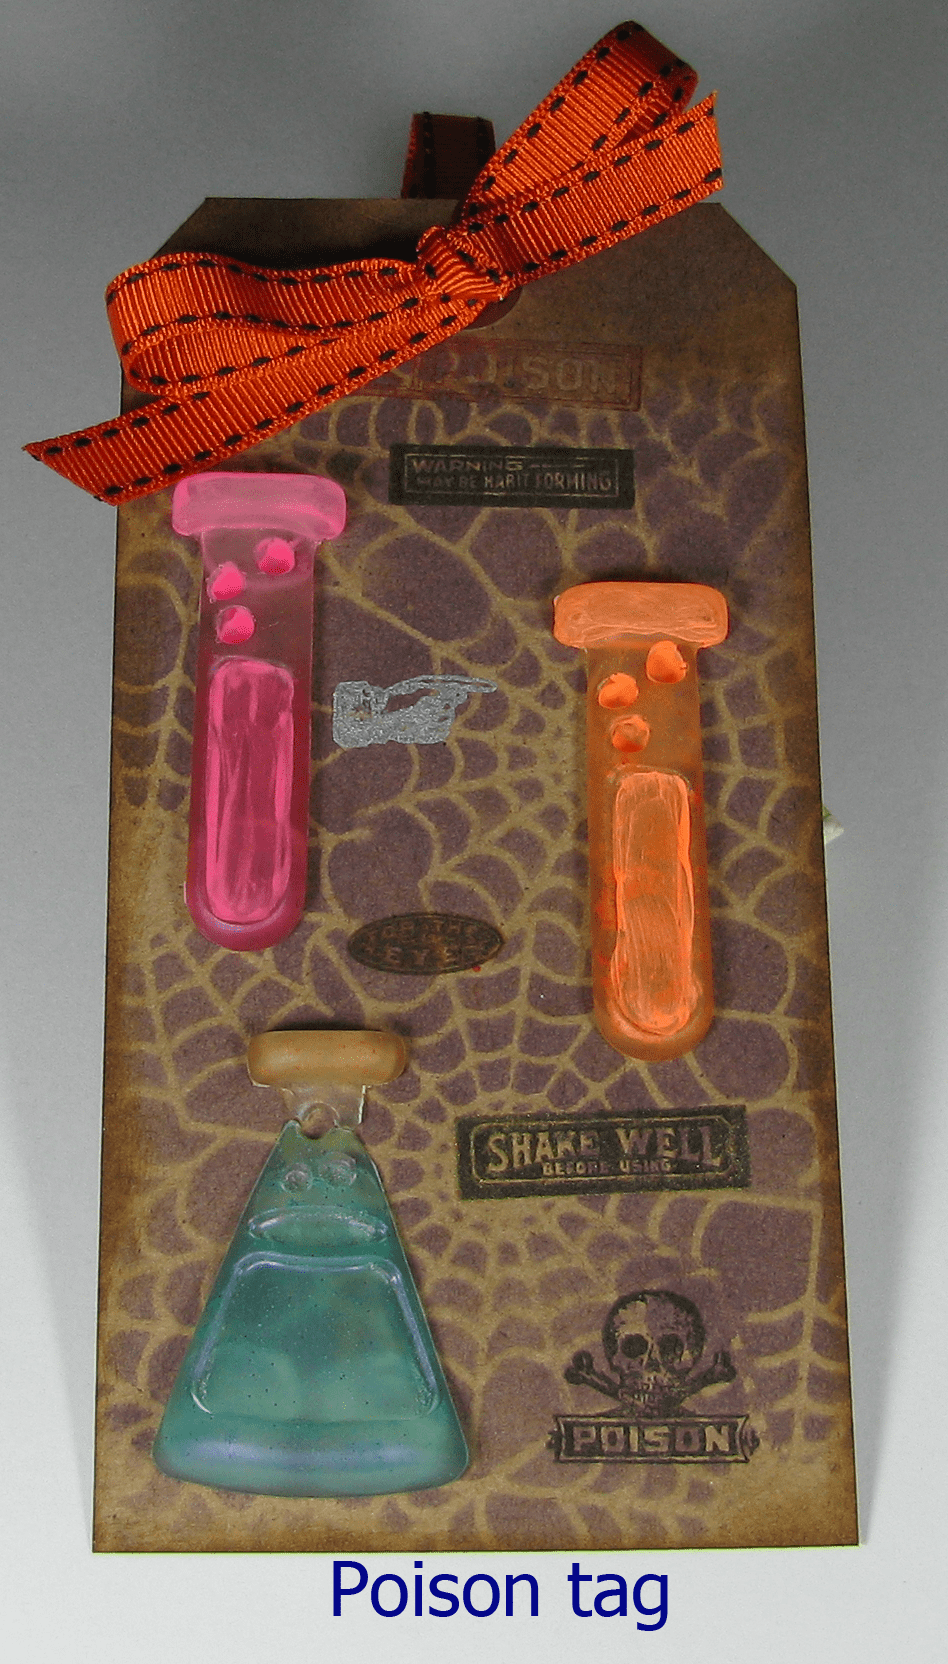
I made a decorative tag with the vials and beaker. I added a bit of paint to the vials.
Are you having more challenges beyond resin casting in cold weather?
I want to help! It’s why I wrote the book, Resin Fundamentals. Learn from my sixteen years of mistakes and experiences with resin in an ebook that you can read this afternoon. Buy the PDF book now, and it’s yours to read in minutes.
Originally written by Kate Ledum
Unpublished Blog Posts of Resin Obsession, LLC © 2023 Resin Obsession, LLC



Thanks for the great tips!
You said “One of these days I am going to create something with doors so it’s easier to access the shelves without losing the warm air. ”
I’ve come across storage boxes (from, for example, Really Useful Boxes) which have a front opening as well as a lid, so you can open the box from the front; that might work for a “door” for your hot box.
Thanks for your blogging and tutorials; I’ve just started playing with resin, and your Beginners tutes have been invaluable in overcoming my fear of messing up, and enabling me to do my first two epoxy-resin casting sessions without any problems, yay!
Awesome! We love helping newbies. And thanks for the box source. I will have to give that a try!
I am just starting to use resins in my wood turning. I learned the hard way that polyester resins require polyester dyes. Your tips, especially concerning temperature control, will be most helpful. Thank you.
Thanks for this great information. It’s winter here and I used resin on three large paintings and I feel that it really didn’t “go off” quite like it should because of the cold. Can you please tell me what type of heating pad you were using. Many thanks again.
This is a heating pad you can get from a pharmacy.
Very good tips and interesting ideas. Just getting into moulding, casting and wood turning for retirement. I use to build plastic models for shops and my own pleasure. To assist with drying in a cold workshop I used and old bedside unit replaced the shelf with an old cooker grill and attached an electric bulb inside. Warmed the cupboard nicely and running cost was a simple houshold bulb.
Thats for the tip about the resin during best in warm environments! I was wondering how long I need the hot box to be hot. You said the beginning of the curing process but how long is that? Should I just keep the area around the mold warm until it completely cures to be safe or does it not need to be warm the whole time? Just an amount of time would help,please and thanks!
HI Shakeema, you need to keep it warm the entire time.
Thanks Katherine
Hi Katherine. Another newbie here. You have rescued me a couple of times. Really appreciate this website. On a personal note-I grew up in the Okanagan Valley in the interior of B.C. Are you anywhere near there?
Hi Gail, thanks for your kind words. Actually, I am in Florida!
I’m in Wisconsin
I need to clear resin coat on whiskey barrel heads for tables I’m creating
Will a seed warm pad work to keep it warm to cure
Only doing 1/8inch top pour on a22 inch round barrel lid for the table top
Hi Jim, the Resin Obsession artwork resin works great for a project like this. You can buy it in our store here: https://shop.resinobsession.com/collections/resin/resin-obsession-artwork-resin
Im going to try a Seed Heating pad to keep my hot box warm. Low electrical usage(18 watts), and you can leave it plugged in for long periods
I use old square Tupperware to cover my projects when curing. I usually can find them at mission stores really cheap. Works great
Can I leave on a heat mat on at night. this is when the temperature gets cold. Resin takes at least 24 – 48hrs to cure. Fluctuation of temperature would effect the project. Wouldn’t it.
Hi Jenny, please follow safety precautions when using a heat mat, including not leaving them unattended. Lots of resins cure faster than that. What are you making? I’m happy to make another recommendation for you.
This is the first time I have made a resin project that is still tacky after 12 hours. It is cold in the house and that is probably why (I really hope I didn’t mess up my resin ratio!) I have the resin now in a closed room with the heat going to warm things up a bit. I hope it isn’t too late!
Would someone please help I work with resin in my living room and want to find a way of how I can I work with it during cold weather I live in New York so it’s below 30 degrees I always put a bin over it but don’t know why it doesnt cure … I’ve been wanting to buy a heater to put by the table where I leave them
Hi Heidi, this article will help: https://www.resinobsession.com/resin-resin-resin/how-to-get-your-resin-to-cure-in-cold-weather/
Hello Heidi, I too am in NY (PA NY a order about 149 miles west of NYC. Anyhow, I found a great video on YouTube of a woman making a “heat box” using a sterlite type bin, and an amazing little heater that has a hose that attaches to the front of the heater below is the link to that video and and the link to the exact heater is in the description. I have found this heater to turn my 8 hour cure times cut DRASTICALLY! Probably from 8 hrs to 2-3 hrs. I still let the tumblers sit 24 hrs before giving to my customers but it makes putting out more tumblers much quicker, a delight! Only I learned the hard way that due to me working with a two cup turner, putting the hose on line produced too much heat, causing waves or fisheyes/dimples so I now let the heater sit on setting Heat 1 about 3-4 feet away, and blowing on the top or side of the bin. Hope I’ve helped if you’ve not found your own way yet! https://youtu.be/6-pZfRsrMOA
Can I spray my wet resin tumbler with a sealer to be able-to finish it?
Hi Cheryl, I’m afraid that won’t work.
Awsome. This helps alot as I’m also in BC but more inland
Thanks for sharing your knowledge! I am as newbie as newbie can get and I’m doing lots of research before I try my first pieces. I love that your information is so easy to understand and I can’t wait to get started!
Thanks so much, Elaine. You’re going to love resin!
Hi
What if anything is best way to avoid bloom on top of my coasters and river tables?
Hi Steve, are you talking about amine blush? If so, this article will help: https://www.resinobsession.com/resin-frequently-asked-questions/amine-blush/
I am new in this fun hobby and worry about most every thing! My questions are? can I pour at 60 degrees? If pour at 75 and it goes to 60 after a few hours is that enough to mess up the cure?
Hey there! I would recommend keeping the temperature as constant as possible to ensure the resin cures correctly!