
 Resin naturally cures with a glossy finish. It’s why it looks so good when you pour clear epoxy over a photograph. But sometimes clear and shiny isn’t always the look you want. You might want a matte or satin finish on your resin.
You’ve got two options to get a matte finish on resin:
Option 1: Use a mold that gives a frosted finish
Not all molds give a shiny finish. Some resin molds create a matte finish.
Why?
When molds are made, the cavities will take on the surface of whatever was used to make the mold. If the mold was made from something with a frosty, rough, or coarse texture, that finish will impart onto the mold. All castings made from that mold will have a matte or satin finish.
In fact, this is one of the most common reasons for cloudy resin.
How do you know if your mold will leave a satin finish on your resin charms and projects?
Look at the surface of the mold. If it looks dull or frosted, that same matte finish will transfer to your epoxy resin crafts. This video shows you exactly what to look for:
Option 2: Sand
Resin cures hard enough that you can sand it by hand with sandpaper. Many casting resins can take sanding with power tools.
💡 Pro tip: When in doubt, sanding by hand is always the best option. While it takes longer, you are less likely to take off too much or take it off unevenly.
Here’s how you sand resin to get a matte or satin finish:
1. Start with coarse-grit wet/dry sandpaper. Either move the item over the sandpaper, as in the case of a resin charm, or, if a large painting, wrap sandpaper around a block and go over the surface.
⚠️ IMPORTANT: Wet your sandpaper. The water will wet the dust so you don’t inhale it. Plus, it cools the heat from friction, so your resin art doesn’t melt.
2. Once the surface is thoroughly sanded and even, choose the next finer grit of sandpaper and repeat. You must make sure your resin is evenly sanded with one grit before moving on to the next grit. If there are marks or divots you can’t get rid of with the grit you’re using, you need to go back a step and sand again with a coarser grit paper before moving on.
3. Continue sanding with finer grit sandpapers until the resin surface is as matte or frosted as you like.
Here’s how I like to sand resin jewelry and resin paintings:
When do I sand resin artwork?
If the divot or blemish you’re trying to correct is more than 1/8 inch deep, sand your epoxy art. Then, you can apply a new layer of epoxy. Resin for artwork self-levels to 1/8 inch deep, so you don’t want anything any deeper than that. Otherwise, your divots will be in the next layer too.
So why can’t you use power tools to go over the surface of your resin jewelry, crafts, or art?
If you used an epoxy resin that cures bendy or soft, the friction from sanding will cause your piece to ‘crumb’ and sand unsmoothly. It can also warp or melt. If you decide to use power tools, keep the resin wet to reduce the heat and friction.
💡 Pro tip: Pay careful attention as resin grinds off quickly when using power tools. Like really quickly…
How do I use power tools when sanding resin?
I will use them on hard-curing resins when sanding a flat surface like the backs or straight sides of resin charms. But, when sanding a curved or uneven surface, I will sand by hand. That’s because it’s difficult to keep power tools from changing the shape of your resin casting.
If you want to try sanding your resin with power tools to get a matte finish, here are some techniques to help:
⚠️ IMPORTANT: Please take appropriate safety precautions when sanding resin with power tools. Wear a particle mask when sanding resin. You don’t want to inhale resin dust.
⭐️ BONUS: Learn more about how to sand resin.
Want to learn more of the basics you need to know to succeed with resin?
Be sure to buy your copy of Resin Fundamentals. It’s the beginner resin ebook I wish I had when I started creating resin crafts sixteen years ago. You’ll learn all the important details of creating with resin in only a couple of hours. Buy the PDF book now and get a download link to your email in minutes.
Unpublished Blog Posts of Resin Obsession, LLC © 2023 Resin Obsession, LLC
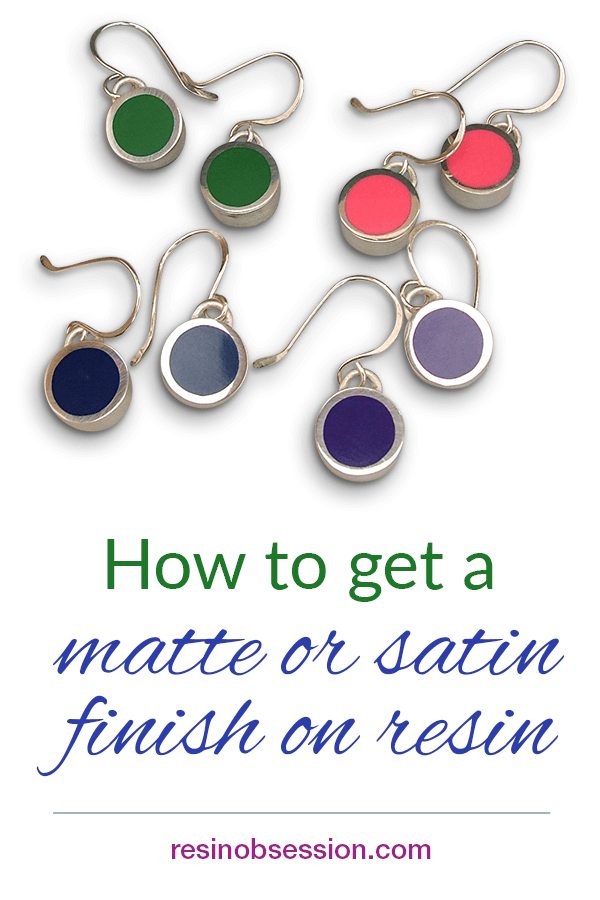
Hi Katherine
At the top of today’s post there is a photo of colored earrings. Is that a stock photo? If not, can you tell me where I could purchase those silver earring bezels? I really like the simple design of them. Thanks for your info on all things resin.
Hi Diana, those were a line of earrings I made myself when I wholesaled jewelry. I have some similar designs here: https://shop.resinobsession.com/collections/findings/pewter
I wondering which resin might be best for coating over a photograph which is affixed to a smooth painted rock?
Or if you have a better idea of a product I can use.
Thank you!
Kevin
You can first seal with an acrylic spray sealer (SEVERAL coats) to avoid the ink from the photo from bleeding. Then you could coat with Amazing Clear Cast Plus (although this will provide a glossy finish, not matte or satin).