
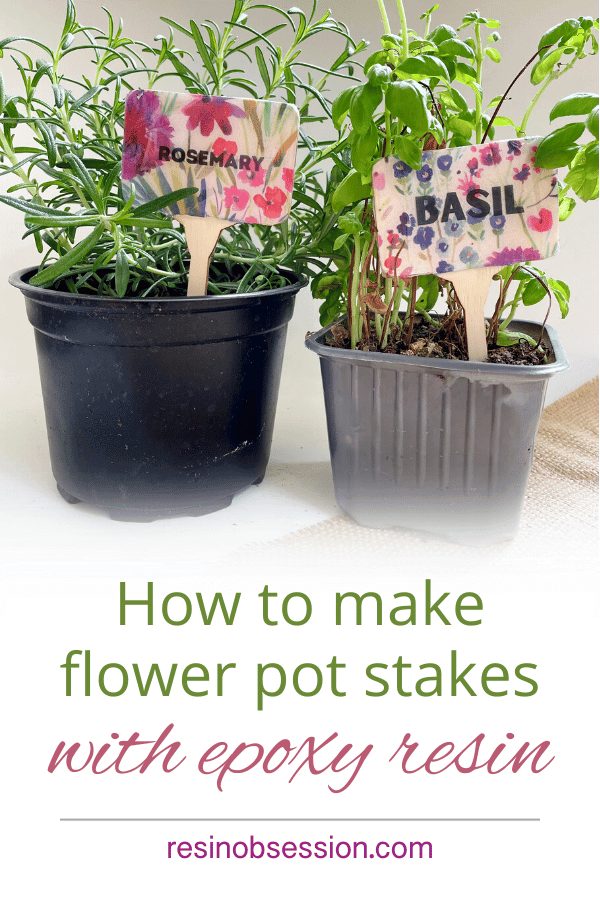
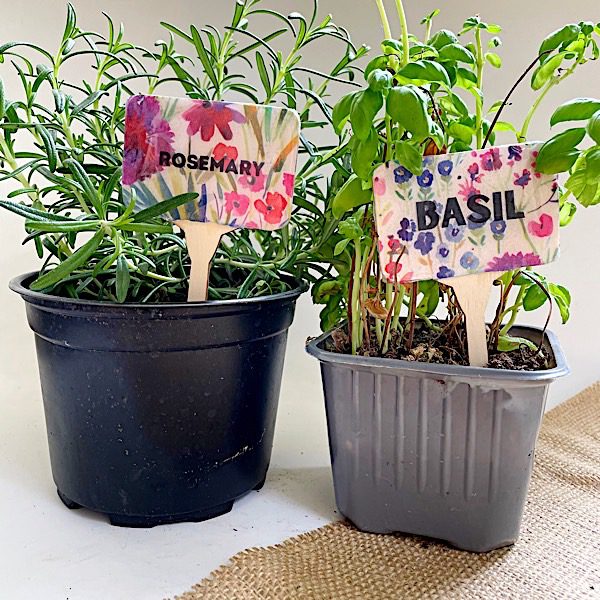
 What do you say we DIY flower pot stakes with epoxy resin? Not only do they add a handmade pizazz to your flower pots. But, for you non-green thumb types (like me), it’s easier to identify the plants after they die. 🤣
Supply list:
Wood flower pot stakes
White acrylic paint
Painters tape
Colorful tissue paper
Words on acetate
Resin Obsession crystal doming jewelry epoxy resin
Mixing cups
Stirring sticks
Safety gloves
Heat gun
Sharp scissors
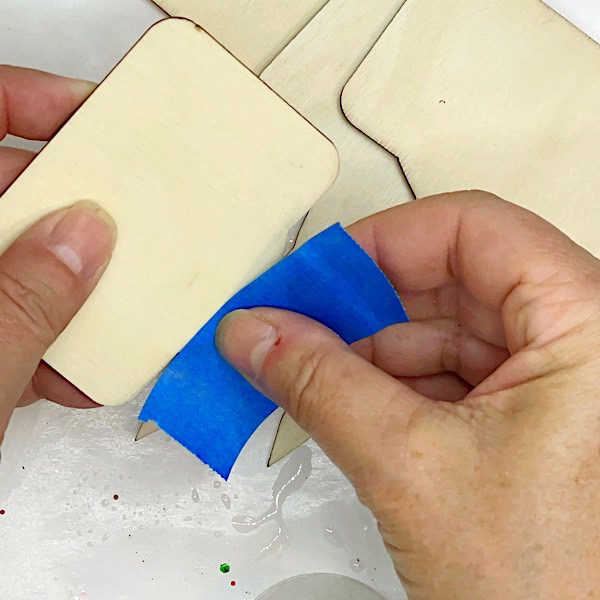
Step 1: Add tape
Place a piece of painter’s tape on each side of the stake where it begins to taper.
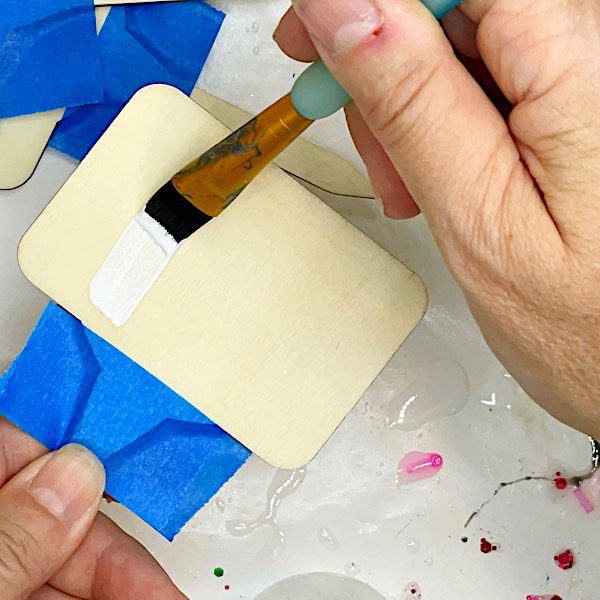
Step 2: Color with paint
Paint a layer of acrylic paint on each side. Let dry, then add a second coat. This seals the wood and prevents bubbles from escaping into the resin.
While your paint is drying, you can work on the next step.
Step 3: Design herb or flower names
You can use a free design editor to style the names you’re putting on your flower pot stakes. Then, print onto clear acetate.
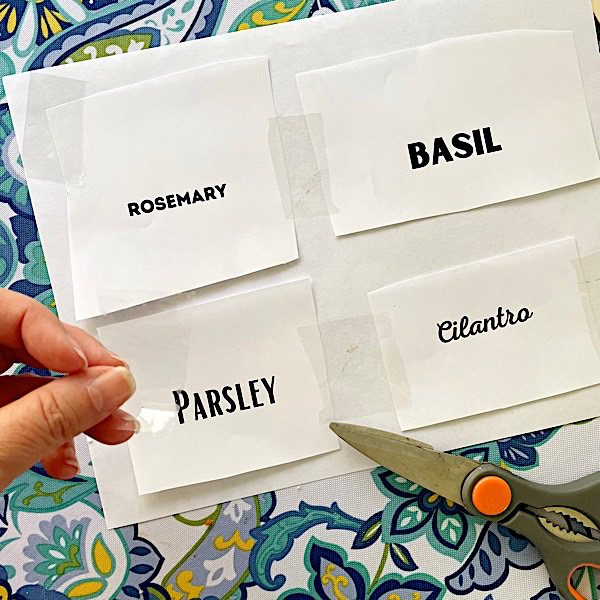
💡 Pro tip: If you don’t have acetate sheets or a printer, print the names onto white paper. Then, cut and tape them to a single sheet of paper. Take it to a copy and print shop. They can copy this page onto a clear plastic sheet.
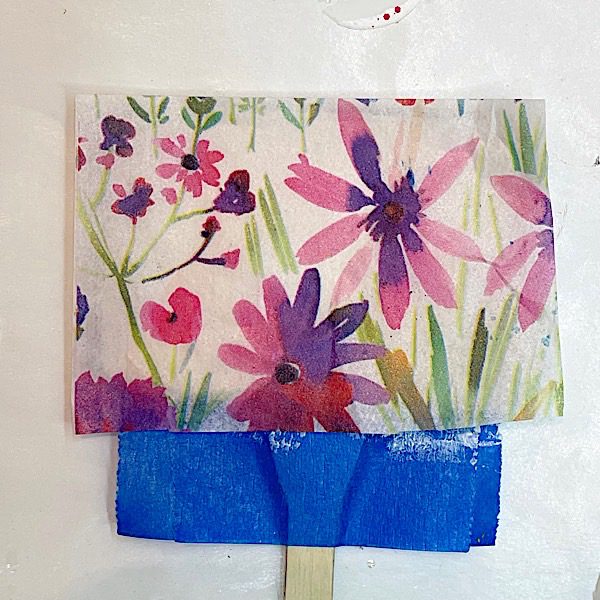
Step 4: Cut the tissue
Cut a piece of tissue paper a little larger than your flower stake surface.
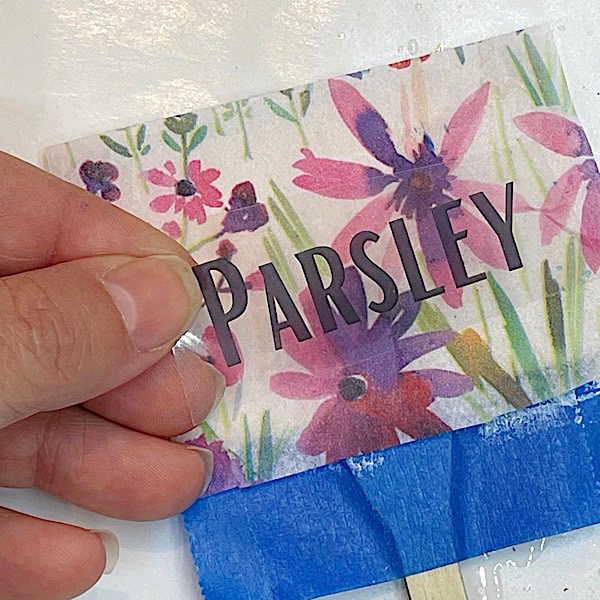
Then, cut the name, so it also fits the surface. This piece only needs to be as large as the words.
Step 5: Mix resin
Mix 1 ounce (total) of crystal doming resin. It’s important to use this formula for this resin project because it mixes thick. That’s what allows it to create an even, glossy dome on your flower pot stakes.
⭐️ BONUS: Check out this article about mixing resin if you’ve never done this before.
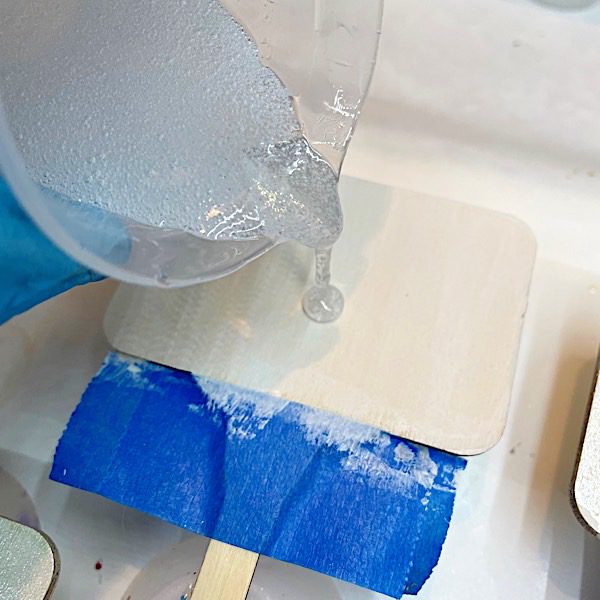
Add about ½ tablespoon of epoxy resin to the flower pot stakes.
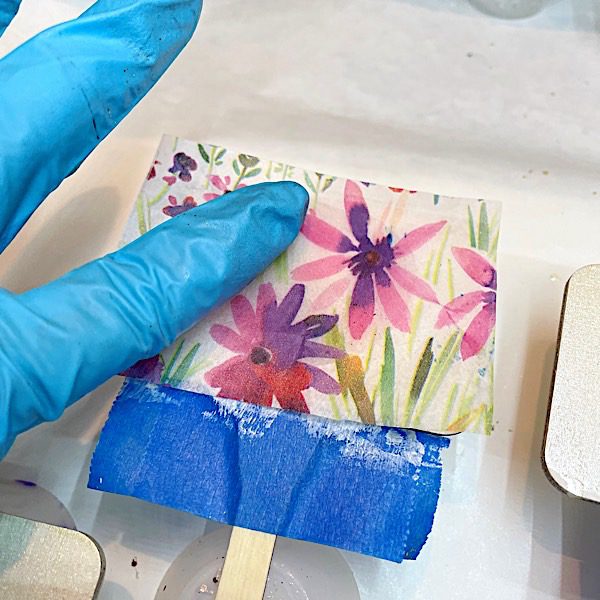
Place a piece of tissue paper onto the resin. Use your gloved fingers to push the tissue onto the resin. Then, move it around to spread the resin. You want the resin to coat the surface of the flower pot stakes thoroughly so you get a good bond.
By the way, you don’t want to seal the paper before adding it to the resin. The wetness of the resin soaks into the paper and makes the design darker.
Next, dip your word in resin. Then, add it to the paper surface.
Pro tip: By dipping the word into the resin, you’re breaking the surface tension which keeps you from trapping bubbles.
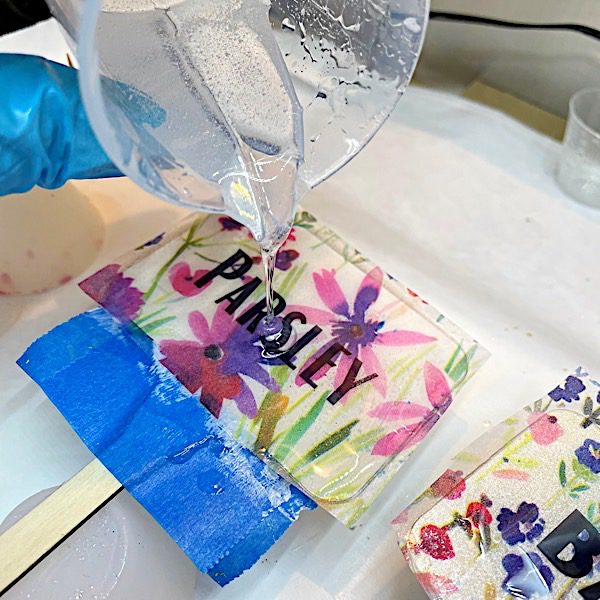
Pour more resin on top to give an even dome.
Use a heat gun to pop bubbles. Then, let the resin cure.
Step 6: Finish
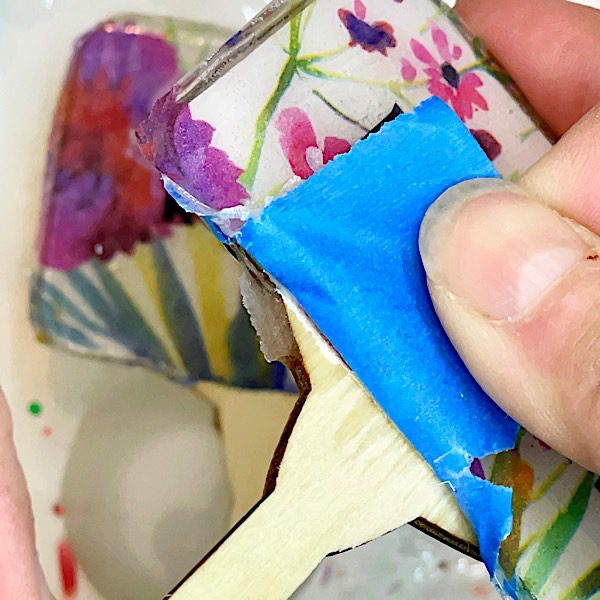
When the resin is soft-cured (about 8 to 12 hours after mixing), remove the painter’s tape and trim the paper so it is flush with the edge. The resin will be rubbery at this point and easier to do versus waiting until the resin is completely cured.
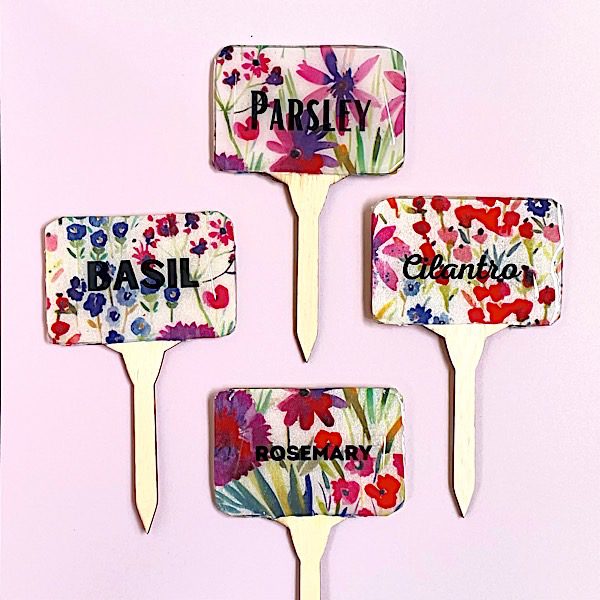
Ta-da! You just learned how to make custom flower pot stakes with epoxy resin.
You could also make stakes to identify food for a party or centerpieces for a dinner party.
Do you want to take on a resin project but are worried you’ll make a mistake?
You’re not alone. You want to know you’ll make something beautiful with resin on the first try.
That’s why you’ll love the ebook Resin Fundamentals. You’ll learn the essential details of resin in only a couple of hours. Buy the PDF book now, and you’ll get an email download link in minutes.
Unpublished Blog Posts of Resin Obsession, LLC © 2023 Resin Obsession, LLC