
Nature and jewelry go together like Guns and Roses. And I’m guessing you’re here because you want to learn how to put nature and jewelry together too.
But what if you want to make that jewelry with butterfly wings? That means you need to spend a few hours collecting butterflies. But then, there’s the nagging feeling about whether it’s the right thing to do…
What if I told you that you could have your wings and wear them too?
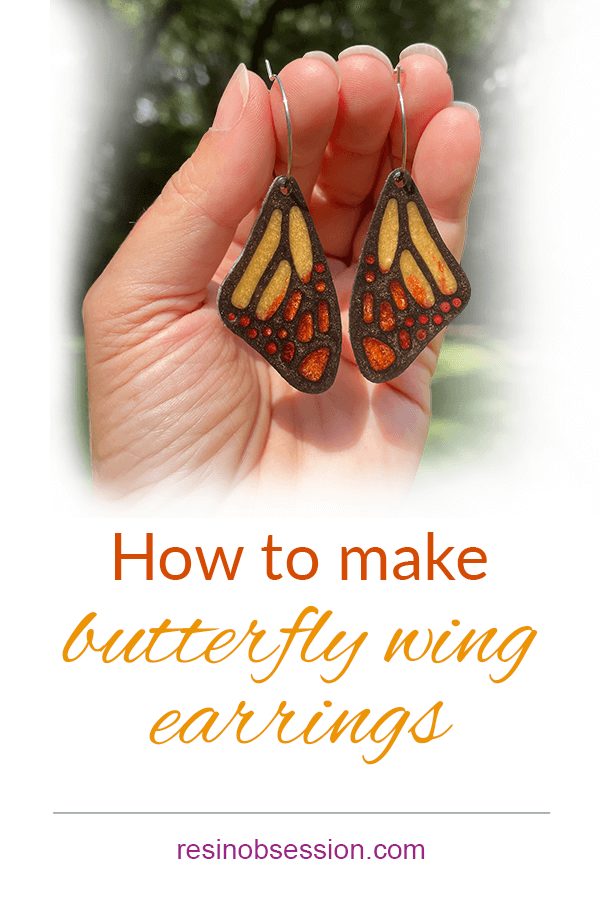
I’m going to show you how to DIY butterfly earrings with epoxy resin.
But, before we get into this jewelry project, I want to warn you that this isn’t the easiest way for beginners to get started with resin. The mold for this project can be a little tricky, plus there are a few more steps than most of our resin projects.
If you’ve never crafted with resin before and you want to make resin jewelry, here’s an easy project with stickers to get you started.
Resin Supply list:
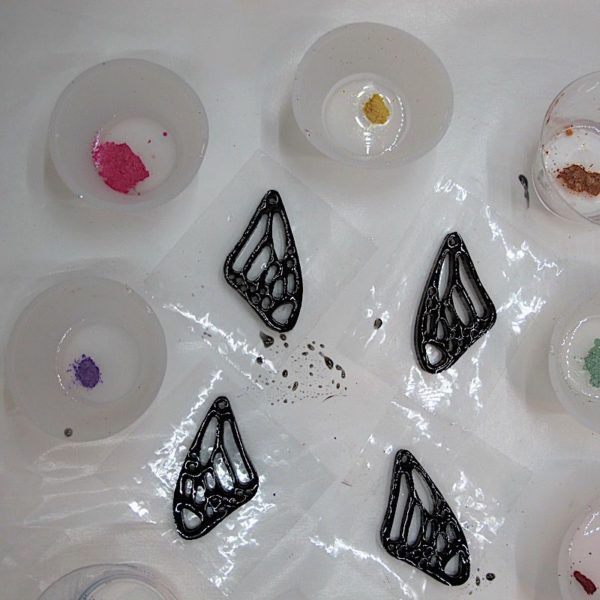
Butterfly wing mold
Jewelry resin
Opaque black pigment
Metallic powders
Mixing cups
Stirring sticks
Protective gloves
Toothpicks
Heat gun
Packing tape
Ear wires or hoops
Optional:
Several grits of wet/dry sandpaper ranging from 150 to 1000 grit (or higher)
Clear acrylic sealer spray
Step 1: Mix resin

You’ll want to use a resin for molds for this project. Because it needs to cure hard and bubble-free, the Resin Obsession super clear resin is the best choice. Plus, it cures in about 12 hours so that you can DIY a bunch of butterfly wing earrings quickly.
Step 2: Color
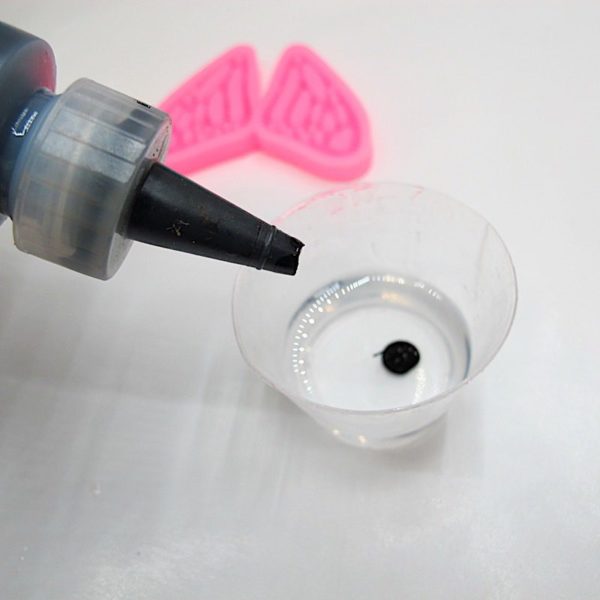
Add a dark color to the mixed resin. Opaque black pigment is a good choice if you don’t have a preference. Dark brown metallic powder works well too.
Step 3: Add to the mold
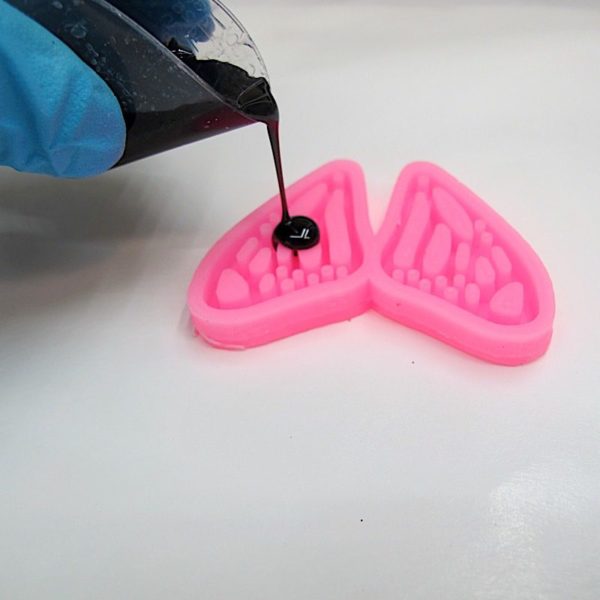
Pour the resin into the mold, focusing on the open areas.
Focusing is the key word here. It’s hard to get the resin only in the recesses and not drip it all over the mold. (But that could be the coffee talking.)
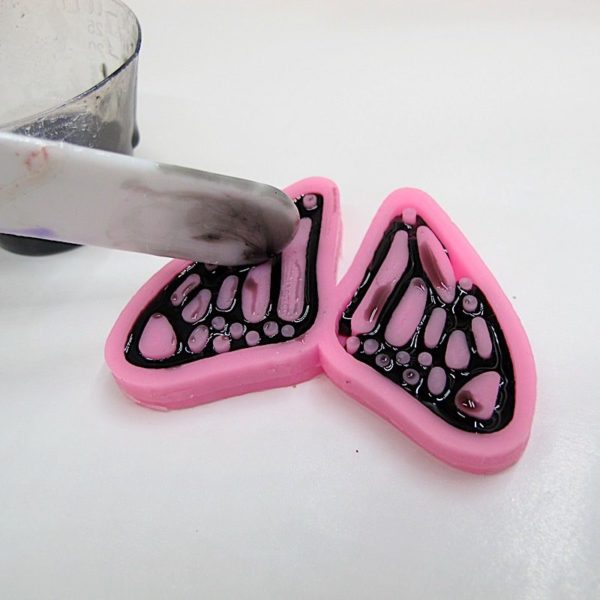
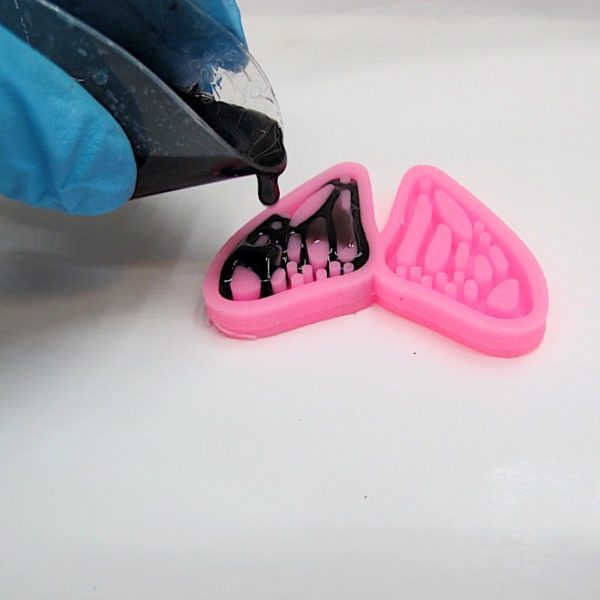
Once you’ve filled the mold, use your stir stick to scrape the excess resin into the recesses.
💡 Pro tip: Because the crevices of this mold are narrow, it’s going to be easy to trap bubbles. Pour in a little bit of resin, then roll it around the mold. This helps push bubbles out before you fill it all the way.
Go over the top with a heat gun to pop bubbles. Then let cure.
Step 4: Demold
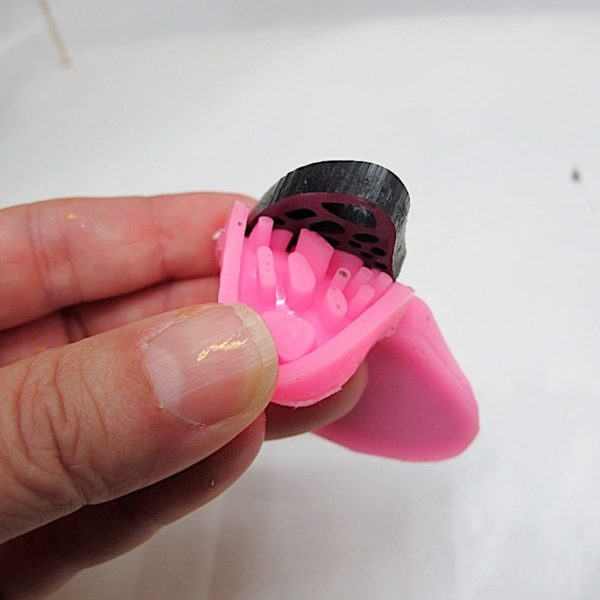
Peel the cured resin out of the mold. And if you listen closely, the demolding sounds like you’re popping bubble wrap. #oddlysatisfying
Step 5: Place on tape
Place your wing pairs onto the sticky side of packing tape. This part of the DIY butterfly earrings project is essential. You must get good contact between the wings and the tape. If you don’t, the resin will leak out the side, and you’ll have extra resin sanding to do.
💡 Pro tip: Don’t skimp on the tape. Get the good stuff with good adhesive.
Step 6: Mix and color more clear resin
Mix another batch of epoxy resin and divide it into several cups. Add a pinch of metallic powders into each and mix well. Pick colors that look good together because these will be the colors of your DIY butterfly earrings.
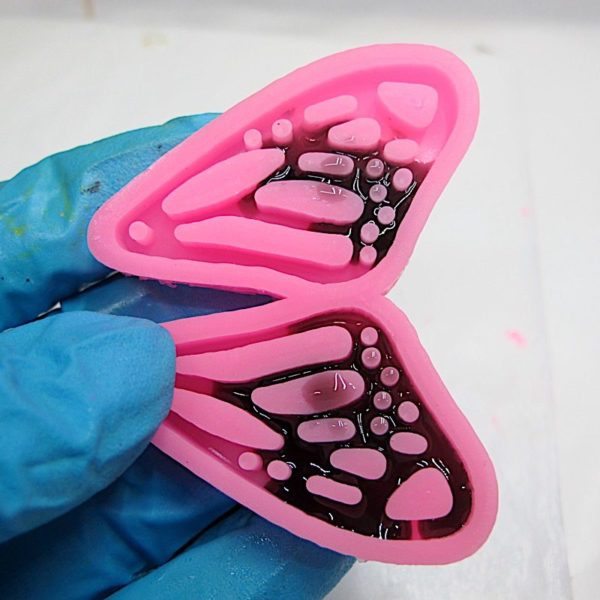
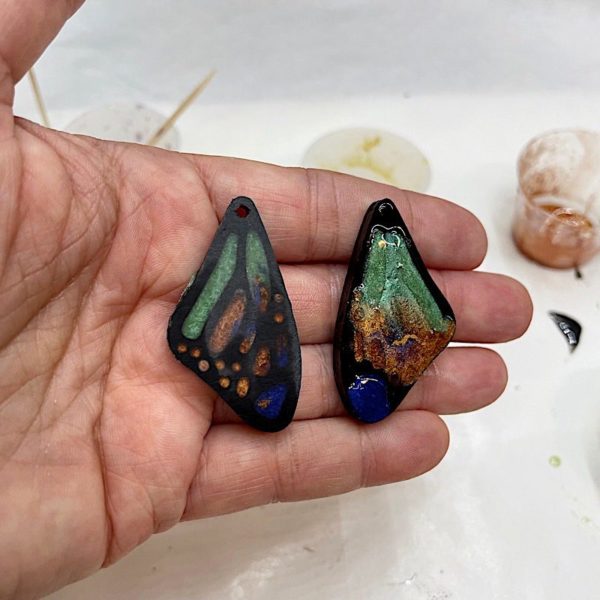
Step 7: Add to the wings
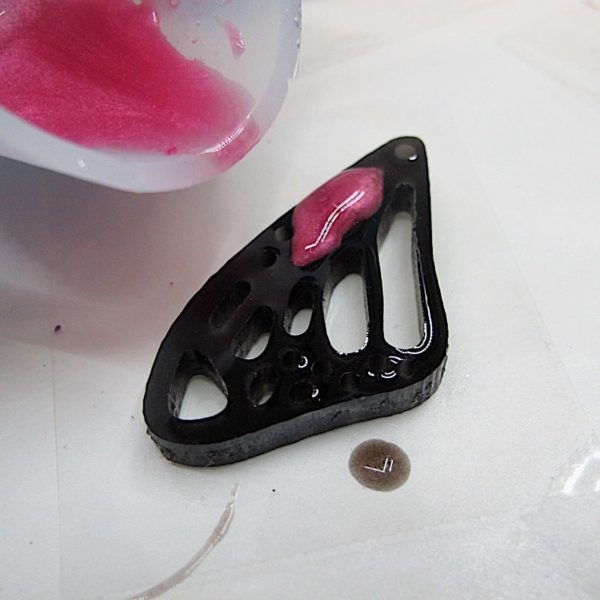
Drip the colors into the wing cavities.
Now, this is why I don’t recommend this as a beginner resin project.
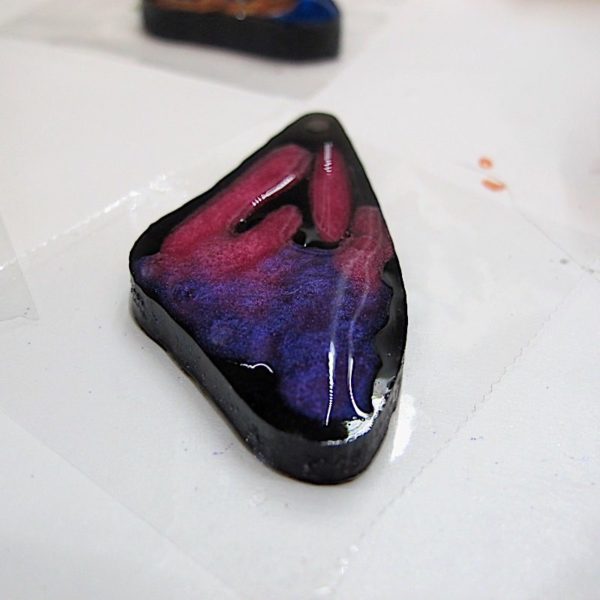
It’s almost impossible to keep the colors in the cavities and not blend them together. (Note to self – drink less coffee on resin days.)
If your hand is steady enough to keep them separate, then go forth and conquer, you maverick.
But if you’re a mere mortal (me too), don’t sweat it.
Check your resin for bubbles before letting it dry.
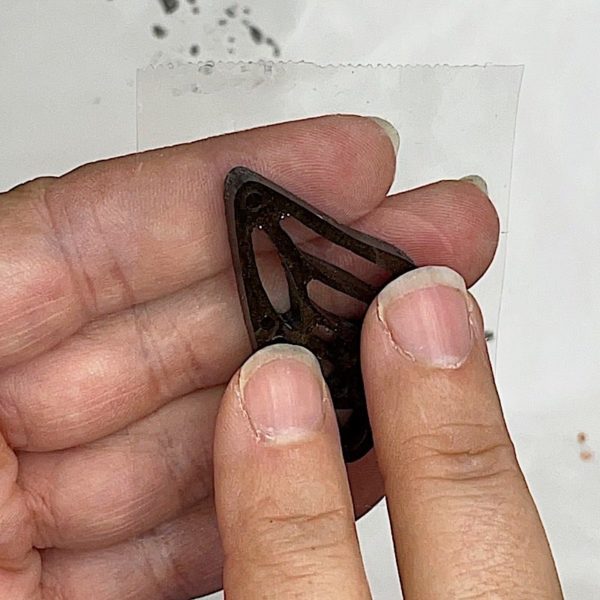
Step 8: Remove from the tape and finish
Here’s the second reason why this is an advanced resin jewelry project.
The mold for the DIY butterfly earrings wants to hang onto bubbles. Despite using a toothpick to push the resin into the holes and draw out bubbles, the small mold openings trapped the monsters. Drat.
But, let’s show that resin who’s boss, shall we?
Here are two methods to get your DIY butterfly earrings to amazing:
Method 1: Refill your bubbles with colored resin. Then, sand off extra.
Method 2: Sand the side where the colors blended.

Be sure you sand on wet/dry sandpaper in a circular motion. Be sure you get the paper wet. It keeps you from inhaling the resin dust and (mostly) sanding off the end of your fingers.
Start with a coarse grit (about 150 to 200) and end with at least a 1000 grit or higher. (or finer. I never know what to say in this situation.)
Your resin will look cloudy after the first sanding, but keep going. It will look less frosted with each finer grit you use.
There’s more to sanding than that, so it’s an entire article in itself.
⭐️ BONUS: Learn how to sand resin.
Once you’ve got a velvety, smooth finish, apply a couple of light layers of clear acrylic spray to shine them up. Or dome a layer of clear coating epoxy resin.
💡 Pro tip: If you don’t want to sand, then don’t. (I despise resin sanding too.) Turn that side to the back and wear your hair down so no one sees the backs when you wear them. 😂
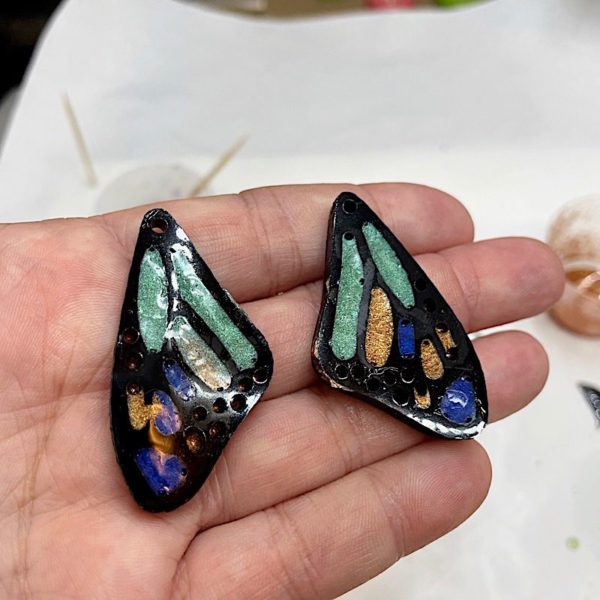
Step 9: Add earring findings
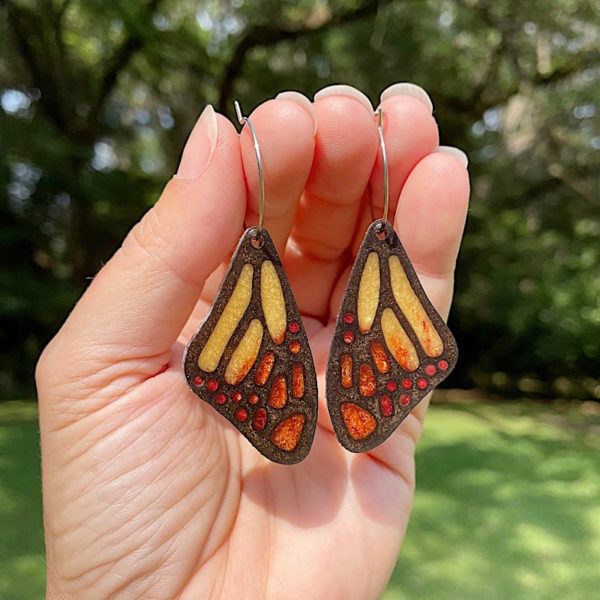
Hang on ear wires or earring hoops to wear your butterfly earrings.
💡 Pro tip: If you’re going to use earring hoops, get the stainless steel ones. Not only are they cheaper than sterling silver, but they’ll maintain their shape better.
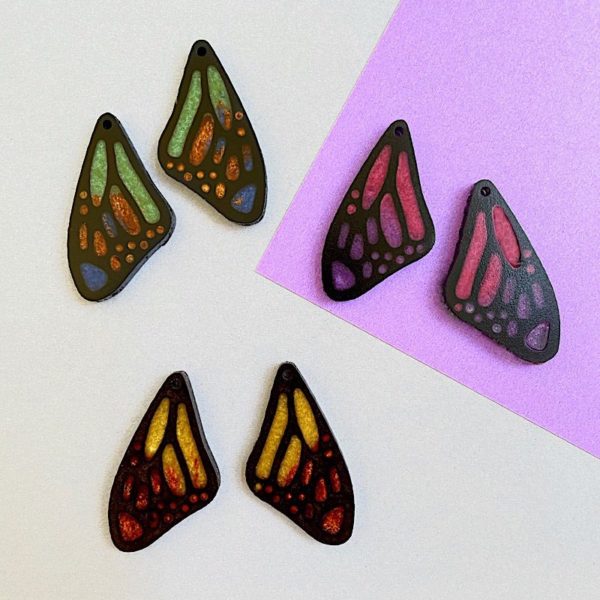
The cool thing about DIY butterfly earrings is that you can mix and match the colors you like. Like, make your own butterfly species.
Want to DIY butterfly earrings and more?
Then you’ll want your copy of how to prep butterfly wings for resin. You’ll learn how to preserve your naturally found butterfly wings before including them in resin.
Unpublished Blog Posts of Resin Obsession, LLC © 2023 Resin Obsession, LLC
Instead of pouring the colors into the back of the wings you could use a stirring spatula to drip it in. It’s a little more accurate and a little less messy.
Good idea! 🙂
I’m just glad to know I’m not the only who has trouble with bubbles in this mold! Thanks for the tips!
You’re welcome. 🙂
If I have bubbles in the final product I take a toothpick with a tiny drop of uv resin on the tip. I carefully fill the bubble. I use the flat side of the toothpick to drag it across the surface the best I can to blend. And quickly use my uv flashlight to dry it.
Works every time!!
Your welcome!!
Oh goodness, Susan. You’re a gem for sharing your insight. Thanks for making my day.