Tip 1: Prepare your resin crafting area.
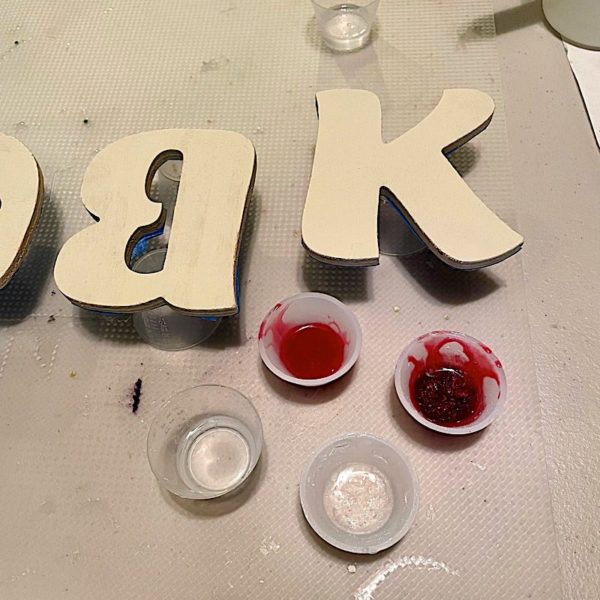
Always go into a resin project with the idea that it will drip or spill everywhere. Protect your table with non-stick surfaces. Tape off areas where you don’t want resin. Make sure you have a dome ready to cover your wet resin when you’re done to keep out dust and pet hair.
💡 Pro tip: If you aren’t sure what to use to cover your table, here is a list of surfaces resin won’t stick to.
Tip 2: Gather all the supplies you’ll need BEFORE you mix your resin.
Time will get away from you. You don’t want to waste any of it looking for extras and accessories while the pot time on your resin is ticking. This resin beginner supply checklist will help you get organized.
💡 Pro tip: A timer is a great tool to have here. Set it to expire about when the pot time of your resin is almost up. It’s a great reminder to use or lose your mixed resin.
Tip 3: Anything you use in resin needs to be COMPLETELY dry.
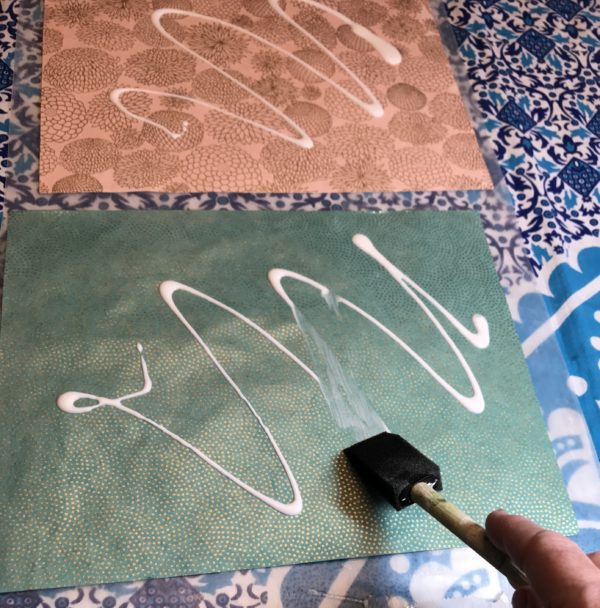
You need to make sure any papers, flowers, natural products, etc., are sealed and dry before putting them in resin. Even if you’ve sealed them, but the sealant is wet, moisture will wick in.
💡 Pro tip: If you aren’t sure how to do this, here’s how to seal papers for resin.
Tip 4: Read the directions for your resin kit.
Then re-read them. Be sure you completely understand them before you start mixing. The basics you need to know are:
*How much resin and hardener to mix together.
*Minimum mixing amount (resin plus hardener).
*Maximum mixing amount (resin plus hardener).
*Open time.
*Cure time.
💡 Pro tip: We have all this information for you for the resins sold on Resin Obsession. You can find it in our resin buying guide, which also includes tips and tricks on when to use each epoxy type.
Tip 5: Get your room to the ideal temperature.
Resins cure best in a temperature of the low 70s F. Adjust your thermostat as necessary to get your resin crafting room to this temperature range.
💡 Pro tip: Here are some cold weather resin casting tips if you need ideas on how to warm up an area without warming up your entire house.
Tip 6: Warm the resin and hardener bottles.
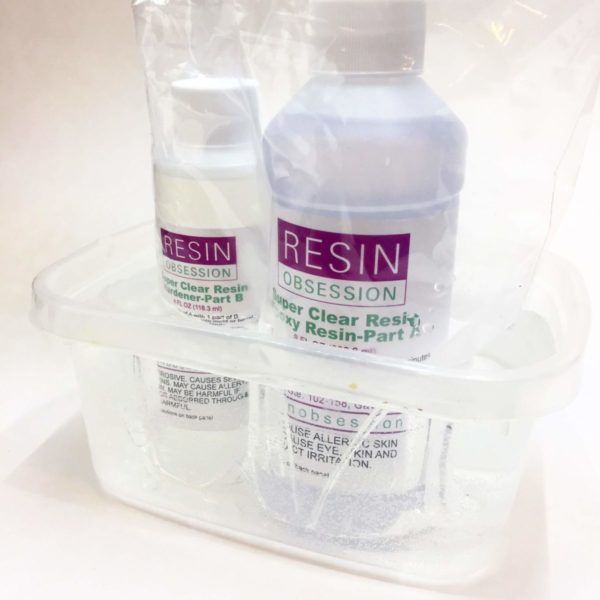
This is the BEST of the resin tips and tricks on this list. If you keep your resin kit in a cool area, warm the bottles up in a water bath for five to ten minutes before use. By heating the bottles, your resin and hardener will mix more easily and with fewer bubbles.
💡 Pro tip: Learn what else you can do to avoid resin bubbles.
Tip 7: Do the math on how much resin you need.
You don’t want to waste it. But you don’t want to stop mid-project to mix more resin.
So how do you know how much resin to mix?
Use the Resin Obsession resin calculator. All you need is a ruler to measure your space.
💡 Pro tip: Here are some other hacks to determine how much resin you need.
Tip 8: If you are using molds, prep them with mold release.
Prepare your molds with a mold release and allow them to dry 20 to 30 minutes before use. It makes demolding easier and prolongs mold life.
💡 Pro tip: Here are three reasons why I always use mold release.
Tip 9: Have clean-up supplies handy.
Have paper towels and a trashcan close by to clean up the spills and drips. Baby wipes also clean up spilled resin on bezels, molds, and even your body.
💡 Pro tip: If your resin mess gets out of control, here’s how to clean up resin details.
Tip 10: Have appropriate safety gear.
Follow resin safety precautions. This includes working in a well-ventilated area and wearing protective gear like gloves and safety glasses. The safety data sheet of the epoxy resin kit you are working with will also specify safety measures you should take when using it.
Want more resin tips and tricks?
Then you’ll want to get a copy of the ebook, Resin Fundamentals. I’ve condensed my 17 years of resin experience into an easy-to-follow book. Beginners can read the book in a couple of hours and feel confident taking on their first or next resin project. Buy now and get a download link in minutes.
Unpublished Blog Posts of Resin Obsession, LLC © 2023 Resin Obsession, LLC


I have two things to add to your really awesome list:
1) have a check list of all the supplies you need to gather before you start and double check it. And include all your prep steps too so you don’t forget to do anything.
2)if you have long hair pull it back and secure it (head bands, ponytail holder, bandana)
Keeping your own hair out of the resin is good. Even those with short hair might consider covering your hair with a bandana or cap.
I have had hair get into my resin once. Learned my lesson.
The point about your hair is so true. That has happened to me a couple of times. Eek!
Hello I am just wondering if you are in Canada and do you have a postage rate the same for one item or 10 items
Hi Helen, we are based in the U.S. Delivery charges are based upon the weight of items in your shopping cart and desired delivery time. A full explanation of our shipping policy can be found here: https://www.resinobsession.com/shipping-policy/
I just want to really emphasize, WEAR THOSE GLOVES!! Get several boxes of cheap vinyl gloves so you don’t run out in the middle of a project. Don’t touch anywhere near your face, even if the resin is labeled non toxic. Take your gloves off if you need to do something like rub your eyes. It sounds obvious, but we tend not to want to stop what we’re doing. I got a terrible blister inside my eyelid once, and now I’m very very careful. Don’t grab your torch, if you use one, with sticky gloves. I did that so much with mine that I resined it shut! Gloves are an absolute necessity in my opinion.
Another glove tip: Wear multiple pairs so you strip off a wet pair for a clean pair quickly.
I was wonder I saw a video of red peppers done with resinLike a table. Does the peppers stay fresh and keep its shape and not get molded? Cause I thought it was cool
Unfortunately, fresh food will spoil in resin.
Thank you for these tips it give me confidence to that last step in a kitchen remodel and making me look like pro to my wife
That’s awesome Walter. Good luck with your project!
Thanks for all your great tips.Hopefully, this will flatten out my learning curve. I want to use some tiny natural starfish in a project. Any caveats or warnings?
Hi Renzo, you should plan on sealing them before including in resin.
What would you recommend using to seal the starfish?
Renzo,
I love anything ALL things coastal; especially starfish and shells as they are absolutely a beautiful addition to any decor. Do you mind sharing the project you are creating? Thank you for your consideration and time!
I’m making stepping stones with concrete and want to finish with resin over top. What’s the best reason for that project
Hi Amanda, any of the doming resins in our store will work great for a project like this: https://shop.resinobsession.com/collections/resin/doming
I was wondering if I am using many colors if you can mix the colors in the resin in little cups and then put the hardener in them As you need each color? Or do you need to mix it all then put your colors in ?
Hi Annette, in general, you should mix the resin and hardener together first before adding the color.
HI there, I have used resin several times before. This las project I had resin moving away from the edges and making areas where resin was missing. I would pour more on and spread out, continuously until it was no longer doing that. I left the projects to dry only to find that the resin did that again in some areas.
Is it that I am just not using enough? is it the surface of my project?
Hi Paige, I’m sorry this is happening to you. There are several reasons why this can happen. I describe them here, plus include what you can do to prevent them in the future: https://www.resinobsession.com/resin-frequently-asked-questions/fix-holes-and-dents-in-resin/
Hello
I have a question, do we add the dye to the resin before or after we mix it with the hardener ? Thank you 😊
It depends on the dye you are using. Those instructions should be specified on your resin dye container.
Can you burn Candels in a craft you make as I would like to make Candel holders. I am brand new at this font no what kind of resign to buy or what kinds of mods actually I don’t no anything. We are starting this project for our nonprofit for are moms can help
Hi Cynthia, I’m afraid resin isn’t safe to use to make candle holders.
Hello! Would your project cure correctly if you added the color or glitter to part 1 of the resin BEFORE mixing it with the hardener?
Hi Monica, I wouldn’t expect any curing problems by doing it this way.
Hi Katherine, great tips! I’m about to start using resin as a hobby and had a question on the equipment required – once I’ve mixed the resin and hardener in whatever container/jug etc I’m going to use, can I reuse this again for my next mix? Is any cleaning required or is it the norm to use a fresh mixing container for each new mix?
Hi Sean, I love reading that you want to reuse materials. This article explains how to clean your tools from epoxy resin so you can reuse: https://www.resinobsession.com/resin-frequently-asked-questions/how-to-clean-epoxy-resin-tools-and-cups/